
Free Crochet Cactus - Step by Step Pattern

This crochet cactus is a great way to have some green inside your home, even if you don’t like taking care of plants. It feels nice to touch and is small enough to put on your desk, windowsill, or shelf. It’s also a lovely gift for friends or family who like simple, handmade things. The pattern is easy to follow and works well for both beginners and people who have done crochet before.
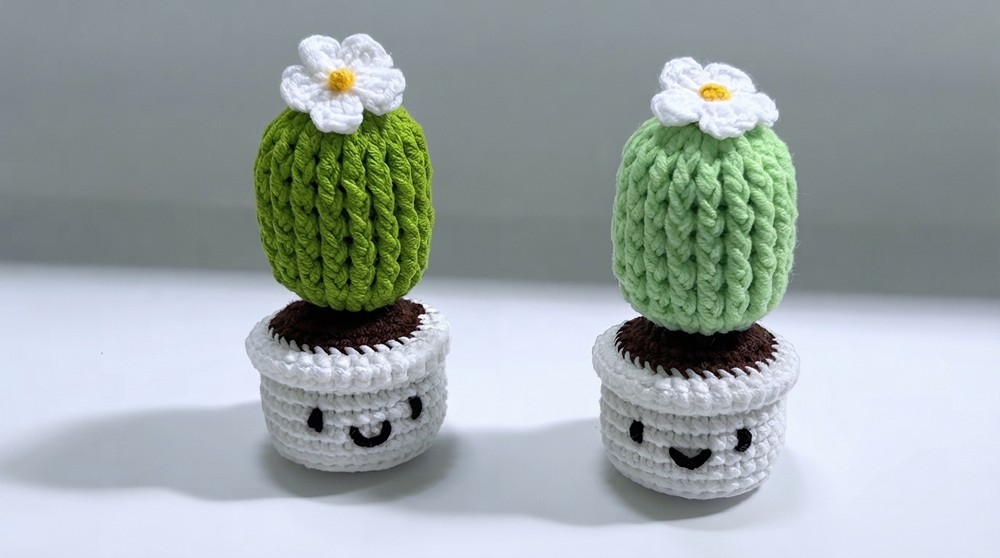
The instructions are clear and simple, so you can make the cactus step by step without problems. It’s a nice project to help you learn new stitches or to finish quickly if you want a little something to do.
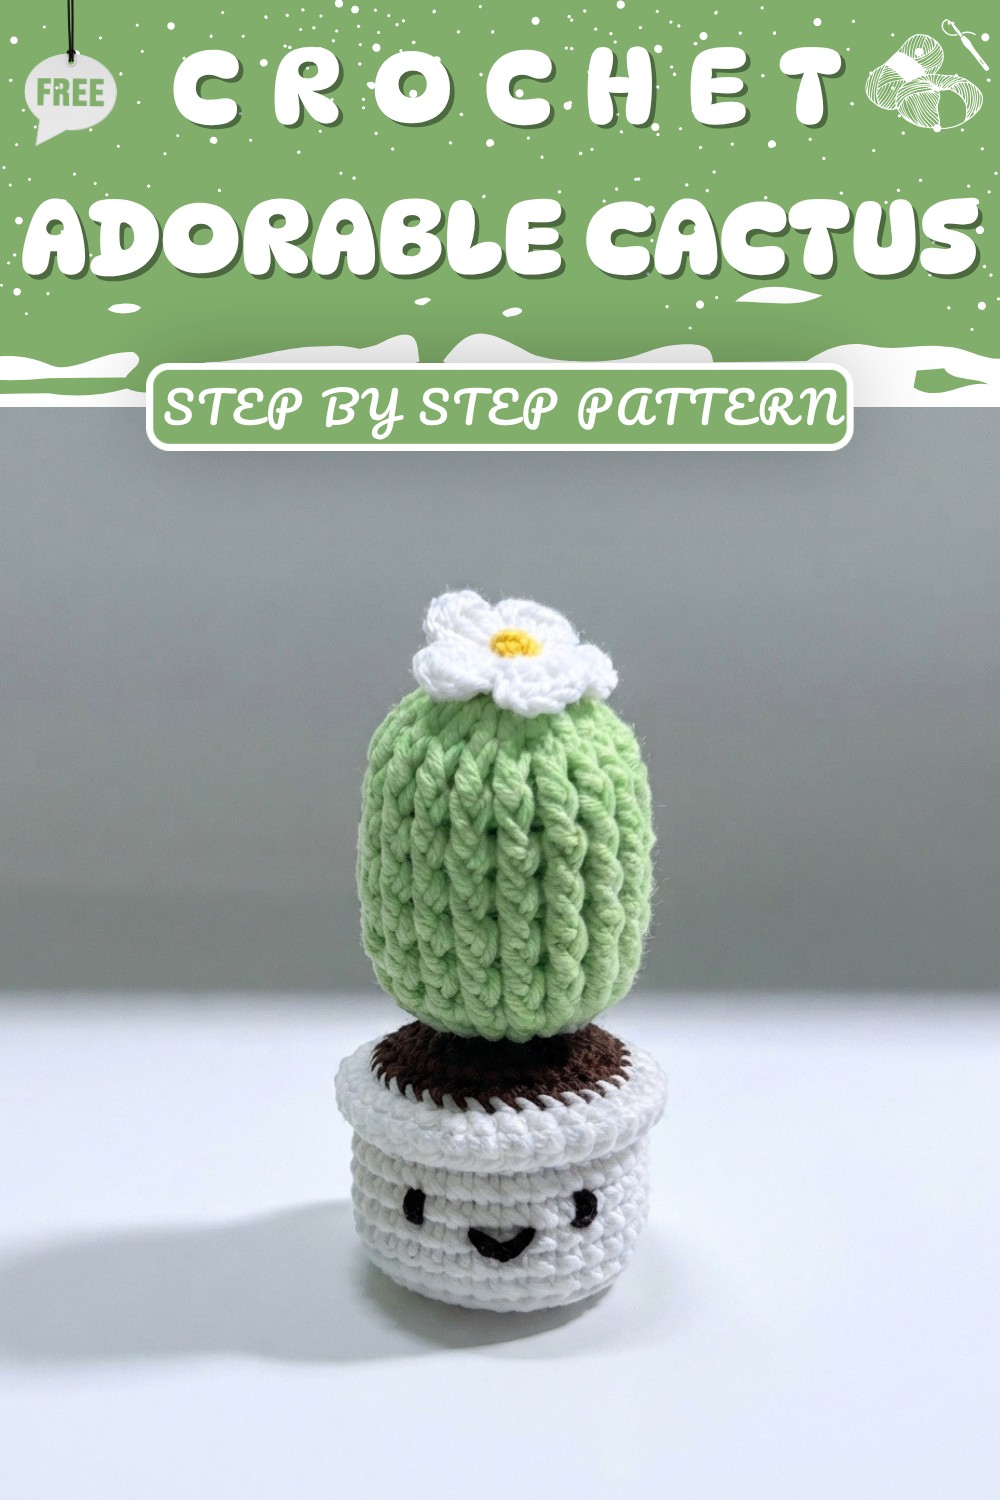
This crochet cactus is more than just decoration. It’s a way to relax and feel proud when you finish making it. You can keep it all year, and it will always look good without any extra work. Using this pattern is a nice and easy way to bring a little bit of nature and fun into your space.
Beginner-Friendly Crochet Pattern: Cactus in a Pot
This pattern provides detailed instructions to create a cute cactus planted in a pot, perfect for beginners. Using basic crochet stitches and techniques such as magic rings, front post double crochets, and working in rounds, you will build a three-dimensional cactus, realistic pot, and charming finishing touches.
Quick Overview of Pattern
- Cactus Body: Crocheted in rounds using front post double crochets to create ribbing texture.
- Pot: Worked in rounds with increases, back/front loop stitch variation for structure.
- Soil: Simple rounds of double crochet and single crochet, sewn into pot.
- Little Flower: Five petal motif worked in a magic ring for top decoration.
- Assembly: Stuffing, sewing components, gluing, and optional embellishments.
Notes
- Work in joined rounds; slip stitch (sl st) to join each round.
- Front post double crochet (FPDC) is used to create texture on the cactus surface.
- Maintain consistent tension to achieve sturdy fabric.
- Stuff parts firmly for best shape retention.
- Leave long yarn tails for sewing pieces together.
- Use hot glue carefully to secure parts during finishing.
Skill Level
Beginner
This project is suitable for crocheters with basic knowledge of single crochet, double crochet, magic ring, increases, slip stitch joining, front post double crochet, and simple assembly skills.
Materials
- Worsted weight yarn in:
- Green (cactus)
- Brown or terracotta (pot)
- Light brown or beige (soil)
- Accent color for flower and details
- Crochet hook size 3.5 mm (or size suitable for yarn)
- Fiberfill stuffing for plush shape
- Yarn needle for sewing and finishing
- Hot glue gun and glue sticks
- Scissors
- Stitch markers (optional)
Measurements / Sizing (Approximate)
- Cactus height: about 6 cm (2.4 inches)
- Pot diameter: approximately 5 cm (2 inches)
- Total assembled height: approx. 8-9 cm (3.1–3.5 inches)
Schematic drawings can be added on request.
Gauge and Stitch Pattern
- Gauge is approximate; consistent tension is more important.
- Fabric texture combines standard double crochet and front post double crochet (FPDC) for cactus ribs.
- Pot uses front loops, back loops, and full stitches for shaping edges.
Stitch Abbreviations
- ch = chain
- sc = single crochet
- dc = double crochet
- fpdc = front post double crochet
- sl st = slip stitch
- mr = magic ring
- inc = increase (two stitches in the same stitch)
Special Stitches
- Magic Ring (mr): Start round in adjustable loop to close hole tightly.
- Front Post Double Crochet (FPDC): Yarn over, insert hook around post of stitch from front, yarn over, pull up loop, yarn over and complete dc.
The Pattern — Step by Step
1. Cactus Body
Round 1:
Begin with a magic ring. Crochet 9 single crochets (sc) into the ring. Join with a slip stitch (sl st).

Round 2:
Chain 2 (counts as first dc). Make 18 double crochets (dc) by increasing in each stitch (2 dc in each of the 9 stitches). Join with slip stitch.
Round 3:
Chain 2. Work 18 front post double crochets (fpdc) evenly around, joining with sl st each round. Continue until piece measures about 6 cm high, creating characteristic ribbing texture.
Round 4:
Chain 2. Work 18 front post double crochets (fpdc) evenly around, joining with sl st each round.
Round 5:
Chain 2. Work 18 front post double crochets (fpdc) evenly around, joining with sl st each round.
Round 6:
Chain 2. Work 18 front post double crochets (fpdc) evenly around, joining with sl st each round.
Round 7:
Chain 2. Work 18 front post double crochets (fpdc) evenly around, joining with sl st each round.
Round 8:
Chain 2. Work 18 front post double crochets (fpdc) evenly around, joining with sl st each round.
Round 9:
Chain 2. Work 18 front post double crochets (fpdc) evenly around, joining with sl st each round.
Closing:
Stuff the cactus with fiberfill. Use yarn needle to weave yarn through the front loops of your last round. Pull tightly to close the cactus top and secure your yarn end.

2. Pot
Round 1:
Start with a magic ring. Work 8 single crochets (sc) into ring. Join with sl st.
Round 2:
Chain 1. Increase in every stitch around (2 sc in each stitch), total 16 sc. Join with sl st.
Round 3:
Chain 1. Repeat the pattern (1 sc, 1 inc) eight times, making 24 sc total. Join with sl st.
Round 4:
Chain 1. Repeat (2 sc, 1 inc) eight times, making 32 sc total. Join with sl st.
Round 5:
Chain 1. Work 32 single crochets in back loops only (BLO) to define the pot’s texture. Join with sl st.
Round 6:
Chain 1. Work 32 single crochets in both loops around. Join with sl st after each round.
Round 7:
Chain 1. Work 32 single crochets in both loops around. Join with sl st after each round.
Round 8:
Chain 1. Work 32 single crochets in both loops around. Join with sl st after each round.
Round 9:
Chain 1. Work 32 single crochets in both loops around. Join with sl st after each round.
Round 10:
Chain 1. Work 32 single crochets in both loops around. Join with sl st after each round.
Round 11:
Chain 1. Work 32 single crochets in both loops around. Join with sl st after each round.
Round 12:
Chain 1. Single crochet 32 stitches in front loops only (FLO) for edge shaping. Join with sl st.
Round 13:
Chain 1. 32 single crochets in both loops. Join with sl st. Fasten off. Fold the edge created outward to form the pot rim.

3. Soil
Round 1:
Make a magic ring. Work 16 double crochets (dc) into the ring. Join with slip stitch.
Round 2:
Chain 1. Increase to 32 single crochets (16 inc evenly spaced). Join with sl st.
Leave a long tail for sewing.
4. Little Flower
Make a magic ring.
Within the ring, repeat the following 5 times:
- Chain 3
- 1 double crochet (dc)
- Chain 3
- Slip stitch in ring

This forms five petals. Fasten off and weave in ends.
5. Assembly
- Stuff the pot firmly.
- Place the soil on top of the pot opening.
- Sew the soil edges securely to the pot using the long yarn tail left.
- Hot glue the cactus to the center of the soil.
- Hot glue the small flower onto the top of the cactus.
- Optionally, embroider or glue eyes or a mouth on the cactus for personality.
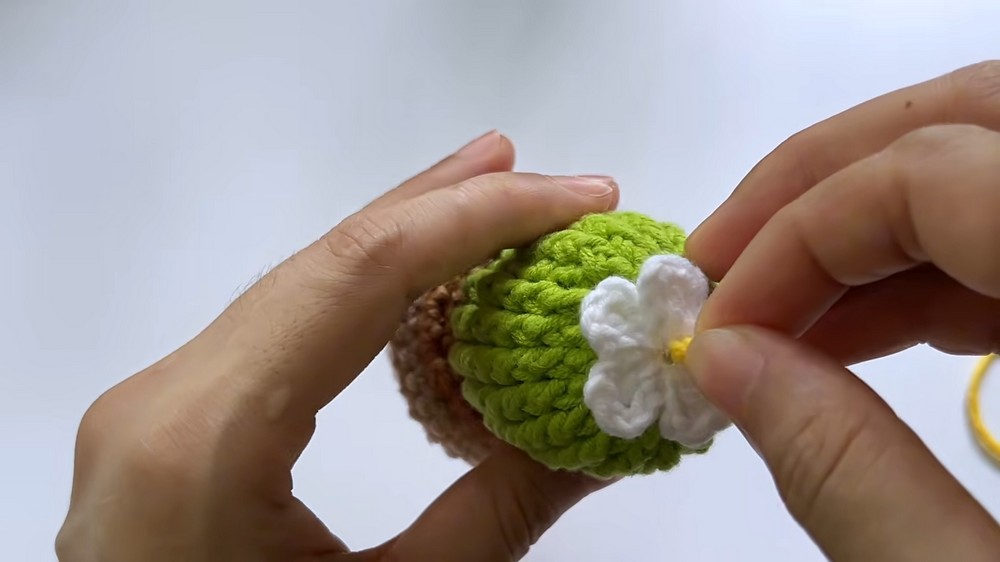
Assembly & Finished Size
Once assembled, your cactus in a pot stands roughly 8–9 cm tall, perfectly sized for a desk, shelf, or gift. The pot diameter measures around 5 cm, providing a sturdy base. The texture from front post double crochet gives a realistic cactus ribbed look, and the folded rim edge adds pot authenticity. The tiny flower atop adds a cute detail completing the piece.
Conclusion
This beginner-friendly cactus in a pot crochet pattern offers a satisfying project combining simple stitches with creative texture work. It is ideal for those looking to practice rounds, increases, textural fpdc stitches, and basic assembly techniques including sewing and hot glue finishing.
From the tightly crocheted cactus body with ribbing to the structured pot with distinctive rim formation and soft soil insert, each component teaches valuable crochet skills while creating a charming decor piece.
The little flower adds a delicate touch highlighting the uniqueness of the succulent. Practical instructions ensure strong assembly for display or gifting. With patience and practice, you will create a delightful crochet cactus bringing green cheer indoors year-round.