
Free Crochet Amigurumi Strawberry Pattern with Easy Steps
Master this charming amigurumi strawberry with our comprehensive, beginner-friendly pattern to follow these simple, professional steps to fashion your own plush fruit.
There’s something so satisfying about creating small, cute crochet toys, and recently I tried a free crochet AMIGURUMI STRAWBERRY pattern that instantly caught my heart. This tiny, soft strawberry amigurumi is a fun and colorful project that’s perfect for anyone who loves making adorable handmade items. Whether you want a cheerful decoration, a cute gift, or just a quick craft to brighten your day, this pattern is a great find.
Free Crochet Amigurumi Strawberry Pattern to Brighten Your Day
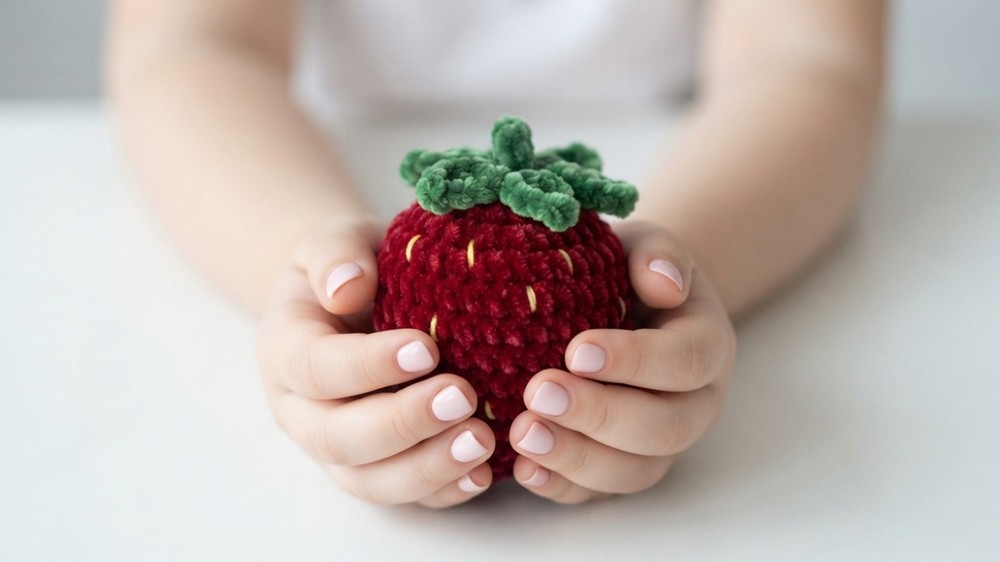
The amigurumi strawberry looks just like the real fruit but in a sweet, playful way. Its round shape is filled with soft stuffing, and the bright red body is decorated with tiny “seeds” that give it a fun texture. On top, there’s a green leafy crown that completes its fresh, lively look. The overall style is simple yet charming, making it ideal to display on shelves, attach to bags, or even use as a keychain. Its small size makes it easy to carry around or gift to friends and family.
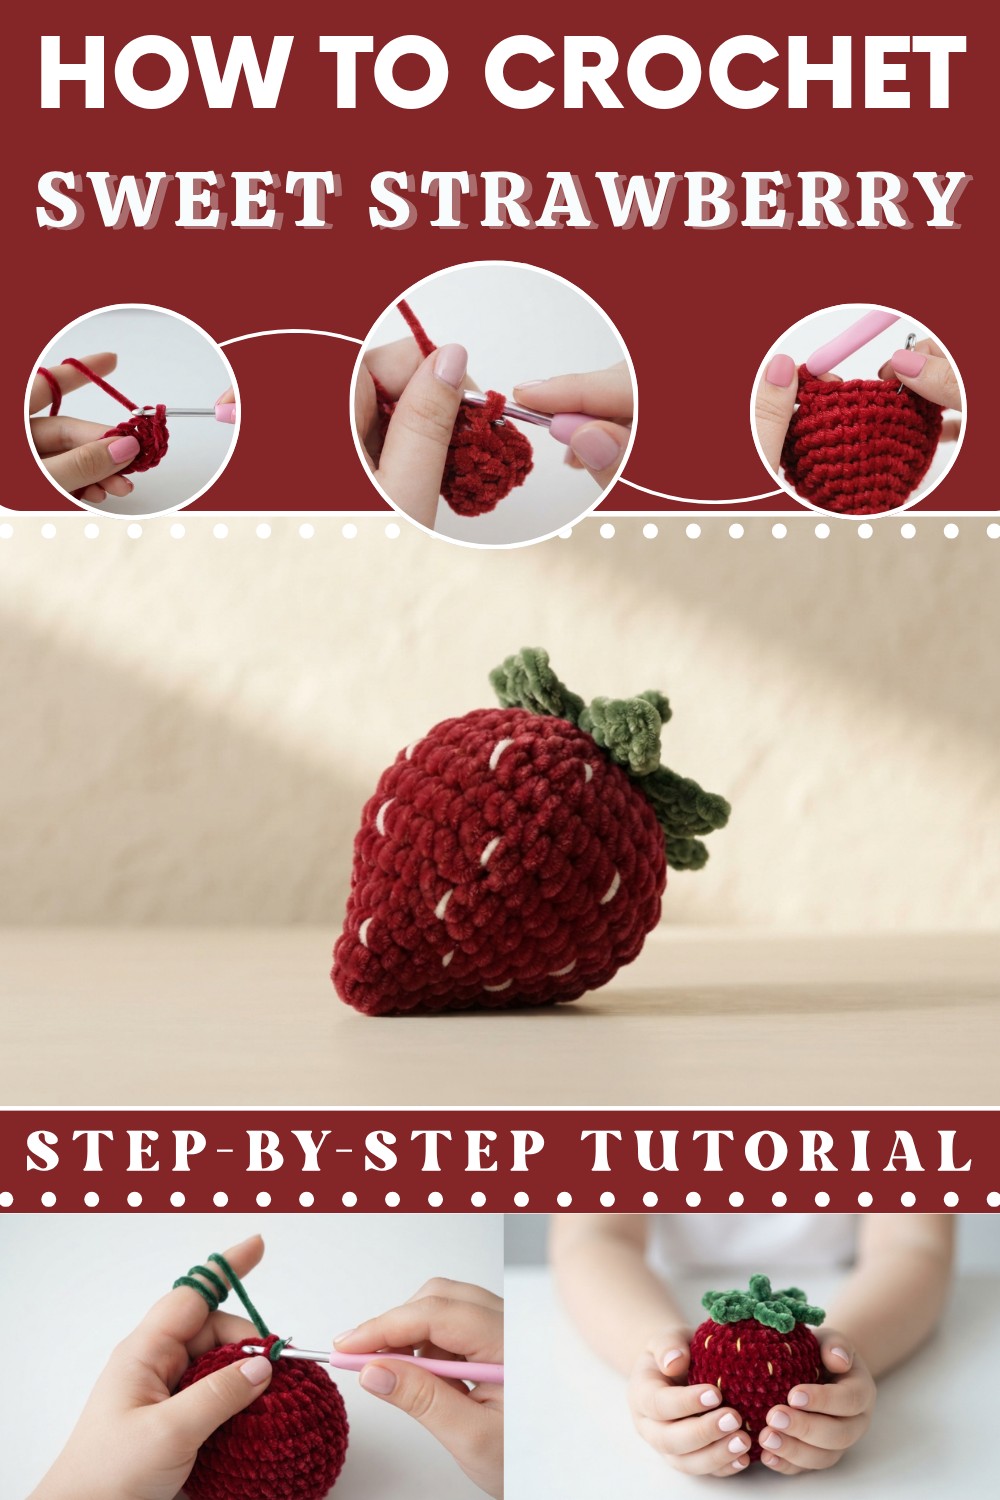
This project is perfect for beginners because it mainly uses the single crochet stitch, which is basic and easy to get the hang of. You’ll work mostly in rounds, building the shape steadily, which helps you practice stitching evenly. Plus, assembling the parts is simple, so you can finish your strawberry toy without feeling overwhelmed.
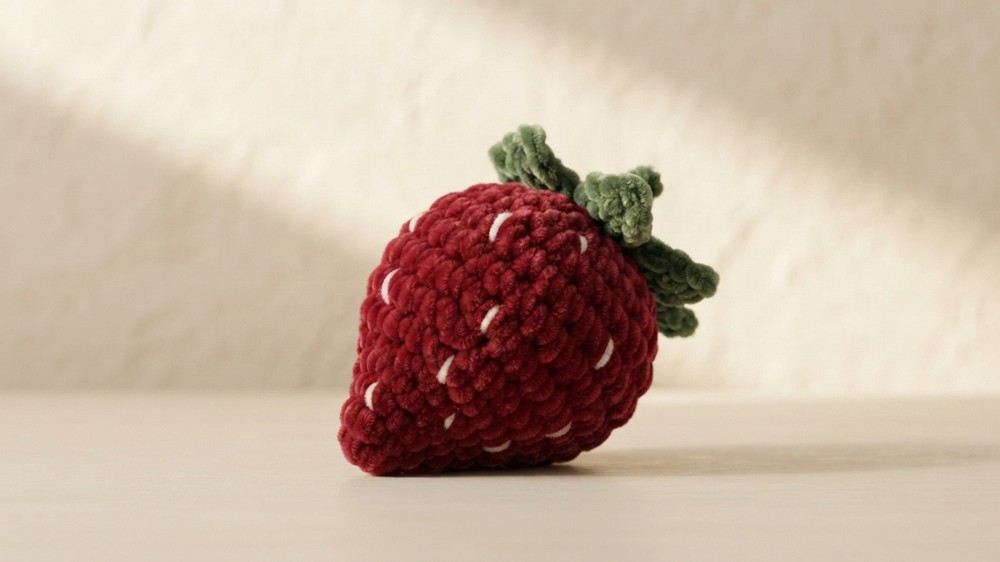
With its cheerful colors and cute design, this free crochet AMIGURUMI STRAWBERRY pattern is wonderful for gifts, decorations, or as a fun collectible to add to your amigurumi collection. If you enjoy quick, easy, and satisfying projects, this strawberry will make a delightful addition to your crochet journey.
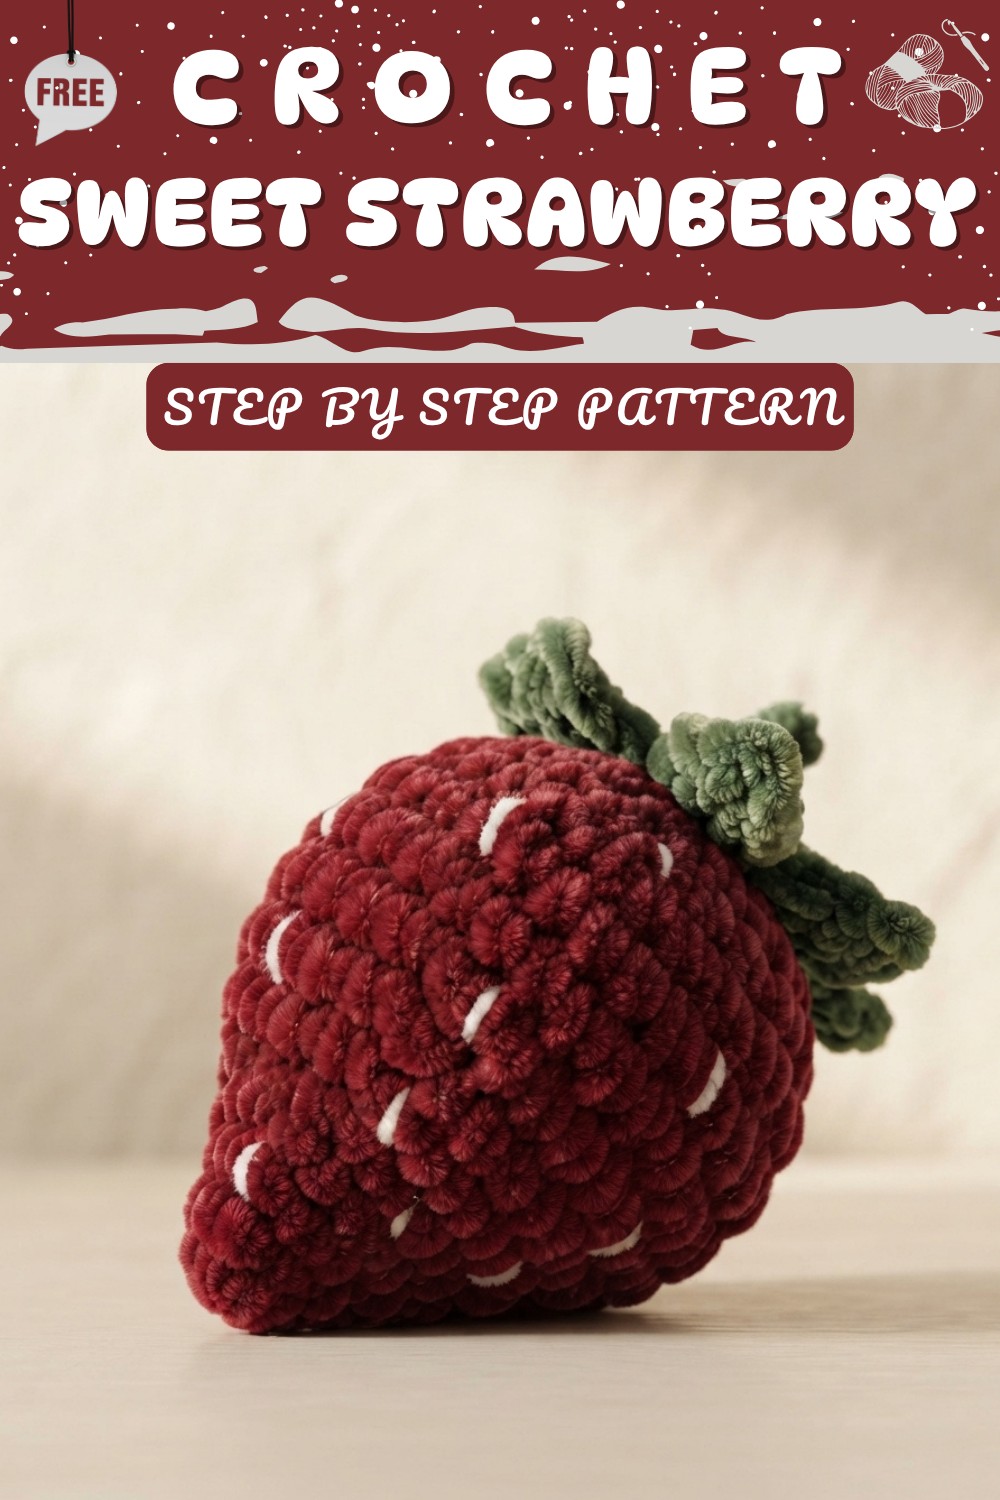
Free Crochet Amigurumi STRAWBERRY Pattern
This small, decorative fruit is a perfect project for those seeking to build their skills in circular crochet and shaping. By following these specific instructions, you will produce a charming, plush strawberry that serves as an excellent addition to a toy collection, a pincushion, or a playful home accessory.
The process emphasizes clean finishing and precise counting, ensuring your final piece maintains a professional look. This pattern utilizes a chunky construction method by holding three strands of yarn together, which helps the strawberry maintain its shape and gives it a satisfying, squishy feel. Prepare your materials and follow along to fashion this delightful item.
Quick Overview Of Pattern
-
Technique: Worked in continuous rounds using a magic ring as the foundation.
-
Construction: Starts with a base, works into an increase phase to form the body, and transitions to a decrease phase to shape the top.
-
Unique Feature: Uses three strands of yarn simultaneously to achieve a chunky appearance.
-
Details: Includes instructions for adding textured green leaves and embroidered yellow seeds.
-
Finish: Requires minimal assembly, focusing primarily on closing the top and adding surface detail.
Notes
-
Yarn Selection: This pattern recommends holding three strands of yarn together. This provides a "chunky" result. You may choose to use one thicker strand instead if you prefer, provided you adjust your hook size to maintain a tight gauge.
-
Stitch Counts: Always use a stitch marker. Because the strawberry is worked in a continuous spiral, it is easy to lose track of the start of the round without one.
-
Tension: Consistent tension is vital for amigurumi. You are looking for a tight fabric to prevent the internal stuffing from showing through the gaps between stitches. If you see gaps, consider using a smaller hook size.
-
Stuffing: Ensure you add sufficient stuffing before the opening becomes too small to work through effectively.
Skill Level
Beginner. This pattern relies on fundamental stitches and simple shaping. It is an excellent exercise for those refining their foundational circular techniques and learning how to transition between colors for distinct parts of an item.
Materials
-
Acrylic Yarn: Red (for the strawberry body), Green (for the leaves), and Yellow (for the seeds). Cotton yarn is also a suitable alternative.
-
Crochet Hook: 5mm hook (or appropriate size for the combined strands).
-
Stuffing: Toy stuffing or scrap yarn.
-
Tools: Scissors for trimming ends, a needle for sewing, and a safety pin or dedicated stitch marker.
Measurements / Sizing
The final size of your strawberry depends on the thickness of the yarn chosen and your specific tension. By using three strands of standard acrylic yarn, the result typically measures approximately 3 to 4 inches in height, making it a perfect palm-sized plush item.
Gauge
For amigurumi, gauge is determined by your ability to keep stitches tight. Aim for a result where there is no visible space between the stitches when the piece is slightly stretched. If your stitches look loose, tighten your tension or switch to a smaller hook.
Stitch Abbreviations
-
Ch: Chain
-
SC: Single Crochet
-
Inc: Increase (2 single crochet stitches in the same stitch)
-
Dec: Decrease (Invisible decrease preferred: pull yarn through the front loops of the next two stitches, yarn over, and pull through both)
-
SS: Slip Stitch
-
St/Sts: Stitch/Stitches
Special Stitches
-
Magic Ring: A method to start a circular pattern by creating an adjustable loop that pulls tight to close the center hole, preventing a gap in the middle.
-
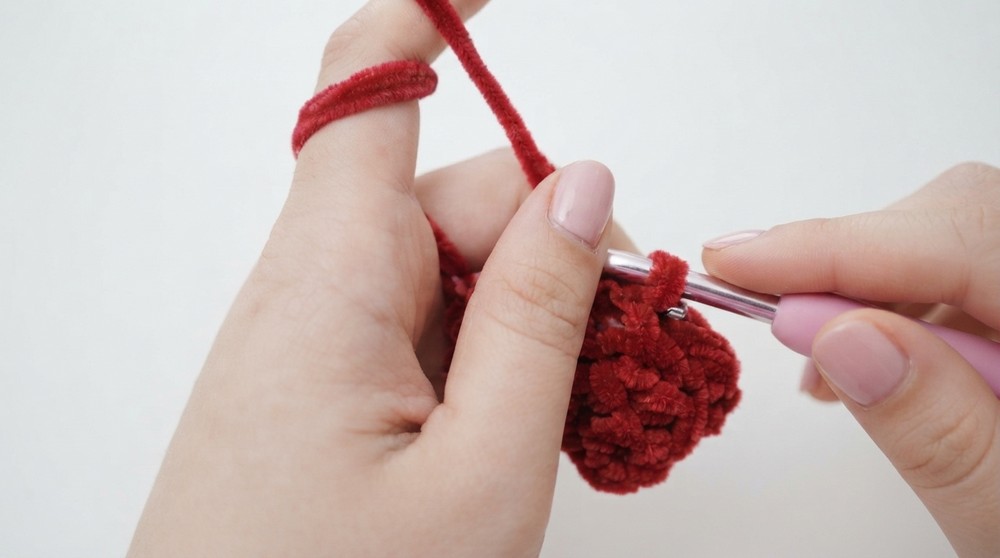
Invisible Decrease: A technique for reducing the stitch count that is less visible than a standard decrease. Insert the hook into the front loops of the next two stitches only, yarn over, and pull through the first two loops on the hook, then yarn over again to finish the stitch.
The Crochet Pattern!
Main Body (Red Yarn)
-
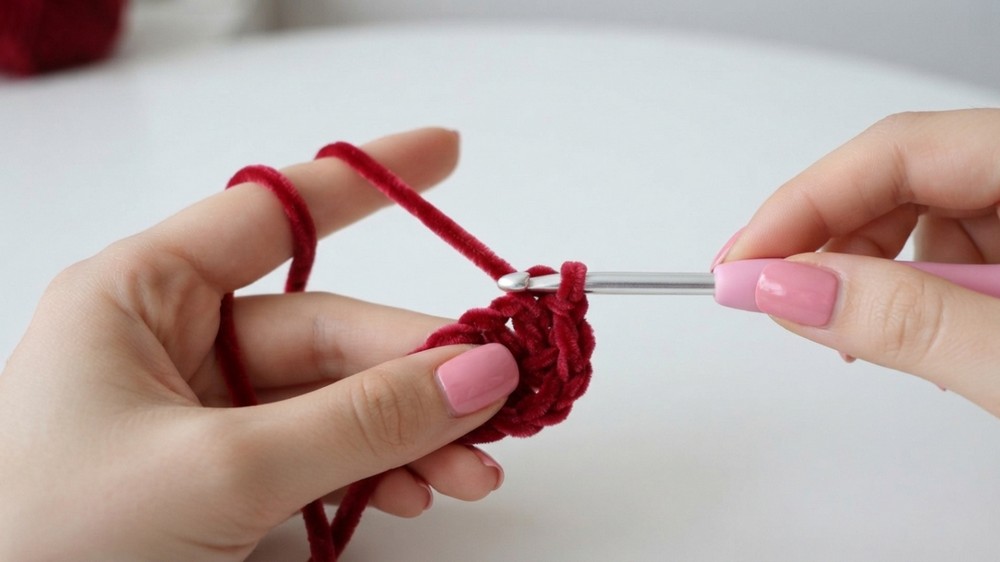
Round 1: Form a magic ring. Chain 1. Work 6 single crochet inside the ring. Pull the tail to close the circle tightly. (Total: 6 stitches). Place a stitch marker in the last stitch of this round.
-
Round 2: Work 1 single crochet in every stitch around. (Total: 6 stitches).
-
Round 3: Perform an increase in every stitch around. (Total: 12 stitches).
-
Round 4: Work 1 single crochet in every stitch around. (Total: 12 stitches).
-
Round 5: Pattern: 1 single crochet, 1 increase. Repeat this sequence all the way around. (Total: 18 stitches).
-
Round 6: Pattern: 1 single crochet in the next 2 stitches, 1 increase. Repeat this sequence all the way around. (Total: 24 stitches).
-
Round 7: Pattern: 1 single crochet in the next 3 stitches, 1 increase. Repeat this sequence all the way around. (Total: 30 stitches).
-
Rounds 8–10: Work 1 single crochet in every stitch around for three full rounds. (Total: 30 stitches).
-
Round 11: Pattern: 1 single crochet in the next 3 stitches, then an invisible decrease. Repeat this sequence all the way around. (Total: 24 stitches).
-
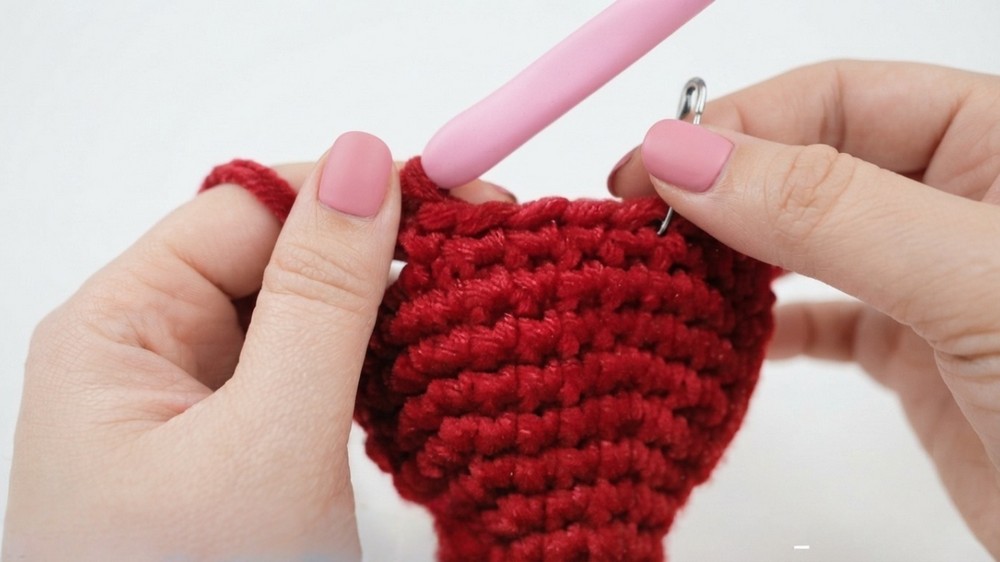
Round 12: Pattern: 1 single crochet in the next 2 stitches, then an invisible decrease. Repeat this sequence all the way around. (Total: 18 stitches).
-
Round 13: Pattern: 1 single crochet in the next stitch, then an invisible decrease. Repeat this sequence all the way around. (Total: 12 stitches). Ensure you add your toy stuffing now before the opening becomes too narrow.
Stem and Leaves (Green Yarn)
-
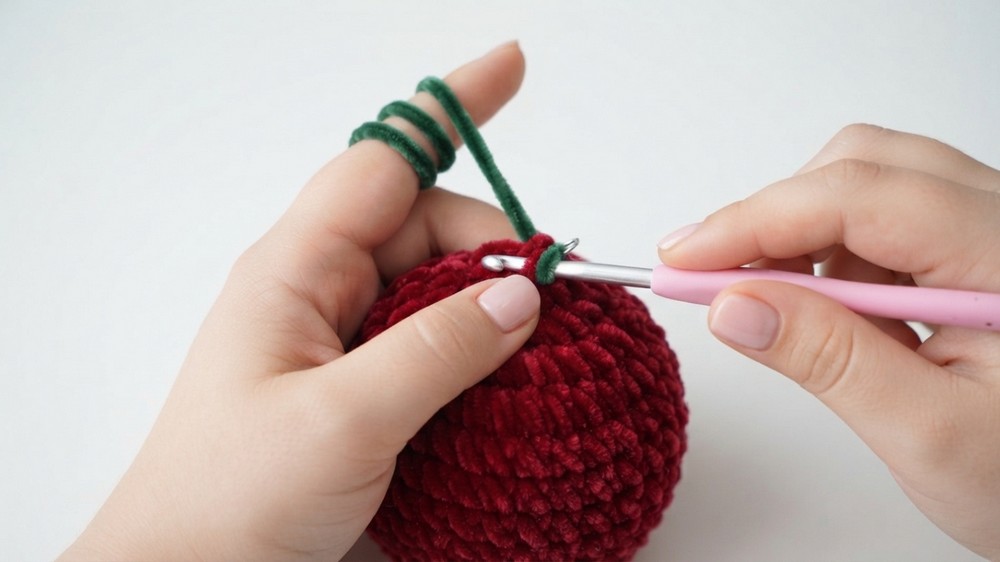
Round 14: Switch to green yarn. Work a decrease in every stitch around. (Total: 6 stitches). Fasten off and trim the red yarn.
-
Finishing the Rounds: Perform a slip stitch into the first single crochet to secure the edge.
-
Forming the Leaves:
-
Chain 5.
-
Work a slip stitch in the second chain from the hook.
-
Work 1 single crochet in each of the next 3 stitches.
-
Slip stitch into the next stitch of the main base.
-
Repeat this sequence (Chain 5, slip stitch back, single crochet down the chain) until you have 5 leaves total.
-
After finishing the fifth leaf, slip stitch into the base, chain 1, and fasten off.
-
Assembly & Finished Size
To finalize your strawberry, use your needle to weave in any remaining yarn ends securely inside the body. If there is a small opening left at the top center of the leaves, use the tail of your green yarn to sew the hole closed, weaving the needle in and out of the final round stitches and pulling tight.
Next, add the seeds. Take your yellow yarn and thread it onto a needle. Insert the needle through the body of the strawberry in random places. There is no set pattern for the seeds; simply insert the needle from the inside, bring it out to the surface, and make a small stitch to look like a seed. Continue this until the strawberry is covered to your liking. The finished item should be firm, squishy, and hold its shape well.
Conclusion and ending words
By following this detailed pattern, you have produced a custom, plush strawberry that showcases precise circular shaping and thoughtful assembly. Remember that practice is essential for mastering these foundational techniques, and each attempt will yield even more polished results.
If you enjoyed this project, consider experimenting with different colors to make other berries, or vary the size by adjusting the starting round. This exercise serves as a solid foundation for further amigurumi work, allowing you to expand your repertoire of soft toys.