
How to Crochet Apple Amigurumi Free Pattern for Sweet Gifts
Create a cute apple with this free crochet apple amigurumi pattern, featuring simple instructions for a fun decoration or a handmade gift.
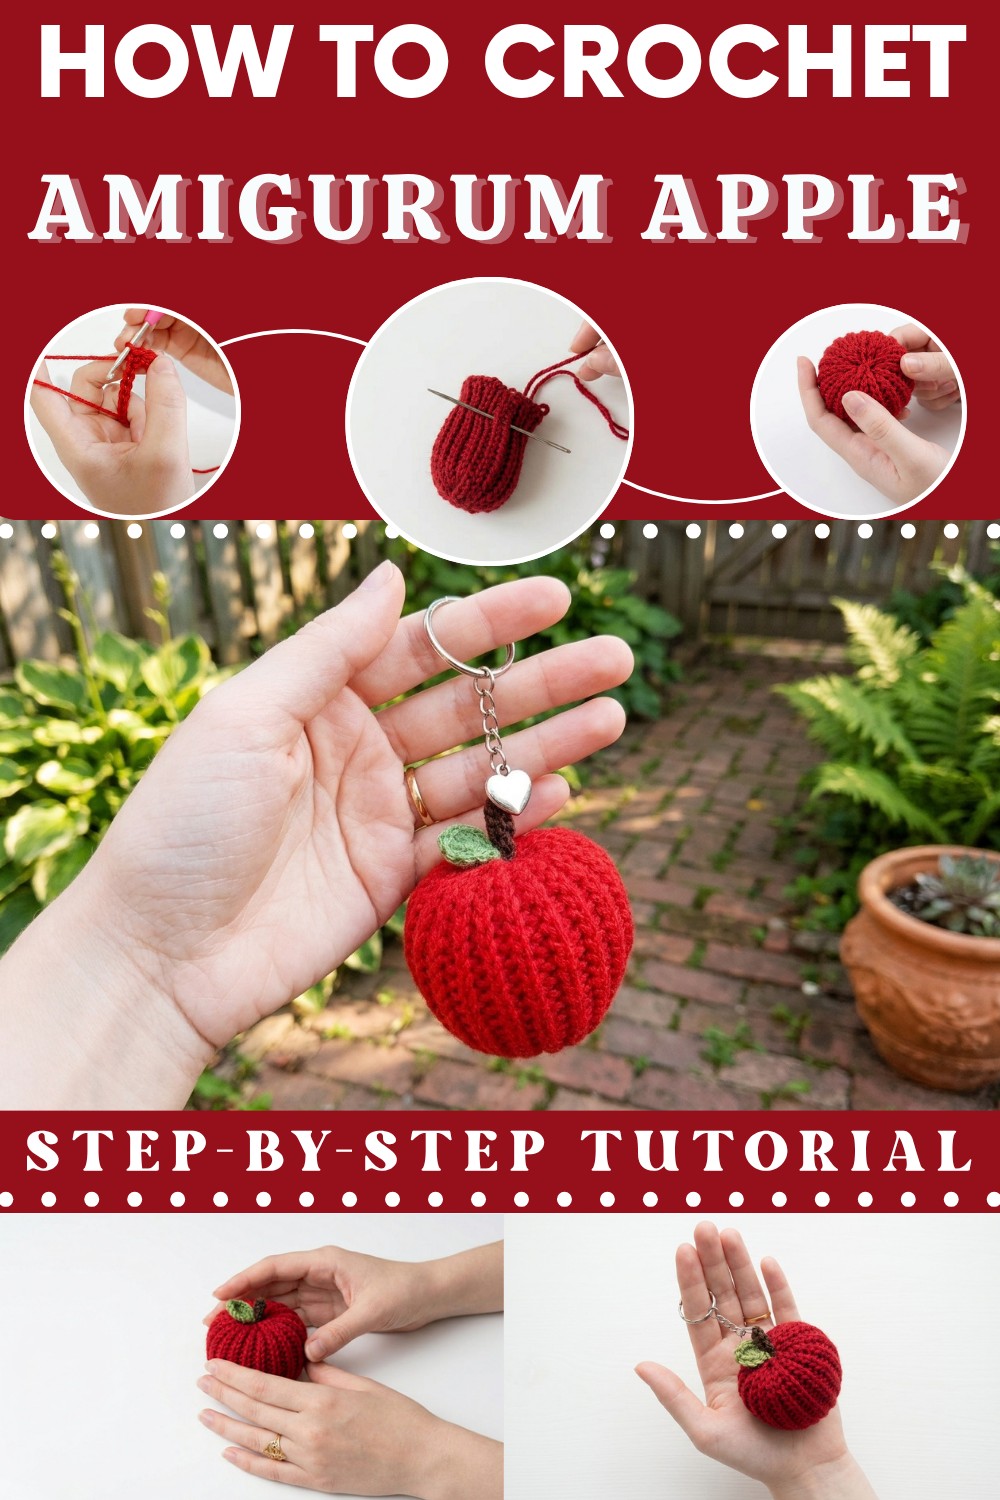
I found a pattern that really caught my attention because of its simplicity and charm. This free crochet apple amigurumi pattern offers a fun and easy way to create a small, cute item with your own hands, quickly becoming one of my favorite quick projects. It’s a soft, round toy that feels cozy to hold, and the best part is you can easily switch things up, change the yarn color or add little details and turn it into other fruits or even a fun keychain.
Free Crochet Apple Amigurumi Pattern for Back-to-School
Materials & Tools
- Yarn: DK (light worsted) weight in three colors:
- Red (or your choice for apple body—sample uses pink)
- Brown (for stem)
- Green (for leaf)
- Crochet Hook: 3.5 mm (E/4), or size needed to achieve gauge
- Toy Stuffing
- Keyring and hardware
- Pliers (for attaching hardware)
- Scissors
- Darning/Tapestry Needle
- Row Counter (optional, for tracking)
- Small charm/accessory (optional)
Gauge
Exact gauge is not critical for this project. Your work should be tight enough to prevent stuffing from showing. If your apple looks too open or stuffing is coming out, try a smaller hook.
What I love about this apple is its simple, charming look. It’s plump and smooth, with a bright red body and a tiny green leaf on top that makes it instantly recognizable. The shape is classic and friendly, and the texture is soft but firm enough to keep it looking neat. It’s a perfect little decoration for your desk or a cute gift for someone who appreciates handmade projects.
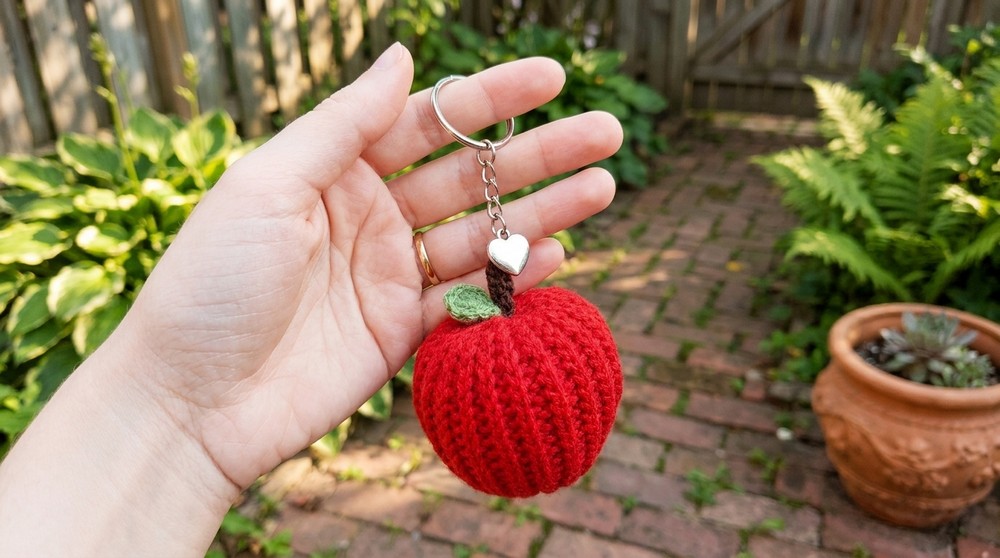
This pattern is great if you’re new to crochet because it mainly uses the single crochet stitch worked in rounds. The instructions clearly show how to make the apple’s shape by increasing and decreasing stitches, so you don’t have to worry about complicated techniques. It’s a fun and easy way to build your skills while making something adorable.
Finished, this crochet apple is a sweet gift, a fun collectible, or a charming decoration. It can even be attached to bags or keys for a bit of handmade charm on the go. If you’re looking for a simple project that’s both cute and satisfying, the free crochet apple amigurumi pattern is definitely worth trying—you might be surprised how quickly you fall in love with it!
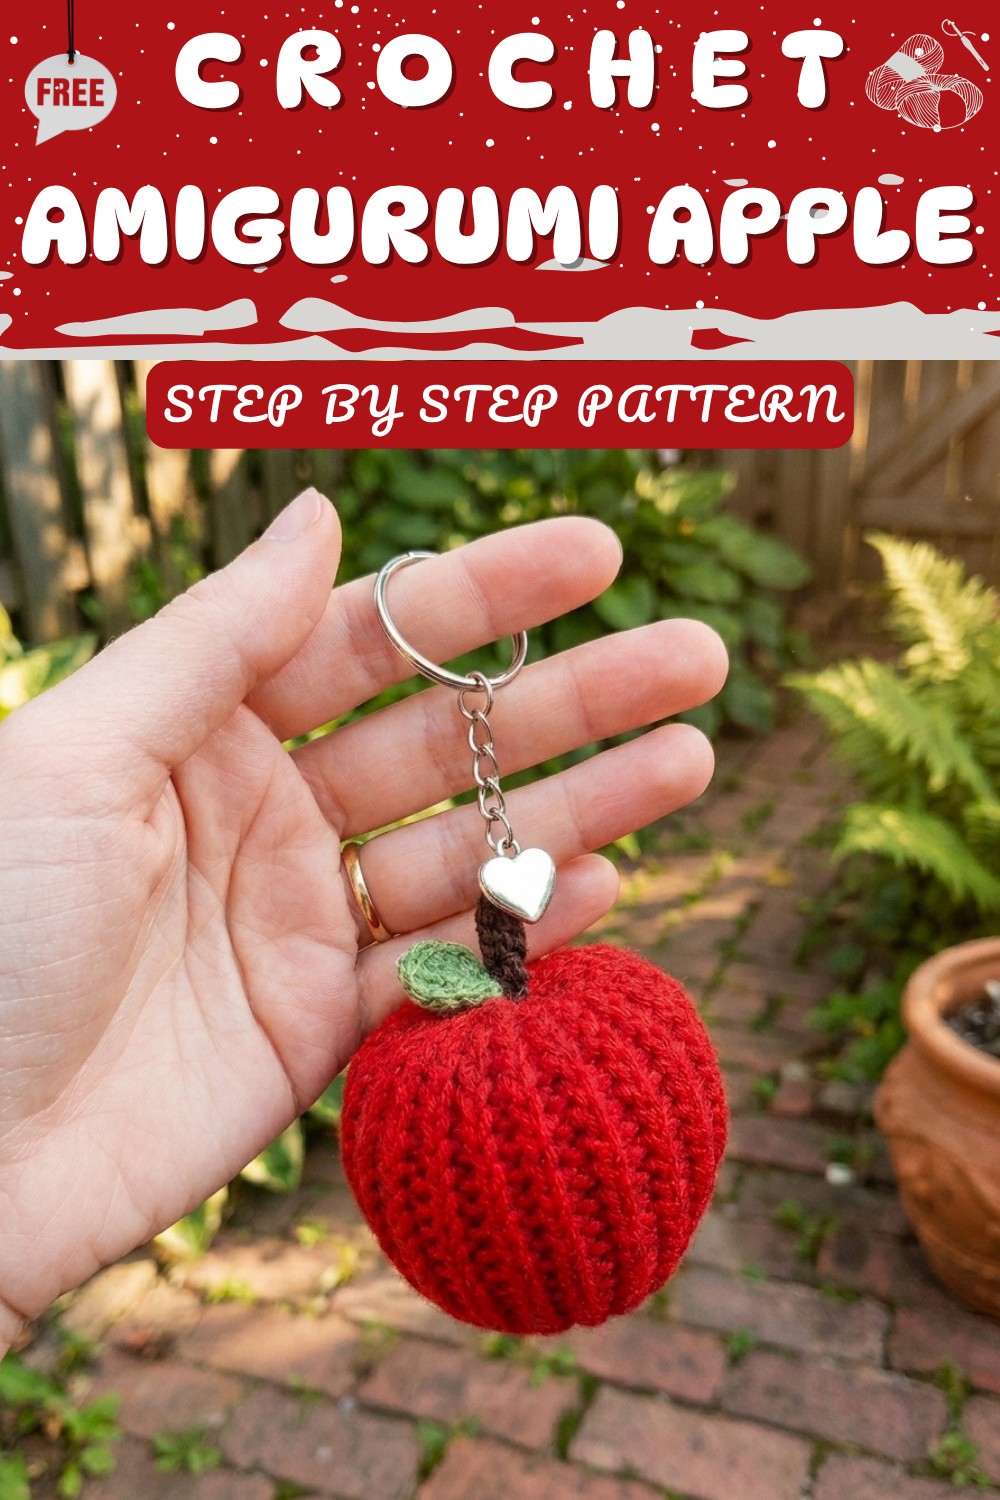
Crochet Apple Keyring – Teacher’s Gift
Create a delightful, soft apple keyring that makes a perfect thank you for teachers, or a sweet little keepsake for anyone. You can even personalize it with a name or initials. This step-by-step pattern guides you through crafting the apple, stem, and leaf, and assembling it onto a keyring.
Celebrate the end of the academic year by gifting your child's teacher a handmade crochet apple keyring. This project is suitable for beginners and a great way to practice basic stitches. You’ll make a soft, stuffed apple, then apply a stem and leaf for a cute, realistic look. Add a keyring and, optionally, embroider a name or initial to make it truly special.
Skill Level & Terminology
Skill Level: Beginner
Terminology: US Crochet Terms
Abbreviations
| Abbreviation | Meaning |
|---|---|
| ch | chain |
| sl st | slip stitch |
| sc | single crochet |
| hdc | half double crochet |
| st(s) | stitch(es) |
| FO | finish off |
Special Stitch Instructions
- Back Loop Only (BLO): When instructed to “slip stitch in back loop only,” insert your hook into the loop furthest from you on the top of the stitch, instead of both loops.
- Slip Stitch: Insert hook, yarn over, pull through both the stitch and loop on hook.
Finished Size
- Apple Body: Approx. 2–2.5” (5–6.5 cm) across, slightly puffy
- Leaf: About 1” (2.5 cm)
- Stem: About 1.5–2” (3.5–5 cm)
- Total keyring with hardware: 3.5–4” (9–10 cm) long
Pattern Instructions
Apple Body
Note: This forms a long strip, then is sewn into a tube and gathered into a ball to create the apple.
- With your apple color (e.g., pink), make a slip knot.
- Ch 21. (This forms the foundation chain.)
- Row 1: Skip the first ch, sl st in each remaining 20 ch. (20 sts)
- Ch 1, turn.
- Row 2: Sl st in BLO of each st across (20 sts).
- Repeat Row 2 until you have a total of 38 rows.
- Use a row counter to keep track if needed.
For Beginners:
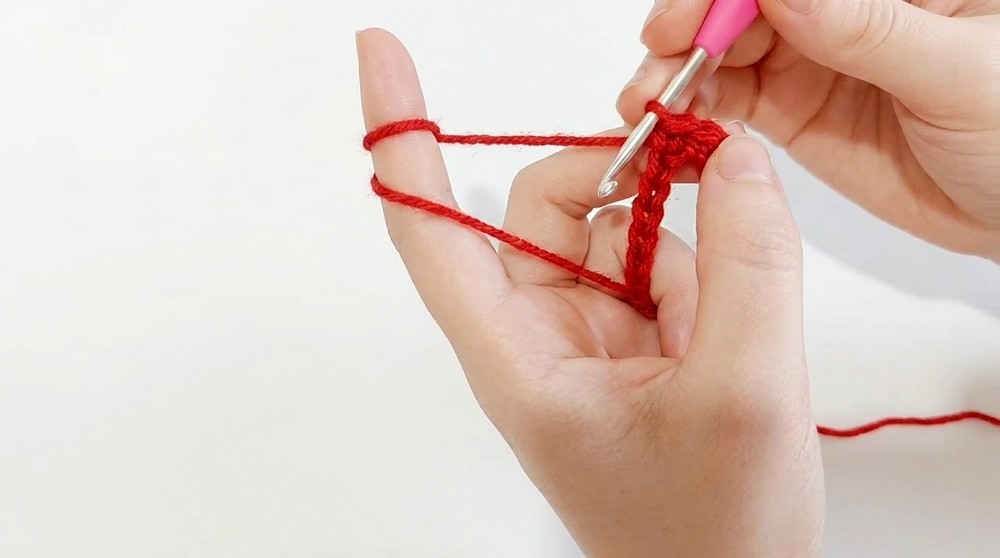
You are making a long, narrow strip using slip stitches in the back loop only. This gives the piece a stretchy, ribbed texture, helping the apple curve when stuffed.
Edging & Sewing
- Fasten off, leaving a long tail for sewing.
- With wrong sides facing, fold your strip in half and use the tail and darning needle to whipstitch or sew the two short ends together, creating a tube.
- Do not turn inside out yet. Use the tail to weave through the edge stitches of one side of the tube, pull tight to gather and close one end completely.
- Turn the tube right-side out so the seam is inside.
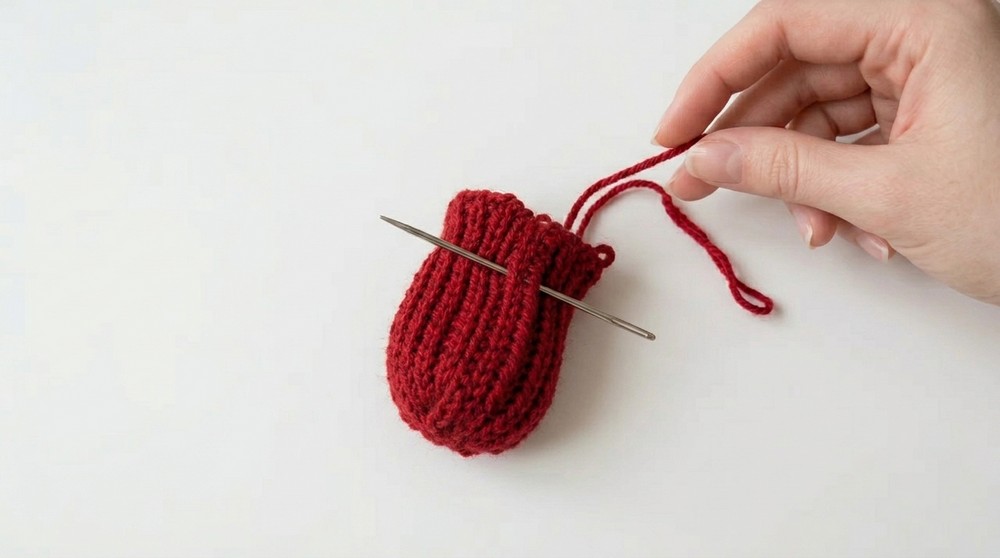
For Beginners:
You’ve made a tube from the ribbed strip, and now you’re closing one end by weaving your yarn through the edge and pulling it tight, a bit like closing a drawstring bag.
Stuffing the Apple
- Firmly stuff with toy filling, making sure to shape into a round apple.
- Gather the open end—thread a new yarn tail through each stitch around this open edge, pull tight to close.
- Weave in or hide any remaining yarn ends.
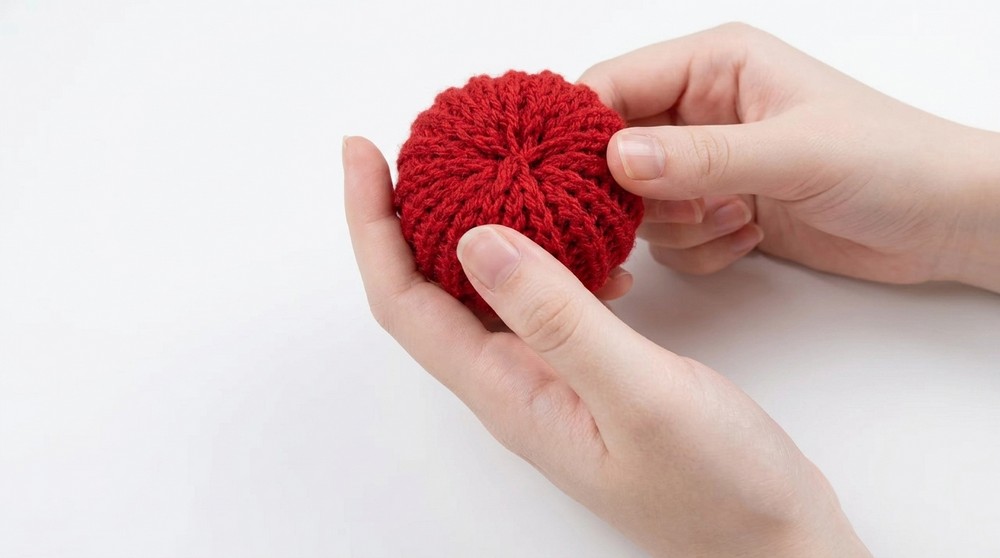
For Beginners:
Stuff the apple firmly so it holds its shape, but avoid overfilling or the stitches will stretch open. Now your apple should be a soft, puffy ball!
Stem
- With brown yarn, make a slip knot.
- Ch 10.
- Fasten off, leaving a long tail for sewing.
For Beginners:
The stem is simply a short chain. You’ll sew both yarn tails through the top of the apple and knot or secure them inside.
Leaf
- With green yarn, make a slip knot.
- Ch 5.
- Row 1:
- In the 2nd ch from hook, sc.
- Next ch: hdc.
- Next ch: hdc.
- Last ch: sc, ch 2, sc into the same stitch (this forms the leaf tip).
- Working down the other side of the chain: in next st, hdc.
- In next st, hdc.
- In last st, sc.
- Ch 1, sl st to first sc to join.
- Fasten off, leaving a tail for sewing.
For Beginners:
You’re making a symmetrical leaf by working up one side of the foundation chain, then working down the other. The increases at the tip create a pointed shape.
Assembly
Attaching Stem and Leaf:
- Thread the stem yarn tail onto your needle. Sew through the top of the apple, coming out a short distance apart to create a loop. Secure and hide ends inside.
- Position the leaf next to the stem; sew in place with the yarn tail. Hide ends inside apple.
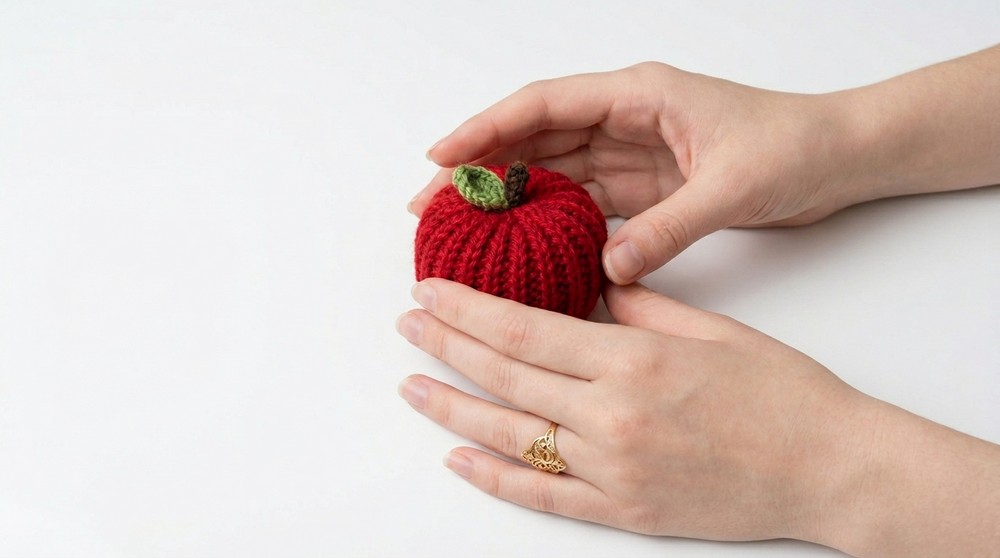
For Beginners:
Attach your stem first by sewing both ends into the apple, then sew the leaf next to the stem. Tuck all loose tails inside for neatness.
Adding Keyring Hardware
- With pliers, open the keyring or split ring.
- Insert the ring into the top (near stem), making sure it's secure.
- Add additional charms or accessories as desired.
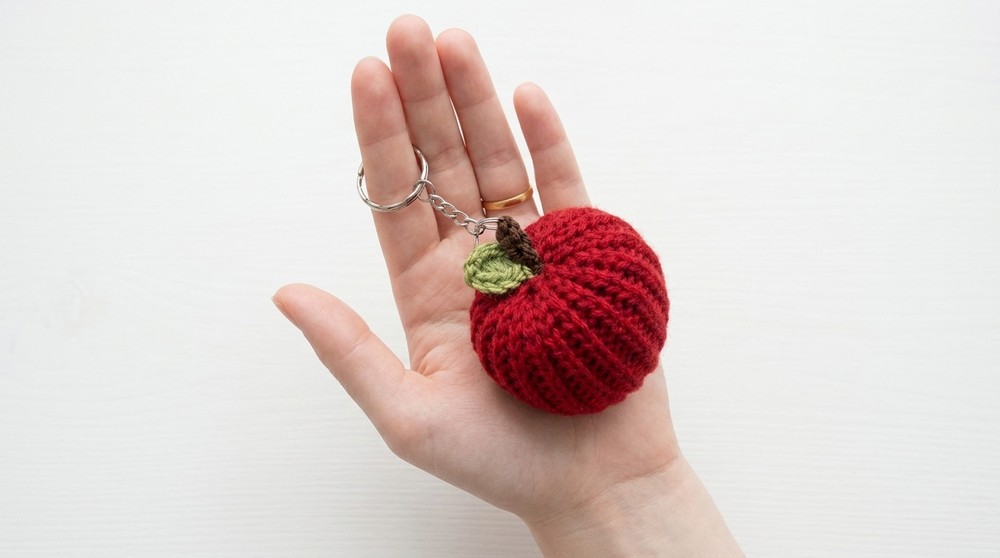
For Beginners:
Use pliers to help open the jump ring or split ring and attach the apple securely. You can also add any personalized charms at this step.
Personalization
Optional:
Embroider a name or initial onto the apple using a needle and contrasting yarn or embroidery thread.
Pattern Recap
This crochet apple keyring is worked primarily in slip stitch (apple body), chain stitches (foundation and stem), single crochet, and half double crochet (leaf). The stem and leaf are made separately and sewn onto the stuffed apple. Finishing includes adding a keyring and charm.
To start, make the apple body as a ribbed strip using slip stitches in the back loop, sew into a tube, stuff and gather both ends to form the apple. Then, create the stem and leaf with simple chains and basic stitches, sew them on, and attach your keyring. Optionally, add personalization for a heartfelt touch.