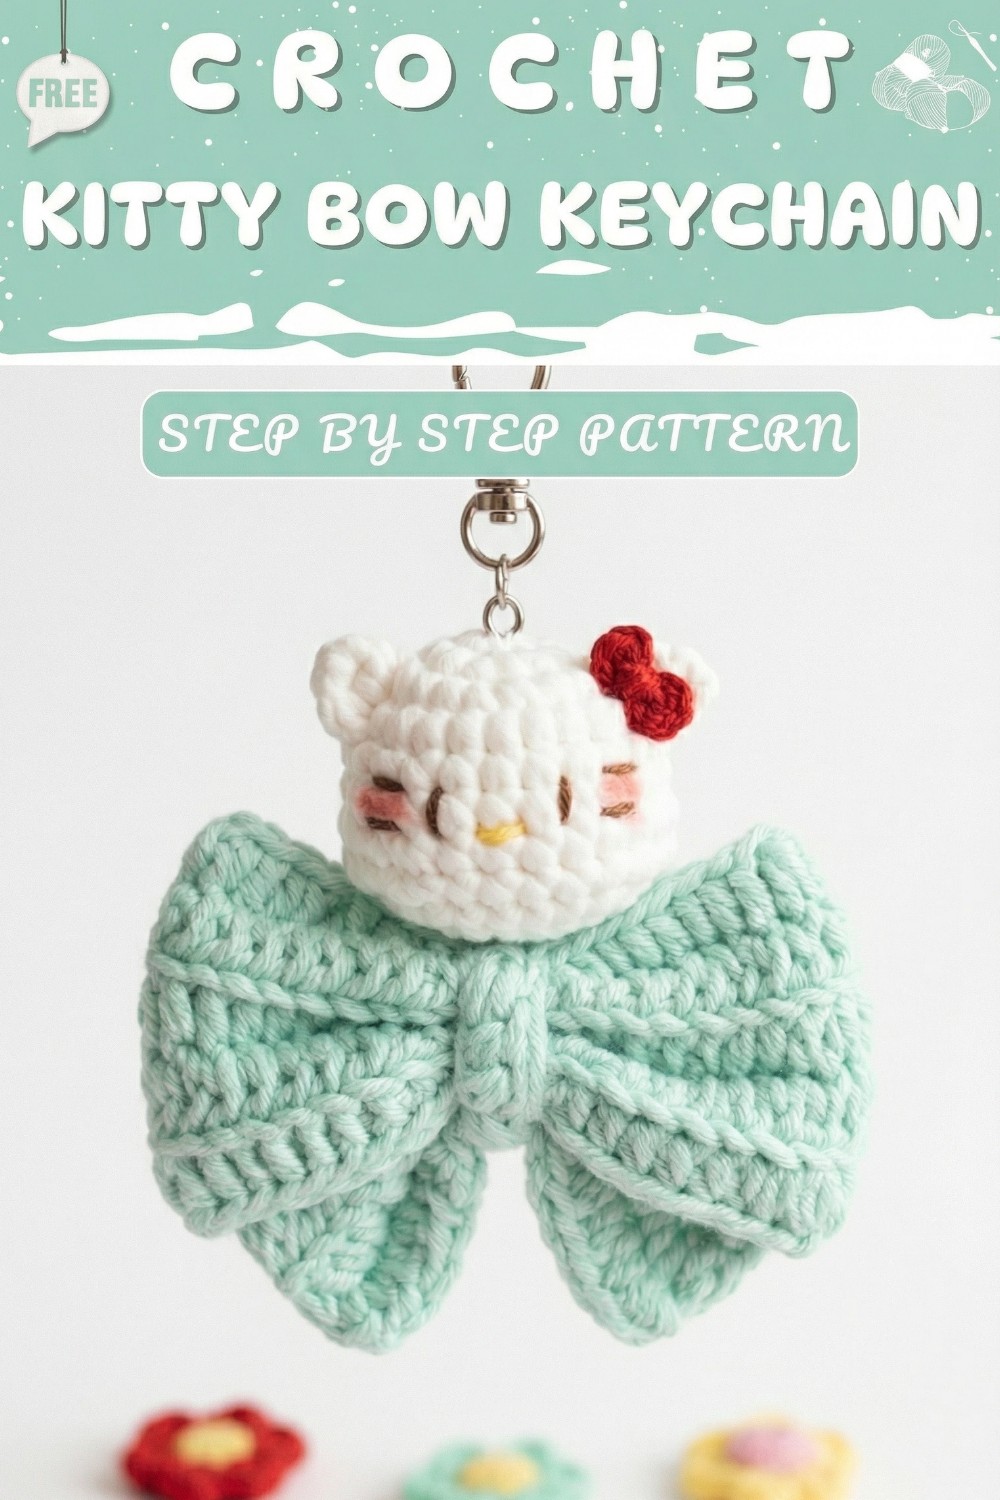
Cute Free Crochet Kitty Bow Keychain Pattern That Feels Magical
A tiny crochet treasure awaits with this Free Crochet Kitty Bow Keychain Pattern that adds beauty to your bags, keys and backpacks.
Bring the timeless joy of Kitty to your crochet table with this delightful crochet project that brings the beloved character to life in the most adorable way. It is simple, lovely, and fun to make. The Crochet Kitty Bow Keychain pattern creates a soft and colorful kitty head with a playful bow at the center, making it perfect for anyone who likes adorable accessories. It’s a small, lightweight design that can hang on your bag, keys, or even be used as a special gift for your friends or family.
Make a Cute Crochet Kitty Charm Free Pattern That Travels Everywhere With You
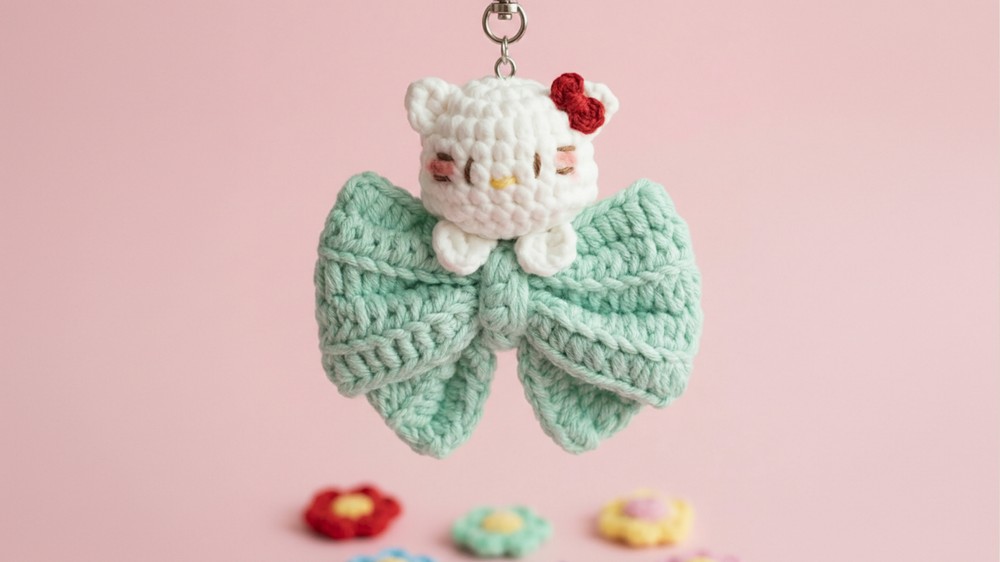
This keychain is not just cute, but it also has lovely details. The pretty kitty face comes with small whiskers and a bright yellow nose, giving it a cheerful personality. The bow adds extra charm, making the kitty look like it's all dressed up for a special occasion. You can use playful colors like pink, red, or blue to make it your own and match your style. Each part, like the ears and the tiny hands, is perfectly designed to bring the kitty to life in the easiest way possible.
The steps are beginner friendly, starting with a simple magic circle and using basic stitches like half double crochet and single crochet. You can even personalize it by adding blush to the cheeks or changing the colors of the yarn to match your favorite style.
This adorable kitty bow keychain is not just an accessory, it’s a way to express your creativity. It’s small, fun to make, and every time you look at it, it’s sure to make your day a little brighter. Get started today and create your own little bundle of joy.
Crochet Beginner’s Kitty Bow Keychain – Step by Step Pattern
Materials Required:
To begin, gather the following materials:
- Yarn: Four-ply yarn in your desired colors (e.g., red, yellow).
- Hook: 2.5 mm crochet hook.
- Scissors: To cut the yarn tails neatly.
- Yarn Needle: For sewing and weaving in yarn tails.
- Stuffing: For filling the kitty head for added dimension.
- Glue: Fabric safe glue to attach parts (optional).
- Blush or fabric safe paint: To add playful details (optional).
Gauge:
Gauge is not critical for this project. However, using a 2.5 mm crochet hook with four ply yarn generally results in a finished size of approximately 3 to 4 inches for the bow, depending on the tension.
Finished Size:
- Bow: Approximately 3 inches across.
- Kitty Head (if added): About 2.5 inches wide.
- Entire accessory assembly (bow with embellishments): Up to 4 inches, depending on placement.
Special Techniques:
- Magic Circle (Magic Ring): Used for circular elements. (pattern included in pattern steps.)
- Back Loop Stitching: A method where the hook is inserted into the back loop of the stitch only.
- Slip Stitching: Joining with no added height for seamless edges.
- Invisible Decrease: Used for shaping.
Pattern Instructions
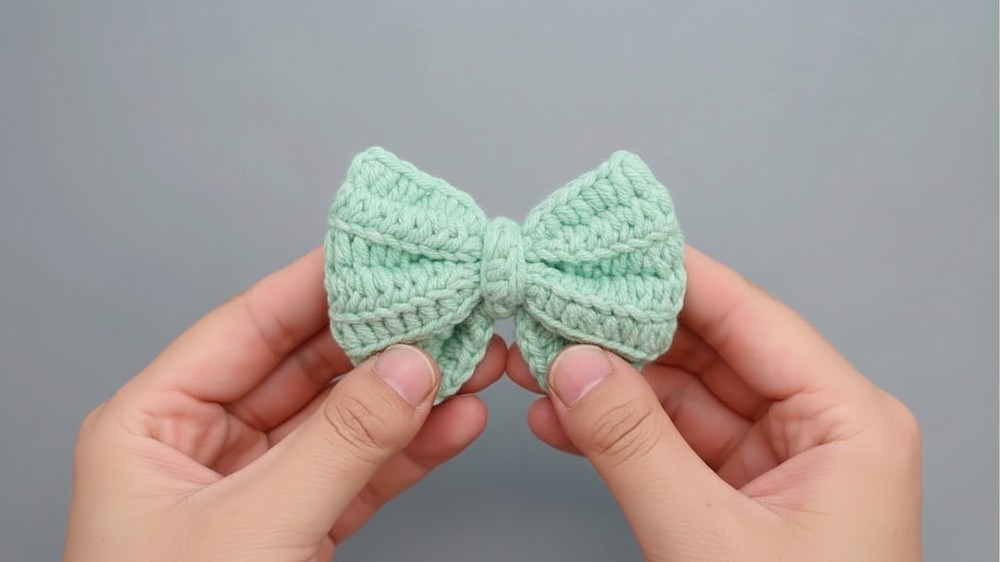
Step 1: Crochet the Bow Base
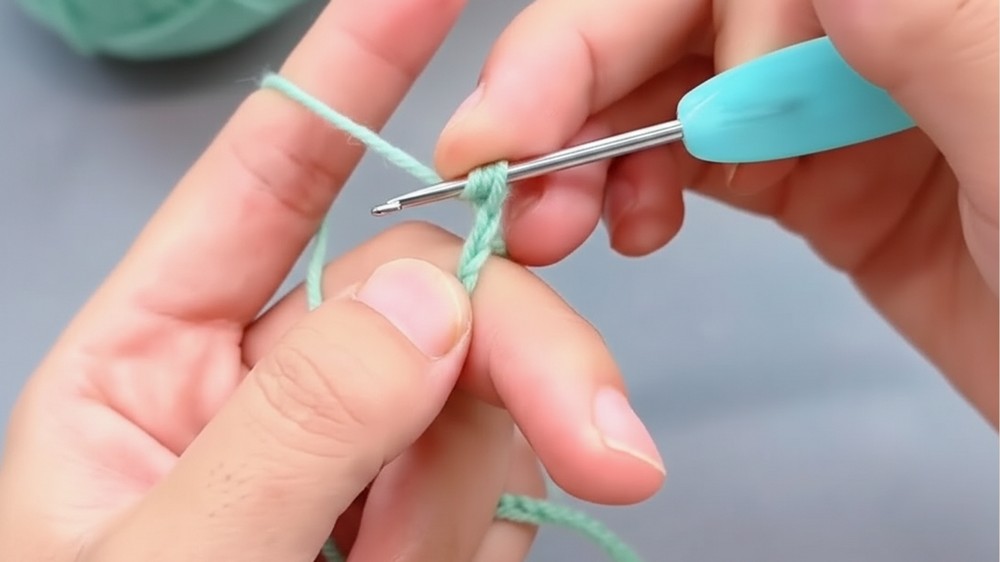
- Start with a slip knot on your hook.
- Chain 63: This will form the foundation for your bow’s length.
- Work half double crochet (HDC) in the second chain from the hook.
- HDC across the next six stitches.
- Slip stitch the next six stitches. Keep your slip stitching loose for easier work in later rounds.
- Continue with HDC in the back loop only for 16 stitches.
- Slip stitch the next six stitches, again ensuring a loose tension.
- Repeat the pattern as follows:
- HDC 16, slip stitch six, HDC six.
- Chain one, turn, and repeat the entire row for a total of five rounds.
Step 2: Finish the Bow
- After completing the fifth round, chain one, cut the yarn, and pull it through.
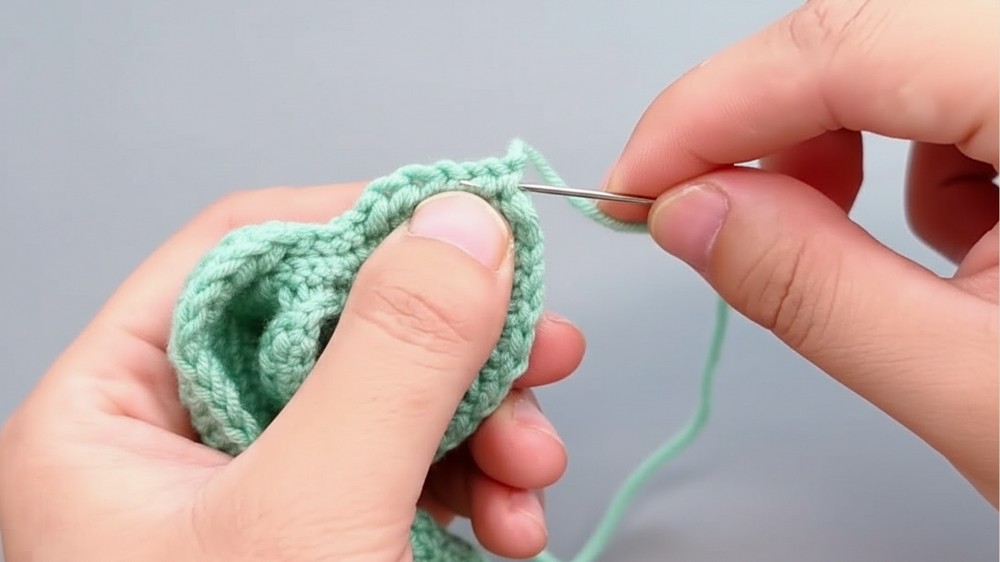
- Weave in the yarn tails neatly on one side of the bow using a yarn needle.
Step 3: Crocheting the Bow Tie
- Start by making a slip knot.
- Chain 10: This will act as the tie for wrapping around the bow's center.
- In the second chain from the hook, work double crochet (DC) across the row for a total of nine stitches.
- Leave a long yarn tail, cut the yarn, and secure it using a knot.
Step 4: Assemble the Bow
- Fold the bow at its widest point to align the slip stitch rows in the center.
- Using the long yarn tail from the bow tie, wrap the tie tightly around the center of the bow.
- Sew securely using a yarn needle. Tie knots to secure and weave in any loose ends.
Step 5: Adding Kitty Head Embellishment (Optional)
Crochet the Kitty Head:
Round 1:
- Start with a magic circle and chain 1.
- Work seven single crochets into the magic circle. Pull the circle tightly to close it.
- Slip stitch to the first stitch to join.
Round 2:
- Increase Round: Work two single crochets into every stitch for a total of 14 stitches.
Round 3:
- Work [1 single crochet (SC), then 1 increase] in the next stitch. Repeat this seven times for a total of 21 stitches.
Rounds 4 to 6:
- Work one single crochet into each stitch without increasing or decreasing. Each row will have 21 stitches.
Round 7:
- SC five, SC increase in three stitches, SC five again. Repeat until you complete the round.
Round 8:
- Single crochet one row without an increase or decrease (27 stitches total).
Round 9:
- Work five SC, decrease three times, and repeat around the row.
Final Rounds:
- Finish with seven sets of [single crochet one, decrease one].
- Stuff the head as you close the last round. Use a yarn needle to sew the opening shut.
Step 6: Adding Features to the Kitty Head
- Embroider the Face: Use black yarn for whiskers and eyes. Create simple stitches to keep the face playful.
- Add a Yellow Nose: With yellow yarn, embroider a tiny triangle for the nose.
- Customize Blush Details: Use fabric safe paint or blush powder for adding a touch of color to the cheeks of the kitty head.
Step 7: Kitty Ears and Hands
Ears:
- Chain three.
- In the second chain from the hook, crochet single crochet (SC).
- For the third chain, work double crochet (DC).
- Slip stitch to secure the ear.
- Repeat for the second ear.
Hands:
- Use the magic circle method to create a tight round.
- Work five SC into the circle.
- Fasten off, leaving a yarn tail. Create two identical pieces.
Step 8: Adding a Mini Bow
- Create a magic circle.
- Chain two and work two half double crochets.
- Chain two again and slip stitch into the magic circle to form one side of the bow.
- Chain two and repeat HDC twice to form the second side; finish with a slip stitch.
- Pull the circle tight, close it, and wrap a matching yarn strand around the center for security.
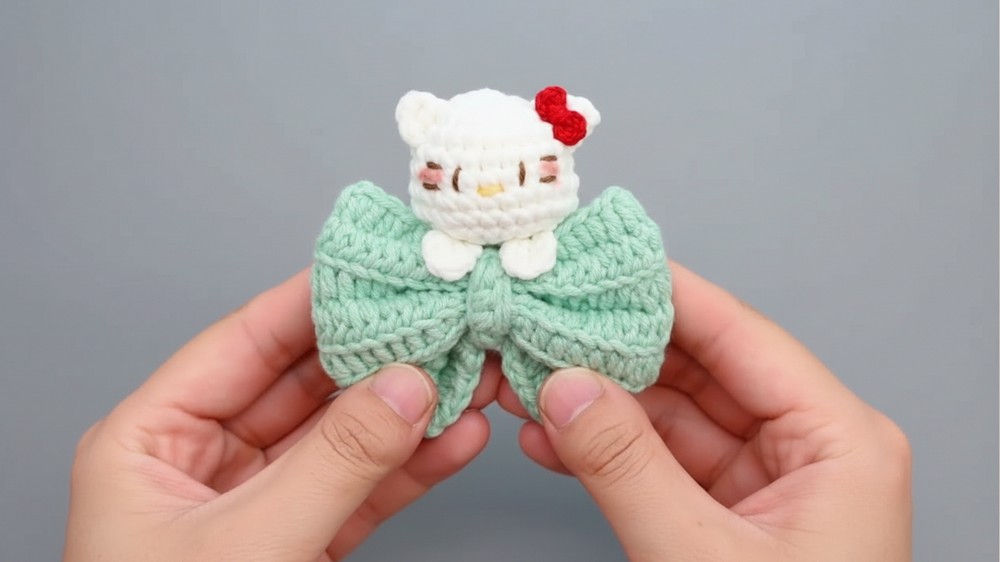
Step 9: Final Assembly
- Glue or Sew Parts Together: Arrange the kitty head, bow, ears, and hands. Attach them using fabric glue or sew them securely.
- The bow sits at the center of the kitty head, with ears and hands placed symmetrically.
- If needed, glue or sew the mini bow onto one ear for extra charm.
Customization Ideas
- Color Variations: Use multicolor yarns or gradient tones to make the bow pop.
- Add Beads or Sequins: Sew on beads to enhance visual appeal.
- Change Size: Use bulkier yarn for a larger bow or a smaller hook for tiny accessories.
- Personalize the Kitty Face: Add glasses, a bowtie, or even blush for unique expressions.
Concluding Remarks
Congratulations, You’ve completed a crochet bow accessory with a playful kitty embellishment. This project is a perfect blend of versatility and creativity, suitable for beginners and quick to make. Place it on backpacks, keychains, or even as a brooch on your outfit. The cute finished product is sure to brighten your day and others around you.
By following these detailed instructions, you can confidently work through each step while learning new techniques. This adorable design is perfect for gift giving or personal use. Have fun experimenting with colors and enhance your crocheting journey.