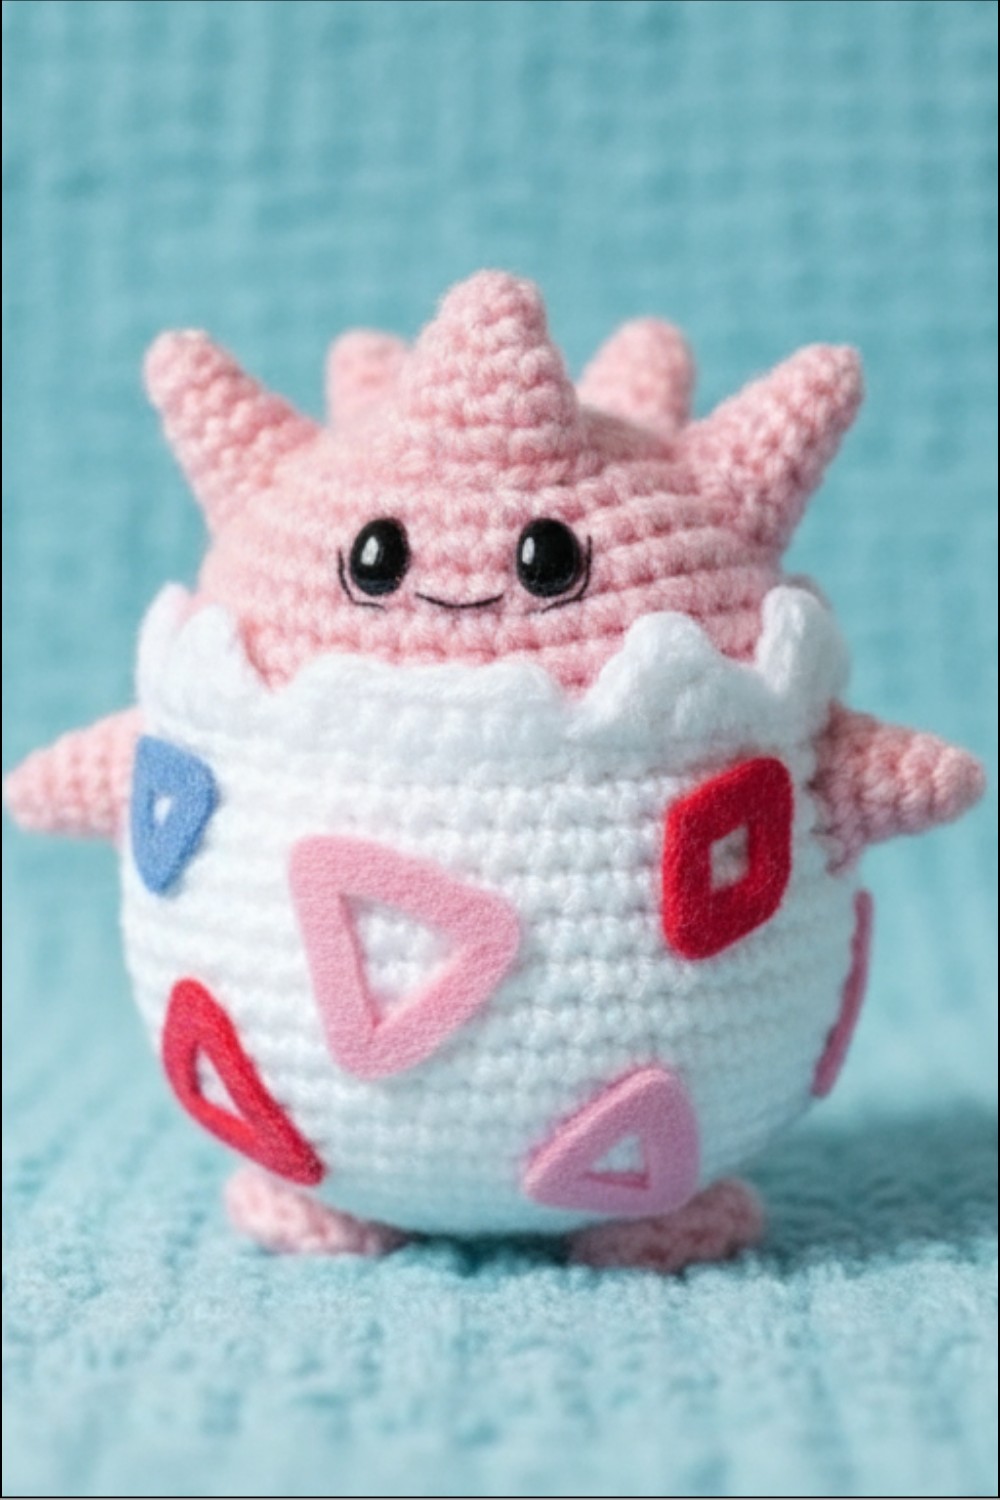
Whimsical Free Crochet Togepi Pokemon Pattern for Pokemon Fans
A cute little creature shaped like an egg, with colorful triangular markings and a cheerful expression, is perfect for bringing fun and charm into your world! This soft and adorable Crochet Togepi Pokemon Pattern captures the magic of beloved pocket monsters and makes for a delightful decor piece or gift. Its round body and playful look make it ideal for displaying on shelves, desks, or even in kids’ rooms as a cuddly companion.
Whether you’re decorating a nursery, creating a themed party, or adding to your collection, this little creation fits right in. It’s wonderful as a collectible for fans or a special handmade gift for someone who appreciates unique designs. Its compact size makes it perfect for carrying around, showcasing on a bag, or even using as a cute teaching tool for storytelling with kids.
Charm any space with this Crochet Togepi Pokemon Pattern forming a cute and lively piece full of character that spreads fun and joy too.
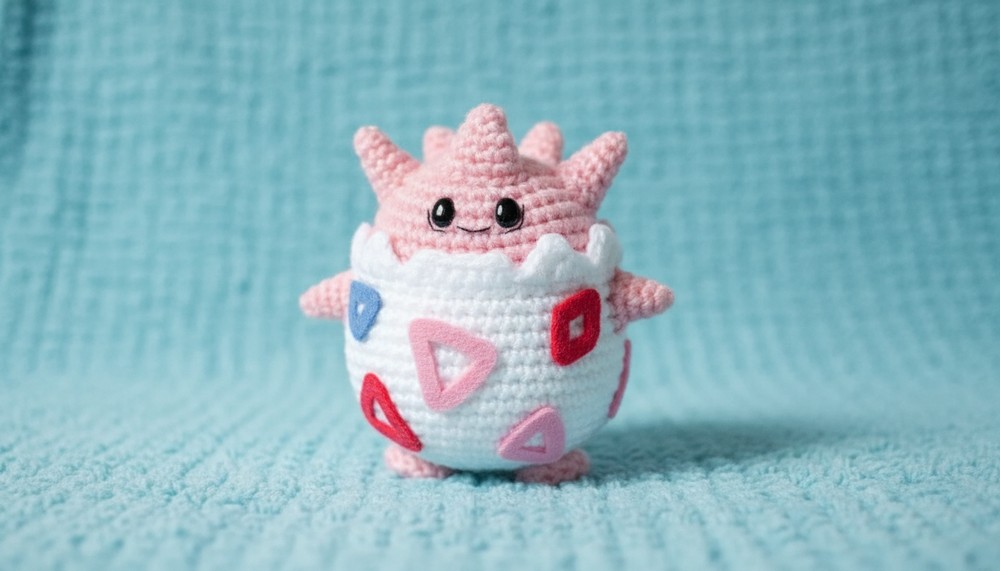
Cute Crochet Togepi Pokemon Pattern Everyone Will Love to Make
Crochet your very own adorable Togepi! Use the steps outlined below to craft each piece and assemble your project. Follow the instructions carefully, and enjoy customizing your work using felt and embroidery for the finishing touches.
Materials Needed
- Yarn:
- White for (egg shell)
- Pink for (feet, arms, spikes and head/body)
- Hook Size:
- 2mm crochet hook
- Eyes:
- 6mm black oval safety eyes
- Felt:
- Red, pink and Blue felt for triangle and square details
- Extras:
- Black embroidery floss (for facial features)
- Toy filling (for stuffing Togepi)
- Pins (to place pieces for sewing)
- Darning needle (for sewing)
- Fabric glue (to attach felt shapes)
- Optional:
- Stitch markers (or use scrap yarn as markers, as portions are small and easier to track with yarn)
Abbreviations & Stitches (UK Terms)
- ch: chain
- dc: double crochet
- htr: half treble
- tr: treble
- sl st: slip stitch
- st/sts: stitch/stitches
- inc: increase; dc 2 in one stitch
- dec: decrease; insert hook in the front loop of two sts, y.o., pull through both loops, y.o., pull through remaining loop (1 dc worked over two sts)
- y.o.: yarn over
Note: This pattern follows UK terminology; check the differences between UK and US crochet terms to avoid confusion if you typically work in US terms.
Togepi Body & Assembly Pattern
Head & Body
- Starting with White (egg shell):
- Round 1: dc 6 in Magic Ring (6 sts)
- Round 2: inc in each st around (12 sts)
- Tip: Use scrap yarn or stitch markers to mark the end of a round.
- Round 3: (1 dc, inc) x 6 (18 sts)
- Round 4: (1 dc, inc, 1 dc) x 6 (24 sts)
- Round 5: (3 dc, inc) x 6 (30 sts)
- Round 6: (2 dc, inc, 2 dc) x 6 (36 sts)
- Round 7: (5 dc, inc) x 6 (42 sts)
- Round 8: dc 42
- Round 9: (3 dc, inc, 3 dc) x 6 (48 sts)
- Round 10: dc 48
- Round 11: (7 dc, inc) x 6 (54 sts)
- Rounds 12-17: dc 54
- Egg Shell Edge (White):
- Round 18: (7 dc, dec) x 6 (48 sts)
- Round 19: In front loops only: (6 dc, dec) x 6 (42 sts)
- Round 20: To make the broken egg shell effect:
Repeat the following pattern 5 more times: (dec, htr, tr, ch 1, dc 2 down the side of the tr, sl st).- Add extra scallop: After each repeat, (dc + ch 1 + htr) in same st, followed by 3 htr in the next 3 sts, ch 2, sl st.
- Fasten off.
Switch to Lemon to Make the Head:
- Round 19: Attach Lemon in back loops of Round 18 and dc 48
- Round 20: (6 dc, dec) x 6 (42 sts)
- Round 21: dc 42
- Round 22: (5 dc, dec) x 6 (36 sts)
- Rounds 23-24: dc 36
- Round 25: (4 dc, dec) x 6 (30 sts)
- Begin stuffing the body. Ensure it is firm but not stretched.
- Round 26: dc 30
- Round 27: (3 dc, dec) x 6 (24 sts)
- Insert the safety eyes at round 23 (stitches 17 and 21). Adjust placement as needed based on your tension.
- Add more stuffing.
- Round 28: (2 dc, dec) x 6 (18 sts)
- Round 29: (1 dc, dec) x 6 (12 sts)
- Round 30: dec x 6 (6 sts)
- Fasten off and weave in the ends by threading through each front loop of the final round, pulling tight to close.

Details
Embroidery Floss:
- Use black embroidery floss (separated into 1 strand) to create eyelid detail and small smiles around the eyes and a Togepi mouth.
Legs & Feet:
Feet (Lemon): Make 2
- Start with chain: ch 3 and work around.
- Round 1: dc in 2nd ch, inc in next ch, continue on the other side of the chain (dc, inc). (6 sts)
- Round 2: (inc, inc, dc) x 2 (10 sts)
- Rounds 3-7: dc 10
- Round 8: (dec) x 5 (5 sts).
- Fasten off and leave a tail for sewing the feet onto Togepi.
Arms (Lemon): Make 2
- Round 1: Magic Ring with 4 dc. (4 sts)
- Round 2: (inc, dc) x 2 (6 sts)
- Round 3: dc 3, (inc) x 3 (9 sts)
- Round 4: dc 9
- Fasten off and leave a long tail for sewing.
Spikes (Lemon): Make 4 Large, 1 Small
- Round 1: Magic Ring with 4 dc (4 sts)
- Round 2: (dc, inc) x 2 (6 sts)
- Round 3: dc 3, (inc) x 3 (9 sts)
- Round 4: dc 9
- Round 5: dc 5, (inc) x 3, dc 1 (12 sts)
- Round 6: dc 12
- Fasten off and leave tails for sewing.
- The small spike is the same but omits Round 6.
Felt Pieces
- Prepare Red and Blue felt shapes:
- Small triangle: Red x 1
- Small rectangle: Red x 1
- Medium triangle: Blue x 3
- Large triangle: Red x 3, Blue x 2
- Attach with fabric glue as the last step.
Assembly Instructions
- Pin all pieces in place before sewing, confirming placement against a Togepi reference image.
- Sew arms, feet, and spikes securely to the body.
- Embroider Togepi’s face using black floss.
- Use fabric glue to attach felt pieces.
Customization Ideas
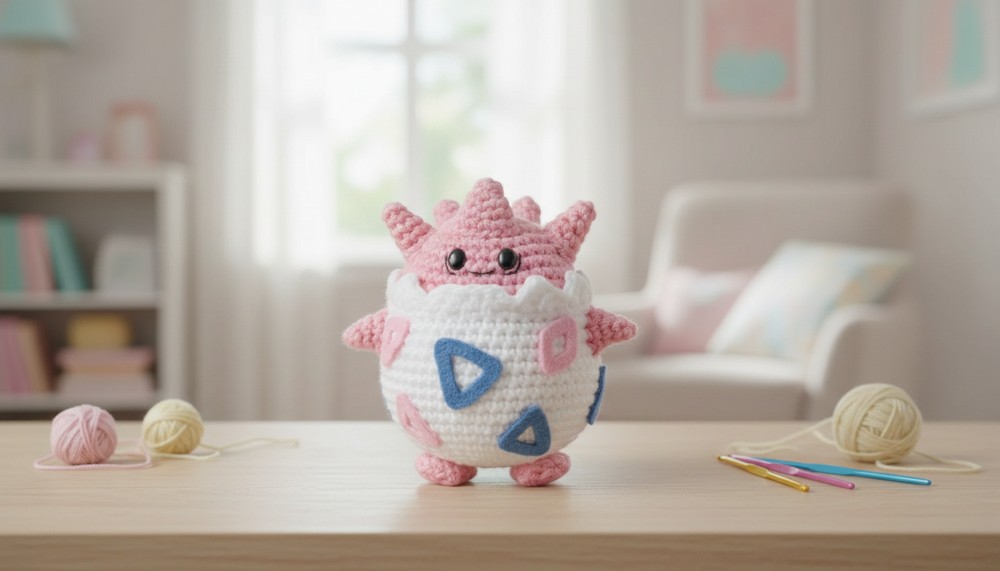
- Create a Shiny Togepi using brighter colors (e.g., pastel blue and pink).
- Alter eyelid shapes to give different expressions.

Tips & Conclusion
- Tip: Always stuff as you go to avoid tight gaps and to maintain shape.
- This step-by-step guide ensures a proper Togepi replica. Work carefully and enjoy the journey.