
Miniature Crochet No-Sew Piggy Pattern Perfect for Keychains
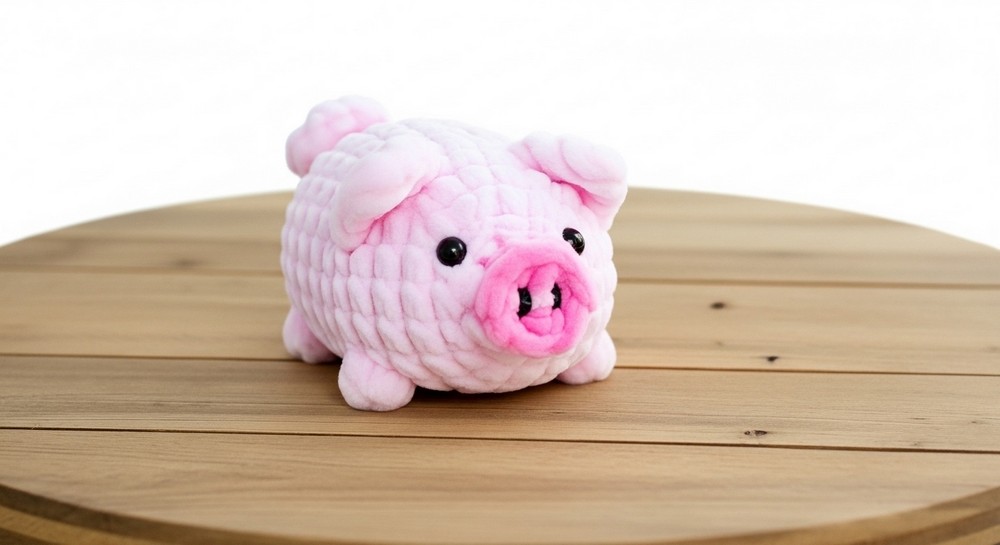
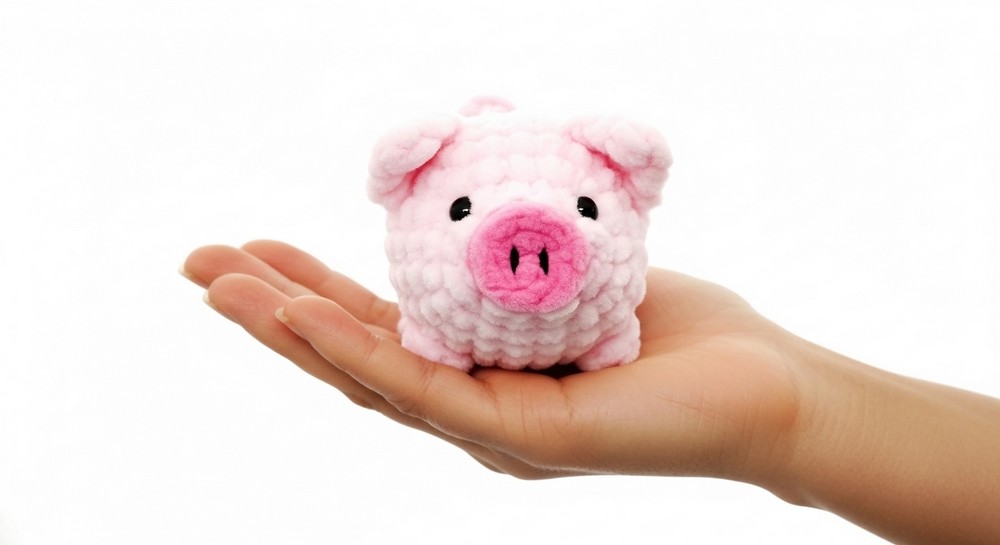
A round and happy little animal with a big nose and tiny ears can make anyone feel cheerful. With the Crochet No-Sew Piggy pattern, you can make your own pink piggy without using a needle to sew pieces together. This piggy looks friendly, with a big nose, small feet, and a curly tail. You can use the piggy for play, give it as a gift, or put it on a shelf to decorate your home.
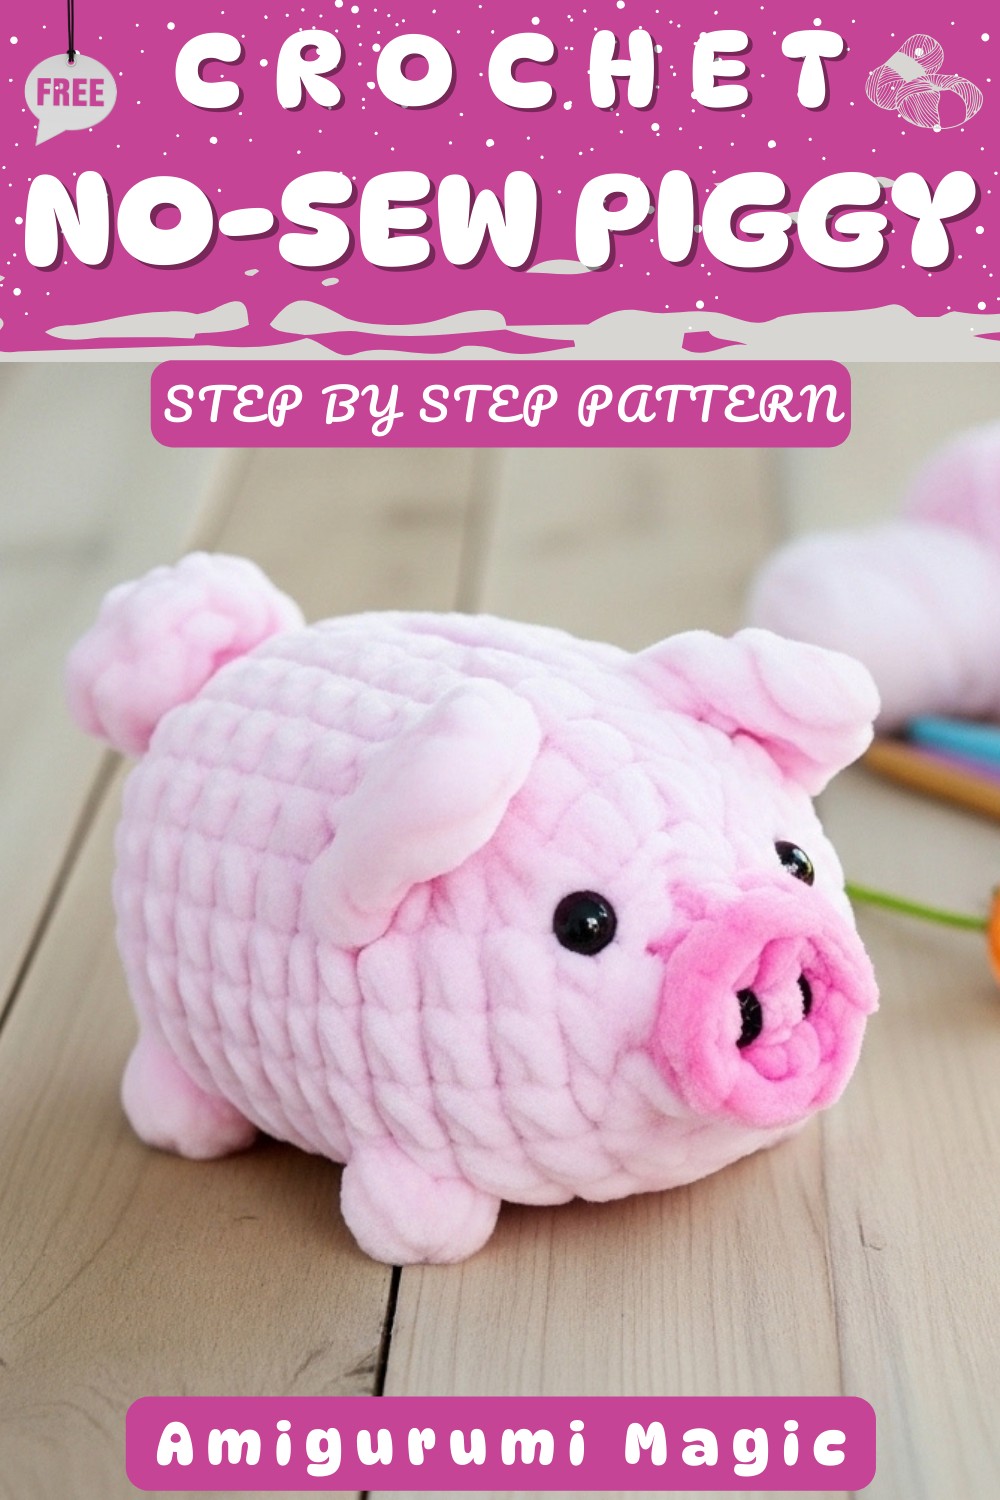
The piggy’s body feels nice and its smiling face makes people happy. The most special part is that you do not need to sew any parts, so making the piggy is fast and simple. This pattern is very easy for beginners, and anyone can make a piggy and enjoy having a cute new friend.
Delight in cuteness with this Crochet No Sew Piggy Pattern perfect for party favors home accents or decorations that add charm to any space.
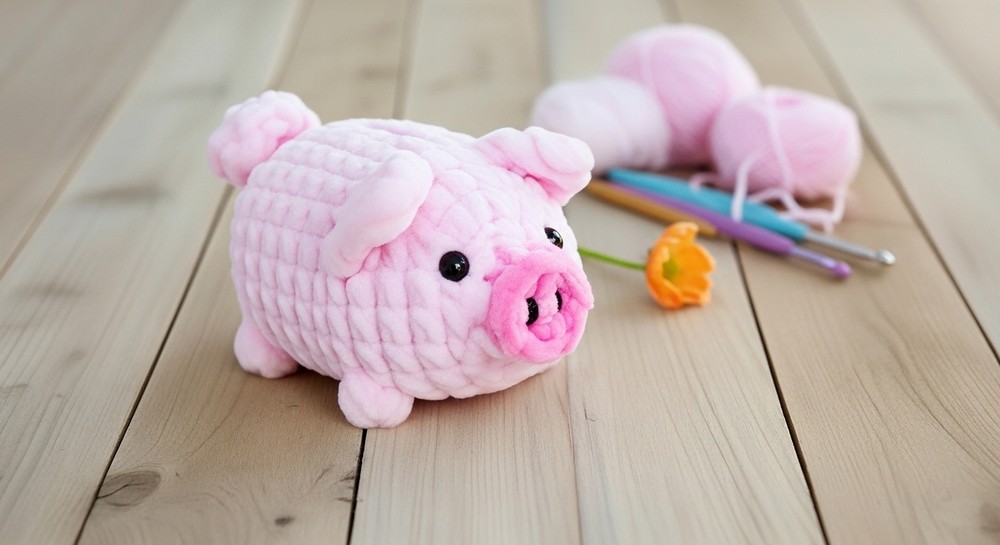
Quick Crochet No-Sew Piggy Pattern Finish in One Sitting
Materials
- Yarn: Super bulky yarn in dark pink and light pink (e.g., Premier Yarns Parfait Chunky in Bubblegum and Candy)
- Crochet Hook: 4.5 mm
- Safety Eyes: 6 mm
- Yarn for Snout: 4 ply black yarn (doubled) or black embroidery floss
- Stuffing: Polyester fiberfill
- Notions: Stitch marker, yarn needle, scissors
Abbreviations (US Terms)
- ch – chain
- sc – single crochet
- inc – increase
- invdec – invisible decrease
- FLO – front loop only
- BLO – back loop only
- bo – 4dc bobble stitch
- hdc – half double crochet
- dc – double crochet
- tr – treble crochet
- st/s – stitch/es
- [...] – repeat instructions in brackets
- (...) – stitch count at end of round
Special Stitches
4 Double Crochet Bobble Stitch (bo)
- Yarn over.
- Insert hook into indicated stitch.
- Yarn over and pull up a loop (3 loops on hook).
- Yarn over and pull through first 2 loops (2 loops on hook).
- Repeat steps 1–4 three more times in the same stitch (5 loops on hook).
- Yarn over and pull through all 5 loops.
- Push bobble to right side of fabric.
Customization Ideas
- Use any color combination for a unique piggy—grey, white, or brown!
- Try self-striping yarn for a fun multi-color effect.
- Embroider expressions or add a small flower, bow, or hat for character.
- Adjust safety eye size for a different look.
- Attach a keychain ring for a cute accessory.
Notes
- Work in a continuous spiral. Mark the first stitch of each round as you go.
- All bobble stitches are worked in the front loop only.
- Round 2 is worked in the third loop only (see instructions below).
- Gauge is not important. Ensure stitches are tight enough so the stuffing does not show through.
- Use invisible decrease for a neater finish.
Finished Size
Approximately 3.5″ (9 cm) long. Actual size may vary with tension and yarn.
Step-By-Step Pattern
Pig Body
Dark Pink Yarn
- R1: Ch 2, 8 hdc in 2nd ch from hook. (8)
Fasten off invisibly.
Light Pink Yarn
- R2: Join to third loop only of any st. Ch 1, sc in same st and in each st around. (8)
- R3: [Inc] x8. (16)
- R4: [Sc, inc] x8. (24)
- R5: [Sc] x24. (24)
Ears (worked in front loop only)
- R6: 9 sc, FLO hdc in next st, (FLO dc, tr, dc, hdc) in next st (first ear),
4 sc, (FLO hdc, dc, tr, dc) in next st, FLO hdc in next st (second ear),
5 sc, FLO bo, sc for the front feet.- Tip: Mark the two leftover back loops behind each ear for the next round.
Folding Ears and Front Feet (BLO noted)
- R7: 4 sc, FLO bo, 3 sc, BLO sc, 2 sc, BLO sc, 2 sc, BLO sc, 2 sc, BLO sc, 6 sc. (24)
- The sc before/after each ear is worked in BLO.
- Insert safety eyes between R3 and R4, 4 sts apart.
Body
- R8–R10: [Sc] x24, three rounds. (24)
Back Feet
- R11: 23 sc, FLO bo (back right foot). (24)
- R12: 4 sc, FLO bo (back left foot), 19 sc. (24)
Tail (centre between ears)
- R13: Invdec, [sc, invdec] x4, ch 9, sl st in second ch from hook and each ch across (tail), sc,
[invdec, sc] x3. (16)- Start stuffing and continue as you go. Fold tail down in front for next round.
Decrease to Close
- R14: [Invdec] x8. (8)
- Cut yarn, pull through, and weave through front loops of final round to close. Hide end inside.
Finishing Touches
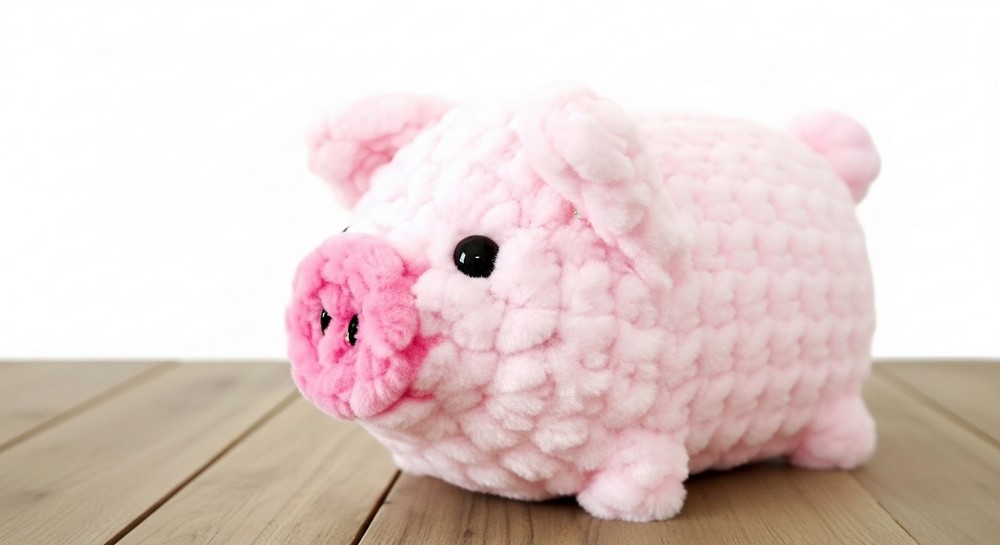
- Ears: Gently stretch and fold forwards towards eyes.
- Tail: Shape into a curl.
- Snout: With double strand black yarn or embroidery floss, sew 2 small vertical lines for nostrils.
Pattern Corrections & Tips
- Mark the first stitch of every round. This keeps your spiral easy to follow.
- Keep all bobble stitches firm (tighten stitches to enhance the "feet" and "nose").
- To prevent stuffing from showing, use a hook one size smaller than usual.
- If following the ear placement seems confusing, use a stitch marker to separate FLO/BLO rounds.
Conclusion
This No-Sew Crochet Piggy pattern works up into an adorable, pink friend, perfect as a toy, gift, or cheerful desk buddy. Its special no-sew construction and clever use of loops make assembly simple, even for those not yet confident with sewing or joining.
Tip:
For a firmer, more defined piggy, stuff tightly but take care not to stretch your stitches. Have fun experimenting with colors and accessories for a piggy full of character!