
Vibrant Crochet Xantolo Skull Pattern for Day of the Dead Decor
Bright colors and playful stitches come together to make a fun and friendly skull that celebrates tradition and brings a smile to anyone’s face. With the Crochet Xantolo Skull pattern, this easy project welcomes everyone—no matter your skill level or background. You only need yarn in any color you like, a small crochet hook, and a little bit of stuffing. The steps are simple: make a soft ball for the head, sew on happy eyes and a cute nose, then add a cheerful smile.
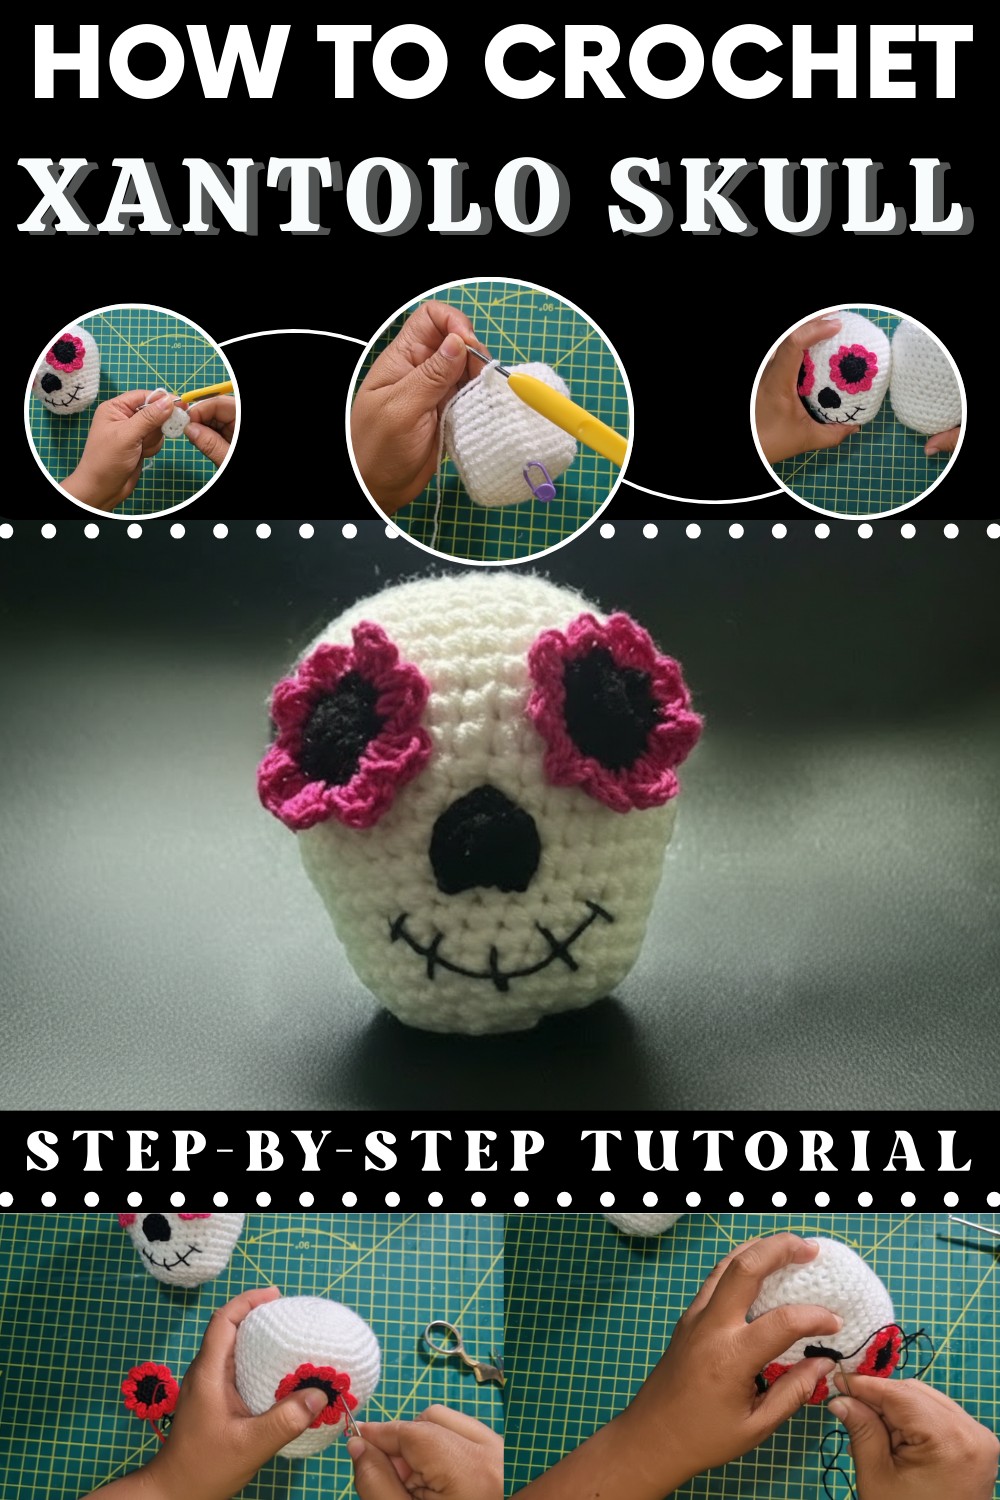
You can also decorate your Crochet Xantolo Skull with little flowers, beads, or buttons to make it unique. These small skulls are perfect to hang at home, give to friends, or use as colorful keychains. Great for special celebrations or just for fun, anyone can enjoy making these—with just some yarn, your hands, and a joyful spirit.
Celebrate tradition with this Crochet Xantolo Skull Pattern that perfect for adding a cultural touch & bold decorative accent to your space.
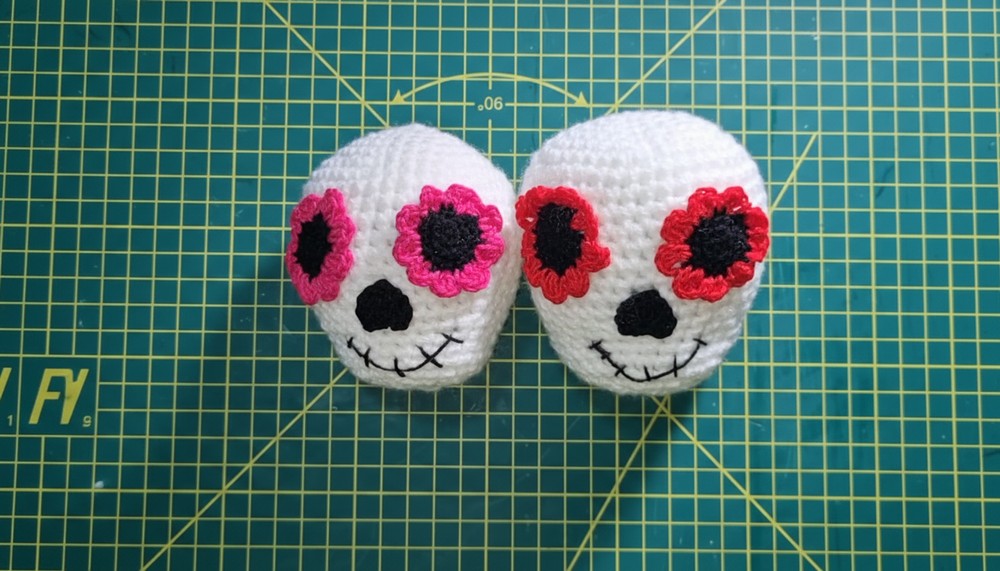
Intricate Crochet Xantolo Skull Pattern That Adds Symbolic Charm
Materials
- Yarn: Acrylic yarn in white (main color), black, pink, red, and/or colors of choice for eyes/embellishments. Suggested: Fingering/Sport weight.
- Hooks: 3.0 mm and 2.5 mm crochet hooks.
- Tapestry needle (for sewing pieces and embroidery)
- Stitch markers
- Fiberfill stuffing
- Scissors
- Optional: Keychain ring or additional embellishments (flowers, beads, pearls)
Key Abbreviations
| Abbreviation | Meaning |
|---|---|
| MR | Magic Ring (or adjustable ring) |
| ch | Chain |
| sc | Single Crochet |
| hdc | Half Double Crochet |
| dc | Double Crochet |
| inc | Increase (2 sc/hdc in same stitch) |
| dec | Decrease (sc/hdc two stitches together) |
| sl st | Slip Stitch |
| st(s) | Stitch(es) |
The Skull Head
With white yarn and 3.0 mm hook:
- Start with a Magic Ring:
- MR, work 6 hdc into ring. Tighten ring. (6 sts)
- Round 2:
- hdc inc in each st around. (12 sts)

- Round 3:
- (1 hdc, 1 inc) repeat around. (18 sts)
- Round 4:
- (2 hdc, 1 inc) repeat around. (24 sts)
- Round 5:
- (3 hdc, 1 inc) repeat around. (30 sts)
- Round 6:
- (4 hdc, 1 inc) repeat around. (36 sts)
- Round 7:
- (5 hdc, 1 inc) repeat around. (42 sts)
- Rounds 8–15:
- hdc in each st around. (42 sts per round, do NOT increase)
Tip: Use a stitch marker to mark the beginning of each round.
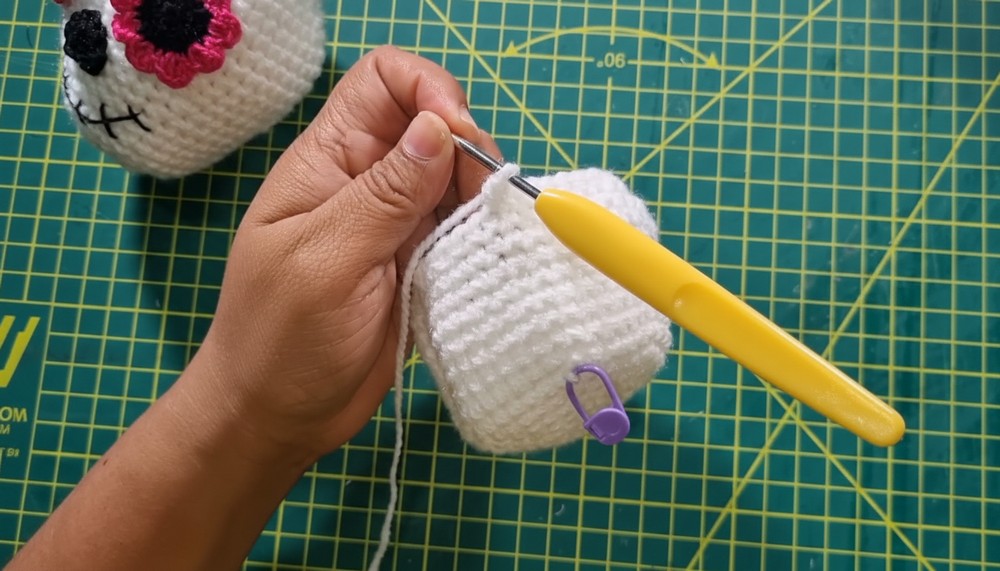
- Round 16 (Begin Decreases):
- (5 hdc, 1 dec) repeat around. (36 sts)
- Round 17:
- (4 hdc, 1 dec) repeat around. (30 sts)
- Rounds 18–20:
- hdc in each st around. (30 sts per round)
- Round 21:
- (3 hdc, 1 dec) repeat around. (24 sts)
- Round 22:
- (2 hdc, 1 dec) repeat around. (18 sts)
Start stuffing firmly.
- Round 23:
- (1 hdc, 1 dec) repeat around. (12 sts)
- Round 24:
- 6 dec (hdc two together around). (6 sts)
- Finishing:
- Fasten off, leaving a long thread. Using tapestry needle, weave through remaining stitches to close the hole.
- Weave in and secure the thread.
Eyes (Make 2)
With black yarn, 2.5 mm hook:
- MR, work 6 sc in ring. Pull tight. (6 sts)
- Round 2:
- inc in each st around. (12 sts)

- Round 3:
- (1 sc, 1 inc) repeat around. (18 sts)
- Finish:
- Sl st to close the circle, fasten off, leave a tail for sewing.
- (Optional: Change color for petals before the next step.)
Petals (with red or color of choice):
- Attach Color: Join new color.
- For each petal: Ch 2, 3 hdc in next st, ch 2, sl st in same st. Repeat all the way around to make flower-like petals.
- Fasten off. Leave long tail.
Nose (Heart Shape)
With black or color of choice, 2.5 mm hook:
- MR, ch 2 (counts as first hdc)
- Work 4 hdc, 1 dc, 4 hdc into MR.
- Ch 2, sl st into ring.
- Tighten ring to form small heart. Leave long thread for sewing and embroidering mouth.
Assembly and Embroidery
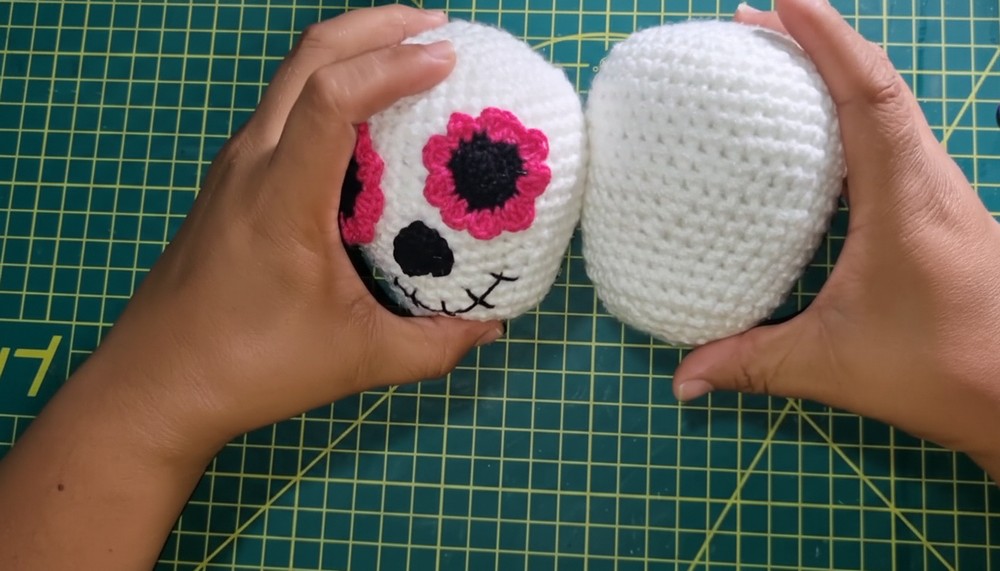
- Sew Eyes: With tapestry needle, sew eyes to head. Position to leave appropriate space for the nose.

- Sew Nose: Attach heart-nose between eyes, centered.
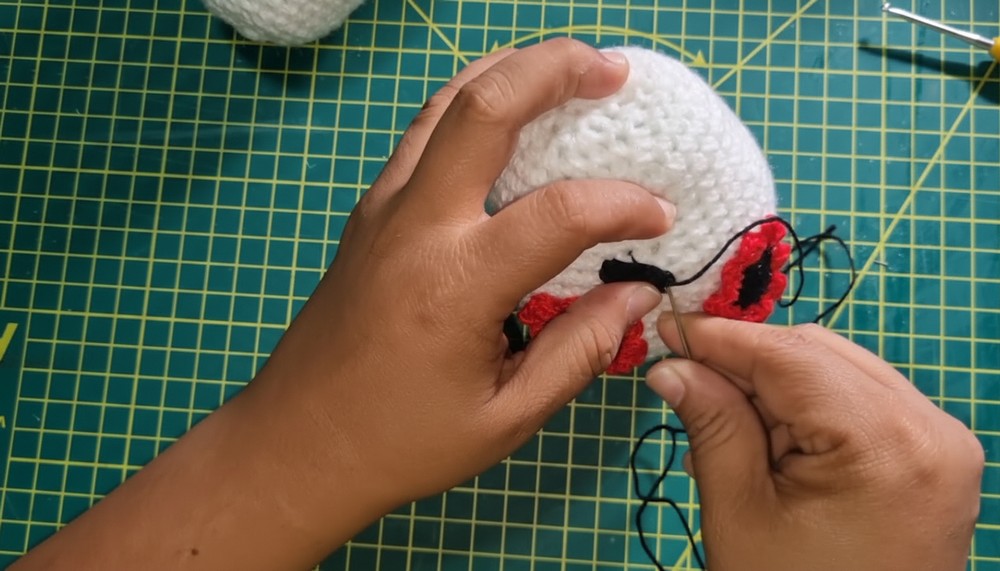
- Embroider Mouth: Use leftover thread to embroider curved or straight mouth below nose. Add vertical "teeth" stitches as desired.
- (Optional) Add Embellishments: Crochet or sew on small flowers, beads, pearls, or surface embroidery for extra decoration.

Customization Ideas
- Use any yarn color for the skull (white, pink, blue, etc.).
- Change petal colors around the eyes for different looks.
- Add surface crochet or embroidery for more detail (swirls, flowers, dots).
- Make different mouth expressions: smiling, serious, angry, etc.
- Attach a keyring to the top to use as a keychain, or a hanging loop for ornaments.
Special Notes
- Tension: Tight stitches create a firmer shape; if your amigurumi is loose, use a smaller hook.
- Stuffing: Stuff firmly but shape gently, especially at the head/face area.
- Thread Tails: Use long yarn ends to sew and embroider. Always secure ends inside.
- Adjust Size: Go up or down a hook size for larger or smaller skulls.
Conclusion
This pattern celebrates the colorful tradition of the Day of the Dead with a sweet crochet skull ("calaverita chantolero"). The instructions are beginner-friendly, with options to add your personal touch. Make it as an ornament, keychain, or keepsake!
Pattern Corrections & Tips
- Correction: All stitches in the rounds should be counted precisely; use stitch markers after each round.
- Tip: If petals around the eyes blend into the skull, try using a contrasting color or an extra round of sc behind petals before assembling.
- Tip: If making for a keychain, leave a secure loop at the top of the skull to attach ring.
Pin this post for later
