
Free Crochet Fish Keychain Pattern for Colorful Accessories
Carry a splash of charm everywhere with this Free Crochet Fish Keychain Pattern, making a playful, durable, and eye-catching accessory for daily use.
Tiny treasures often hold the most charm, and the Free Crochet Fish Keychain Pattern offers a delightful way to carry a splash of personality everywhere. Perfect for adding a touch of color to bags, backpacks, or keys, this miniature accessory combines playfulness with practicality. Its compact size ensures it slips easily into pockets or hangs gracefully without weighing down essentials, while the cheerful design brings a subtle, uplifting presence to everyday routines.
How to Crochet Fish Keychain Pattern in Simple Steps
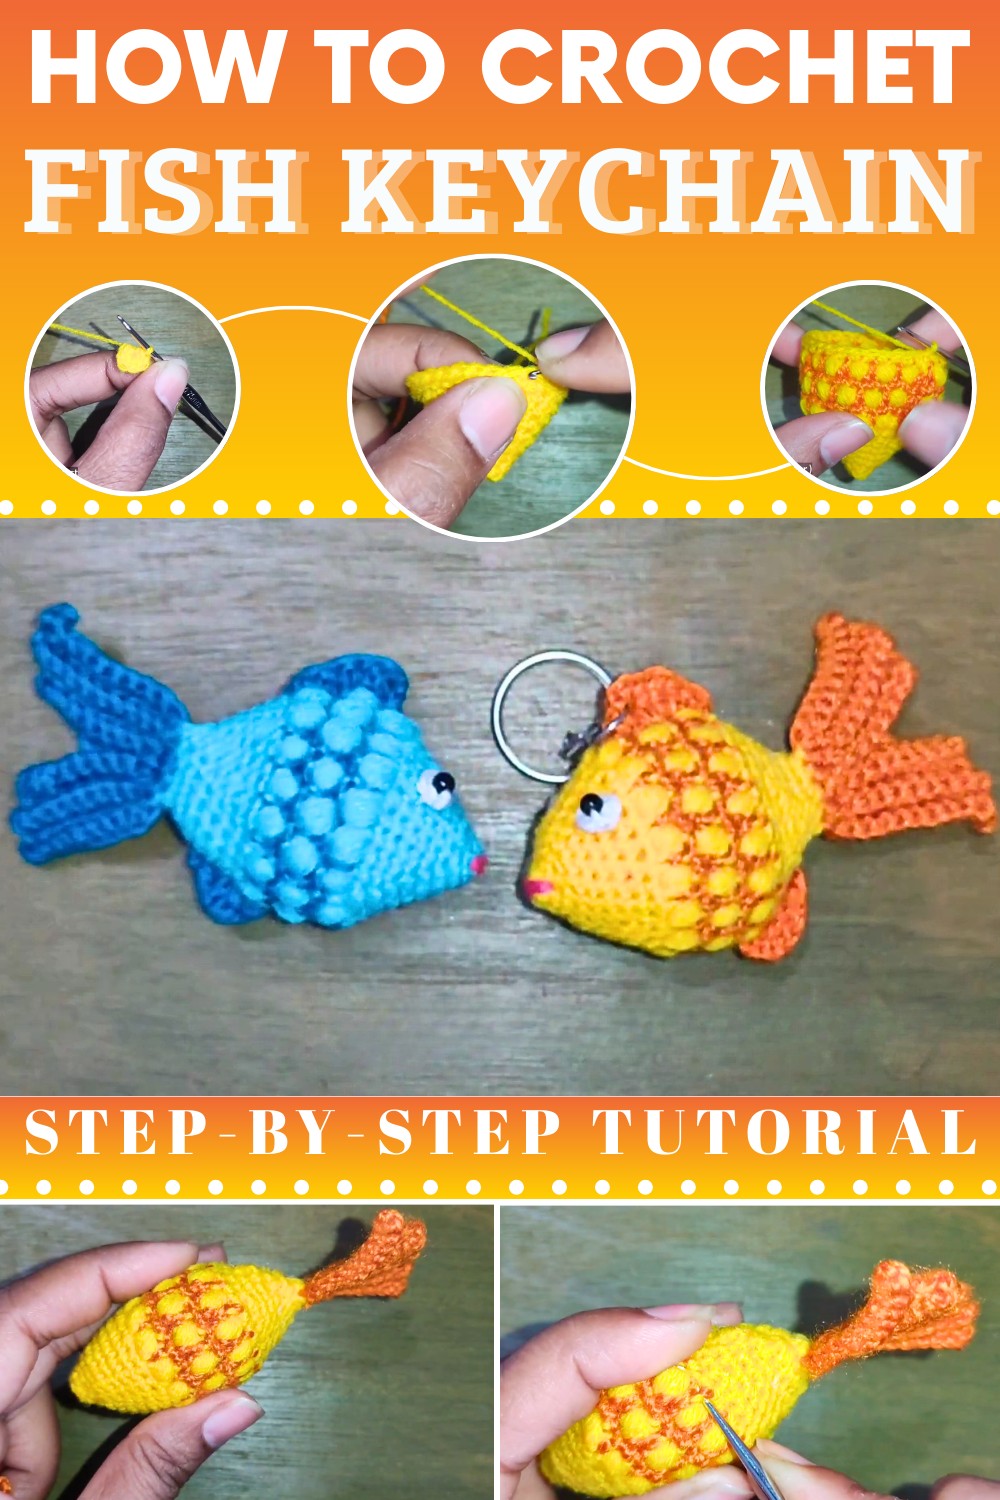
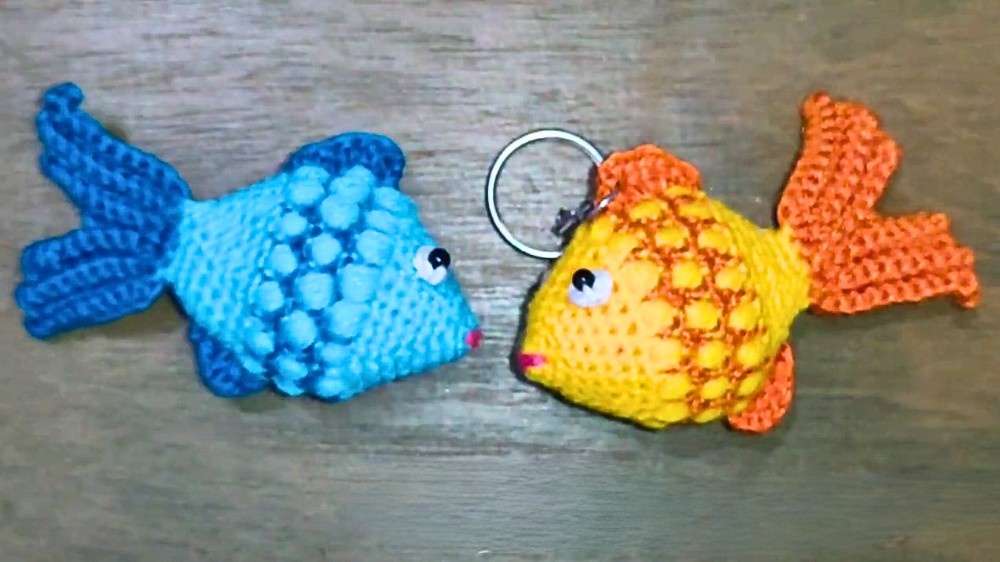
The Free Crochet Fish Keychain Pattern begins with shaping the fish’s body, forming a smooth, rounded base that gives it a lifelike yet charming appeal. Next, delicate fins and tail are carefully added, ensuring symmetry and visual interest, followed by stitching eyes and subtle details that imbue the piece with character. Assembling the keychain attachment completes the transformation, turning it into a functional accessory that is both sturdy and attractive.
Beyond its aesthetic charm, this little creation offers a satisfying sense of accomplishment, encouraging mindfulness and patience through each step. Whether used as a thoughtful gift, a personal accent, or a decorative touch for keys and bags, the Free Crochet Fish Keychain Pattern combines functionality with delight. Its playful form, portability, and cheerful presence make it a versatile addition that brings joy and personality to everyday life, making each moment a little brighter.
Materials Needed
- Yarn: Two different yarn colors (e.g., yellow for the fish body and orange for tail and details).
- Crochet hook: Choose the appropriate size matching the yarn (commonly 4mm or 4.5mm).
- Fiber filling: For stuffing the fish body.
- Scissors: For cutting the yarn.
- Stitch marker (optional): To keep track of rounds.
- Keychain ring: To attach the crochet fish for use.
Steps to Create the Crochet Fish Keychain
Step 1: Create a Magic Ring
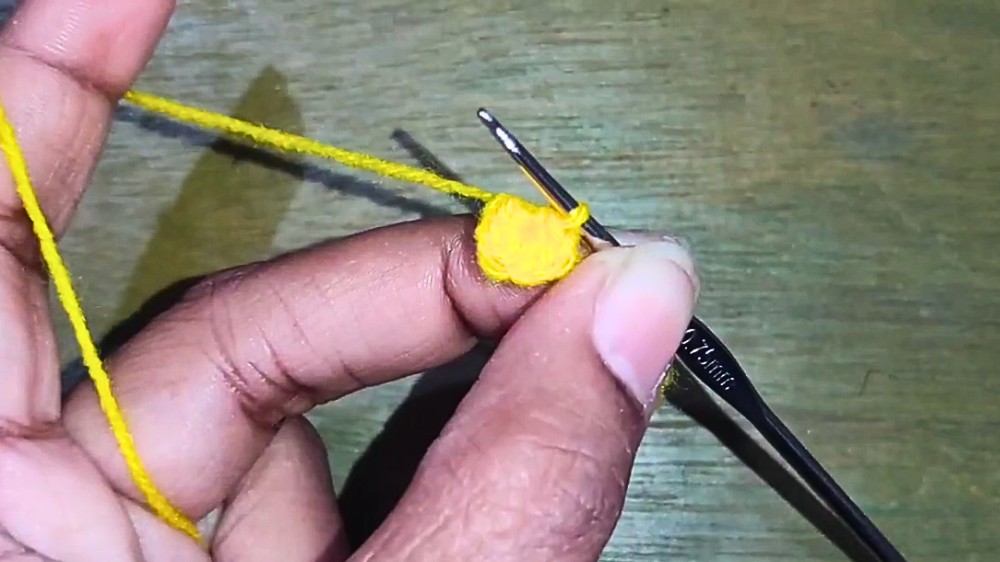
- Begin by making a magic ring using yellow yarn (or your main color).
- Crochet 6 single crochets (SC) inside the ring.
- Finish the first round by doing a slip stitch in the first stitch to close.
Step 2: Increase Stitches in Subsequent Rounds
- Second Round:
- Begin with a chain stitch.
- Place 2 single crochets in each stitch from the previous round.
- End with a slip stitch to complete the round.
- Third Round:
- Create a chain stitch and follow the pattern of one single crochet in 3 stitches, then increase in the next stitch.
- Repeat this pattern across the round and finish with a slip stitch.
- Fourth to Sixth Rounds:
- Repeat the process of alternating between regular single crochets and increases.
- The stitch count will expand progressively in each round.

Step 3: Color Change and Stitch Continuation
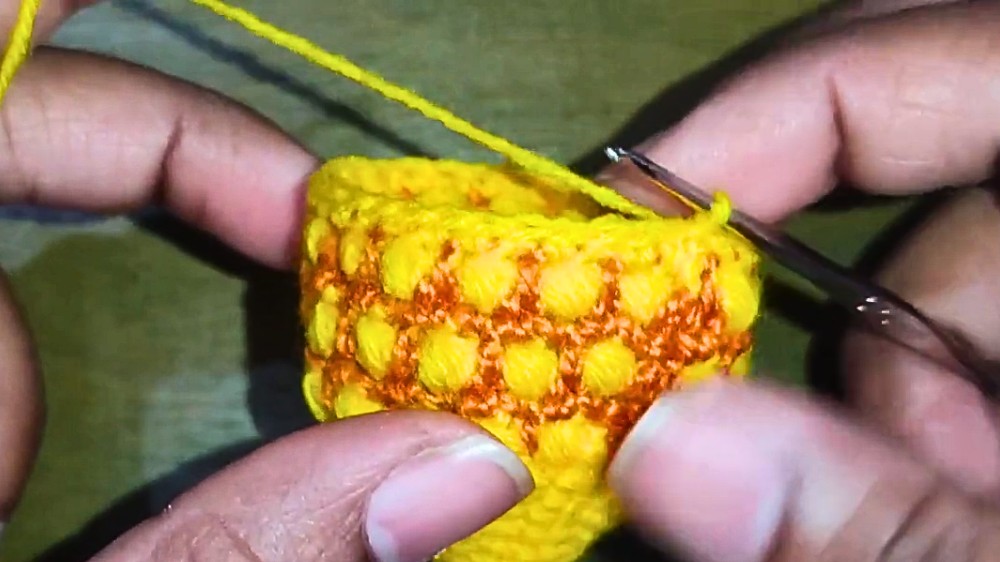
- Introduce orange yarn while maintaining single crochet stitches.
- Continue working slip stitches and single crochets, using yellow color over the orange stitches without cutting the yellow yarn.
- The process involves repeating stitch patterns to gradually form the fish’s body.
Step 4: Fill the Body with Fiber
- After completing enough rounds (approximately 13-15), start decreasing stitches:
- Crochet decreasing single stitches (single crochet two together) as you narrow the body shape.
- Before fully closing, fill the fish body with fiber stuffing to give it a plump, fish-like look.

Step 5: Create the Tail
- Attach orange yarn to the edge of the fish and form the tail:
- Start with chain stitches (e.g., 11 chains), skip the first stitch, and create slip stitches to connect back to the starting stitch.
- Turn your work and continue slip stitches along adjacent stitches to form the tail shape.
- Repeat this pattern, turning the work at each step to build the shape of a distinctive tail.

Step 6: Finishing Touches
- Secure all loose ends and hide excess yarn by stitching them into the project.
- Attach a keychain ring to the fish body or tail to complete the accessory.
Special Features of the Crochet Fish Keychain
- Compact Design: The small fish keychain is perfect for carrying or displaying on backpacks, keys, or purses.
- Bright and Colorful: The configurable colors of the fish make it fun and unique.
- Skill-Building: Includes techniques like magic rings, single crochets, slip stitches, and color changes.
- Versatile: While designed as a keychain, the fish can also be used as decoration or mini gift items.
Level of Difficulty
Beginner to Intermediate:
- Requires understanding of basic crochet techniques like single crochet, slip stitch, and magic rings.
- Intermediate-level skills might be needed for decreasing stitches and handling color transitions.
Tutor's Suggestions
- Color Variations: Feel free to try different color combinations to make the fish more creative.
- Practice Magic Ring: Ensure the magic ring is secure to avoid loosening the center of the starting area.
- Fish Filling: Stuff with an appropriate amount of fiber to achieve the right firmness without stretching the stitches.
Uses of the Fish Keychain
- Can be used as a unique keychain accessory.
- Ideal as a small handmade gift for loved ones.
- Might be a fun product to sell at craft fairs or online.
Extra Tip
When working on decreasing rounds, switch to tighter stitches to effectively close the shape. Using stitch markers to track rounds can make your work more precise.
Conclusion
This crochet fish keychain tutorial guides you step-by-step through creating a vibrant and compact design with simple stitches and techniques. The adorable fish shape is both eye-catching and practical, making it a thoughtful addition to your crochet projects.