
Vibrant Crochet Persimmons Pattern to Add Autumn Flair
Sprinkle autumn charm into your home with crochet persimmons fruit pattern that's for fun fall décor, gifts, or adding warmth to any space.
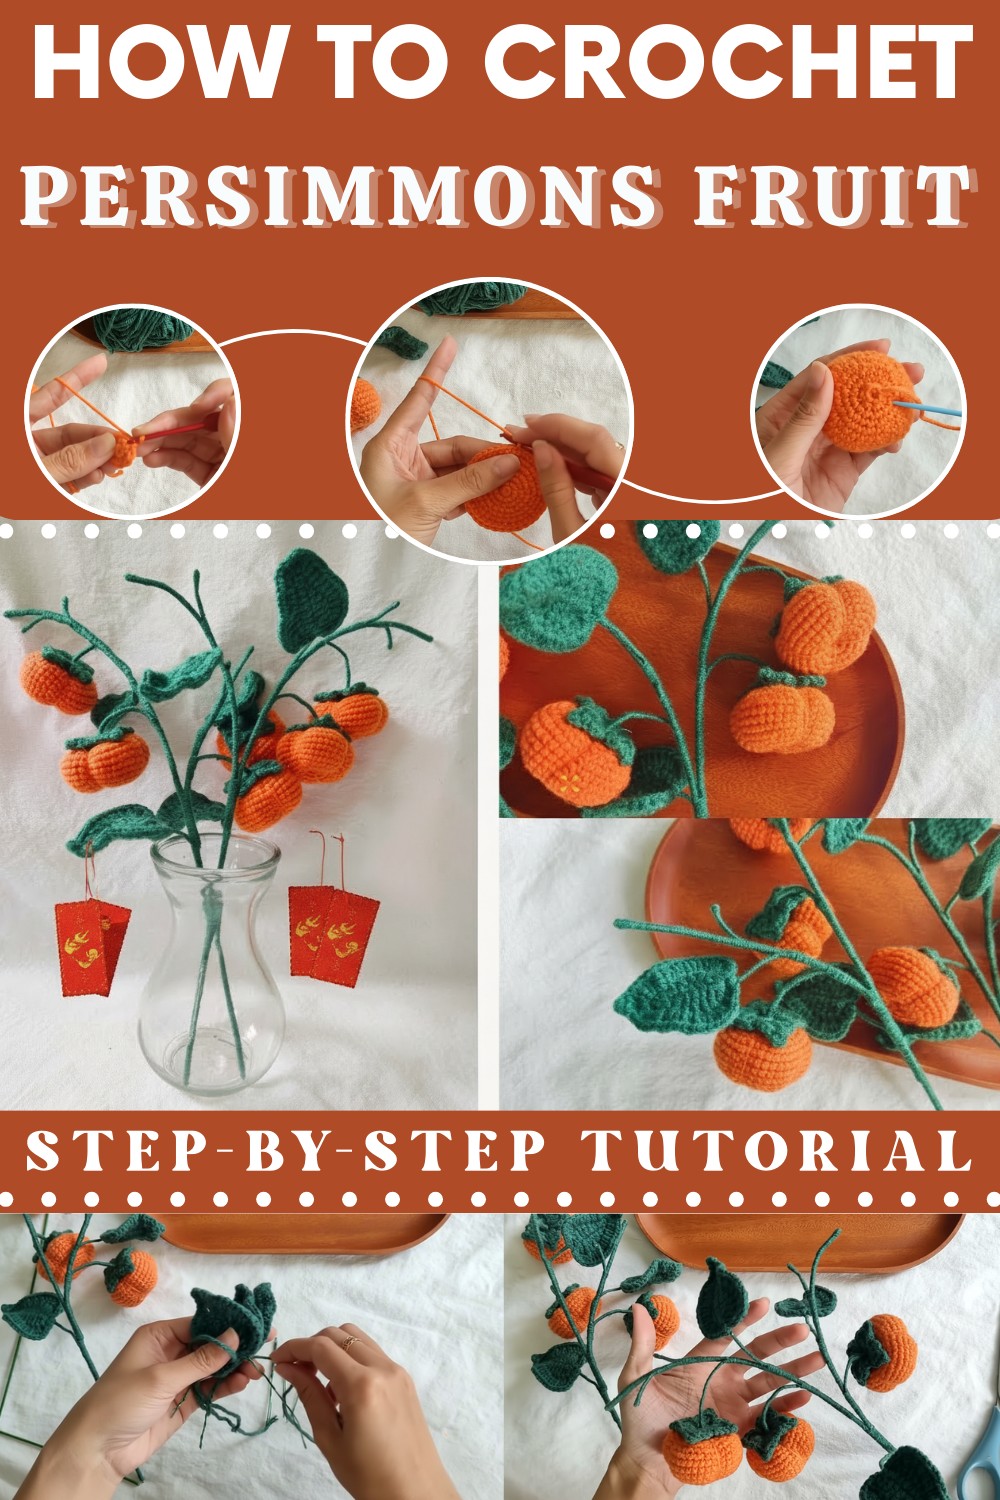
Bring a touch of playful autumn vibes to your crochet adventures with this adorable project! Packed with vibrant orange hues and textured leafy tops, the free crochet persimmons fruit pattern turn yarn into charming little fruits that is perfect for your fall décor. Whether you're jazzing up your table displays, enhancing a wreath, or crocheting quirky gifts, this pattern offers endless fun and creativity.
Decorate Your Home with this Lifelike Crochet Persimmons

The free crochet persimmons fruit pattern is super beginner-friendly yet engaging enough to keep seasoned crafters hooked. With easy shaping techniques and delightful details like a curved base and leafy crown, each persimmon comes to life with a hint of autumn magic.
Crochet Pattern: Persimmon Branch
Special Features
- Charming Design: Persimmons are a symbol of abundance and prosperity, making them a unique addition to decor.
- DIY Creativity: Customize the branch with additional leaves, blossoms, or other fruits.
- Multi-Seasonal Appeal: Perfect for Tet (Lunar New Year), autumn decor, or rustic-themed home design.
- Beginner-Friendly Techniques: Clear instructions with simple increases, decreases, and rounds make this perfect for beginners.
Level of Difficulty
- Beginner to Intermediate: The pattern is suitable for crocheters with basic knowledge of stitches like single crochet (sc), slip stitches (sl st), increases (inc), and decreases (dec). The video offers visual guidance for anyone learning these stitches.
Materials Needed
- Yarn:
- Orange (for the persimmon fruit).
- Green or brown for stems and leaves (optional).
- Crochet Hook: Size suitable for the yarn (typically 2.5mm–4mm for cotton yarn, depending on your tension).
- Stuffing: Polyester fiberfill for stuffing the persimmon.
- Tapestry Needle: For sewing and assembly.
- Scissors: To cut yarn efficiently.
Techniques Used
- Magic Ring (mr): Used to begin the circular base of the persimmon.
- Single Crochet (sc): The main stitch used for the body.
- Slip Stitch (sl st): For seamless joining between rounds and starting the next row.
- Increase (inc): Two single crochets in one stitch to expand the shape.
- Decrease (dec): Crocheting two stitches together to reduce the size.
Step-by-Step Detailed Pattern
Part 1: Persimmon Fruit
The persimmon is crocheted in spiral rounds. Place a stitch marker to keep track of each round.
Base of the Persimmon
- Round 1 (R1): Start with orange yarn.
- Create a Magic Ring (mr).
- Work 6 single crochets (sc) into the magic ring.
- Pull the ring tight and secure with a slip stitch (sl st). Chain 1 (ch) to begin the next round.
- (Total: 6 stitches)

- Round 2 (R2): Work 6 increases (inc) (2 sc in each stitch).
- sl st + ch 1 to start the next round.
- (Total: 12 stitches)
- Round 3 (R3): Alternate (1 sc, 1 inc) six times.
- sl st + ch 1 to advance.
- (Total: 18 stitches)
- Round 4 (R4): Work (1 sc, 1 inc, 1 sc) six times.
- sl st + ch 1.
- (Total: 24 stitches)
- Round 5 (R5): Work (3 sc, 1 inc) six times.
- sl st + ch 1.
- (Total: 30 stitches)
- Round 6 (R6): Work (2 sc, 1 inc, 2 sc) six times.
- sl st + ch 1.
- (Total: 36 stitches)
- Round 7 (R7): Work (5 sc, 1 inc) six times.
- sl st + ch 1.
- (Total: 42 stitches)

Midsection of the Persimmon
- Rounds 8–11:
- Work 42 sc, repeating the following cycle:
- Crochet 9 sc, sl st.
- Crochet 10 sc, sl st. Repeat 9 sc, sl st, and 10 sc.
- End each round with sl st + ch 1 to transition to the next round.
- No increase or decrease.
- Work 42 sc, repeating the following cycle:
Shaping the Persimmon
- Round 12 (R12): Start decreasing to shape the bottom:
- (5 sc, dec) six times.
- Use Invisible Decreases (dec) as demonstrated in the video.
- sl st + ch 1.
- (Total: 36 stitches)
- Round 13 (R13): (2 sc, dec, 2 sc) six times.
- sl st.
- (Total: 30 stitches)
- Round 14 (R14): (3 sc, dec) six times.
- sl st + ch 1.
- (Total: 24 stitches)
- Round 15 (R15): (sc, dec, sc) six times.
- sl st + ch 1.
- (Total: 18 stitches)
- Stuff the Cotton: Firmly add stuffing to the persimmon to give it shape.

- Round 16 (R16): (sc, dec) six times.
- sl st + ch 1.
- (Total: 12 stitches)
- Round 17 (R17): Work 6 decreases (dec) to close the persimmon.
- (Total: 6 stitches)

Part 2: Adding Details (Optional)
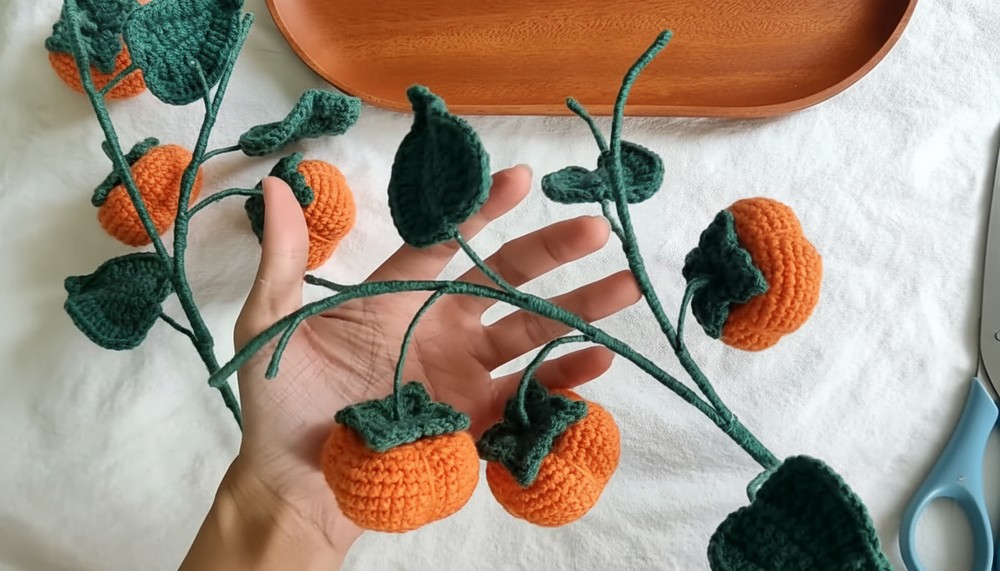
- Stems and Leaves: Use green or brown yarn to create a small stem or leaf that can be added to the top of the persimmon. Use slip stitches and simple chains to create these details.

- Branch Assembly: Attach finished persimmons to a crocheted or real branch for a decorative touch.
Tutor’s Suggestions
- Invisible Decrease Tip: Follow the video carefully when doing decreases to ensure a smooth, professional finish on the persimmon.
- Customization: Change the persimmon size by adjusting yarn weight, hook size, or increasing additional rows.
- Stuffing: Use enough fiberfill to keep the persimmon firm but avoid overstuffing, which may distort the shape.

Uses
- Tet (Lunar New Year): Persimmons symbolize longevity and good fortune, making them a thoughtful handmade gift.
- Home Decor: These crocheted fruits make lovely additions to a classic or autumn-themed centerpiece.
- Gifts: Add these crochet persimmons to gift baskets or as ornaments for holidays like Thanksgiving or Christmas.
Pro Tip
Use fine cotton yarn for a more realistic persimmon texture, and consider mixing yarn colors (e.g., shades of orange) to achieve a natural gradient effect on the fruit.
Conclusion
This crochet persimmon branch pattern is a delightful way to bring warmth, joy, and creativity to your home. It’s a relaxing and rewarding project, enabling you to display your crochet skills while creating something unique and charming. Whether for a festive season or as a thoughtful handmade gift, this project is sure to impress.