
Stylish Crochet Birds Keychain for Gifting Treasures
Spark playful joy with this Crochet Birds Keychain Pattern, showcasing vibrant colors, whimsical details, and delightful handmade charm.
The gentle chirp of birds has long symbolized freedom, joy, and the simple pleasures of nature. Capturing that spirit in miniature form, a crochet bird keychain brings the charm and elegance of these creatures into everyday life. Small yet striking, it transforms ordinary keys, bags, or accessories into cheerful accents, carrying both personality and practicality wherever it goes. Its presence not only brightens daily routines but also serves as a thoughtful handmade gift or keepsake.
Playful Crochet Birds Keychain for Everyday Style
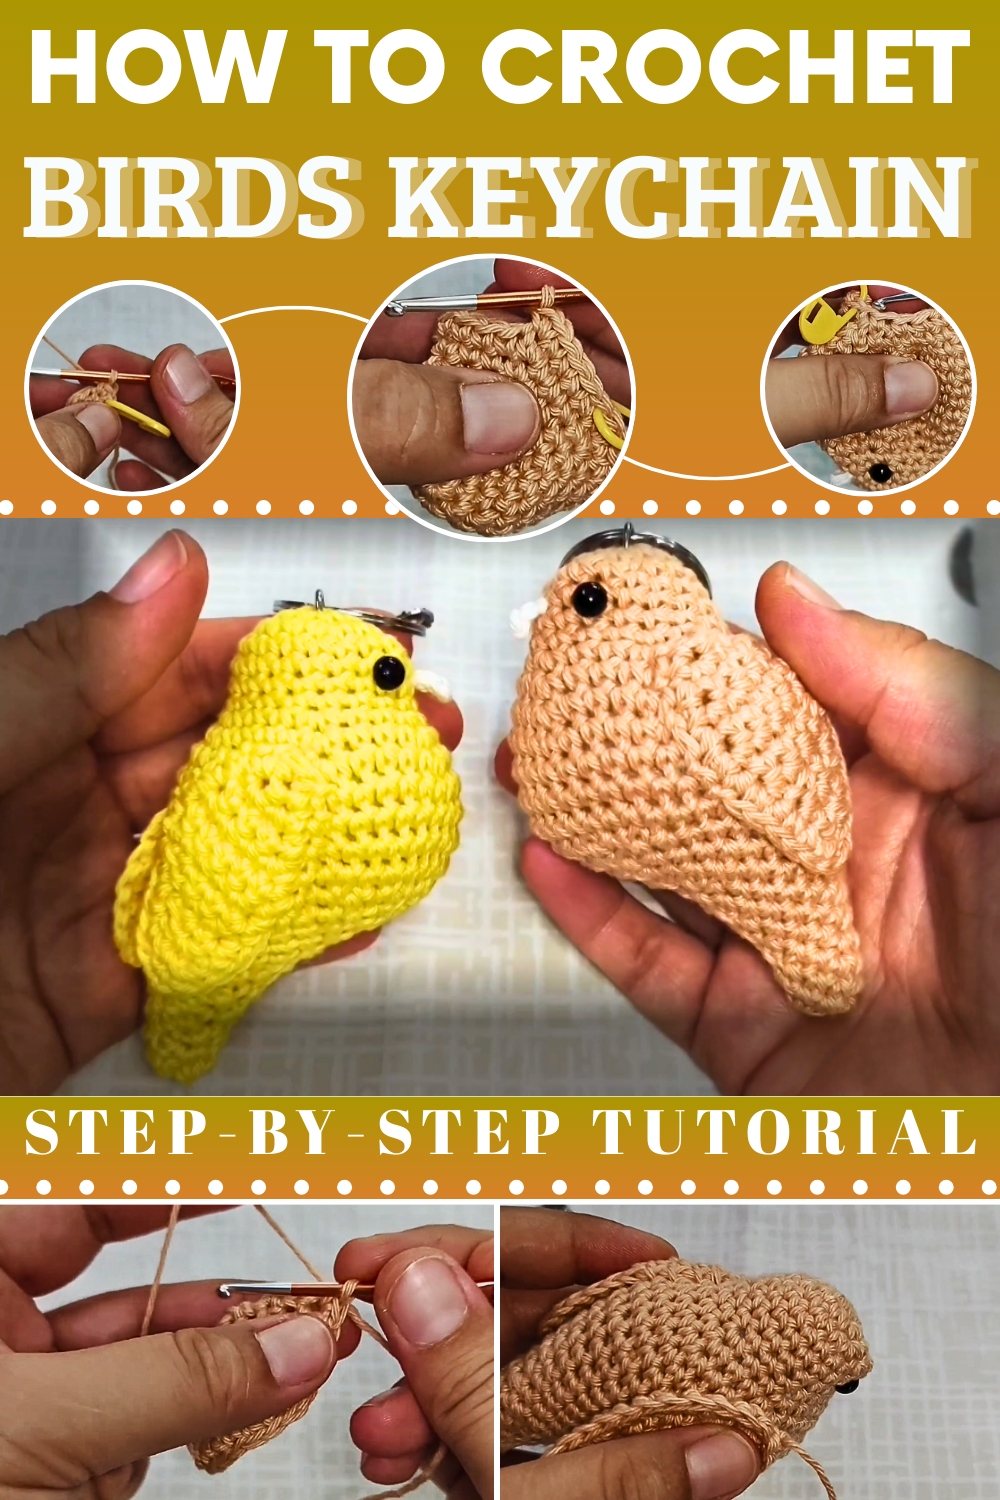
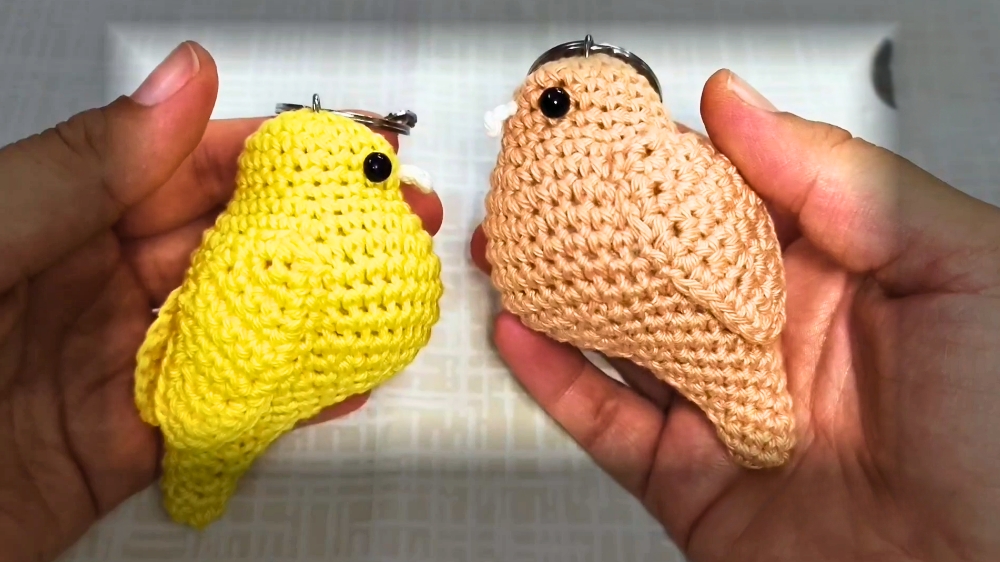
The process begins with a rounded body, shaped through careful stitches to create a balanced and plump silhouette. Midway, wings and tail feathers are added, giving depth and realism to the miniature bird. Subtle details such as eyes, beak, and surface texture are introduced to enhance its lifelike appearance, ensuring each figure is full of character. Finally, a secure attachment to a keyring completes the piece, making it functional while preserving its delicate charm.
Lightweight, portable, and endlessly versatile, the crochet bird keychain can be customized in a variety of colors and sizes, reflecting personal taste or seasonal flair. Combining whimsy with utility, it brings a touch of nature’s elegance into daily life, transforming simple accessories into delightful, heartwarming treasures.
Materials Required
To crochet the bird, the following materials are needed:
- Crochet Hook: 2.75 mm
- Yarn: Four-ply cotton thread (colors like white, red, and beige are used in the pattern).
- Safety Eyes: Used for adding detail to the bird’s face.
- Toy Stuffing: Cotton fiber or similar material for filling.
- Scissors
- Needle
- Felt Cloth: White and red felt are used for accessories.
- Fabric Glue: For securing parts.
- Optional Attachments: Jumper rings, clasps, or normal crochet chains for hanging the bird.
Step-by-Step Detailed Instructions
1. Preparing the Bird’s Body (Head and Torso)
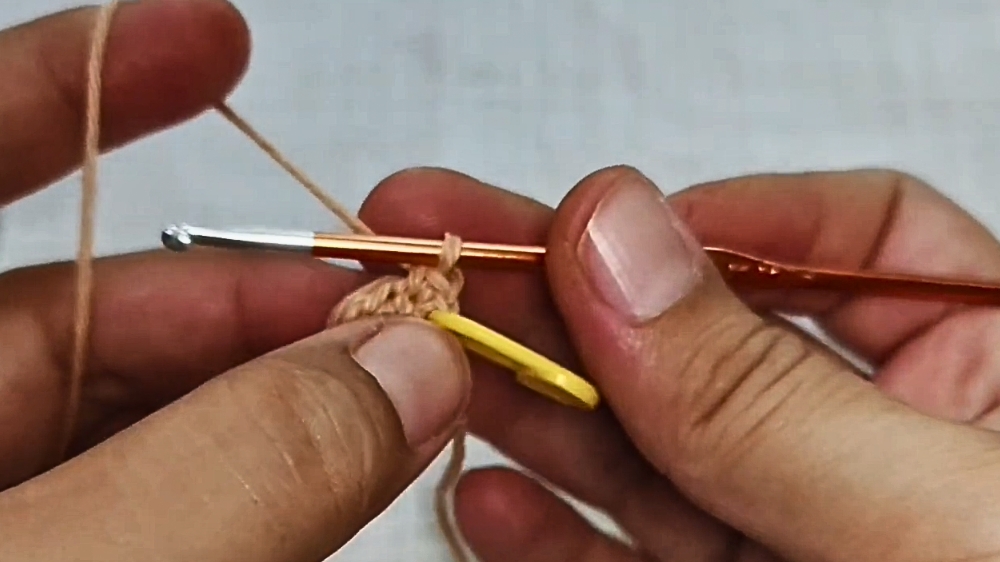
- Begin by making a magic ring and secure it with one chain. Create 6 single crochets (sc) inside the ring and close it tightly.
- Work in continuous rounds without slip stitches:
- Round 2: Increase every stitch (12 stitches).
- Round 3: Use a [1 sc, 1 inc] pattern (18 stitches).
- Round 4: Use a [2 sc, 1 inc] pattern (24 stitches).
- Gradually increase the number of single crochets between the increases across subsequent rounds until reaching 42 stitches by Round 7.
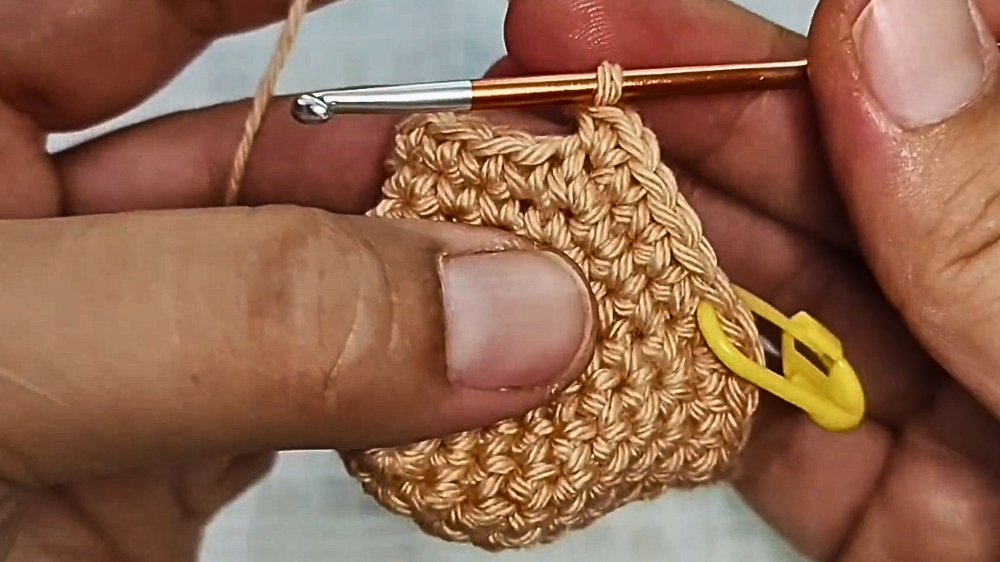
- Rounds 8–14: Crochet one single crochet per stitch without additional increases, maintaining 42 stitches.
2. Adding the Beak
- Switch to white yarn for the bird’s beak. Chain 3 stitches and skip the first chain.
- Work slip stitches on the remaining chains and cut the thread, leaving an extra tail for assembling.
- Attach the beak by counting between Rows 5 and 6 of your bird’s head. Secure it in place using a needle or crochet hook.
3. Attaching Safety Eyes
- On the same horizontal line where the beak is attached, count between Rows 5 and 6 to place the safety eyes symmetrically.
- Set the distance between the eyes according to preference and secure them using the safety clips on the back.
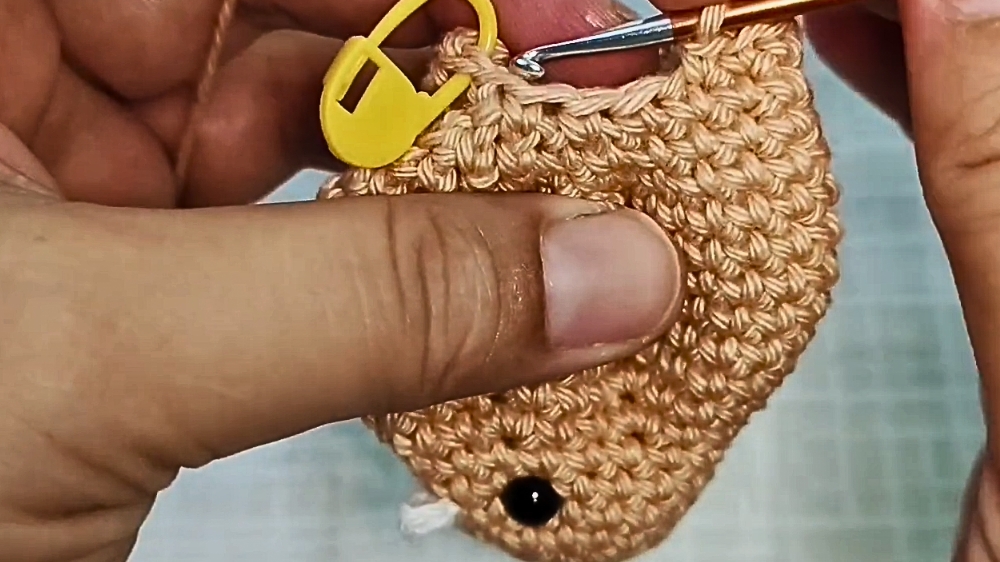
4. Shaping the Body with Rows and Reductions
- Work single crochet evenly for Rows 11–14 without increasing.
- On subsequent rows, start decreasing stitches:
- Row 15: Perform invisible decreases. Use the [decrease, 1 sc] pattern six times across the row.
- Row 16: Reduce stitches further by working [decrease, 1 sc] a total of five times.
- Continue following the pattern for decreasing stitches while balancing single crochet rows.
5. Stuffing the Bird
- Before closing the bird’s body, fill it with toy stuffing. The tutorial advises performing tight stuffing for a firm shape.
- After stuffing, crochet the remaining rows and secure them by pulling the thread through the remaining stitches.
6. Making the Wings
- Wing Base Creation: Leave approximately 8–10 inches of the thread for stitching.
- Chain 2 stitches and skip the first chain. Work single crochets on the second chain.
- Continue increasing along the rows until reaching 12 stitches.
- Wing Border: Work along the outer edges of the wing with single crochet stitches to create a neat border.
- Create the second wing following the same pattern.
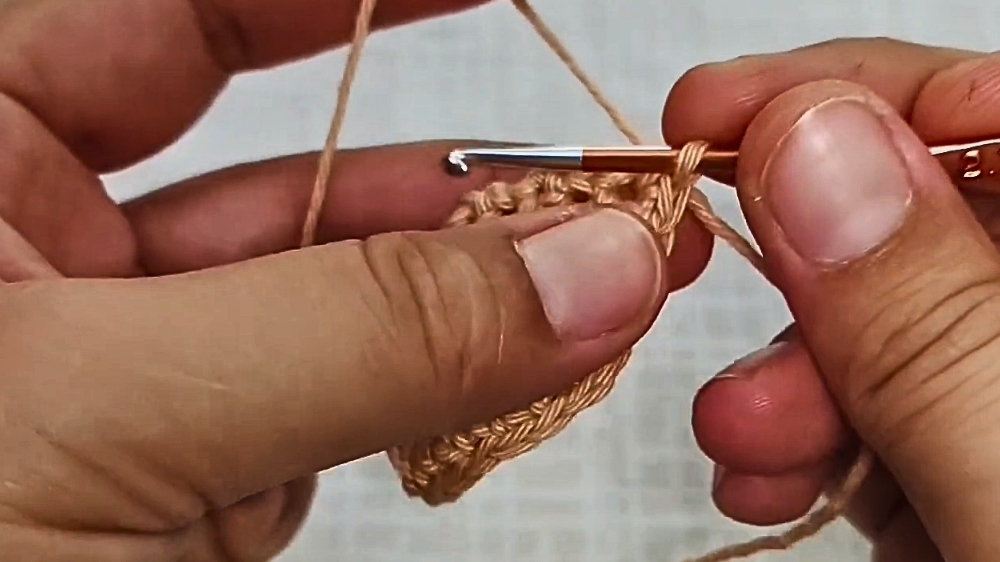
7. Attaching the Wings
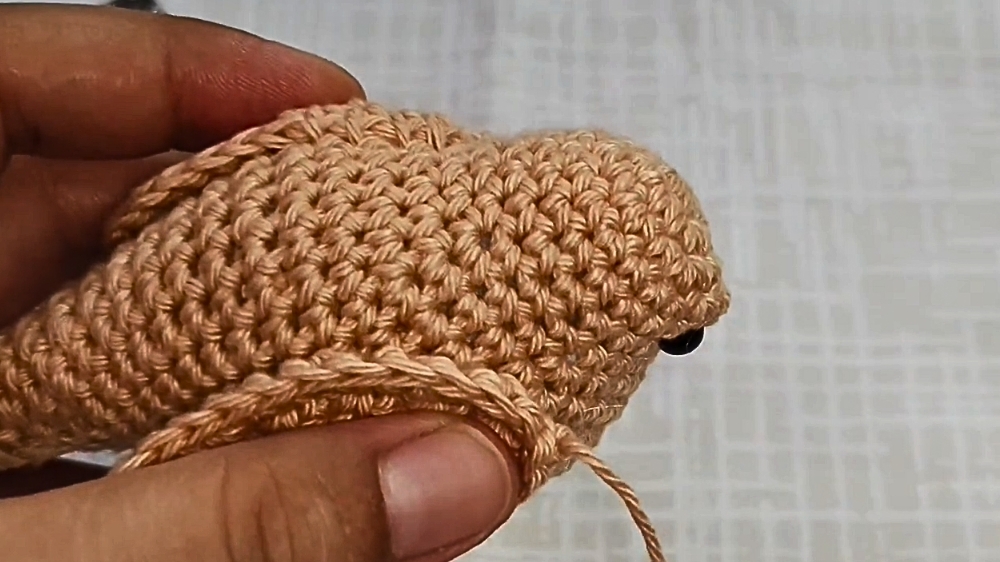
- Attach the wings starting from the 7th row on either side of the bird’s body.
- Ensure both wings are placed symmetrically by carefully counting rows before stitching them securely. Use a needle and weave the thread discreetly to hide stitches for a seamless look.
Special Features
- Beginner-Friendly: The steps use simple stitching patterns such as single crochet and invisible decreases.
- Customizations: The bird can be modified with different colors, accessories, and attachments like clasps and rings for versatility.
- Practical Design: The wings are slightly detached from the body for a realistic appearance and unique styling.
- Multipurpose: The final product can be used as a decorative hanging, keychain, kids’ gift, or summer camp craft.
Level of Difficulty
This pattern is described as easy, suitable for beginners or hobbyists who are learning crochet. The basic techniques of single crochet and a structured increase/decrease pattern make it accessible even for first-time amigurumi creators.
Tutor’s Suggestions
- Use Stitch Markers: To track the starting stitch of each round and ensure proper alignment, especially during increases and decreases.
- Tight Stitching: Maintain consistent tension throughout to create a firm and well-shaped bird.
- Secure Threads: Always secure threads tightly when attaching parts (like the beak or wings) to prevent them from loosening over time.
- Stuffing: Be careful not to overstuff or underfill the bird. Proper stuffing helps maintain its shape and durability.
Uses
- Decorative Piece: Perfect for themed parties (e.g., jungle themes) or as a display item in your living space.
- Gift Idea: Handmade treasure for kids, summer camps, or party giveaways.
- Functional Accessory: Turn the bird into a keychain, car hanging, or bag charm.
- Creative Project: A fun craft activity for both kids and adults during holidays or camp sessions.
Tip
When attaching the wings, ensure equal placement on both sides by pre-counting rows and holding them in place as you stitch. This will result in a symmetrical and professional-looking design.
Conclusion
This cute and easy crochet bird project offers an enjoyable and creative way to make an adorable amigurumi figure. The step-by-step video ensures clear guidance and the final product can be customized for various uses, whether as a functional accessory, decorative piece, or thoughtful gift. With a simple design and accessible steps, this bird pattern is perfect for crochet enthusiasts of all skill levels.