
Free Crochet Axolotl Amigurumi Pattern Adding Playful Accents
Bring playful charm to life with the Free Crochet Axolotl Amigurumi Pattern, a soft, cute, and whimsical handmade companion perfect for gifts or décor.
In a quiet freshwater pond, the axolotl glides gracefully, its feathery gills waving gently and its delicate body moving with a serene, almost magical rhythm. Capturing that charm in miniature form brings joy to any space, turning simple yarn into a whimsical companion. The Free Crochet Axolotl Amigurumi Pattern transforms yarn into a soft, playful figure that brightens shelves, desks, or keychains, and also makes a thoughtful handmade gift that delights both children and adults.
Tiny Crochet Axolotl Amigurumi Pattern Perfect for Desk Decor
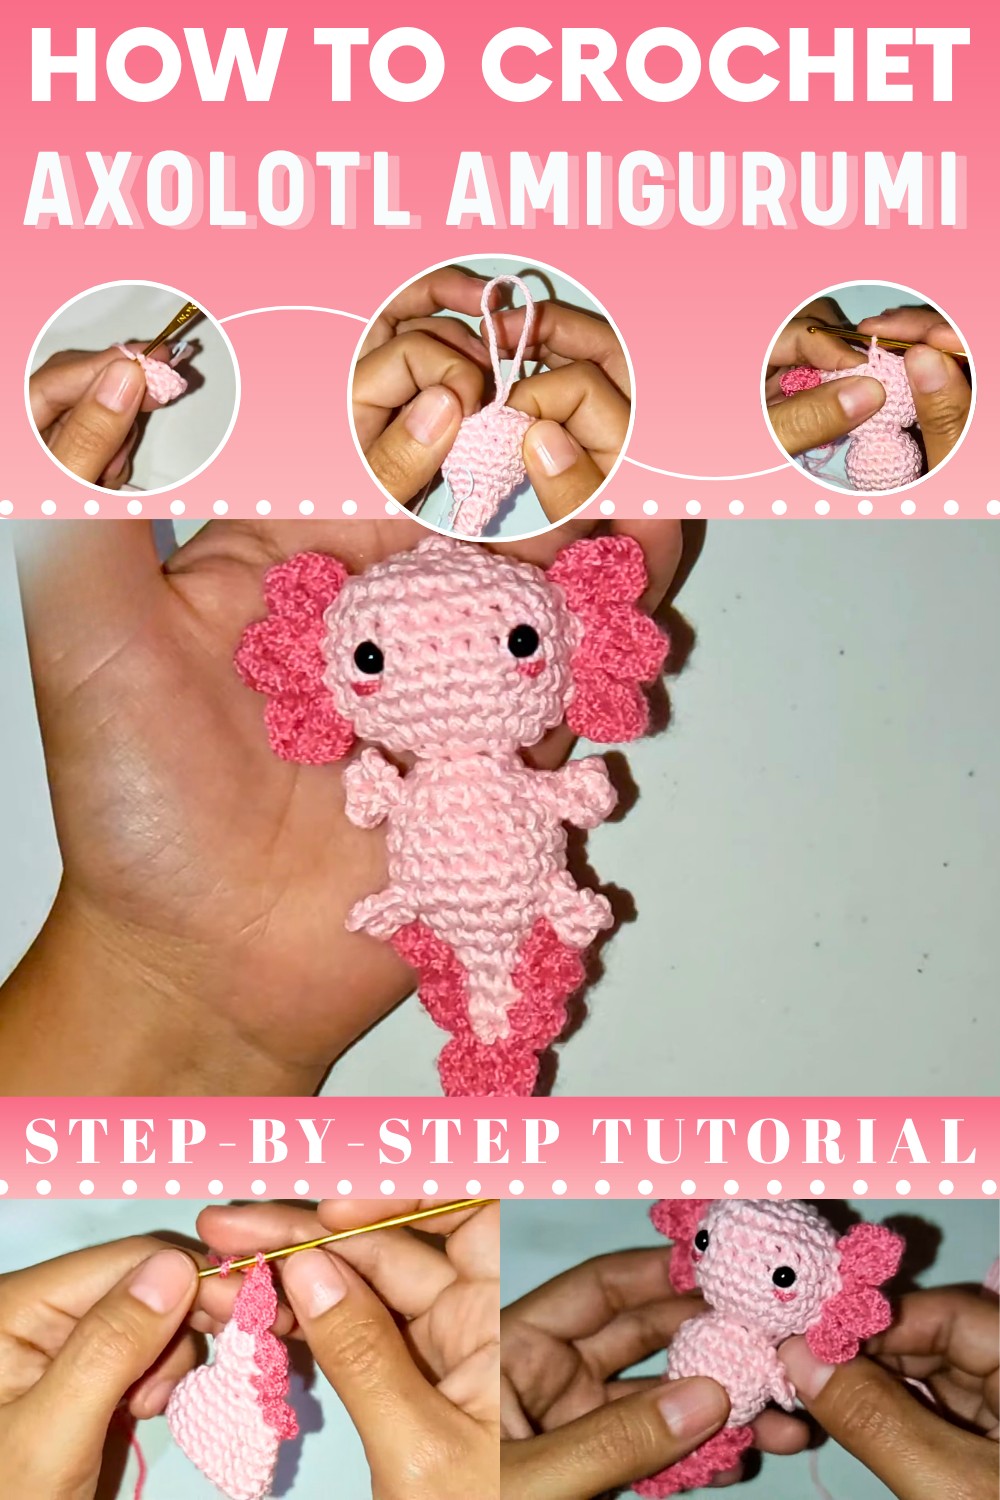
Its gentle colors and unique shape add personality and curiosity to any environment. Beyond its visual appeal, the Free Crochet Axolotl Amigurumi Pattern offers practical benefits: it’s beginner-friendly, allows for creative use of leftover yarn, and provides a quick, satisfying project.
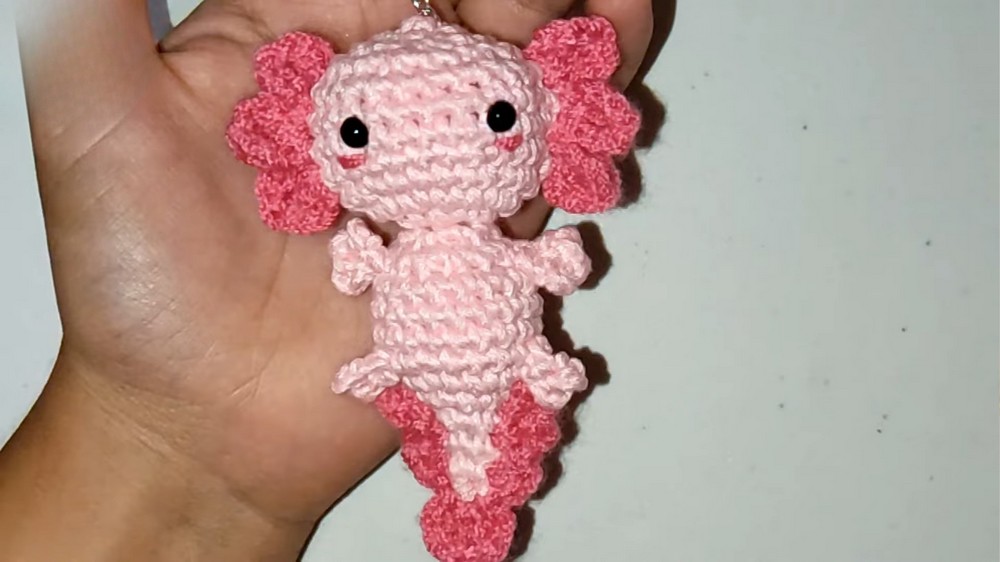
Compact yet striking, this amigurumi brings a sense of playful serenity, personality, and joy into everyday life, celebrating the charm of handmade creations with a soft, delightful touch. Optional attachments, such as loops or keyrings, make it functional as a portable charm, while retaining its decorative appeal.
Crochet Axolotl Keychain Pattern
Finished Size
- Approximately 7-9 cm tall, depending on tension, yarn, and hook size.
Materials
- Yarn:
- Light pink (main body color).
- Dark pink or any contrasting shade for additional details (e.g., tail accents and limbs).
- Optional: Red yarn for embroidered details such as cheeks.
- Hook:
- 2.5 mm crochet hook.
- Accessories:
- 6 mm safety eyes (or black yarn for embroidered eyes).
- Polyester fiberfill stuffing.
- Stitch marker (optional).
- Keychain ring (if making a keychain).
- Scissors.
- Tapestry needle (for finishing and attaching details).
Gauge
Not critical for this project. Work with tight stitches to prevent fiberfill from showing.
Pattern Instructions
Part 1: Axolotl Tail
- Start with a magic ring:
- Work 4 single crochet (sc) inside the ring. [4]
- Round 2:
- 1 sc, 1 increase, repeat twice. [6]
- Round 3:
- Work 1 sc in each stitch. [6]
- Round 4:
- 2 sc, 1 increase, repeat twice. [8]
- Round 5:
- 1 sc, 1 increase, repeat 4 times. [12]
- Round 6:
- Repeat: 1 sc, 1 increase, around. [18]
- Rounds 7-10:
- Work 1 sc in each stitch. [18]
At this point, you can lightly stuff the tail with fiberfill.
- Change yarn:
- Attach contrasting color (e.g., dark pink) and begin tail fin.


Tail Fin
- At the fifth row from the top of the tail, fold the piece in half. Align the contrasting yarn at this point to begin constructing the tail fin.
- Sl st into a stitch and chain 1 to join the yarn.
- For each “fin bump”:
- Work 1 sl st.
- Next, chain 1, work 1 dc, 1 tr, 1 dc, ch 1, sl st in the same space.
- Move to the next stitch (on the following row) and repeat the fin bump.
Repeat 6 fin bumps in total, spacing them evenly along one side of the tail for a wavy tail fin design.
- Once complete, sl st along the edges to the top of the fin.
- Cut yarn, leaving a long tail for securing, and tuck in ends with a tapestry needle.

Part 2: Axolotl Body
- Using light pink yarn, begin with a magic ring.
- Work 6 sc into the ring. [6]
- Round 2:
- 2 sc into each st (increase in all stitches). [12]
- Round 3:
- 1 sc, 1 increase, repeat around. [18]
- Rounds 4-8:
- Work 1 sc in each stitch (no increases). [18]
At this point, stuff the body lightly.
- Round 9:
- 1 sc, 1 decrease, repeat across. [12]
- Round 10:
- Decrease all stitches until 6 stitches remain. [6]
- Cut yarn, leaving a long end. Use the tapestry needle to pull the yarn through the remaining stitches. Pull tightly to close and weave in the end.
Part 3: Axolotl Head
- Using light pink, begin with a magic ring.
- Work 6 sc into the ring. [6]
- Round 2:
- Work 1 sc, 1 increase throughout the round. [12]
- Round 3:
- Work 2 sc, 1 increase, repeat. [18]
- Rounds 4-8:
- Work 1 sc in each stitch. [18]
- Attach safety eyes between Round 6 and 7, spacing them 5 stitches apart.
- Embroider a small mouth below the eyes and add dots for cheeks using the contrasting color.
- Round 9:
- 1 sc, 1 decrease, repeat around. [12]
- Stuff thoroughly with fiberfill.
- Round 10:
- Work decreases in all stitches to reduce to 6 stitches. [6]
- Slip stitch to finish, cut yarn leaving a long tail, and sew the head securely onto the body.

Part 4: Arms and Legs
Arms (Make 2):
- Attach dark pink yarn to the point where the arms should be positioned.
- Chain 2 and work 2 double crochets (dc).
- Slip stitch back into the starting chain to form a tiny arm.
- Cut yarn and weave in ends.
Feet (Make 2):
- Join dark pink yarn at the bottom sides of the body.
- Chain 2, work 1 half-double crochet (hdc), 1 dc, and slip stitch into the base chain.
- Cut yarn, leaving a long tail, and sew each foot into position.
Part 5: Eyes and Facial Details
- Place safety eyes between Rounds 6 and 7 of the head, with 4 stitches of space in between.
- Use black yarn to embroider a small smile just below the eyes.
- Add red yarn cheeks by creating small blush dots just under the eyes.

Special Techniques
- Magic Ring:
- This is a fundamental technique for starting amigurumi projects. Pull the stitches tightly to avoid gaps.
- Increases and Decreases:
- Take care to count stitches accurately to maintain symmetry.
- Slip Stitch Placement:
- Use slip stitches to create smooth transitions between rows when making details such as the tail fin.
Customization Ideas
- Color Variations:
- Use soft blue, yellow, or even pastel tones for unique designs.
- Accessories:
- Add a small flower or bow to turn your axolotl into a feminine look.
- Size Adjustments:
- Use smaller or larger hooks and yarn to create a smaller or larger axolotl.
- Playful Options:
- Add a stitched heart to the belly or give it a striped tail.
Final Assembly
- Sew the arms, legs, and head onto the jellyfish body symmetrically.
- Attach the keychain ring securely at the top of the head for use as a keychain.
- Double-check all threads are woven in securely and trim excess yarn.
Conclusion and Tips
Congratulations! You’ve completed your adorable crochet axolotl. This project is perfect for creating a customizable and fun accessory to enhance your crafting skills. Below are some final tips:
- Tighten all your stitches evenly to avoid gaps.
- Use stitch markers to keep track of rounds.
- Stuff the body and head firmly but carefully to avoid distortion.
- Take your time with the details like eyes, mouth, and tentacles — they give the axolotl its personality.
Uses
You create a miniature amigurumi that you can use as:
- Keychain: Attach an argolla (keyring) to the top of the head for a portable accessory.
- Ornament/Charm: Use it as a decorative charm on bags, backpacks, or rearview mirrors.
- Small Gift: A unique and popular creature perfect for gifting.
Materials
Gather these items to complete the project:
- Yarn/Thread (Hilaza): Use thin yarn or thread (like Sinfonía or thin acrylic) to achieve a small, detailed size.
- Main Body: Light pink/rose (rosita bajito).
- Gills/Frills: Darker pink/rose (rosado fuerte) or a contrasting color.
- Hook: A 2.5 mm crochet hook (or appropriate size for your chosen yarn).
- Notions:
- Stuffing (Relleno): Polyester fiberfill (to stuff the tail and head).
- Safety Eyes: Small size, approximately 5 mm to 6 mm.
- Tools: Tapestry needle, scissors, stitch marker.
- Keyring (Argolla): Optional, for the keychain functionality.
Special Features
This pattern features unique structural elements to capture the axolotl's appearance:
- Tapered Tail Section: The tail starts narrow, widens with increases, and then maintains a straight column before narrowing again to form the neck.
- Flared Frills/Gills (Ramitas): You create the iconic gills and tail fin details by using a combination of SC, DC, and Dtr in the same stitch space to create a fan-like cluster that flares out.
- Distinct Body Sections: The head is created by immediately increasing the stitch count after the neck decrease, giving the axolotl its large, rounded head relative to its body.
- Simple Limbs: The arms and legs are made using short chains and slip stitches, creating tiny three-pronged or two-pronged digits.
Level of Difficulty
This is an Intermediate level project. You must be able to:
- Maintain tight tension while working with thin yarn and small hooks.
- Execute clean increases and decreases.
- Work a complex stitch sequence (DC, Dtr, SC clusters) to create the frills and tail fin.
- Accurately place limbs and gills symmetrically on the body.
Tutor's Suggestions
- Stuffing: Ensure you stuff the main body column before the final head decreases. Use the hook or a small, blunt tool to firmly push stuffing into the narrow tail and neck areas.
- Gills Placement (Ramitas): The gills are placed on the head by folding the head flat and using a contrasting color to crochet the clusters directly into the side of the head using previous round stitches as anchors.
- Customization: Axolotls come in many colors (blue, yellow, dark gray), so feel free to choose any color combination you like!
Step by Step Details
Create an adorable Axolotl Amigurumi Keychain. This pattern guides you through crocheting the axolotl's distinct body shape, its frilly external gills (ramitas), and its tiny limbs. The finished piece is small and detailed, perfect for a keychain or bag charm.
Conclusion
You have finished the Ajolote Amigurumi Keychain. With its playful gills, distinctive tail, and tiny size, this miniature aquatic friend is ready to be a unique charm or a delightful gift.
Tip
For a professional finish on the gill and fin details, use a slightly thinner or smoother contrasting yarn. The delicate nature of a thinner yarn ensures the frills cluster neatly without becoming too bulky or overwhelming the small body size.