
Free Crochet Mini Camera Keychain Pattern That Looks Realistic
Snap charming vibes with this Free Crochet Mini Camera Keychain Pattern, a tiny, stylish accessory perfect for keys, bags, or gifts.
Tiny and delightful, this Free Crochet Mini Camera Keychain Pattern brings a touch of whimsy to everyday items. Perfect for hobbyists, the pattern allows you to fashion a miniature camera keychain that stands out with its detailed design and playful charm.
Free Crochet Mini Camera Keychain Pattern With Stylish Details

This mini camera keychain isn’t just cute—it’s functional. Attach it to bags, keys, or zipper pulls to add a unique accent while keeping small essentials within reach. Its compact size makes it ideal as a thoughtful gift for photography enthusiasts or as a decorative accessory for personal belongings.
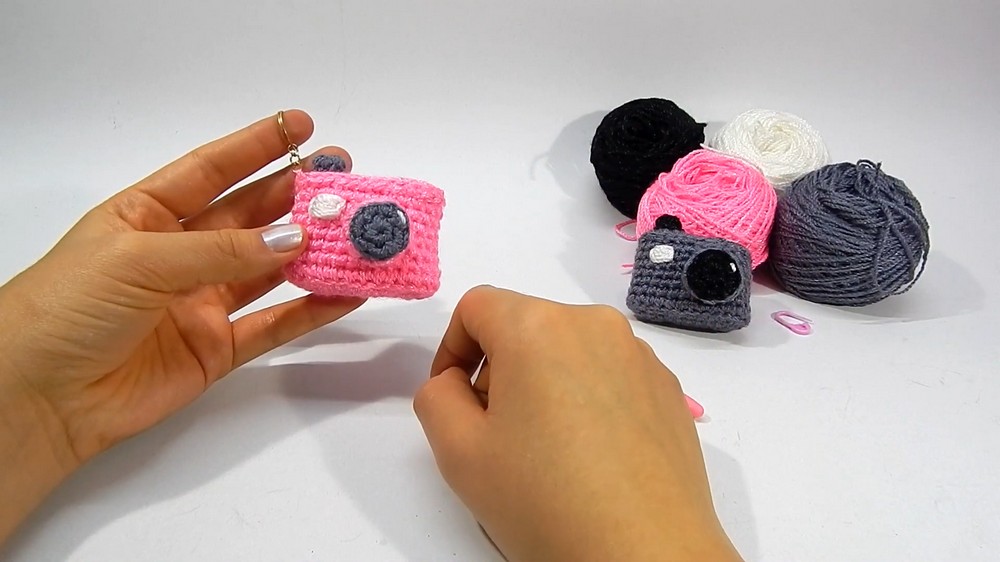
The design captures the iconic camera shape with charming crochet stitches, creating a visually appealing and tactile piece. Following this Free Crochet Mini Camera Keychain Pattern can enhance your dexterity and fine motor skills while giving you a satisfying sense of accomplishment. Its vibrant textures and small size make it a perfect conversation starter wherever it goes.
Mini Free Crochet Camera Keychain Pattern
Materials
- Yarn: Fingering or light sport weight yarn (approx. 2 mm thick). Hold two strands together for extra thickness and shape.
- Color A (Body): e.g., gray or pink
- Color B (Lens): e.g., black or gray
- Color C (Details): e.g., white (flash and lens reflection), light gray (button)
- Hook: 3.5 mm crochet hook
- Stuffing: Polyester fiberfill or synthetic stuffing
- Stitch marker (or scrap yarn)
- Tapestry/yarn needle
- Scissors
- Key ring (for attaching keychain)
Key Abbreviations (US Terms)
- ch: chain
- sl st: slip stitch
- sc: single crochet
- inc: increase (2 sc in the same st)
- st/sts: stitch/stitches
- BLO: back loop only
- rep: repeat
Special Notes
- The camera body is worked in two oval panels, then joined and crocheted in the round.
- Color changes and surface slip stitching are used for details.
- The "lens" and "button" (shutter) are worked separately, sewn on, and decorated with embroidery/lines.
- Adjust yarn colors as desired for personalization.
Pattern Instructions
Camera Body (Make 2)
(Worked holding 2 strands together)
Panel 1 and 2 (identical):
- Ch 9.
- Row 1: Starting in 2nd ch from hook: 3 sc in same ch (corner made), sc in next 7 ch, 3 sc in last ch (other end-corner). Pivot work so you can crochet along the other side of the chain. Sc in next 7 ch, join with sl st to first sc. (20 sts: 3+7+3+7)
- Row 2: Ch 1. Inc in each of the first 3 sts (corner), sc in next 7 sts, inc in next 3 sts (corner), sc in next 7 sts. Join with sl st to first sc. (26 sts: 3x2+7+3x2+7)
- Fasten off one panel (leave a long tail for sewing). For the second panel, do NOT fasten off, continue to "Forming the Sides".
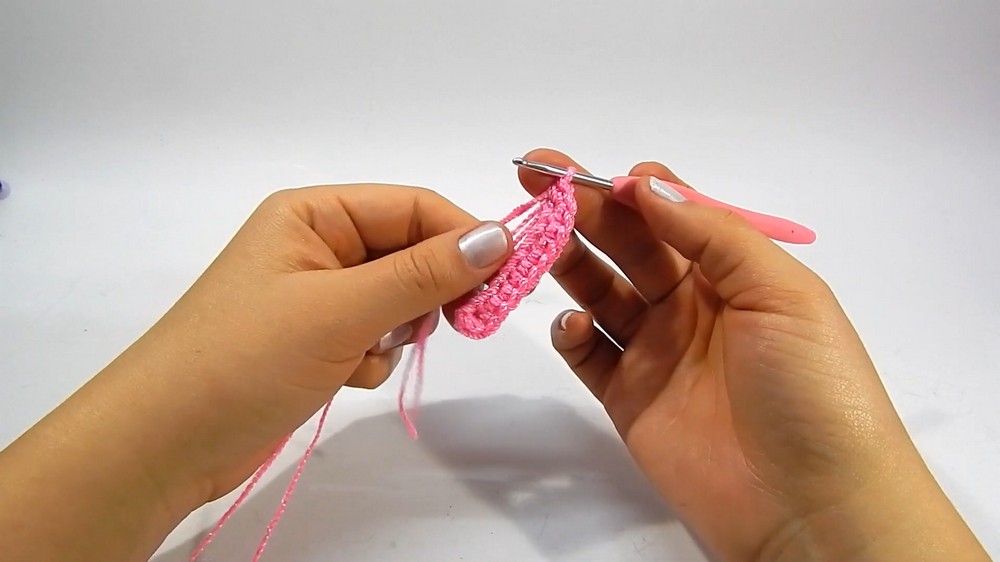
Forming the Sides (Continue from Panel 2)
- Ch 1, with camera body color, work sc BLO in each st around (all 26 sts). Join with sl st to first sc BLO.
- Continue to work 7 rounds in spiral (do not join with sl st at the end of the round). Place a stitch marker in the first st of each round to keep place.
- Work sc in each st around for a total of 7 rounds (including the first BLO round).
- After finishing seven rounds, join with sl st, fasten off, leaving long tail.
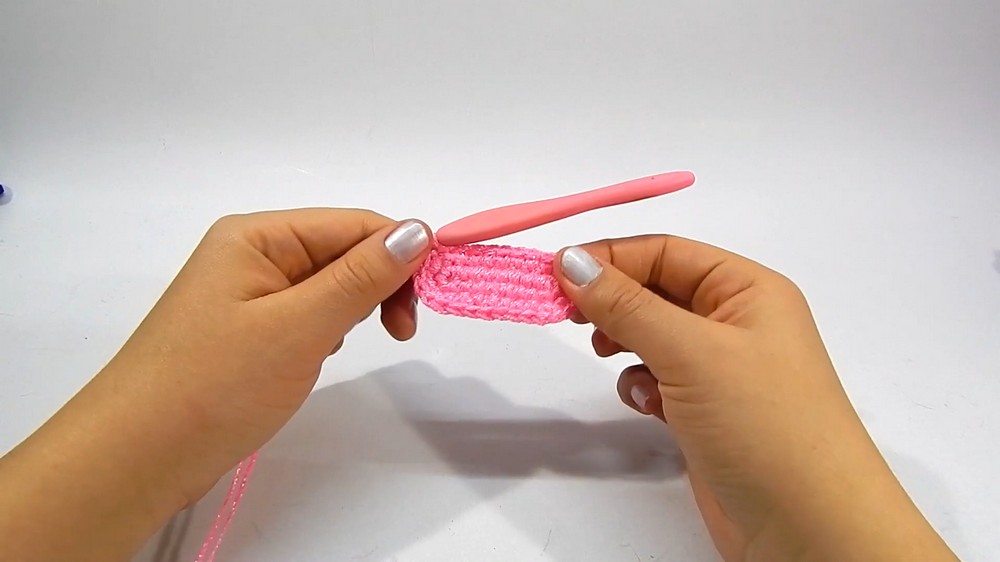
Assembly: Joining the Panels
- Stuff the camera body with polyester filling.
- Sew the front and back panels together using the leftover tail from the first panel, whipstitching all around.
- As you near completion, add more stuffing if necessary.

Lens (Front Circle Motif)
With lens color:
- Make a magic ring.
- Ch 1, 6 sc in the ring. Pull the ring tight.
- Sl st to first sc.
- Ch 1, [inc in next st, sc in next st] around (total of 9 sts), sl st to join.
- Change to camera body color (optional):
- Join color to BLO of any st, ch 1, sc in BLO around (9 sts). Sl st to join.
- Optional: Work a second round of sc in both loops for more thickness.
- Fasten off, leaving a long tail for sewing.
- Optional: Work a round of surface slip stitches (in body color) around the join between the color sections for a decorative ring.
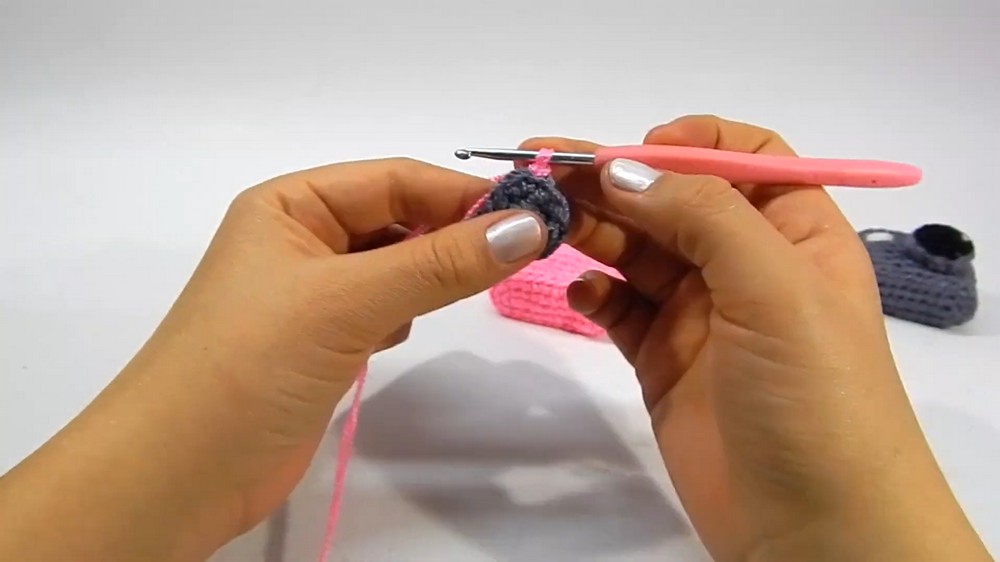
Lens Highlight & Details
- With white yarn, embroider 1–2 stitches to simulate a “reflection” on the lens.
- Secure and weave tail ends inside lens.
Top Button (Shutter Button)
With light gray or desired color:
- Magic ring.
- Ch 1, 6 sc in ring, pull tight.
- Sl st to first sc.
- Fasten off, leaving a tail for sewing.
- Fold flat and sew to top right corner of the camera (or as preferred).
Flash Reflector (Optional)
With white yarn and needle:
- On the front face of the camera, use small vertical and horizontal embroidery stitches to form a small “flash” square next to the lens.
- Secure, weave in ends inside body.
Final Assembly
- Attach the Lens securely to the front center using leftover tail; stuff lightly if desired for dimension.
- Attach the Button (Shutter) on the opposite or upper edge using tail.
- Embroider flash and lens detail as above.
- Stuff the camera body fully before closing entirely.
- Sew closed.
- Attach key ring at one end by sewing through body and the ring several times with strong yarn.
- Weave in all ends securely.

Conclusion
Your adorable mini camera amigurumi is now ready for use as a keychain, bag charm, or as a fun gift! Easily customizable in color, these are quick projects using only basic stitches and simple assembly.
Pattern Correction
- Be careful to work both panels identically for a perfect oval match.
- Mark the first stitch in each spiral round for camera body sides—this prevents losing track of rounds.
- Ensure you switch to normal sc (not BLO) after the first border round for a neater shape.
- If desired, increase lens or flash size by adjusting the number of stitches.
Tips
- Use invisible/ladder stitch when sewing pieces for an extra clean finish.
- Embroidering the flash feature before closing the body prevents difficulty with the needle.
- Use safety eyes or beads for a different look for the "lens".
- Attach key ring through stitches, NOT stuffing, for durability.