
Unique Crochet Amigurumi Gnome Free Pattern For Home Decor
Meet a charming little character with this Crochet Amigurumi Gnome Free Pattern featuring a pointy hat, cute nose, and fluffy beard.
Want to make a small, cute friend? The Crochet Amigurumi Gnome is just that—a tiny doll that looks like a little gnome with a big hat and a friendly face. Usually, it stands about 5 to 8 inches tall, which makes it good for holding or sitting on a shelf.
Sweet Crochet Amigurumi Gnome Free Pattern For A Cute Collection
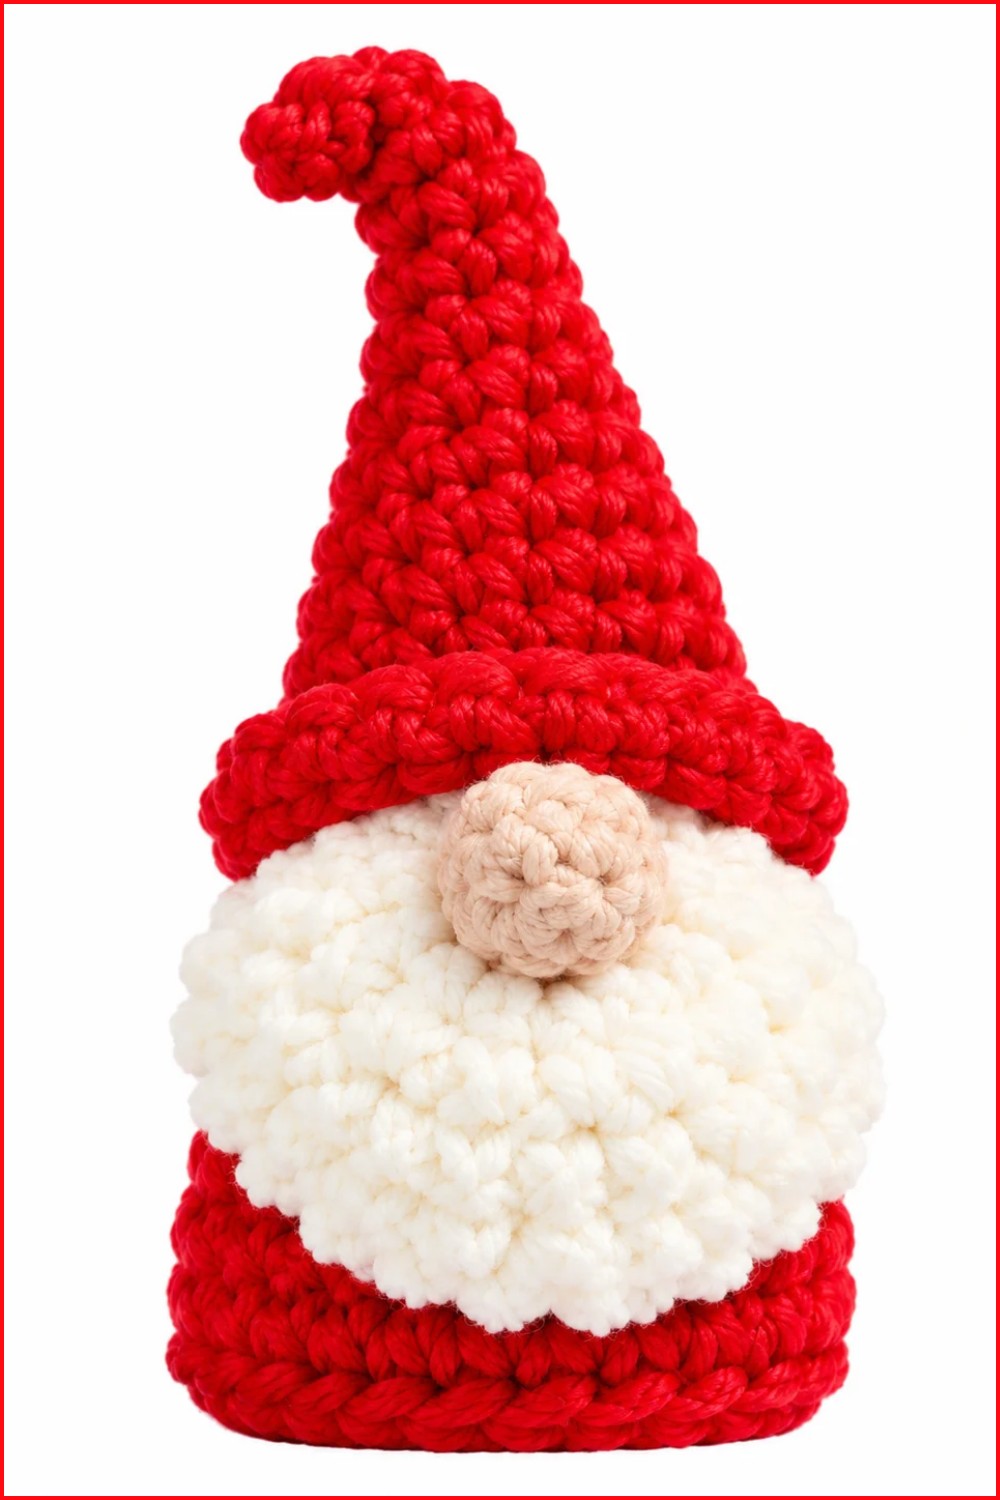
In terms of shape, the gnome has a round body and a tall, pointy hat. Its nose often peeks out just below the hat, while the eyes may be small or sometimes not shown at all. Many gnomes have a long beard made from soft yarn or wool yarn, giving them a warm and friendly look. The hat is often made with bright colors like red or green, adding charm and character to the doll.
When it comes to design, this gnome uses simple stitches to build the body, hat, nose, and beard parts. Because of this, it is great for beginners who have learned basic crochet skills. However, some parts like the beard or shaping might be better suited for those with intermediate experience.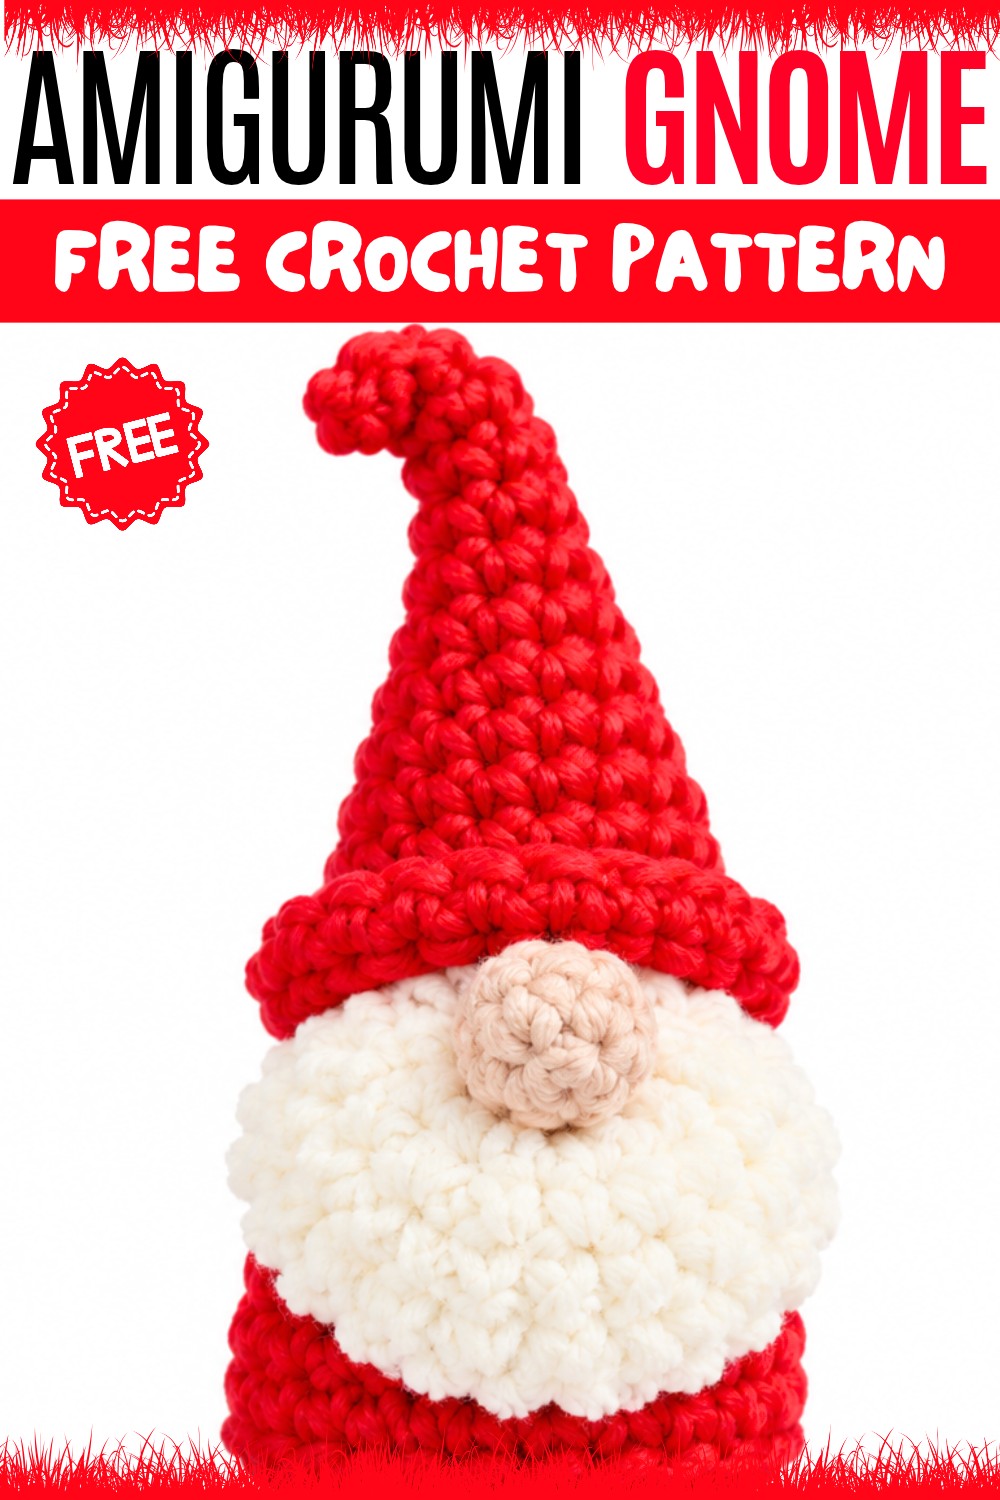
Additionally, you can change the size by using thicker yarn and bigger hooks or thinner yarn and smaller hooks. This means you can make your gnome smaller or larger based on your liking.
To sum up, the Crochet Amigurumi Gnome is a fun and friendly project. It looks nice, feels soft, and is a great way for new crocheters to practice their skills while making something cheerful and full of character.
Featured By :
About the Pattern
This pattern provides the complete step-by-step construction of a classic Nordic Christmas gnome, also known as a Tomte or Nisse. The gnome features a tall, curling hat, a round body, a textured beard, and a signature round nose. Created in traditional amigurumi style, the project utilizes single crochets, increases, and basic shaping for each part. All instructions use US crochet terminology.

Pattern Basic Points
Hat
- The hat is worked in continuous rounds from tip to base, creating a tall conical shape.
- Increases are methodically spaced to create a curve and natural drape.
- The final round is worked in front loop only to allow for easier shaping over the gnome’s head.
Body
- The body consists of two discs: top and bottom, both worked separately and then joined.
- Discs are joined by crocheting through both layers for a seamless and structured finish.
Nose & Beard
- The nose is worked in the round for a simple, plump sphere.
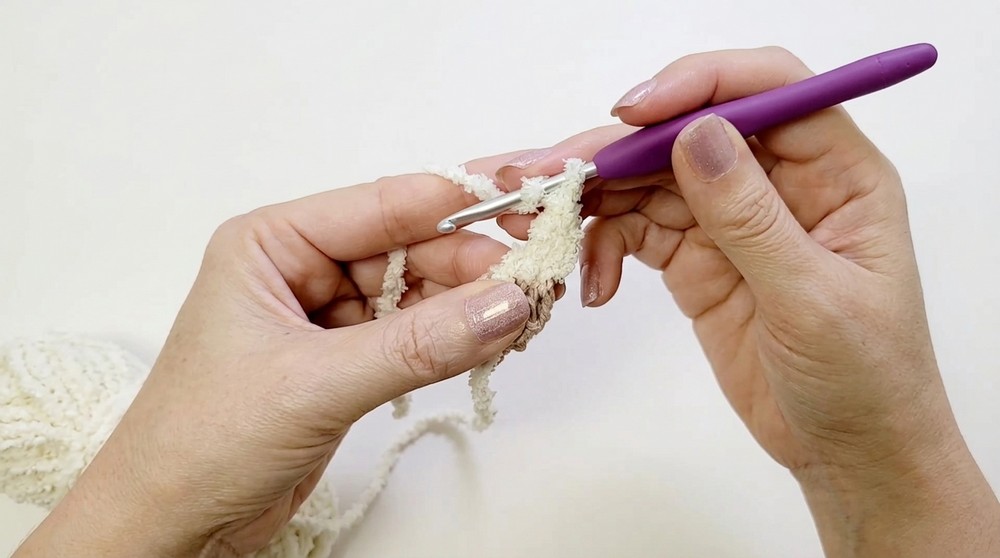
- The beard uses fuzzy or eyelash yarn for texture and is worked with double crochets around the nose base for fullness.
Assembly
- Careful positioning and light stuffing ensure the gnome sits securely and the hat fits snugly.
Special Notes
- Use a stitch marker for the first stitch of each round to maintain continuity.
- Fuzzy or eyelash yarn is recommended for the beard, but any highly textured yarn will work.
- When attaching the hat, glue may be used for additional hold.
- For a decorative look, lightly stuff the nose and hat tip, but avoid over-stuffing to maintain the gnome’s signature shape.
Skill Level
This project is ideal for beginner to intermediate crocheters.
The construction consists of basic shapes and stitches, with simple increases and assembly, suitable for those familiar with working in the round and simple amigurumi techniques.
Materials
- Worsted weight yarn in red, grey, or traditional festive color for the hat and body
- Worsted or fuzzy/eyelash yarn in white or grey for the beard
- Worsted weight skin-tone yarn for the nose
- 3.0 mm or 3.5 mm crochet hook (E/4)
- Yarn needle for assembly
- Craft glue (optional, for securing hat)
- Fiberfill stuffing
- Scissors
- Stitch marker
Measurements & Gauge
- The finished gnome stands approximately 13–16 cm (5–6 in) tall, depending on the hat shape and yarn used.
- Gauge is not essential for amigurumi, but maintain an even tension for a neat, firm fabric.
- Stitch pattern: Single crochet throughout, with some double crochet for the beard.
Stitch Abbreviations
| Abbreviation | Meaning |
|---|---|
| mr | magic ring |
| ch | chain |
| sc | single crochet |
| dc | double crochet |
| inc | increase (2 sc in st) |
| st(s) | stitch(es) |
| FLO | front loop only |
Special Stitches
- Magic Ring (mr): Adjustable ring for starting crochet in the round.
- Increase (inc): Work 2 single crochets in one stitch.
- Front Loop Only (FLO): Work the designated round into the front loop only, leaving the back loop unworked for structure.
- Double Crochet (dc): Yarn over, insert hook into stitch, yarn over, pull through, yarn over, pull through 2, yarn over, pull through 2.
Complete Crochet Pattern
The Hat
Round 1:
- Magic ring, ch 1, 4 sc in ring (4 sts)
Round 2:
- 4 sc (4 sts)

Round 3:
- 1 sc, inc, 1 sc, 1 sc (5 sts)
Round 4:
- 5 sc (5 sts)
Round 5:
- 2 sc, inc, 2 sc (6 sts)
Round 6:
- 6 sc (6 sts)
Round 7:
- 1 sc, inc, 2 sc, inc, 1 sc (8 sts)
Round 8:
- 8 sc (8 sts)
Round 9:
- 3 sc, inc, 3 sc, inc (10 sts)

Round 10:
- 10 sc (10 sts)
Round 11:
- 2 sc, inc, 4 sc, inc, 2 sc (12 sts)
Round 12:
- 5 sc, inc, 5 sc, inc (14 sts)
Round 13:
- 3 sc, inc, 6 sc, inc, 3 sc (16 sts)
Round 14:
- 7 sc, inc, 7 sc, inc (18 sts)
Round 15
- Sc in front loop only for all 18 sts (18 FLO sts)
Fastening off is not needed if proceeding immediately to assembly.
The Body
Bottom Section:
Round 1:
- Magic ring, 6 sc (6 sts)
Round 2: - 2 sc in each st around (12 sts)
Round 3: - 1 sc, inc repeat around (18 sts)
Fasten off bottom section.
Top Section:
Round 1:
- Magic ring, 6 sc (6 sts)
Round 2:
- 2 sc in each st around (12 sts)
Round 3:
- 1 sc, inc repeat around (18 sts)
Rounds 4–7:
- 1 sc in each st around (18 sts per round)
Do not fasten off; continue to joining step.
Joining the Discs:
- Place top and bottom discs together, right sides facing out.
- Working through both layers, sc through each pair of stitches around the edge (18 sc through double thickness).
Stuff lightly before closing the last few stitches.
Nose & Beard
Nose:
Round 1:
- Magic ring, 6 sc (6 sts)
Round 2:
- 6 sc (6 sts)
Finish off and stuff nose lightly if desired.
Beard:
- Join fuzzy or eyelash yarn at any point on nose base circle.
- First st: 2 dc in st.
- Remaining sts: 3 dc in each st around nose base for full texture.
Finish off and weave in ends.

Assembly
- Attach the nose securely to the center front of the body.
- Using the beard (already attached to the base of the nose), ensure the beard lays centered below the nose.
- Apply craft glue to the inner rim of the hat for stability if preferred.
- Place and secure hat over the head, allowing the final FLO round to sit just above the nose and beard, so the hat frames the face and beard naturally.
- Shape the hat tip as desired (curl or bend softly).
Finished Size
- Completed gnome stands approximately 13–16 cm (5–6 in) tall, depending on hat shaping and tension.
- The body sits flat and the hat can be posed as desired.
Conclusion
This Nordic gnome pattern uses fundamental amigurumi techniques and textural stitches to create a characterful holiday accent. Careful construction of each piece, combined with strategic shaping and secure attachment of the hat, nose, and beard, results in a festive and classic Tomte/Nisse. By following the structured rounds and specified joining techniques, the finished gnome will feature a seamless, sturdy build and a whimsical, traditional appearance suitable for seasonal decorations or gifting. The balance of simple shaping and decorative details allows for satisfying results and opportunities for custom embellishment.