
Free Crochet Christmas Octopus Pattern For House Decor
Celebrate the holidays with a crochet Christmas Octopus using this free pattern, perfect for adding a playful handmade touch to décor or gifts.
Decorating for the holidays becomes more delightful when adding handmade pieces with charm and character. The Crochet Christmas Octopus Pattern features a festive twist on a beloved design, showcasing cheerful tentacles and holiday-inspired details. This fun and whimsical project can be used as ornaments, quirky stocking stuffers, or even thoughtful gifts to bring personalized joy to the season.
Adorable Free Crochet Christmas Octopus Pattern to Gift This Holiday
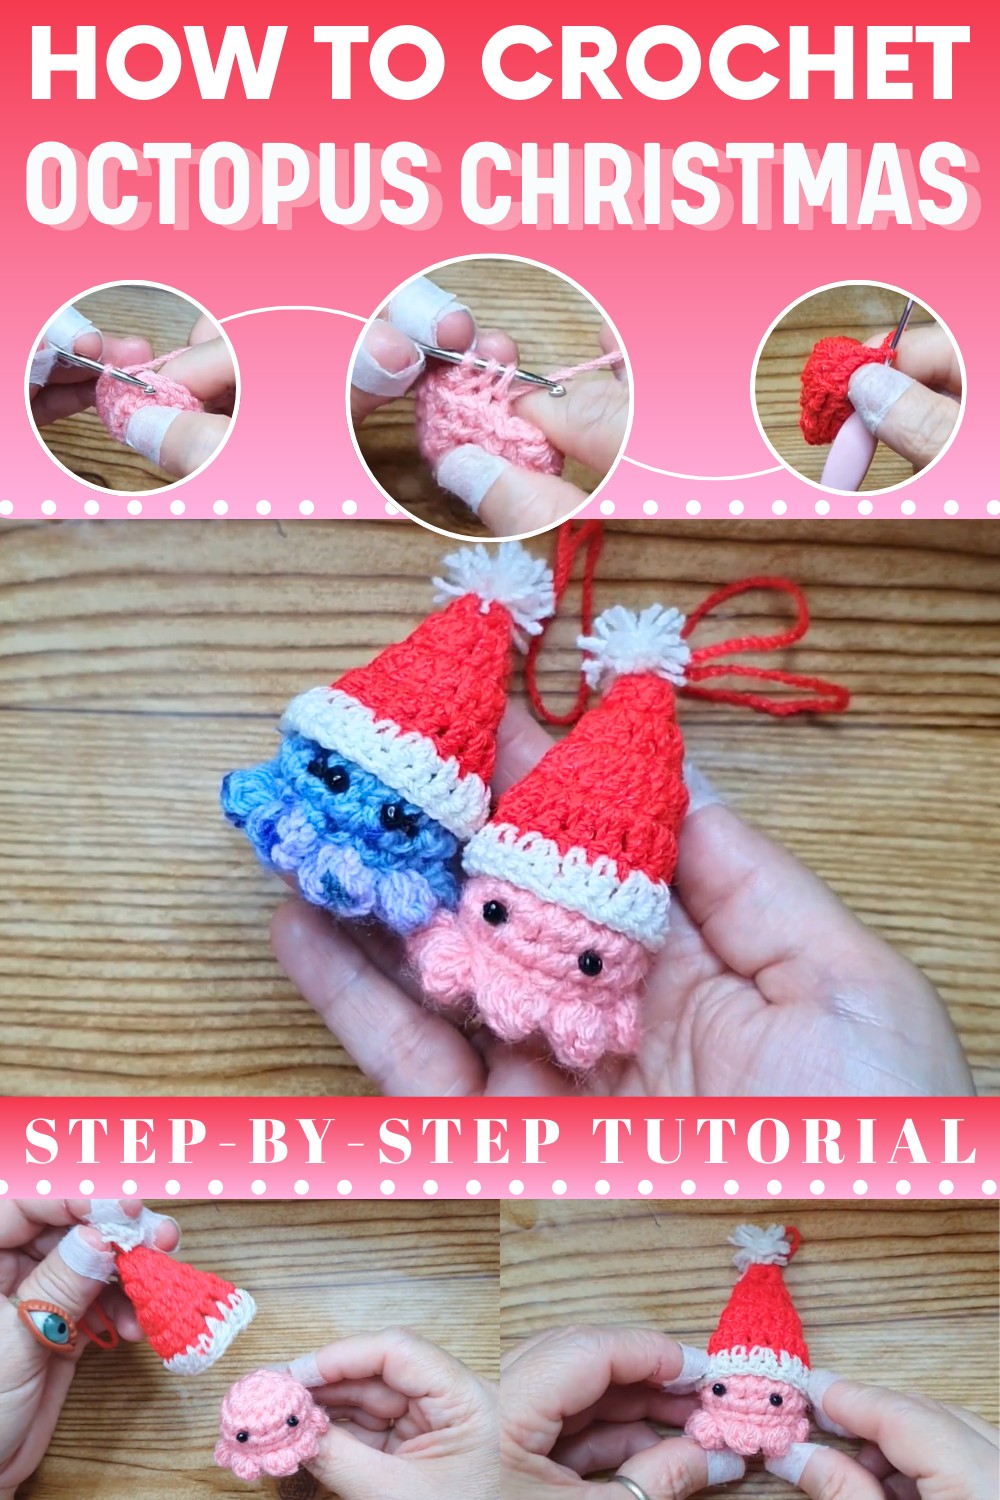
The octopus design allows for vibrant color combinations and playful embellishments, making it easily customizable to suit your holiday theme. Creating the pattern involves crocheting the base of the octopus, constructing its rounded body, stitching delicate tentacles, and adding holiday accents such as a tiny Santa hat or festive embroidery.
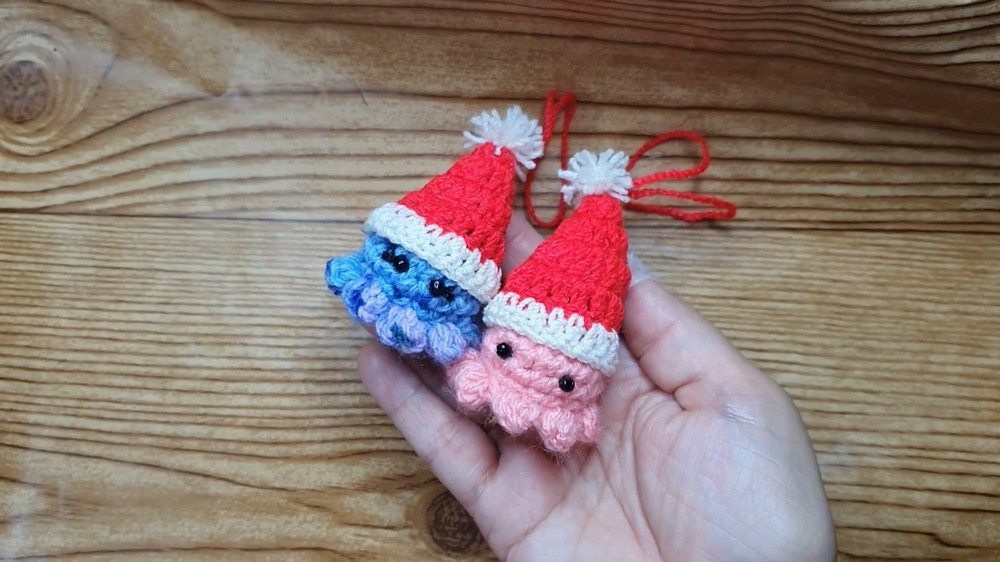
Whether you're an experienced crafter or a beginner seeking a manageable project, this pattern promises a fulfilling experience. The result is a lighthearted yet elegant crochet creation, perfect for spreading festive cheer and impressing friends and family.
Crochet Octopus with Santa Hat Pattern
Materials List
- Yarn:
- Thick acrylic or cotton yarn in main (octopus) color
- Red yarn (Santa hat)
- White or bone yarn (hat brim)
- Small amount of white (pompom)
- Hook: 2.7 mm (or appropriate size for your yarn)
- Stuffing: Polyester fiberfill or equivalent
- Yarn Needle: For sewing and embroidery
- Stitch Marker (optional)
- Beads or safety eyes (for eyes)
- Sewing Thread and Needle (for attaching beads/eyes)
- Scissors
- Glue (optional, for eyes if not sewn)
- Keyring, cord, or hanging loop (optional, for car charm or keychain)
Abbreviations (US Terms)
- MR: Magic Ring
- ch: Chain
- sc: Single crochet
- inc: Increase (2 sc in the same stitch)
- dec: Decrease (sc 2 together)
- sl st: Slip stitch
- hdc: Half double crochet
- dc: Double crochet
- st(s): Stitch(es)
Special Notes:
- The body is worked in continuous rounds unless specified otherwise.
- For best results, mark the first stitch of each round.
Pattern
Octopus Head & Body
- MR, ch 1.
- Work 8 sc into the ring. Tighten and sl st to the first sc. (8 sts)
- Ch 1, 2 sc in each st around. (inc in each st) (16 sts), sl st to join.
- Ch 1, sc in each st around (16 sts). Sl st to join.
- Repeat previous round (step 4) two more times (total 3 rounds of 16 sc each). Mark your rounds if needed.
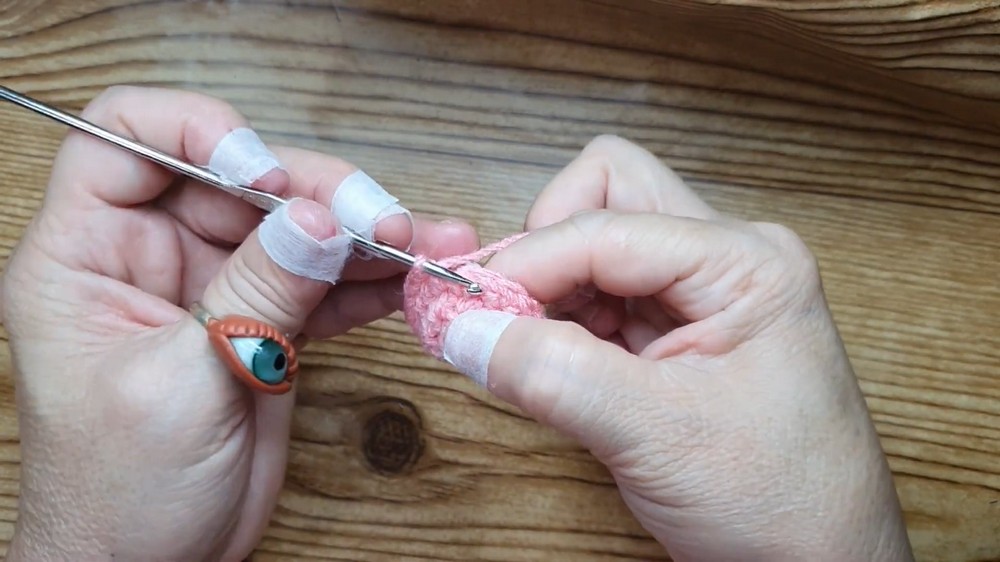
Head Closure & Stuffing
- Ch 1. Now begin decreasing:
- (dec) in back loop only x 8 times (8 sts).
- This closes the head.
- Sl st to finish, fasten off leaving a long tail.
- Stuff the body firmly with filling.
- Close head: Thread the tail through a yarn needle, weave through the remaining front/back loops, pull tight to close. Weave in remaining end.
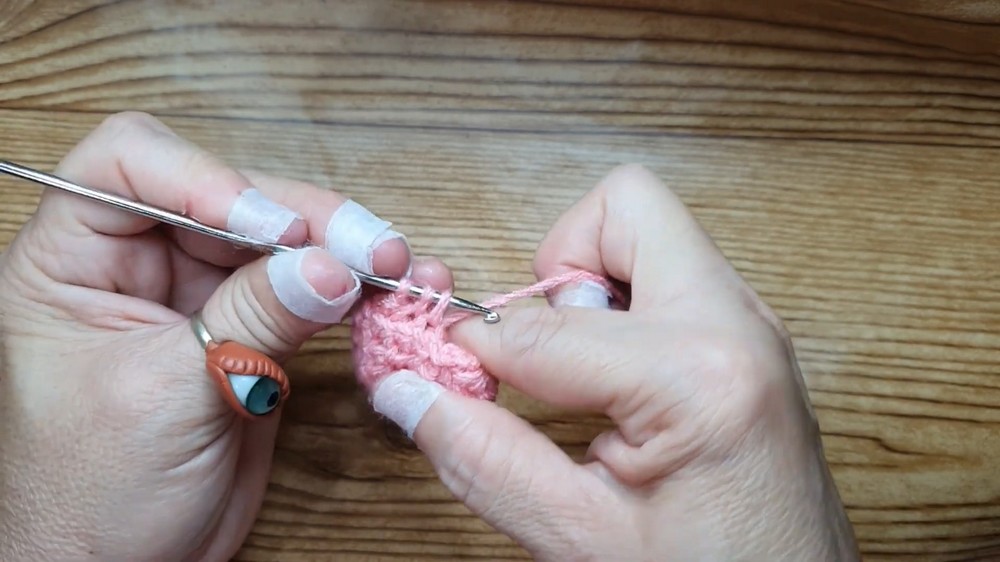
Tentacles
- Join main yarn at the bottom of the body.
- [sl st in next st, ch 1, 2 hdc in same place, sl st in same place, sl st in next st] — repeat this all the way around.
- You will have 8 tentacles (1 for each base st). Tentacles are formed from groups of: [2 hdc, sl st] in one base st, sl st in next. Repeat.
- Continue all the way around. Fasten off and weave in end.
Eyes
- Sew or glue 2 small beads or safety eyes onto the face, between Rounds 3 and 4, spaced approx. 2 stitches apart.
- For bead eyes:
- Thread the bead on a sewing needle and strong thread.
- Insert from inside, sew bead, move 2 sts over, repeat for second bead.
- Knot and hide the ends inside the head.
- Alternatively, use embroidery thread to create simple French knot eyes or small black yarn to stitch eyes.
Santa Hat
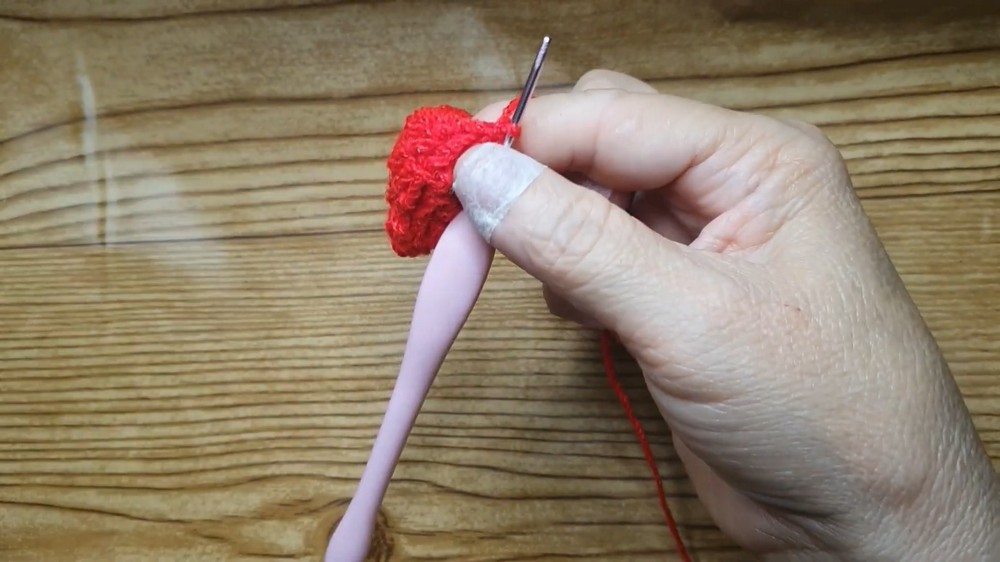
With red yarn:
- MR, ch 3 (counts as first dc).
- Work 5 dc into ring (6 stitches total including ch-3).
- Sl st in 3rd ch of beginning ch-3 to join.
- Turn, ch 3.
- 2 dc in each st around (12 total), sl st in third ch to join.
- Turn, ch 3.
- In same space, dc (inc made).
- (dc in next st, 2 dc in following st) repeat round.
- Continue in this pattern: 1 inc, 1 dc regular... (total 18 after this round), sl st to join.
- Turn, ch 3., dc in each st around (18), sl st to join.
- Fasten off red yarn.
Hat Brim (White)
- Join white or bone yarn to any st.
- Ch 3, dc in same st (inc), dc in next st, (2 dc in next st, dc in next) repeat around.
- You will alternate [2 dc, 1 dc] around the brim to add slight ruffle/flair.
- Sl st in 3rd ch to join.
- Ch 1, fasten off and weave in ends.
Pompom
- Using white yarn, wrap yarn around two fingers about 14 (or more) times for a fluffy pompom.
- Remove from fingers, tie tightly at center with another strand.
- Cut loops open (do NOT cut the center tie) and trim ends to a round shape.
- Leave long tail for sewing.
Hat Assembly
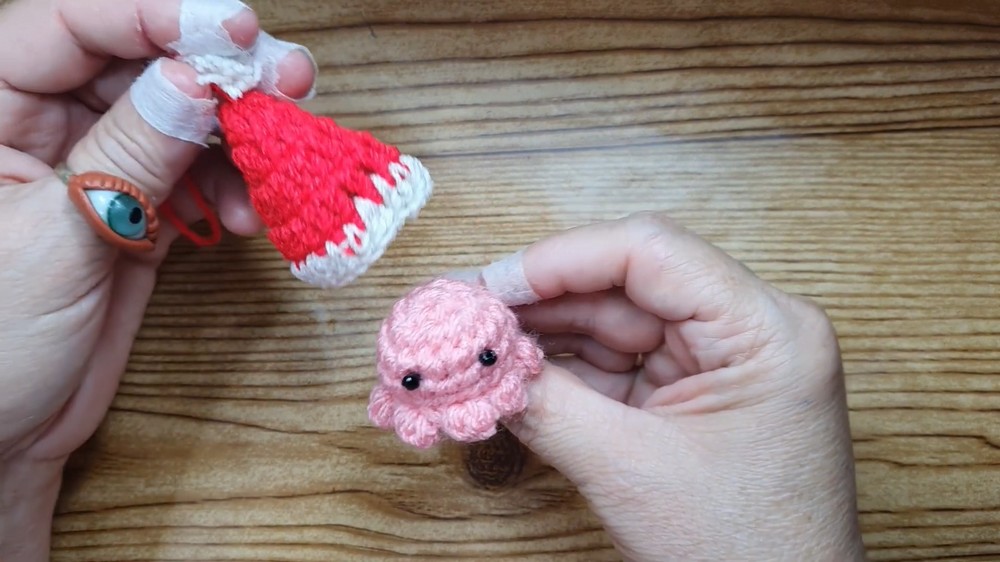
- Attach the pompom to the tip of the hat using the long tail—sew firmly.
- Use hat’s starting magic ring tail and pompom tail to secure pompom onto hat; knot tightly and weave in.
- Sew or glue the hat to the top of octopus’s head, tilting to the side for character if desired.
- Tip: Open up the hat base slightly, fit, then stitch around for a strong hold.
Optional Hanging Loop
- With matching yarn or cord, attach a small loop at the top of the hat prior to sewing down (or after), for use as an ornament, car charm, or keychain.
Conclusion
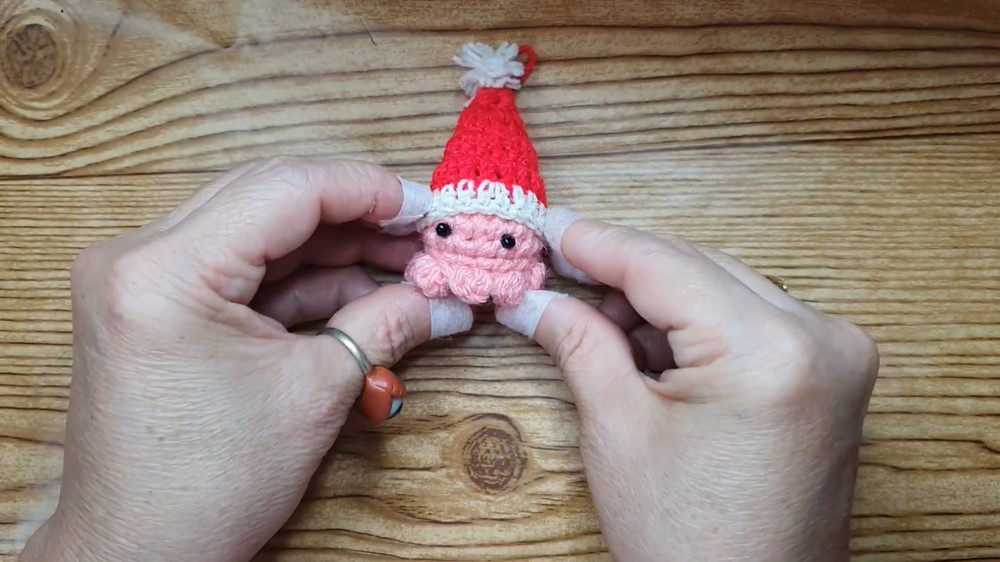
You have created an adorable octopus with a festive Santa hat—perfect for gifting, decorating your car, tree, or using as a keychain. Each step is easily adjustable for your yarn, colors, and individual flair. Don’t worry if your pompom is not perfectly round—trim and add more yarn for fullness as you like!
Pattern Correction & Tips
- Hat too small/large? Add/remove a round in plain dc for desired depth before starting the white brim.
- Need fluffier pompom? Wrap more yarn (20–30 times) around fingers.
- Stitch counts not matching? Add an increase or decrease in the brim as needed to keep it flat.