
Festive Free Crochet Christmas Santa Star Pattern That Shines Bright
Celebrate the season with a charming twist using the Free Crochet Christmas Santa Star Pattern to add festive sparkle to any space or gift.
Get ready for a festive burst of cheer with this charming crochet project, this design brings holiday sparkle straight into your hands! The Free Crochet Christmas Santa Star Pattern offers a delightful way to combine the jolly figure of Santa with a shimmering star shape, ideal for hanging on your tree, adorning gift packages, or turning into festive ornaments.
Cute Free Crochet Christmas Santa Star Pattern for Tree Decorations
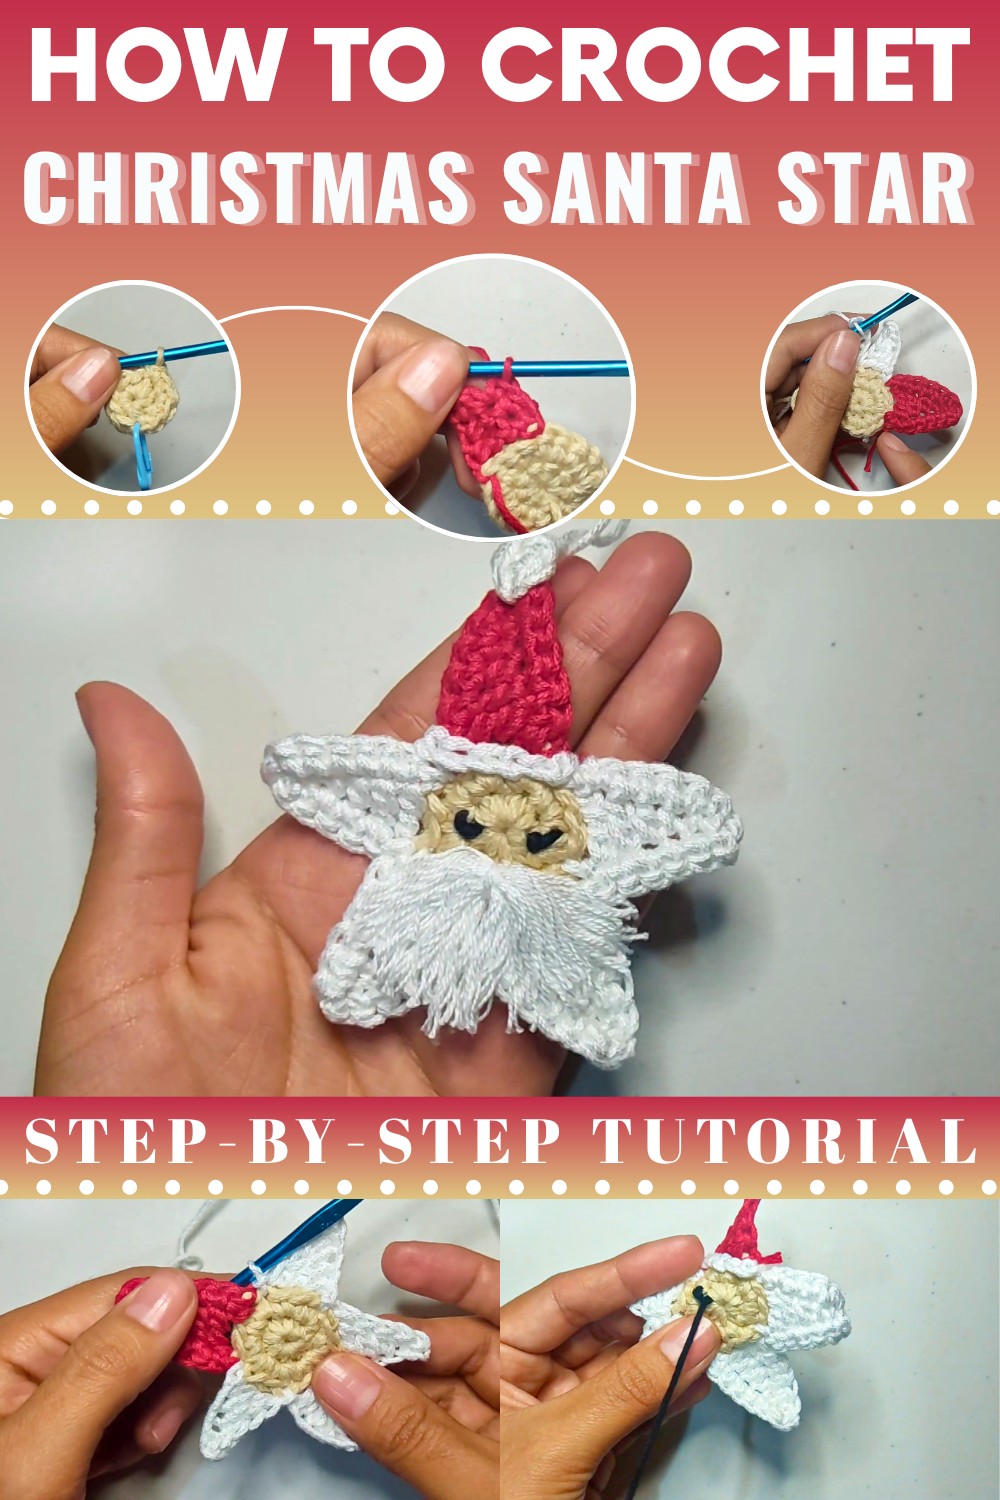
With the Free Crochet Christmas Santa Star Pattern you’ll enjoy both the visual appeal of a seasonal icon and the satisfaction of working through a clear, engaging sequence of steps. Its uses are wonderfully versatile, hang it from your Christmas tree, use it as a festive bag or zipper charm, gift it as a handmade token, or even make a garland of them across your mantel.

Watch the video tutorial
Materials
- Yarn: (Sport or DK weight recommended)
- Beige or flesh color (face)
- Red
- White
- Black
- Hook: 3.5 mm (main pieces); 2.5 mm (optional, for small parts)
- Yarn needle
- Stitch marker
- Scissors
- Stuffing (fiberfill)
- Optional: Ready-made security or stick-on eyes, blush/makeup for cheeks, and a comb for star “beard”
Abbreviations (US Terms)
| Abbreviation | Definition |
|---|---|
| MR | magic ring |
| sc | single crochet |
| inc | increase (2 sc in 1 st) |
| sl st | slip stitch |
| ch | chain |
| hdc | half double crochet |
| dc | double crochet |
| tr | treble (triple) crochet |
| FO | fasten off |
Special Notes
- Work in continuous rounds unless instructed.
- Always change color on the last yarn over of the stitch before the new color.
- Stuff lightly for a plush effect and to maintain shape.
- The star is worked as a face with 5 radiating "points" (peaks), alternating in red and white.
Pattern
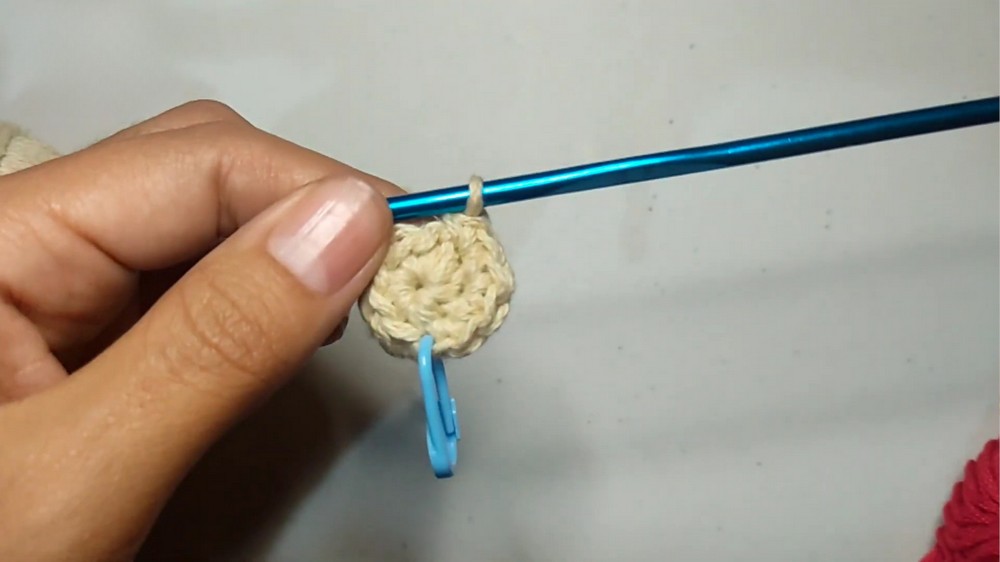
STAR FACE (Center Circle)
With beige/flesh:
- Rnd 1: MR, 8 sc into the ring. Pull tight. (8)
- Rnd 2: Inc in each st around. (16)
- Sl st to first st, ch 1, and FO beige.
STAR POINTS
General Notes
- Alternate colors as described below: 1 peak in red, next 4 in white.
- Each point (star arm) is made with a combination of stitches for shape, then anchored to the center at intervals with slip stitches.
First Peak (Red)
Attach red yarn to any st in center round:
- Ch 6.
- Beginning in 2nd ch from hook:
- Sl st in first ch,
- Sc in next ch,
- Hdc in next ch,
- Dc in next ch,
- Tr (double treble) in last ch (yo twice).
- Skip 2 center sts, sl st in next (this anchors the peak).
- Ch 1, turn.
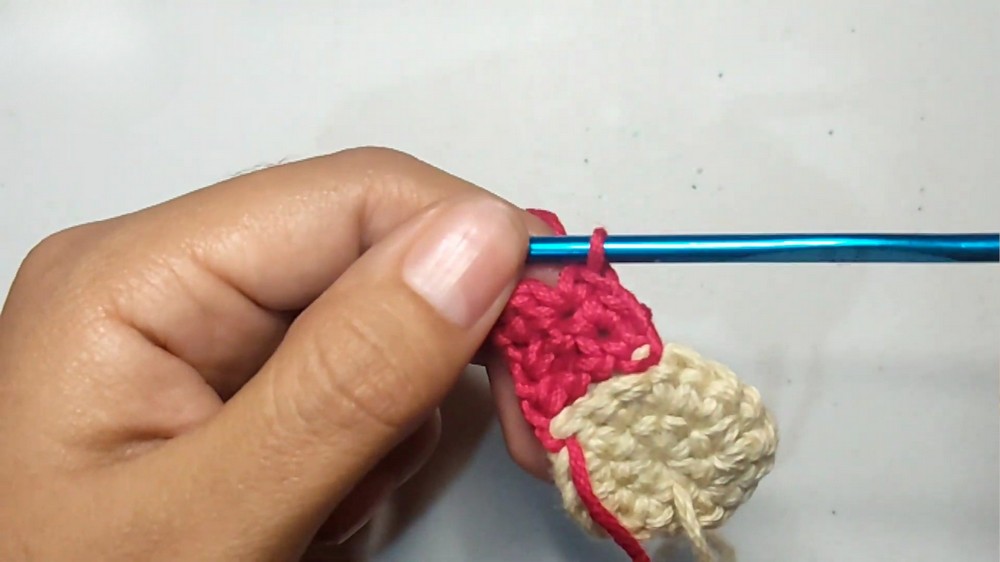
Work back down the peak:
- Sc in each st along the side of the peak: (5 sc in total).
- In the ch at the tip (the farthest st): 2 sc in same st (increase).
- Continue sc in each st down other side (5 sc).
- Sl st to the base of peak (where you joined).
- Ch 1, FO red.
Repeat for the next 4 points, using white yarn.
- Attach yarn in the next st to the right of previous, and repeat peak steps, always:
- Ch 6, sl st, sc, hdc, dc, tr, skip 2, sl st, ch 1, turn, sc across (with inc at tip), sc down returning side, sl st, FO.
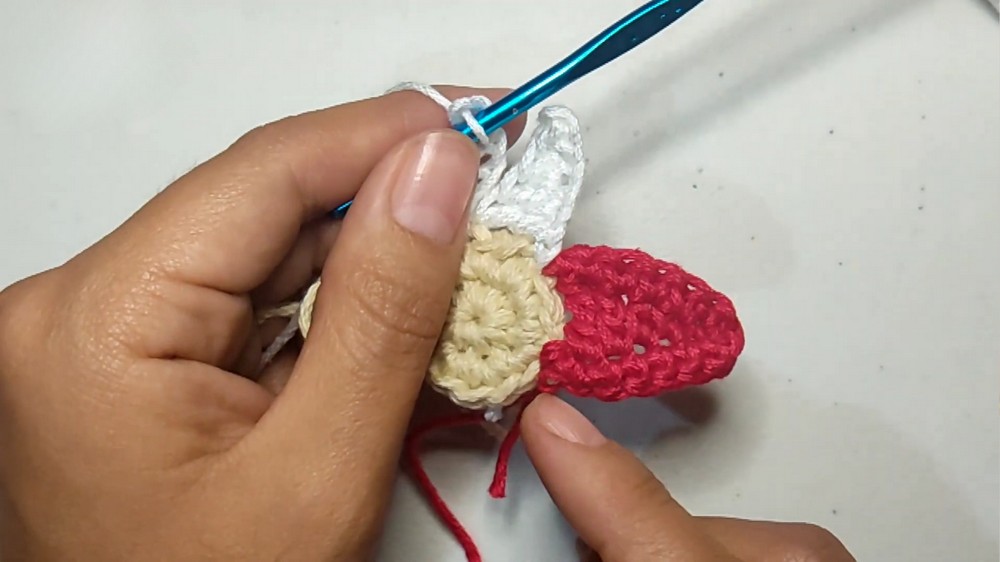
Continue until all 5 star points are made (1 red, 4 white).
HAT BRIM
Rejoin white yarn where the first peak begins.
- Ch 6, repeat hat peak process as described above.
- Repeat for each peak, as "brim" trims on each star point.
- At the end, sl st and FO.
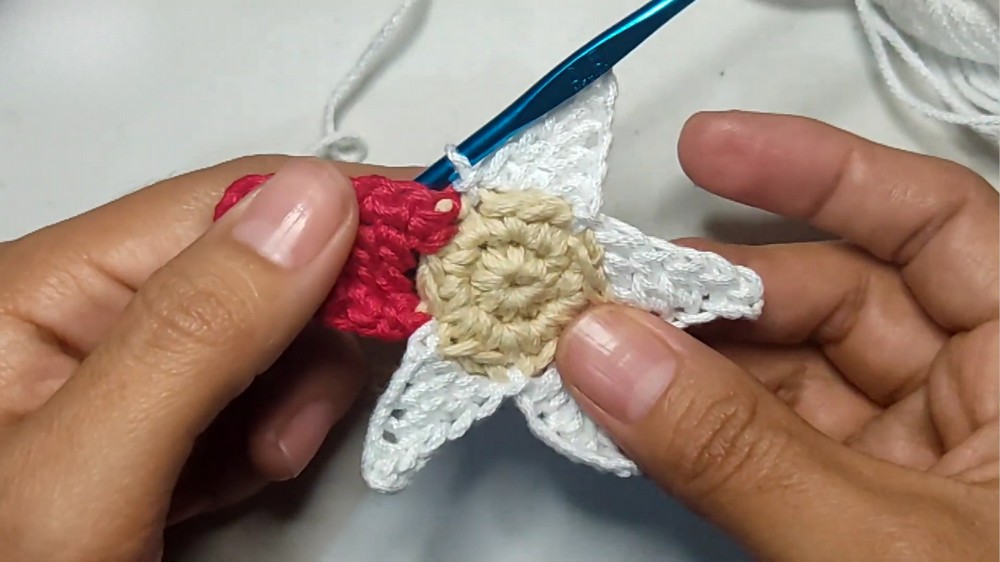
EYES & EMBELLISHMENTS
- With black yarn or embroidery thread, embroider two French knots, straight stitches, or sew/glue on safety eyes in the top central part of the face.
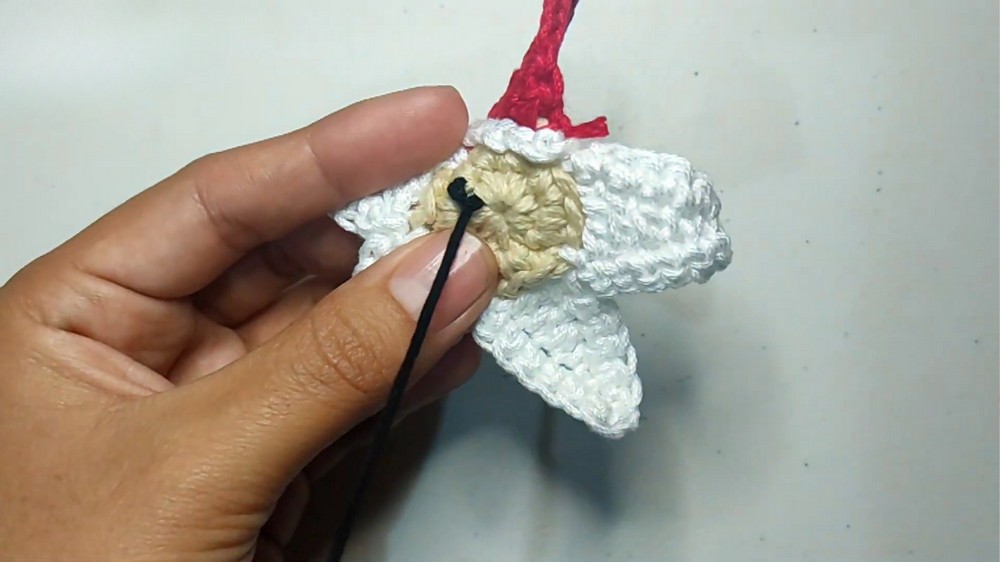
POMPOM (Hat Tip)
With white and 2.5 mm hook:
- MR, 5 sc in ring, pull tight.
- Sl st in first sc, ch 1, FO leaving a long tail for sewing.
- Sew securely to top of red peak (Santa's hat).
HANGING LOOP
- Use the pompom tail or add a new strand at the hat tip to form a loop for hanging.
- Knot on back.
BEARD (Optional, for extra detail):
Yarn Fringe:
- Cut several white yarn strands to the same length.
- Fold together, tie tightly at the middle with a separate piece of white yarn.
- Fluff or gently comb for volume.
- Sew/knot fringe bundle in place below mouth as beard/mustache.
FINISHING
- Tie off and hide all ends securely inside.
- Add blush to cheeks, shape as desired.
Conclusion
You have crafted a charming Santa star pendant! This functional, plush ornament can be hung on gifts, trees, or used as decoration. The pattern is modular—change colors or use for other festive characters.
Pattern Correction & Tips
- If Star Points Curl: Lightly steam block or finger flatten after assembly.
- Even Spacing: Skip 2 sts between each star point anchor for symmetry.
- Stuff Lightly: Over-stuffing will deform the star shape; just a little fiberfill is best.
- For Clean Color Changes: Always change color on last yarn over of previous stitch for neat joins.
- Hiding Ends: Run them into the stuffing or catch under the star brim as you finish.