
Tiny Crochet Bunbun Love Pattern That Melts Hearts Fast
Prepare to fall in love with the cutest and most heartwarming creation you’ll ever see! This Crochet Bunbun Love Pattern is all about spreading joy, love, and warmth to anyone who lays eyes on it. With its soft, fluffy shape and charming details, it’s more than just a crochet—it’s a little bundle of happiness you can create with your own hands. Perfect as a thoughtful gift for someone special, a delightful toy for children, or a unique piece of home decor, it has endless possibilities.
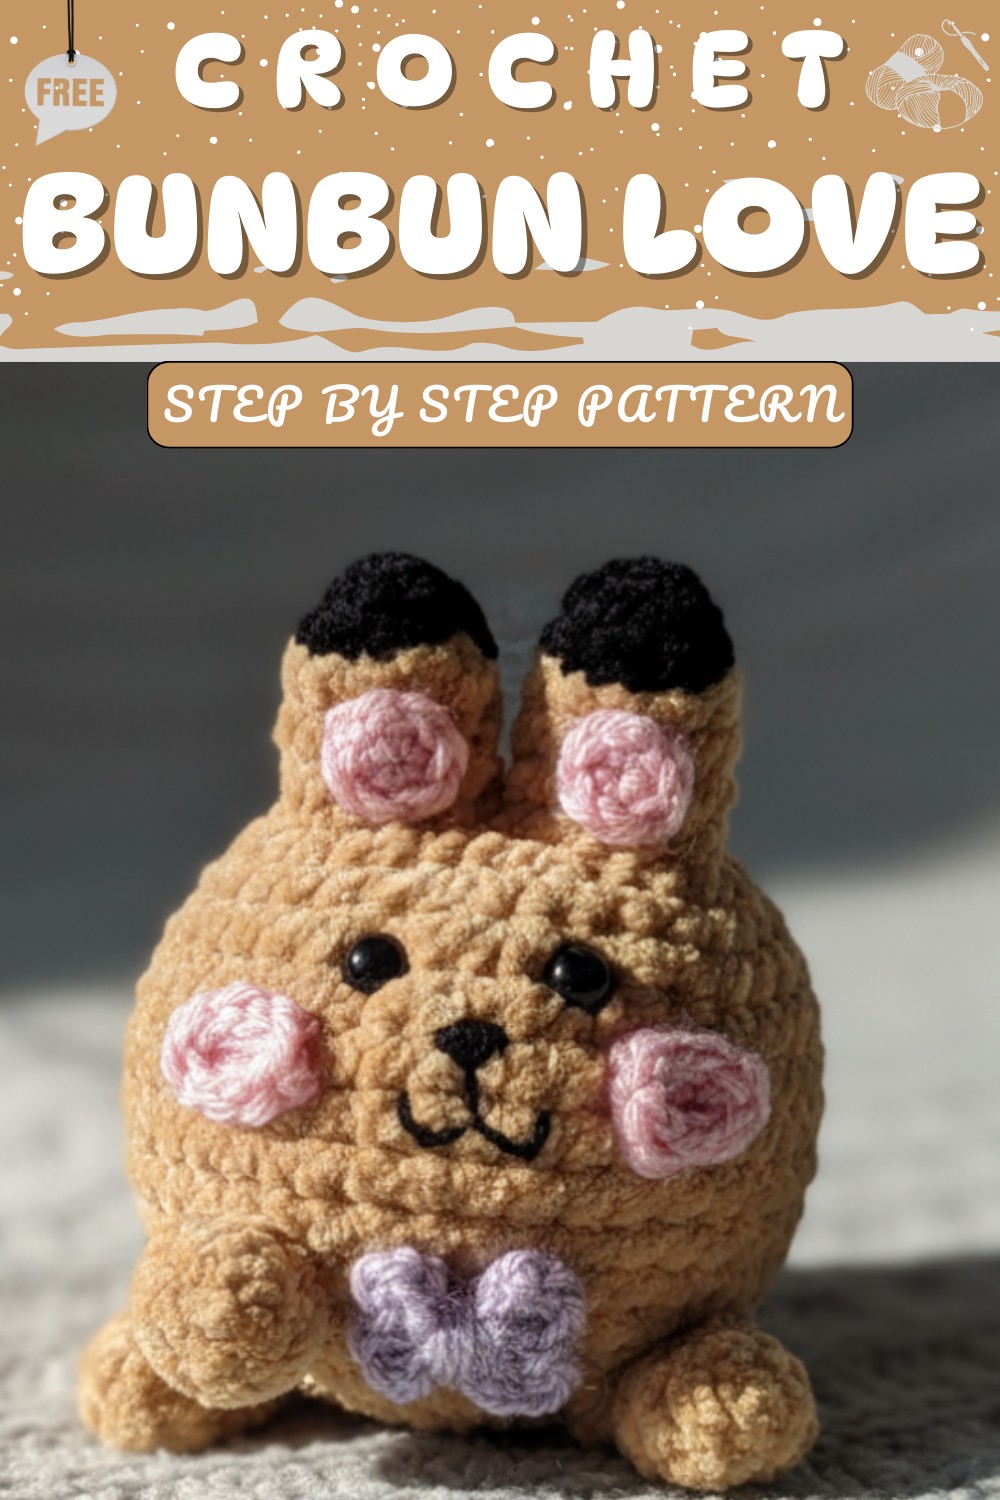
You can personalize it with different colors to match any theme or occasion, making it truly one-of-a-kind. Whether it’s for a baby shower, Valentine’s Day, or simply an everyday surprise, this beautiful bunny will touch hearts and bring endless smiles. Its simple yet captivating look makes it an instant favorite, so start creating and let the magic of this incredible design fill your world.
Delight hearts with this Crochet Bunbun Love Pattern that create a lovable gift or decoration perfect for spreading joy and charm all around.
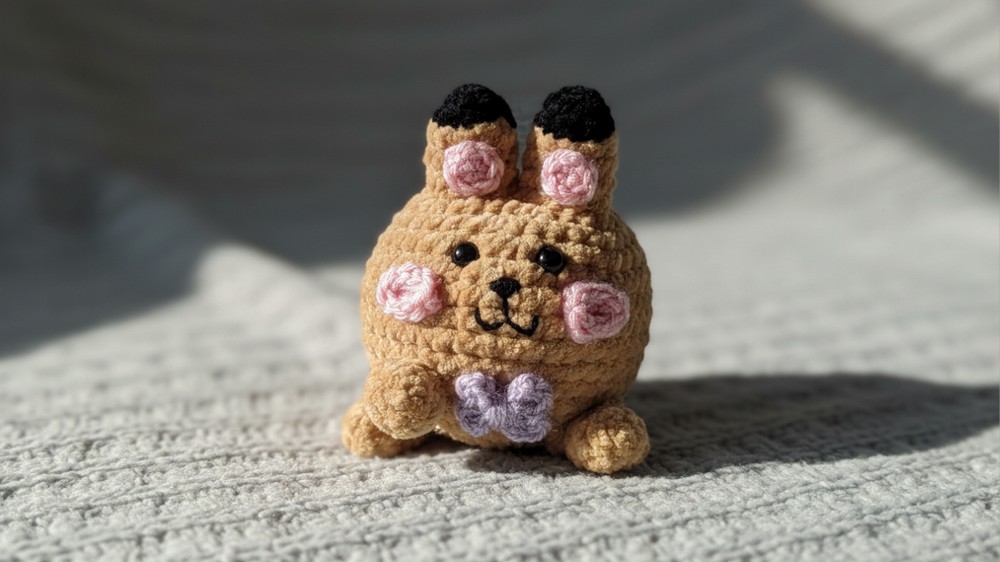
Cuddly Crochet Bunbun Love Pattern Perfect for Handmade Fun
Materials Required
Essential Supplies:
- Two crochet hooks (half a size apart):
- 3.0 mm (for the main body parts).
- 2.5 mm (for detailed features).
- Yarn:
- 3.0 mm Crochet Hook Yarn:
- Main Color (Color A): Any suitable yarn.
- Secondary Color (Black): For the base of the ears.
- 2.5 mm Crochet Hook Yarn:
- Purple: For the bow tie.
- Pink: For the cheekbones and inner ears.
- Optional: acrylic yarns for fluffier Bunbuns.
- 3.0 mm Crochet Hook Yarn:
- Safety Eyes: 6–7mm size.
- Embroidery Thread: Black or brown thread for the nose/mouth.
- Polyfill: Stuffing for the body, legs, tail, etc.
- Scissors: Sharp scissors for clean trimming.
- Tapestry Needle: For sewing and weaving ends.
- Optional: Strong glue to secure the bow tie or stitches.
Key Abbreviations
- sc: Single crochet
- inc: Increase (2 sc in the same stitch)
- dec: Decrease (combine two stitches into one stitch)
- sl st: Slip stitch
- ch: Chain
- ml: Chain one (used in specific placements)
- R: Round
- ...: Repeat instructions inside asterisks as many times as directed.
Step-by-Step Instructions
Ears
Ear 1:
- In Black (Crochet 3.0 hook):
- Round 1 (R1): Start with a magic circle, work 6 sc into the ring. (6 sts).
- Switch to Color A halfway through the magic circle.
- Half Black, Half Color A:
- Round 2 (R2): sc, inc – repeat 3 times. (9 sts).
- In Color A:
- Rounds 3–5: Work 9 sc in each round. (Maintain 9 sts).
- Stop the thread, leaving a short length to sew the hole between the two ears.
Ear 2:
- Repeat the steps for the first ear.
- DO NOT cut the thread after Round 5; instead, join the two ears (see below).
Joining Ears
- Make a sl st into the first ear and then chain 1 ch.
- Begin Round 6 around the first ear:
- Work (2 sc, inc) x6. (24 sts)
- After completing the round, skip the sl st and chain, and continue working into the first stitch of the next round in a spiral technique.
- Important: Ensure no bumps when transitioning between ears.
- Stuff the ears before continuing.
Body
- Round 7: Work (3 sc, inc) x6. (30 sts)
- Round 8: Work (4 sc, inc) x6. (36 sts)
- Round 9: Work (5 sc, inc) x6. (42 sts)
- Rounds 10–15: Work 42 sc per round. (Maintain 42 sts per round)
- Place the safety eyes:
- Between Rounds 9–10, spaced 4 stitches apart.
- Embroider the Nose/Mouth: You can stitch a nose and mouth in Color A yarn or use black cotton thread for finer detail.
- Start shaping the body (decreasing):
- Round 16: Work (5 sc, dec) x6. (36 sts)
- Round 17: Work (4 sc, dec) x6. (30 sts)
- Round 18: Work (3 sc, dec) x6. (24 sts)
- Add stuffing progressively as you decrease stitch count to ensure even filling. Ensure gaps and uneven spots are filled carefully.
- Continue closing:
- Round 19: Work (2 sc, dec) x6. (18 sts)
- Round 20: Work (1 sc, dec) x6. (12 sts)
- Round 21: Work dec x6. (6 sts)
- Cut yarn, leaving a short tail. Use the tapestry needle to cinch the last 6 stitches and close the opening. Hide the thread.
Legs (Make 4)
- In Color A (Crochet hook 3.0):
- R1: Start with a magic circle, work 6 sc. (6 sts)
- R2–R4: Work 6 sc in each round. (Maintain 6 sts).
- R5: (2 sc, inc) – repeat x2. (8 sts)
- Stop yarn, leaving a length for sewing.
- Stuff the legs lightly and sew them evenly to the body.
Tail
- In Color A (Crochet hook 3.0):
- R1: Magic circle with 6 sc. (6 sts)
- R2: Work (sc, inc) x3. (9 sts)
- R3: Work 9 sc. (9 sts)
- R4: Work (sc, dec) x3. (6 sts)
- Leave a length of yarn for sewing. Attach the tail between Rounds 16–17 of the body.
Bow Tie
- In Purple (2.5 mm crochet hook):
- Make a magic ring. Inside the ring:
- Work: ch 2, 2 dc, sc, 2 dc, ch 2, sl st.
- Repeat the sequence to complete the symmetrical bow shape.
- Make a magic ring. Inside the ring:
- Tighten the circle and wrap a long tail of yarn securely around the center of the bow to form its shape.
- Attach the bow between Rounds 15–16 of the Bunbun’s neck using glue or a small dot of stitching.
Cheekbones (x2)
- In Pink (2.5 mm crochet hook):
- ch 4.
- R1: Starting from the 2nd ch from the hook, work: 2 sc, 3 sc in the last chain, continue on the other side of the chain, 1 sc, inc. (8 sts total)
- Attach each cheekbone perpendicular to the eyes (between Rounds 11–12) using the tail left for sewing.
Inside of the Ears
- In Pink (2.5 crochet hook):
- Create a magic ring. Work 6 sc into MR. Tighten and leave a length of yarn for sewing.
- Align the pink inner ear piece with the ear and secure it by sewing the edges.
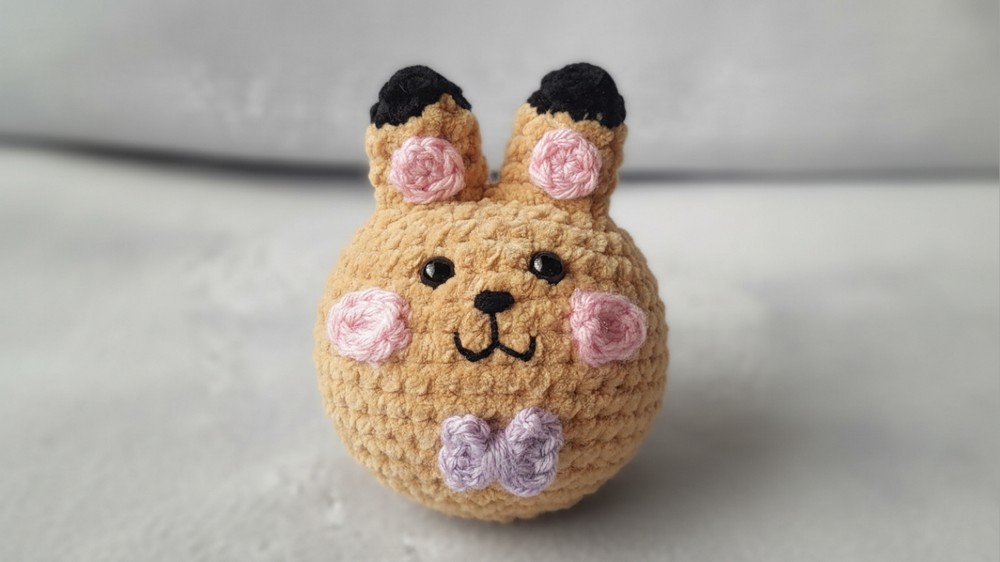
Customization Ideas
- Fluffy Bunbuns: Use acrylic yarn for the body, then brush using a pet slicker brush for a fluffier appearance.
- Color Themes: Experiment with gradients, stripes, or patterns for more personality in your Bunbun.
- Accessories: Add mini flowers, scarves, or felt cutouts to personalize your Bunbun.
Special Notes
- Take your time stitching features like ears, muzzle, and bow tie. Symmetry is key for this cute project.
- Consider securing safety eye backs with glue if making the Bunbun for small children.
- Keep Your Stitches Tight: Use even tension to avoid small gaps in your amigurumi.

Conclusion
Now you have your very own pocket-sized Bunbun — a perfect companion for dolls, a thoughtful gift, or décor collectible! This project is not just a joy to make but also a great opportunity to practice and improve amigurumi techniques.
Pattern Corrections
- Monitor stitch counts on each round to avoid a lopsided design.
- Use pins to test placement for sewing pieces together before finalizing their positions.
Final Tip
For super soft "Fluffy Bunbuns," use acrylic yarn and gently brush the surface of the completed toy with a slicker brush to achieve a fluffy look. Adjust details like color, shapes, or accessories to make each one unique.
