
Dreamy Crochet Bunny Amigurumi Pattern for Nursery Decor
Gentle joy surrounds this Crochet Bunny Amigurumi Pattern, shaping a soft figure ideal for gifts, nurseries, and cozy decor spaces indoors.
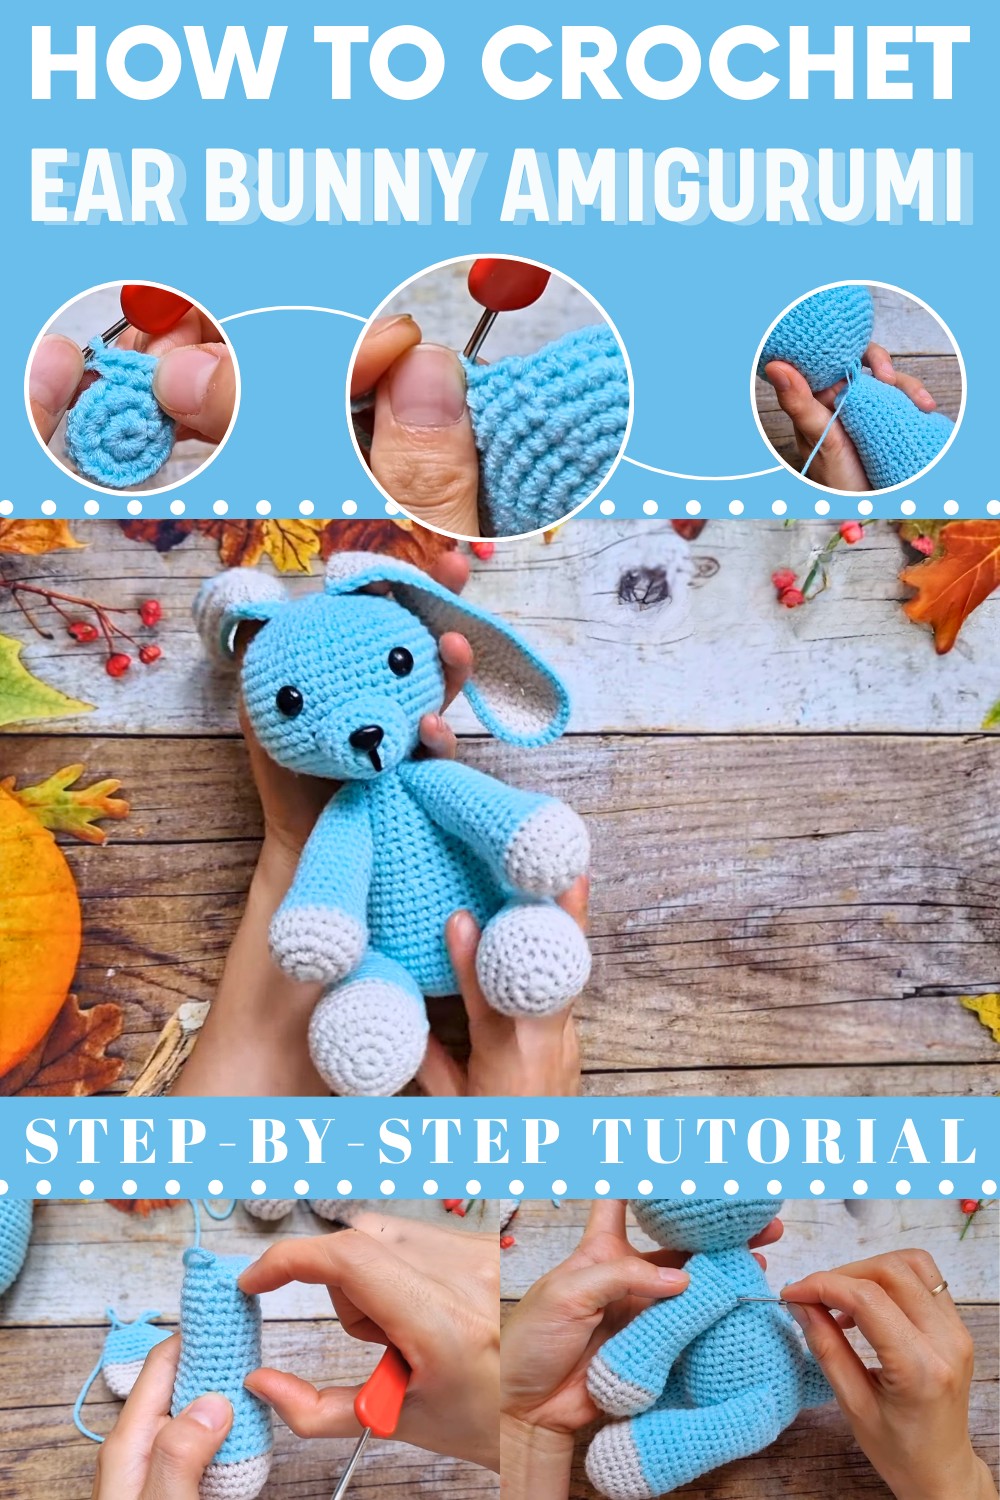
Pastel Crochet Bunny Amigurumi Pattern Perfect for Soft Aesthetics
A sense of warmth and gentle charm fills this adorable figure, making it a lovely addition to many settings. The Crochet Bunny Amigurumi Pattern presents soft curves, long ears, and sweet details that give it a calm and inviting appearance. It fits beautifully in nurseries, bedrooms, or reading corners, adding a comforting decorative touch. This pattern works well as a thoughtful gift, offering visual appeal that feels personal and meaningful.
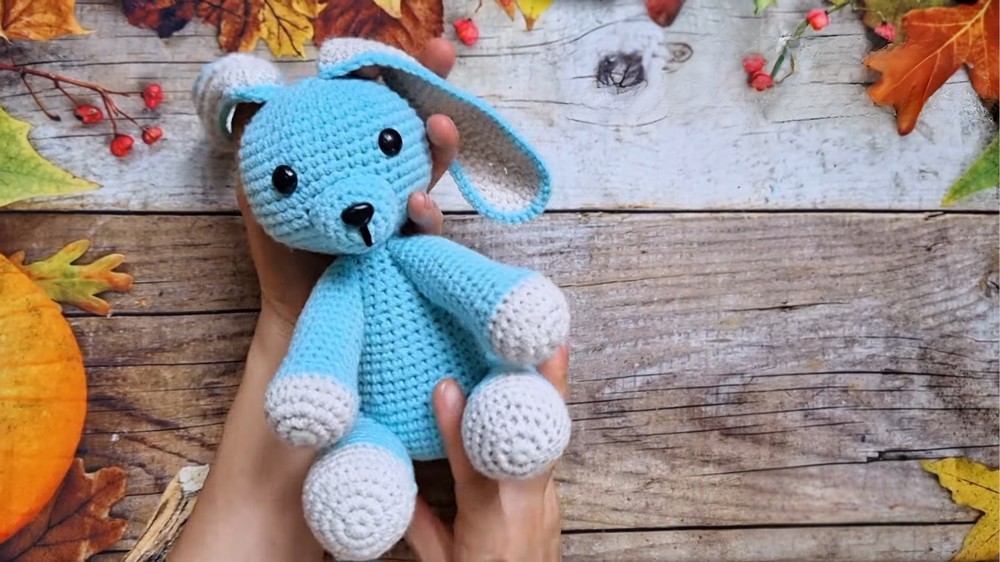
Its compact form allows easy placement on shelves, desks, or beds while maintaining balance within the space. The smooth texture and neat proportions enhance its elegant look, appealing to both children and adults. Color options allow the style to feel soft and classic or bright and playful, depending on preference. It adds joy and personality to everyday surroundings, presenting a charming figure that feels comforting, attractive, and timeless in any interior setting.
Materials Needed
-
Yarn: Cotton yarn (125g weight recommended) in a primary color (e.g., white or beige) and an accent color for the ears/paws.
-
Hook: 2.5 mm crochet hook.
-
Stuffing: High-quality polyester fiberfill.
-
Eyes & Details: 5-6 mm safety eyes or black embroidery thread for the face.
-
Tools: Darning needle, scissors, and stitch markers.
Step-by-Step Details
1. Engineering the Spherical Head
-
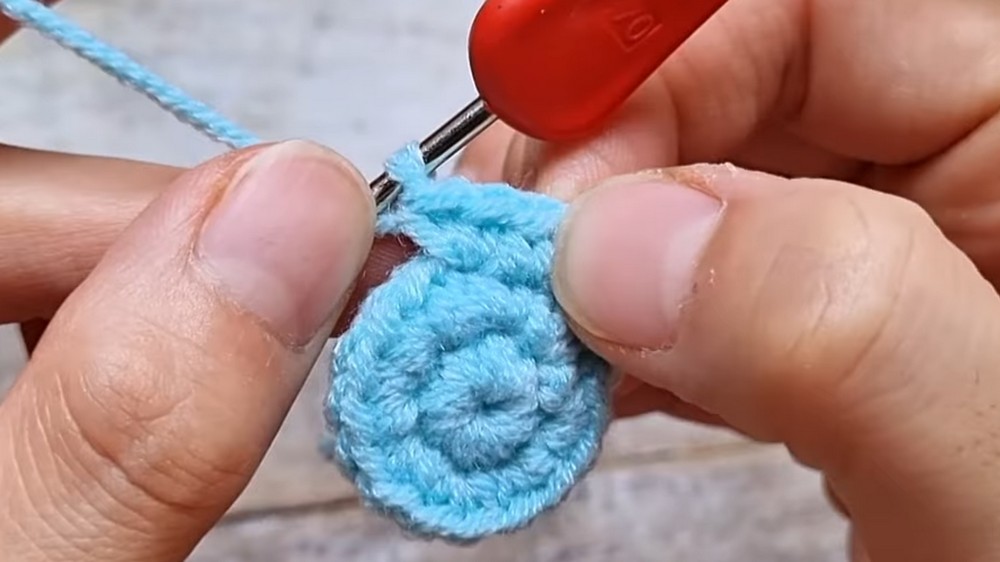
Foundation: Begin with a magic ring and 8 single crochets (sc).
-
Expansion: Increase steadily across 7 rounds (using formulas like "1 sc, 1 inc" and "2 sc, 1 inc") until you reach 48 stitches.
-
Depth: Work 9 rounds of even sc to create the "bulk" of the head.
-
Contouring: Gradually decrease stitches to pull the bottom of the head inward. Stuff the head firmly before closing it with a needle.
2. Constructing the Pear-Shaped Body
-
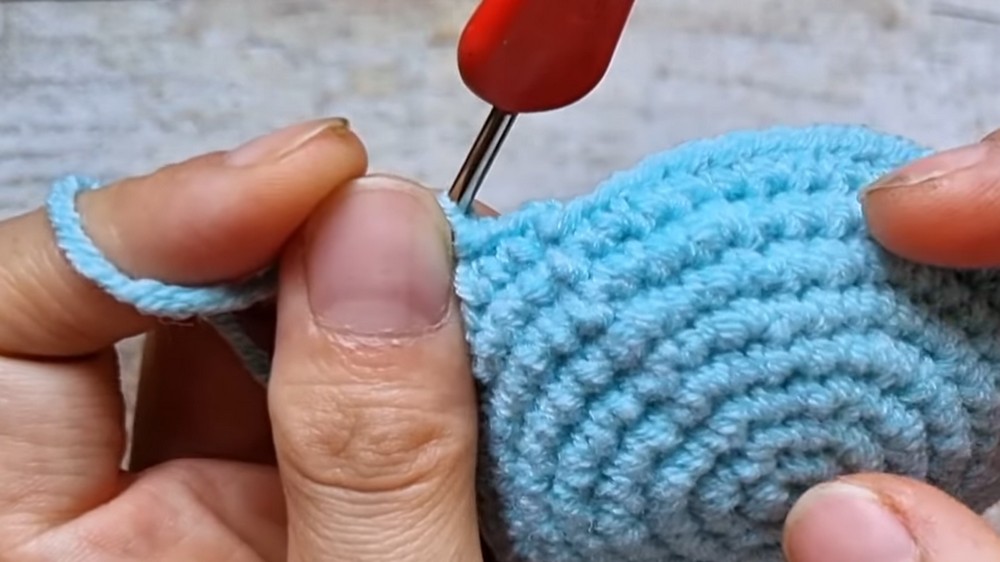
Base: Similar to the head, start with a magic ring but stop increasing at 42 stitches (6 rounds).
-
Height: Work 6 rounds of even stitches.
-
Shaping: To create the neck, alternate between one decrease round and three even rounds. This creates a sturdy, elongated torso that supports the head.
3. Crafting the Long, Flat Ears
-
Structure: Start with a long foundation chain (approx. 24 chains).
-
Transitions: Work a variety of stitches—sc at the top for a narrow point, half-double crochets (hdc) in the middle, and double crochets (dc) at the bottom for a wide, floppy look.
-
Border: Use an accent color to work a round of sc around the entire edge to give the ears a clean, contrasting finish.
4. Limbs, Tail, and Muzzle
-
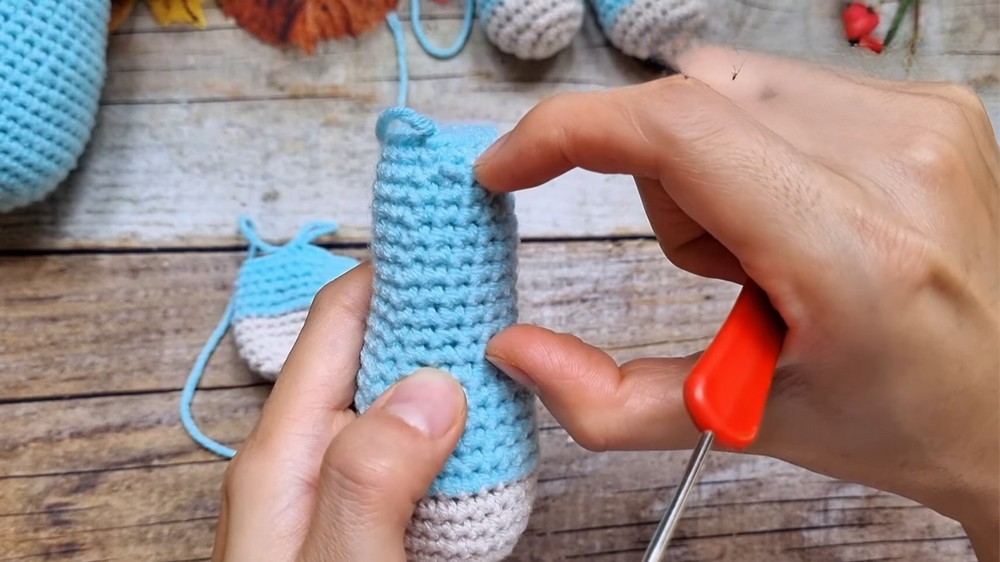
Arms & Legs: Create tubular limbs. Change yarn colors at the ends to simulate "paws."
-
The Tail: Crochet a small 3D sphere. This serves a functional purpose, acting as a "kickstand" to help the bunny sit upright.
-
Muzzle: Crochet a small oval disc and sew it to the face between the eyes to add dimension.
5. Final Assembly
-
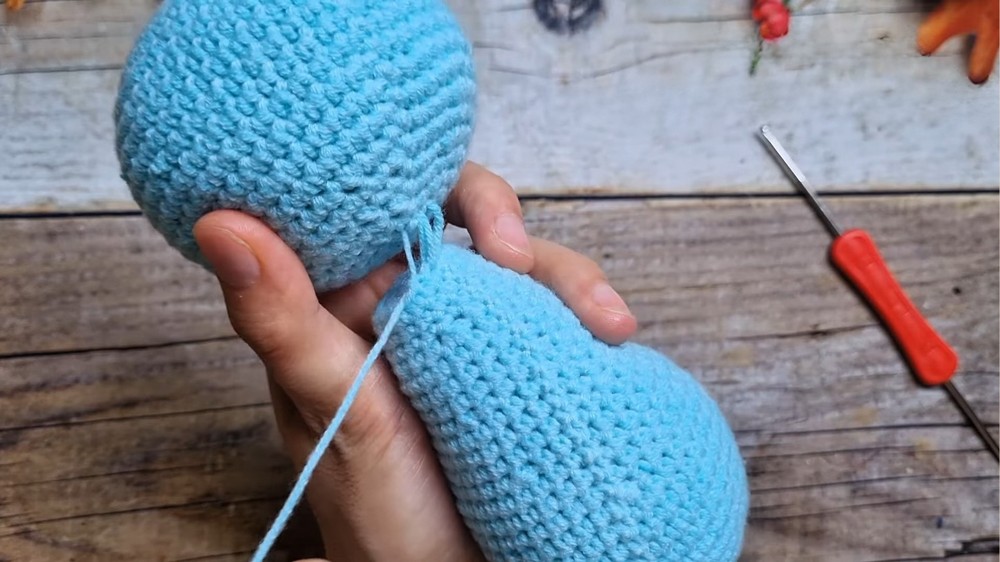
Joining: Sew the head to the body first. Use the "invisible join" technique to ensure a seamless neck.
-
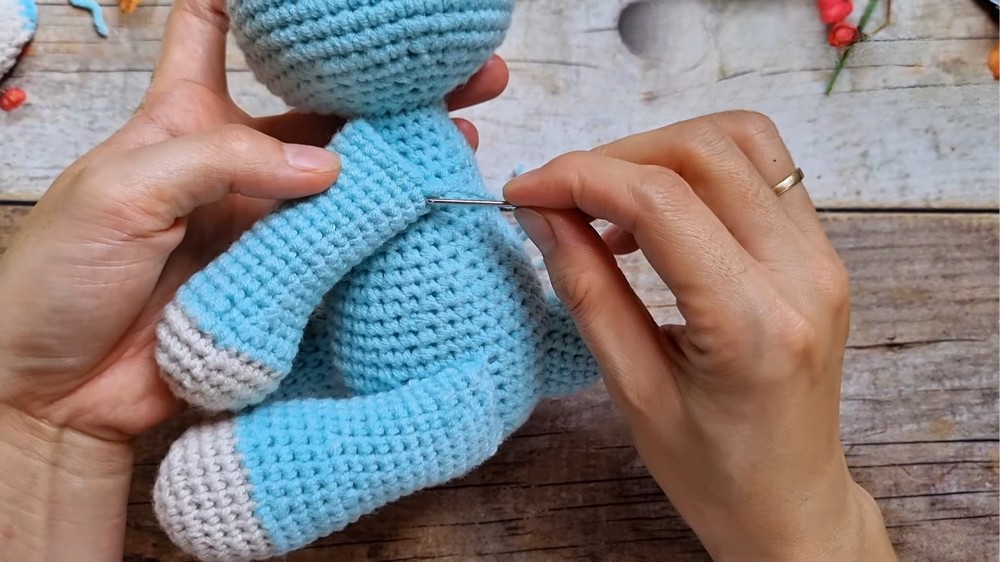
Limb Placement: Attach the legs to the bottom so they sit level with the tail. Sew the ears to the second or third row of the head for a natural "droop."
Special Features
-
Modular Sizing: The tutor provides specific formulas to scale the bunny up or down by adjusting the initial increase rounds.
-
Stabilizing Tail: The size and placement of the tail are specifically designed to balance the bunny’s weight.
-
Color-Blocked Accents: Integrated color changes in the paws and ears provide a modern "boutique" look.
Level of Difficulty
This project is Intermediate. It requires a solid grasp of shaping, invisible decreases, and clean color transitions, as well as the patience to assemble multiple components.
Tutor’s Suggestions
-
Tension Control: Pull your "slip stitches" extremely tight at the end of rounds to hide the seam.
-
Formula Logic: When increasing for the head, "stagger" your increases (don't put them directly on top of each other) to prevent the circle from turning into a hexagon.
-
Proportion Check: Always compare the arm length to the body height before finishing to ensure the bunny doesn't look lopsided.
Uses
-
Easter Gifts: A timeless seasonal toy.
-
Photography Prop: Its ability to sit upright makes it perfect for newborn photoshoots.
-
Comfort Toy: The long, floppy ears are designed for little hands to grip easily.
Conclusion
This bunny amigurumi combines structural integrity with whimsical design. By following the meticulous steps for both the 3D body and the flat-lay ears, you create a professional-grade plushie that is as durable as it is cute.
Tip: When sewing the ears, tilt them forward at a slight 60-degree angle rather than sewing them flat to the sides. This gives the bunny a more "curious" and lifelike expression!