
Adorable Free Crochet Chubby Puppy Pattern
Crochet irresistibly squishy and chubby crochet puppies with this low-sew pattern, perfect for beginners and experts seeking a quick, fun project!
Everyone loves squishy and cuddly handmade creations, and this low-sew crochet pattern lets you bring adorable chubby puppies to life effortlessly. Designed with simplicity in mind, this pattern is perfect for beginners and experienced crocheters alike. With minimal sewing required, it saves time while still giving you a polished and professional-looking finish. These squishy puppy creations aren’t just fun to make; they’re also incredibly versatile. Use them as thoughtful gifts for dog lovers, cozy home decor accents, or even as stress-relieving desk companions.
DIY Crochet! Make Your Own Squishy Chubby Puppies – Free Low Sew Pattern
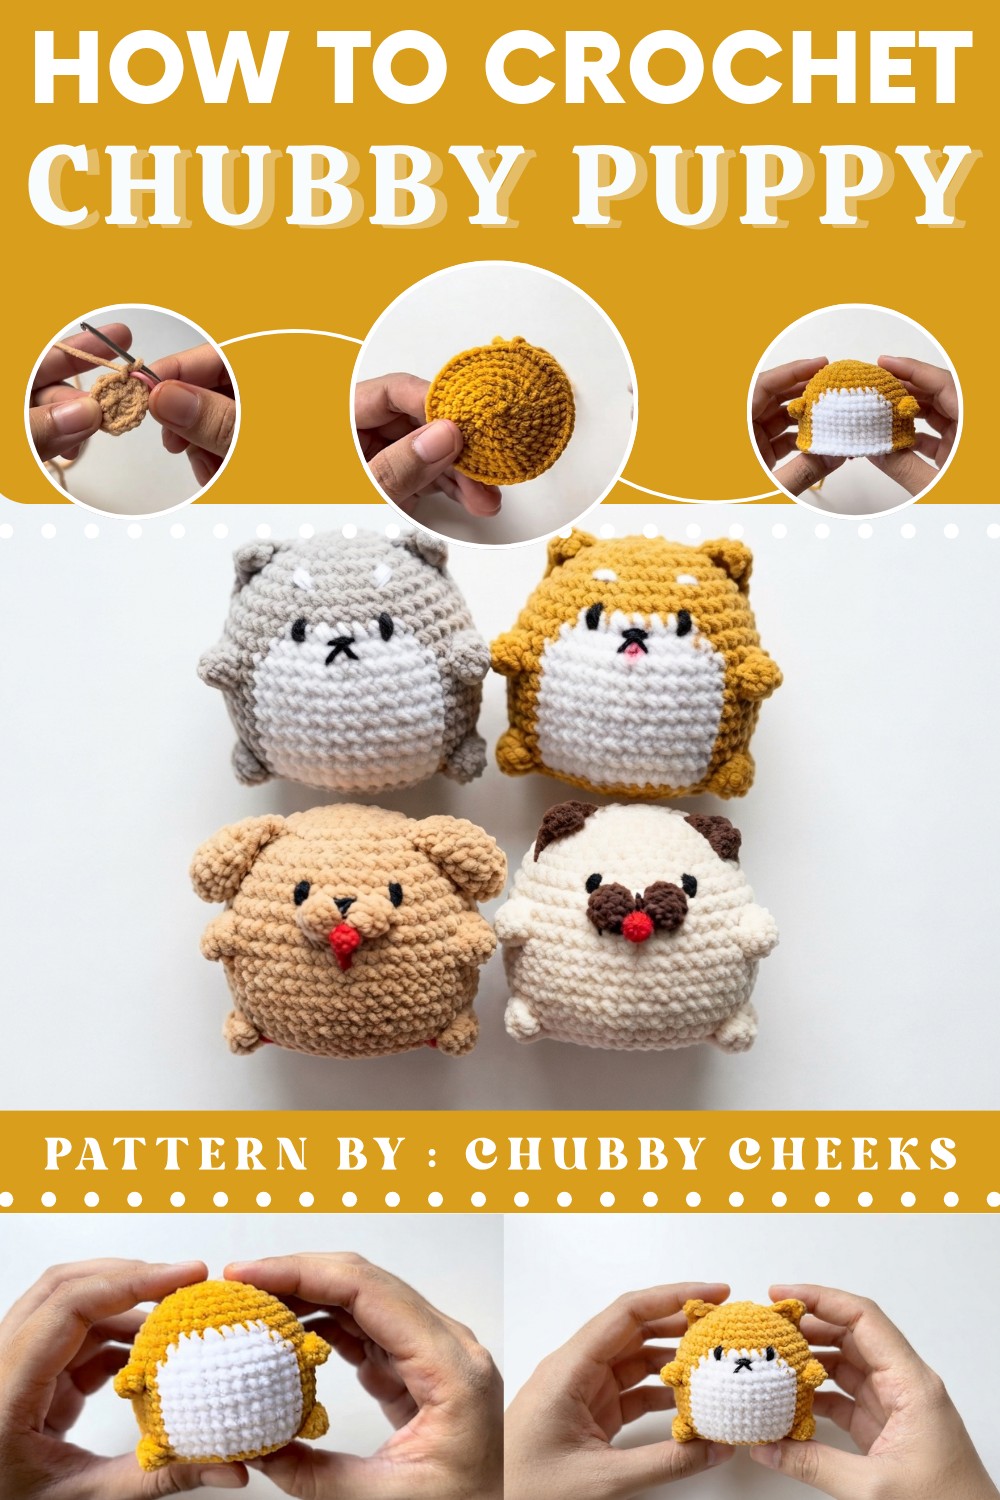
Their soft and huggable texture makes them an instant favorite among kids and adults. Plus, the compact size allows you to use leftover yarn from previous projects, minimizing waste. Not only will you enjoy the satisfaction of crocheting something charming, but you’ll also appreciate how these puppies bring a little cheer wherever they’re placed.
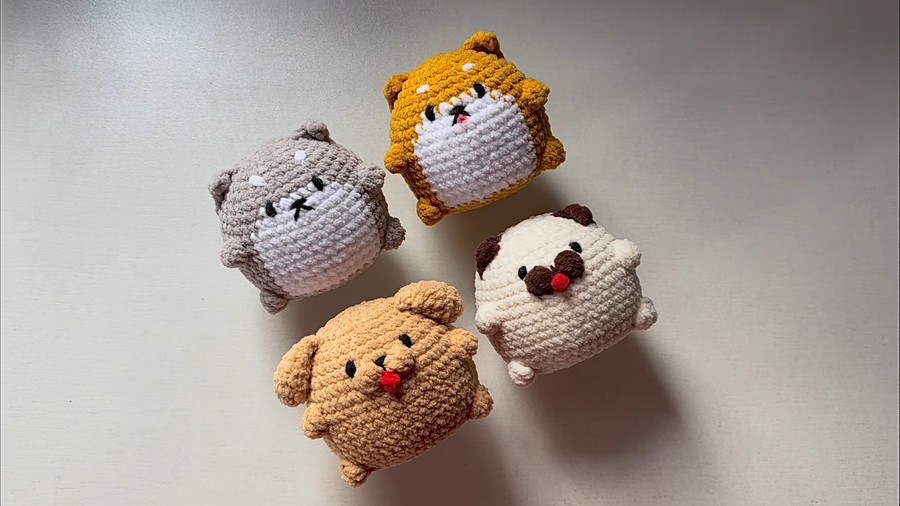
Whether decorating a nursery, sprucing up a craft fair booth, or giving a heartfelt token of love, these chubby puppies make the perfect choice. With this free pattern, you can enjoy the fun of crocheting without the complexity of multiple assembly steps. Let these soft, squishy puppies brighten up your crochet projects while radiating charm and joy.
Chubby Free Crochet Chubby Puppies Pattern
Finished Size
The finished size of each puppy is approximately 3.5 inches (9 cm) tall and 2.5–3 inches (7 cm) wide when using the specified yarn and hook size. Sizes might vary depending on tension and materials used.
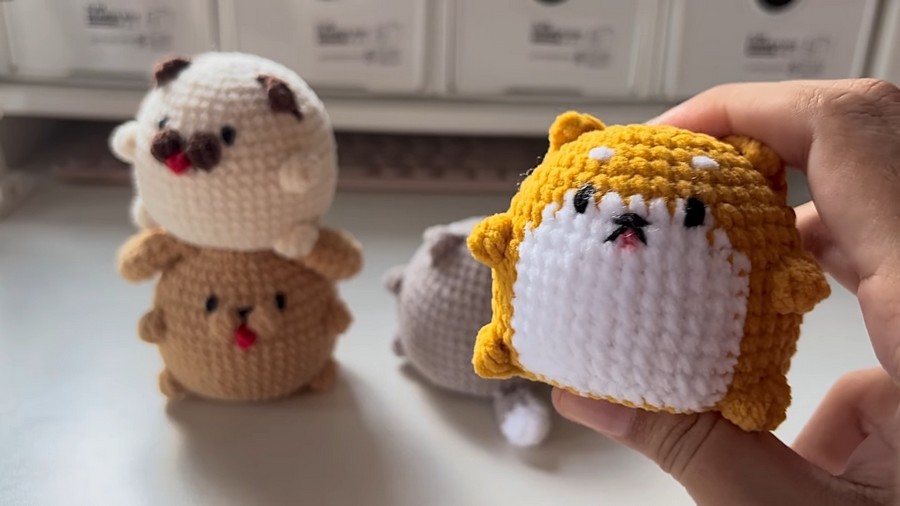
Materials
- Yarn:
- Main Colors (Body and Details):
- Light brown for golden retriever.
- Beige and dark brown for pug.
- Gray and white for husky.
- Yellow and white for shiba inu.
- Contrast Colors:
- Black yarn (for eyes, nose, mouth).
- Red yarn (for tongue).
- Choose medium-weight, worsted yarn (Category 4).
- Main Colors (Body and Details):
- Hook Size:
- 2.5mm crochet hook (for tight stitches ideal for amigurumi).
- Stuffing Material:
- Polyester fiberfill for a squishy, chubby look.
- Stitch Marker:
- To mark the first stitch of every round (use scrap yarn or safety pins).
- Tapestry Needle:
- For sewing pieces together and embroidering details like eyes, nose, and mouth.
- Scissors:
- Sharp scissors for cutting yarn ends.
Gauge
Gauge is not critical for this project. However, to ensure a tight fabric that does not allow stuffing to show through:
- 20 stitches by 22 rows = 4 inches in single crochet using a 2.5mm hook.
Abbreviations (US Terminology)
- MR: Magic Ring
- ch: Chain
- sc: Single Crochet
- sl st: Slip Stitch
- inc: Single Crochet Increase (2 sc in one stitch)
- dec: Single Crochet Decrease
- hdc: Half Double Crochet
- dc: Double Crochet
- tr: Triple Crochet
- Cluster: Group of stitches worked in the same stitch.
Special Techniques
1. Magic Ring (MR):
- Wrap the yarn around two fingers twice to create a loop.
- Insert the hook into the loop, yarn over, and pull through.
- Work the specified number of stitches into the loop.
- Pull the yarn tail to tighten the loop.
2. Invisible Decrease:
- Insert the hook into the front loop only of the next two stitches.
- Yarn over, pull through both loops on the front.
- Yarn over and pull through the remaining two loops to complete the decrease.
3. Cluster Stitch:
- Work a designated number of stitches (dc or tr) into the same stitch, keeping the last loop of each stitch on the hook.
- Once the desired number is reached, yarn over and pull through all loops on the hook.
General Pattern Tips
- Work in continuous spirals unless otherwise stated.
- Use a stitch marker to track the beginning of each round.
- Stuff each component as you crochet to maintain shape, especially when the opening becomes smaller.
- Customize colors and yarn types based on your preference.
Pattern Instructions
Body (Rounds 1–17)
The first 7 rounds are the same for all four puppies.
- Round 1: Magic Ring, make 8 sc into the ring. (8 sts)
- Round 2: inc in each stitch around (2 sc in each st). (16 sts)
- Round 3: 1 sc, inc, repeat around. (24 sts)
- Round 4: 2 sc, inc, repeat around. (32 sts)
- Round 5: 1 sc in each stitch. (32 sts)
- Round 6: 3 sc, inc, repeat around. (40 sts)
- Round 7: 1 sc in each stitch. (40 sts)


Body Details Based on Puppy Type
1. Pug and Golden Retriever (Rounds 8–17):
- Round 8: 4 sc, inc, repeat 8 times. (48 sts)
- Round 9: Work 22 sc, 4-dc-cluster in next stitch, 2 sc, 4-dc-cluster in next stitch, 22 sc. (Pug: Change to dark brown for nose clusters, golden retriever: continue in light brown.)
- Round 10: 1 sc in each stitch. (48 sts)
- Round 11: Work 15 sc, 4-tr-cluster, 16 sc, another 4-tr-cluster, 15 sc. (48 sts)
- Round 12–16: 1 sc in each stitch. (48 sts)
- Round 17: Work 15 sc, 4-tr-cluster, 2 sc, 4-tr-cluster, 15 sc. (48 sts)
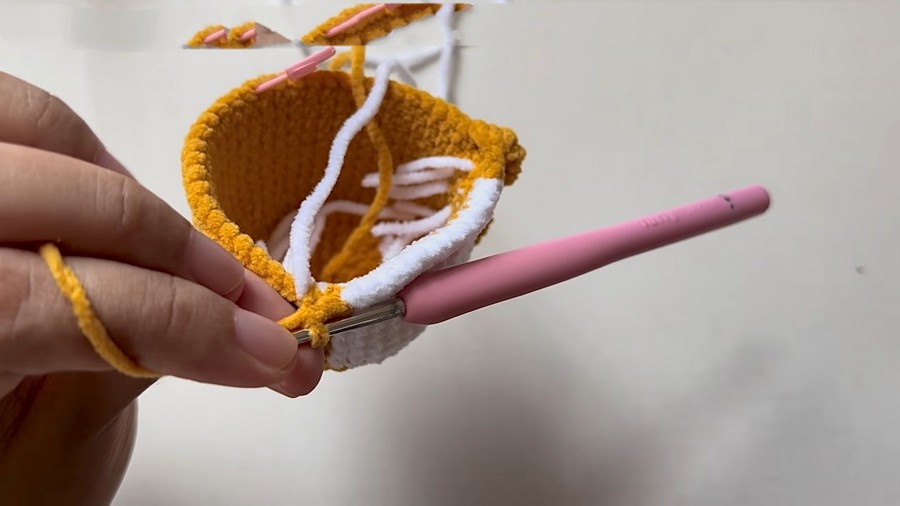
2. Shiba Inu and Husky (Rounds 8–17):
- Round 8: 4 sc, inc, repeat 3 times, work 2 sc (switch to white), 2 sc in white, inc in white, 4 sc in white (switch to yellow/gray), 4 sc, inc, repeat 3 times. (48 sts)
- Round 9: Work 19 sc in yellow/gray, switch to white, 10 sc in white, switch back, work 19 sc in yellow/gray. (48 sts)
- Round 10: Work 18 sc in yellow/gray, switch to white, 12 sc in white, switch back, work 18 sc in yellow/gray. (48 sts)
- Round 11–16: Work similarly by alternating the colors, with white sections spanning 10–12 stitches, depending on the round. Follow video instructions further for accurate stitches.
- Round 17: Work similar color changes as in Round 8, incorporating 4-tr-clusters.
Body (Rounds 18–22, All Puppies)
- Round 18: 4 sc, dec, repeat 8 times. (40 sts)
- Round 19: 3 sc, dec, repeat 8 times. (32 sts)
- Round 20: 2 sc, dec, repeat 8 times. (24 sts)
Stuff the body firmly with fiberfill.
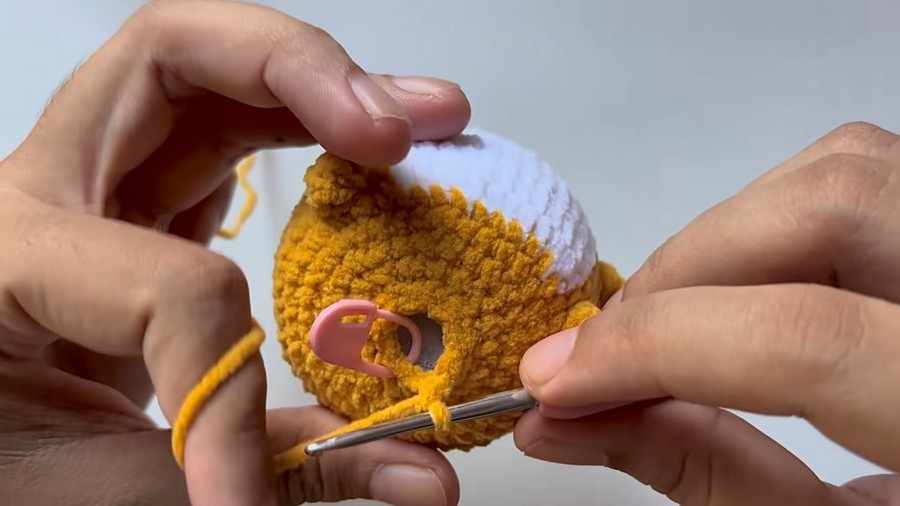
- Round 21: 1 sc, dec, repeat 8 times. (16 sts)
- Round 22: Work 8 decreases in a row (dec). (8 sts)
- Fasten off, leave a long tail, and weave the tail through the front loops of the final 8 stitches. Pull tight to close the hole securely. Weave in the yarn ends.
Facial Features
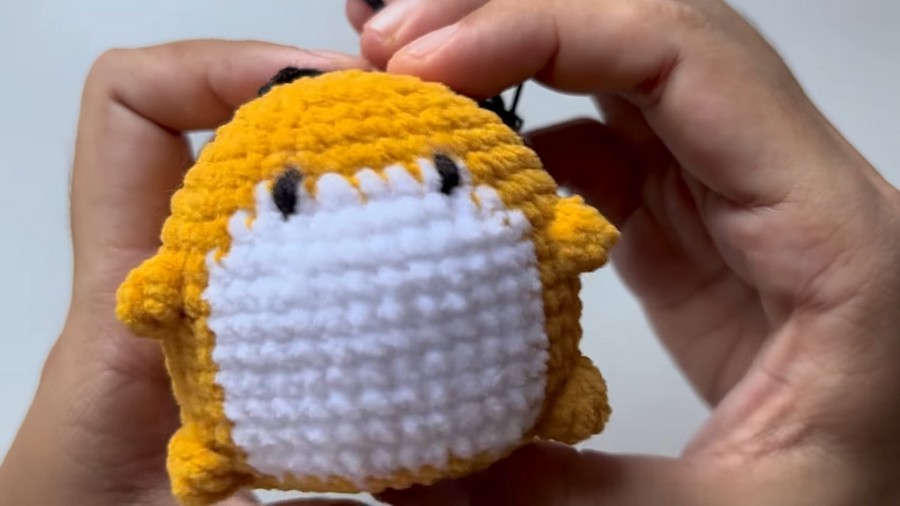
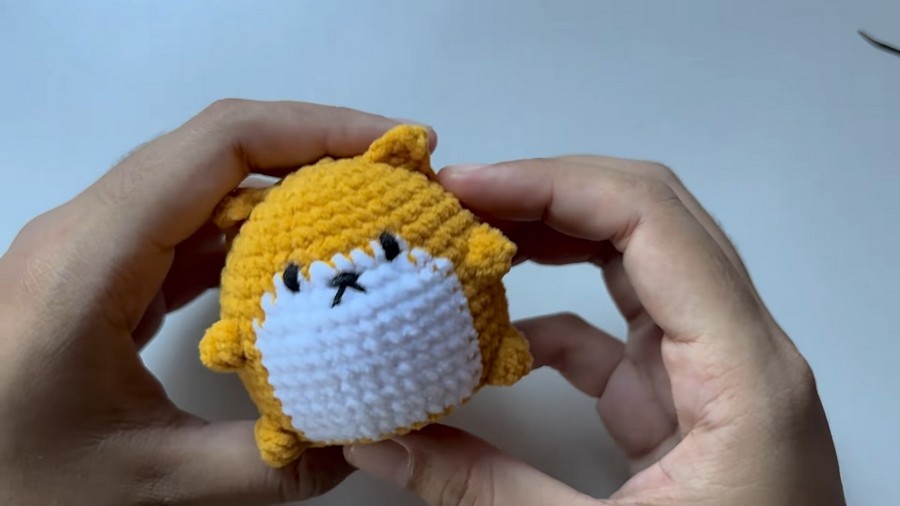
- Eyes:
- Position the eyes using black yarn on Round 8, keeping stitches 6 spaces apart.
- Insert yarn from the back, make two small stitches for each eye. Tie and hide yarn tails securely.
- Nose (Shiba, Husky, and Golden):
- Embroider the nose between Rounds 8 and 9 across two stitches, using black yarn.
- Mouth (Shiba and Husky):
- Draw a centered "Y" shape under the nose.
- Tongue (Pug and Golden Retriever):
- With red yarn, create a slip knot and chain 3. Secure it below the nose for the tongue.
- Ears:
Customize ears as outlined in the full instructions above, depending on the puppy type. - Tail:
Create tails as described for each type, then sew them between Rounds 16 and 17.
Customizations
- Color Variations: Swap yarn colors to create different breeds or even multicolored fantasy puppies.
- Fluffy Yarn: Use a soft or fluffy yarn to create a plush toy-like texture.
- Accessories: Add scarves, bows, or small hats for a seasonal twist.
Final Touch and Conclusion
Congratulations! You’ve completed the pattern for the chubby crochet puppy. These adorable creations make perfect keepsakes, gifts, or additions to your handmade collection. Add unique details to personalize each puppy to your liking. Share your accomplished crochet works with others for inspiration.