
Free Crochet Helicopter Pencil Topper With Soda Can Seal
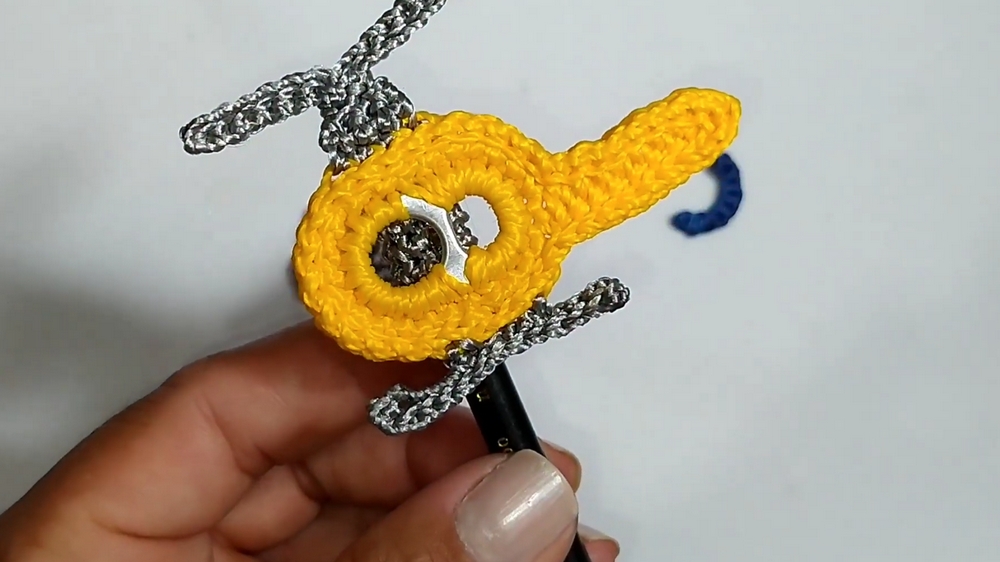
Elevate your pencil game with this Crochet Helicopter Pencil Topper using soda can seals that brings fun style to everyday writing tools.
In a classroom or at a desk, small details can spark creativity and joy, and a playful pencil topper brings just that kind of charm. This helicopter pencil topper adds a fun and whimsical touch to everyday writing tools, making schoolwork or note-taking a little more engaging. The pattern walks through simple crochet techniques that even intermediate crocheters will appreciate.
Elegant Free Crochet Helicopter Pencil Topper

With simple stitches such as single crochet, slip stitches, and chains, the pattern maintains accessibility while offering subtle complexity in shaping. Starting from the core body and progressing to attachments like the tail and blades, each step is clearly explained to ensure accuracy. Overall, this helicopter pencil topper combines fun aesthetics and practical use, bringing playful charm to study time or desk décor.

Helicopter Pencil Topper (Soda Can Seal)
Materials
- Yarn: 100% polypropylene coarse silk, TEX 288, or similar (colors of your choice)
- Crochet hook: 1.75 mm
- Soda can seal (from a soda can tab)
- Wire cutters/pliers: to remove burrs from the seal
- Hammer: to help flatten or adjust metal if needed
- Hot glue gun and glue sticks
- Scissors
- Yarn needle: for finishing
Key Abbreviations (US Terms)
- ch: chain
- sc: single crochet
- sl st: slip stitch
- st(s): stitch(es)
- hdc: half double crochet
Special Notes
- Use a soda can tab/seal with no rough edges; remove any burrs and handle carefully.
- You may use yarn remnants for different parts and make in any colors you desire.
- Fasten off and securely weave in all ends for child safety.
Pattern
Step 1: Prepare the Seal
- With pliers, remove any burrs or sharp edges on the soda can seal/tab.
- Optionally, use a hammer to gently flatten/adjust any rough spots.
Step 2: Cover the Seal
Use the color for your main helicopter body.
A. Small Opening (Inner Part):
- Attach yarn to the smaller opening.
- Work 12 sc evenly around the inner edge.
- Do not cut yarn.
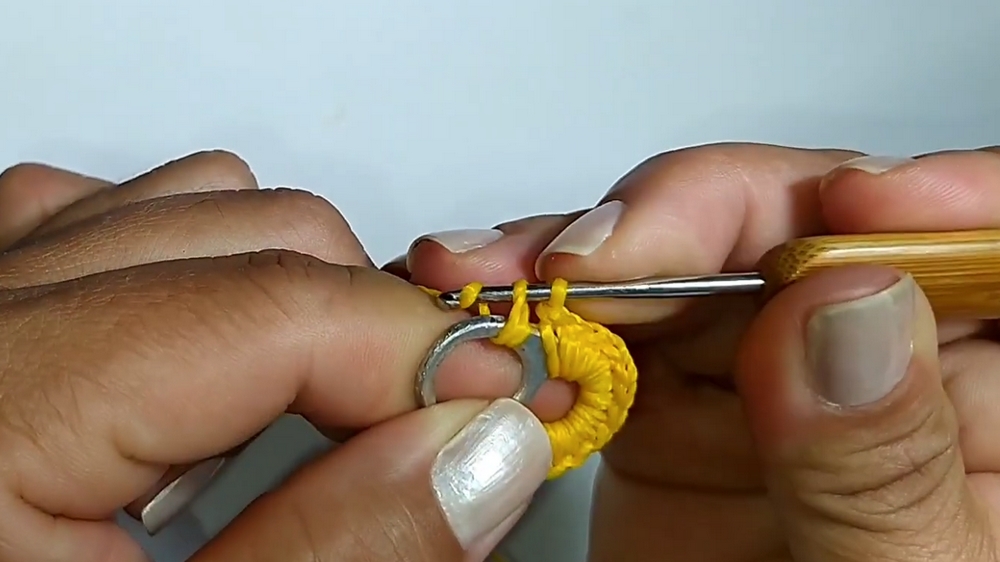
B. Large Opening (Outer Part):
4. Continue from the small opening or attach yarn to the large opening.
- Work 12 sc evenly around the large outer edge.
- Join with sl st to the first sc of this round.
Step 3: Pass Along Base in sc
- Ch 1, sc in the base of the chain, sc in each st along the base (starting in the small opening's sc and continuing along).
- At the end, join with sl st to first sc.
- Fasten off and cut yarn.
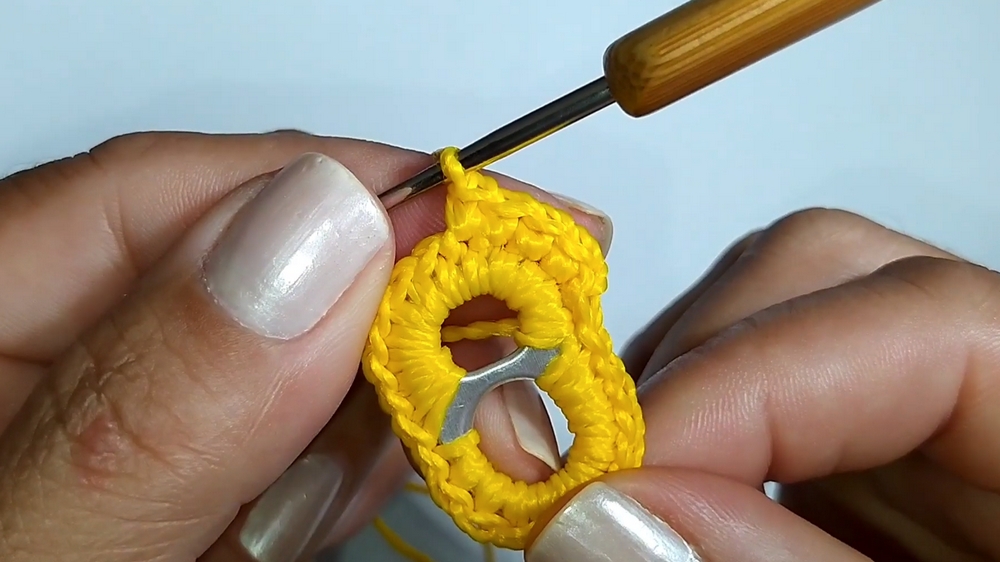
Step 4: Helicopter’s Tail
Switch to a new yarn color (e.g., gray).
- Count 4 stitches at the top of your work (from the larger ring's upper edge).
- Attach yarn in the back loop of the 5th st.
- Ch 1, work 4 sc (using back loop only for extra definition).
- Ch 1, turn. 4 sc.
- Repeat row, making 2 rows of 4 sc each.
- Decrease in row 3: Skip last st, making 3 sc.
- Turn, no ch. In the next row, decrease again (make 2 sc).
- Continue, decreasing until 1 st remains.
- Fasten off.
Step 5: Make the Tail Blade
- Attach yarn to the tip of tail.
- Ch 7.
- Turn, sl st in each ch back to base.
- Join with sl st at tail's tip.
- Ch 6. Turn, sl st in each ch back.
- Join with sl st at tail tip.
- Fasten off and cut yarn.
Step 6: Connectors Between Cab & Tail
- Attach yarn opposite the tail, across the cab.
- Ch 4.
- Attach to 4th st along the bottom edge, using sl st.
- Ch 3, sl st into every third st along bottom edge.
- Ch 5, repeat as above for as many connectors as you want.
- At each connector base, work 3 sc in same st for reinforcement if desired.
Step 7: Complete the Edges
- Sc, or sl st, around the full edge for a more finished look.
- Fasten off, weave in all ends.
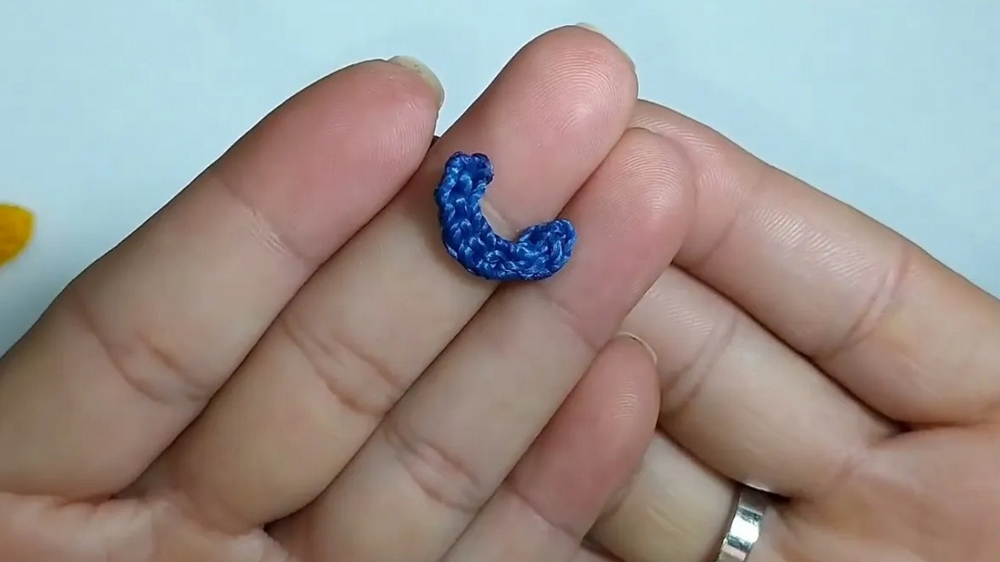
Step 8: Main Rotor Blades
Use a new color (e.g., blue or gray).
- Ch 7.
- In 2nd ch from hook: sc, then sc in each ch across (6 sc).
- Fasten off.
- Repeat for a second blade if desired.
-- Alternate: For rounded tips, start/finish with an increase (2 sc in last stitch).
Step 9: Pencil Holder Base (Amigurumi "Donut")
- With colored yarn (contrast with rotor):
- Magic ring.
- Ch 2, 8 hdc into ring.
- Join with sl st to first hdc. Pull magic ring closed.
- Ch 1, sc in each st around (8 sc).
- Repeat for around 8 rounds, making the tube.
- Fasten off and weave in ends.
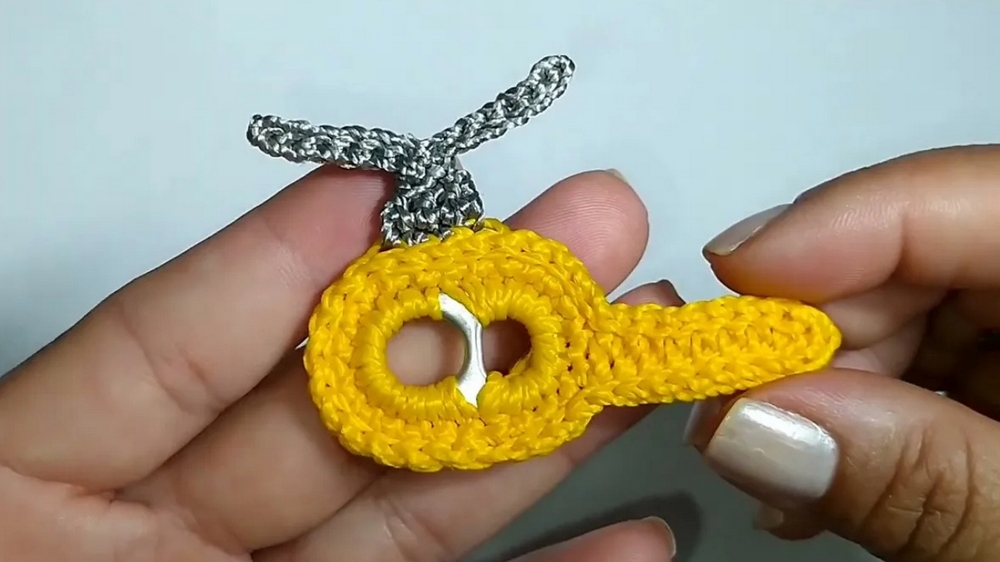
Step 10: Assemble
- Place the pencil holder over the pencil or pen top.
- Use hot glue to attach helicopter body (soda tab/cover) on top of the pencil holder donut.
- Attach rotor blades on top of the cab, and tail blades at end of tail.
Conclusion
You now have a fun and unique Helicopter Pencil Topper made using repurposed soda can seals and basic crochet. This project is great for gifts, selling as a kit, or for kids. Vary the yarn colors for sets!
Pattern Corrections
- Ensure you have exactly 12 sc on both the small and large rings of the seal for a neat foundation.
- Consistently decrease tail rows to form a gradual taper.
Tips
- Take care when handling the soda can seal for sharp edges; smooth with a file if necessary.
- Use a strong adhesive for assembly, especially with non-cotton yarns or slipperier surfaces.
- For extra durability, double up the yarn for seams.
- Always weave in ends securely.