
FREE Crochet Octopus Amigurumi Pattern That'll Bring Joy to Room
Adorable and easy-to-follow with this Crochet Teddy Bear Amigurumi Pattern helps you crochet a lovable bear perfect for gifts and cozy decor.
Tiny and full of charm, this delightful pattern brings a playful octopus to life with vibrant colors and intricate detailing. Perfect for all crocheting enthusiasts, it offers a fun opportunity to create a soft and cuddly companion that appeals to children and adults alike. Whether used as a thoughtful handmade gift, a nursery decoration, or a cute desk accessory, this design adds a touch of whimsy to any setting.
Easy Free Crochet Octopus Tutorial for Happy Vibes

The pattern allows room for personalization, making it easy to experiment with color combinations and special touches. Its compact size ensures easy handling, while the overall appearance captures the cheerful spirit of ocean life.
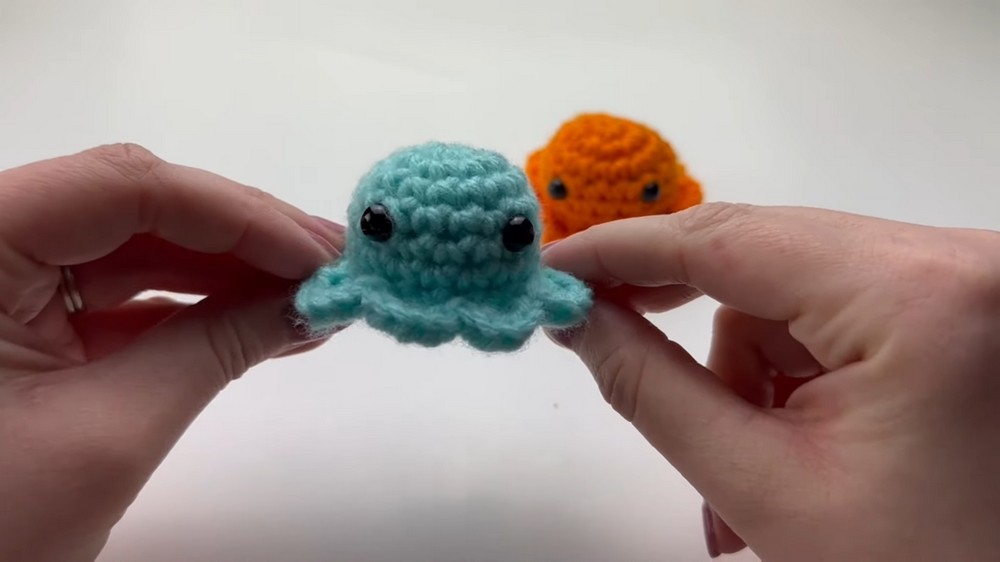
Beyond its aesthetic appeal, working on this project is also a relaxing and rewarding way to embrace the joy of crocheting. With each completed stitch, it transforms into a unique creation that’s sure to bring smiles wherever it goes.
Step-by-Step Instructions
- Materials Needed:
- Acrylic yarn (medium weight, 4) in any color of your choice.
- 3.5 mm crochet hook (you can adjust based on your tension; a 4 mm or 4.5 mm hook can make a slightly larger octopus).
- Safety eyes (8 mm) with backing.
- Yarn needle.
- Stitch markers.
- Stuffing material.
- Scissors.
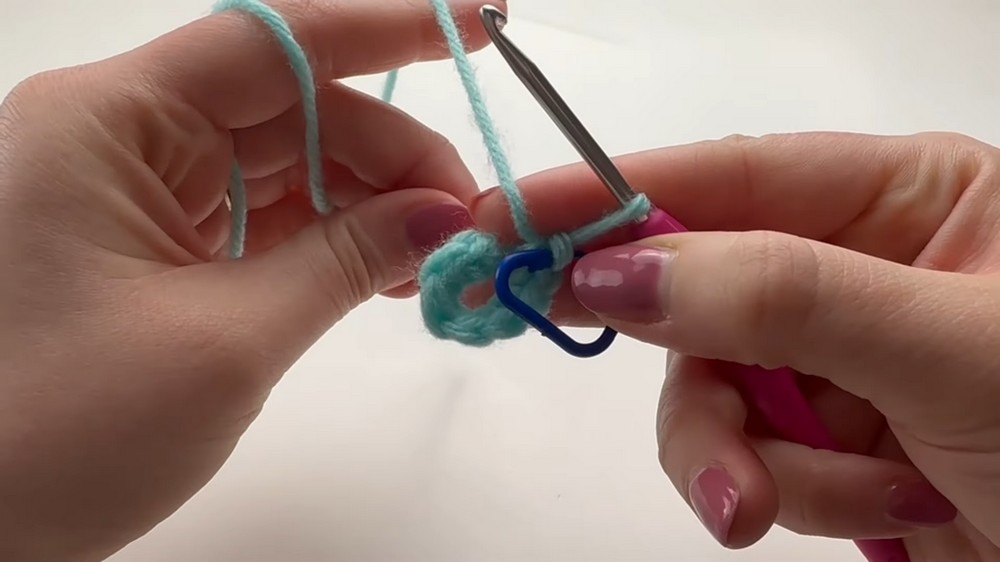
- Starting the Magic Circle:
- Hold the yarn's tail end with your thumb and middle finger.
- Wrap the working end of the yarn around your fingers, forming an "X."
- Insert your hook under the yarn closest to your fingers and pull through the yarn by your knuckles.
- Chain 1 to lock the circle, but don't pull it tight yet.
- Crocheting the First Round:
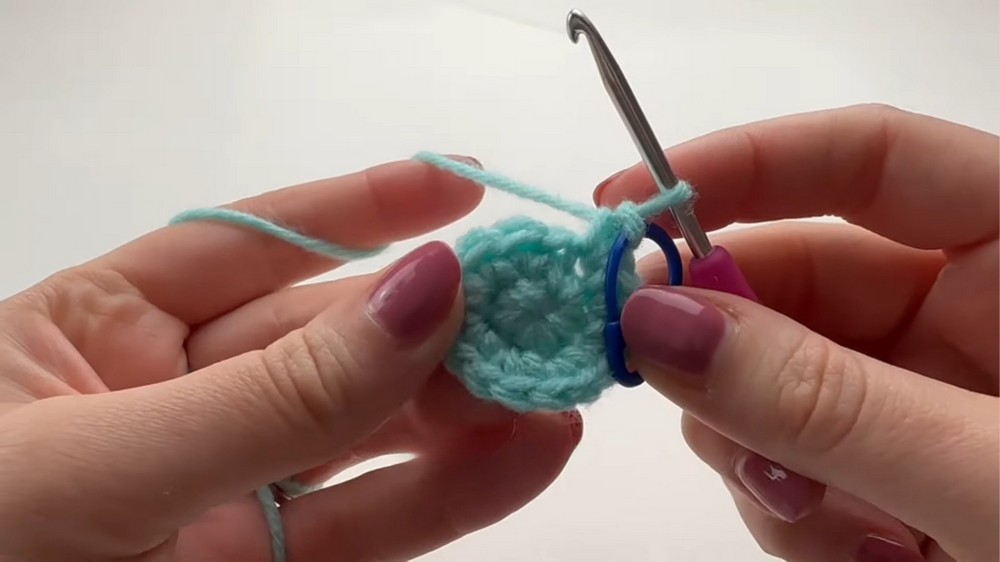
- Work 8 single crochet stitches into the magic circle, covering the tail as you go.
- Use a stitch marker to mark the last (or first) stitch.
- Pull the tail gently to cinch the magic circle closed.
- Creating the Base:
- Round 2: Increase the stitch count to 16 by crocheting 2 single crochet stitches in every stitch.
- Rounds 3–7: Work 1 single crochet into each stitch around, focusing on building the height and shape of the octopus' body.
- Forming the Tentacles:
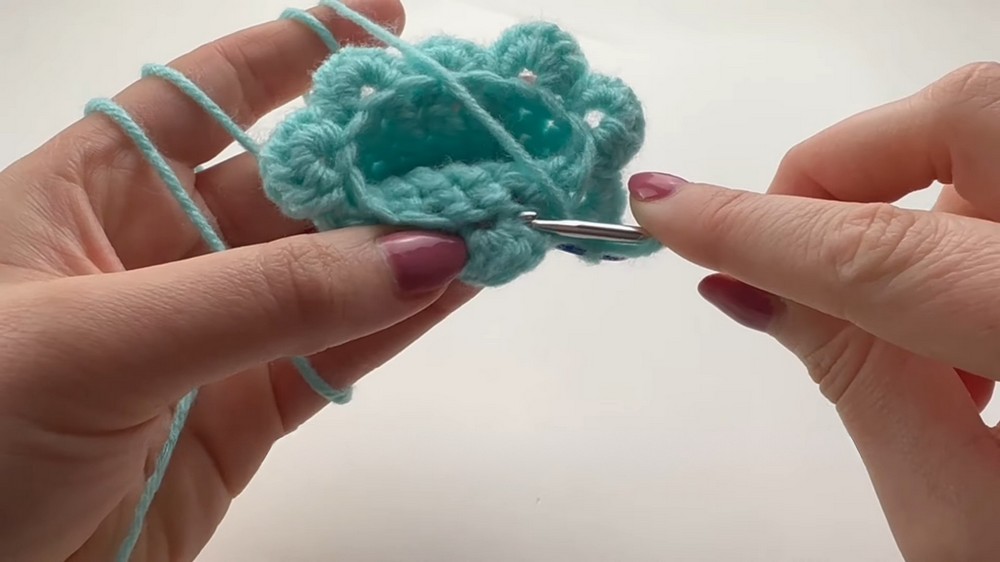
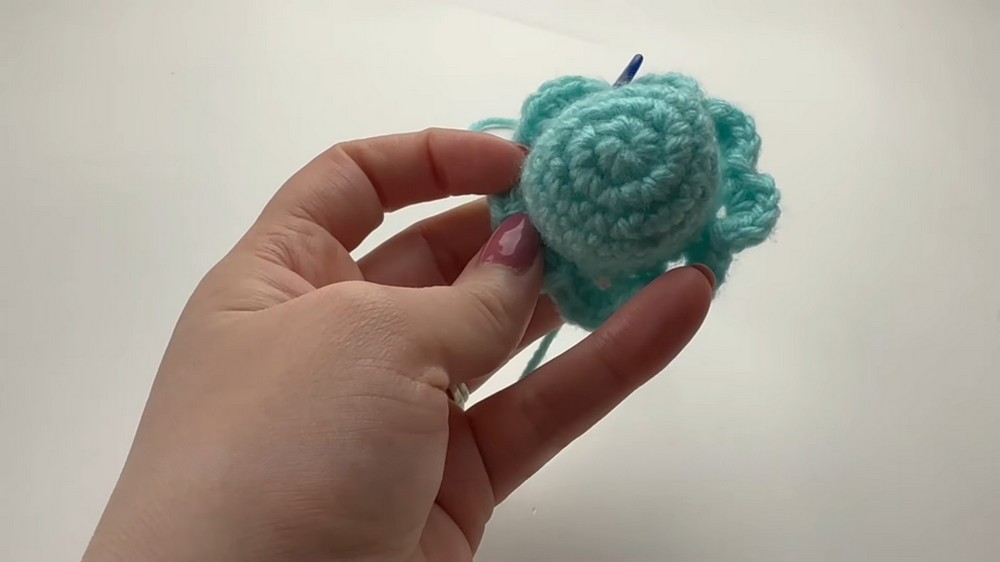
- Round 8: Work only into the front loops. Crochet 5 half-double crochet stitches into the first front loop, then do a slip stitch into the next front loop. Repeat this (5 half-double crochets + slip stitch) around the circle to create 8 tentacles.
- Finishing the Body:
- Round 9: Start crocheting into the back loops of round 8. Perform single crochet stitches around the circle (you should have 16 stitches).
- Add the safety eyes between rounds 4 and 5, adjusting the placement to your preference.
- Stuff the octopus gradually, ensuring it is soft and full but not overstuffed.
-
Decreasing and Closing:
- Round 10: Work invisible decreases by combining two front loops in each stitch until the opening narrows.
- Fasten off by slip stitching in the last stitch and chaining 1. Leave a long tail for sewing.
-
Closing the Bottom:
- Use your yarn needle to weave the yarn through the tops of the final stitches.
- Pull tight to cinch the opening closed, securing it with a double knot.
- Weave in the remaining tail and trim it to ensure a neat finish.

Special Features
- The octopus has a charming design with short "nubby" tentacles, giving it a squishy and cute appearance.
- It allows customization for color combinations and size adjustments depending on yarn type and hook size.
Level of Difficulty
The tutorial is beginner-friendly, but it might require a bit of practice if you're new to crochet techniques like the magic circle or invisible decrease. Intermediate crocheters will find it straightforward and a fun, quick project.
Tutor's Suggestions
- If you have tight tension, use a larger crochet hook (e.g., 4 mm or 4.5 mm).
- For loose tension, stick with the 3.5 mm hook for a snug and compact plushie.
- Use stitch markers to keep track of your rounds for accuracy.
- Gradually stuff the octopus and adjust the eyes before fully closing it.
Uses and Applications
- This little crochet octopus can be used as a keychain, desk decor, or toy.
- It’s a fantastic gift for children, friends, or anyone who loves quirky handmade items.
- Makes an excellent beginner project for learning basic crochet techniques.
Tip
When weaving in the final tail, pull it away from the body before cutting to ensure you don't accidentally snip too close to your stitches. This creates a clean and professional look.
Conclusion
This crochet pattern guides you through creating a sweet, squishy octopus step by step. With approachable instructions, it is an ideal project for beginners looking to expand their skills or for seasoned crocheters wanting a quick, fun creation. Whether as a gift or for personal enjoyment, this little octopus is sure to bring joy and charm to your crochet collection.