
Stunning Crochet Rocket Pattern For Space Fans Of All Ages
Make your next project with this Free Crochet Rocket Pattern and bring a bold spacecraft to life that sparks imagination in decor.
If you’ve ever dreamed of blasting off into space (or just love cute little toys), this Free Crochet Rocket pattern is a stellar find! It’s an amigurumi project that packs a punch with its sleek, pointed nose and colorful fins—a tiny rocket ready to zoom straight off your crochet hook. The texture is delightfully smooth but firm enough to hold its shape, thanks to tight, consistent stitches that keep everything neat and tidy.
Crochet Rocket For Storytime Play And Adventures
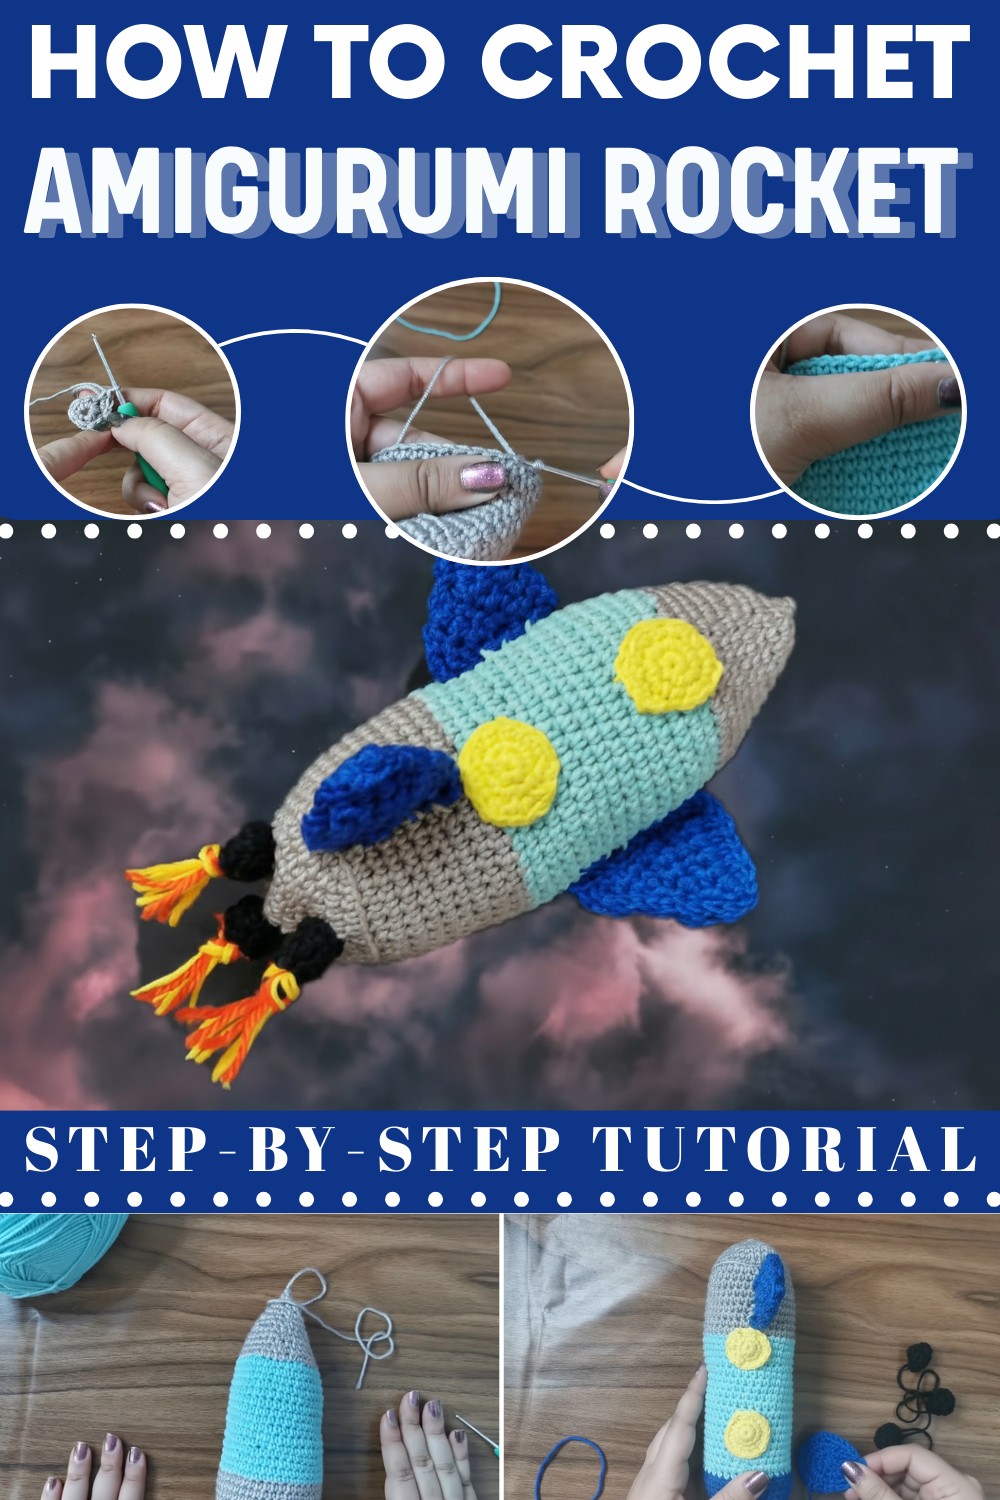
This pattern is a blast for crocheters who enjoy playful, imaginative projects. Whether you’re a beginner excited to try shaping or a seasoned pro wanting a quick, fun make, you can easily customize your rocket. Use lightweight yarn for a miniature rocket charm or grab a bulky yarn to create a plush toy perfect for cozying up. Built in continuous rounds with strategic increases and decreases, the rocket’s silhouette practically takes off right before your eyes.
Inspired by childhood dreams of space adventures and the mystery of the cosmos, this little rocket invites you to bring a bit of wonder into your collection. Yarn that shows off stitch definition, like cotton blends or soft acrylic, keeps the colors bright and the shape sharp. It’s perfect as a gift for aspiring astronauts, a quirky nursery accent, or simply to ignite your creativity. Ready to craft your own cosmic companion? This crochet rocket is your ticket to endless fun.
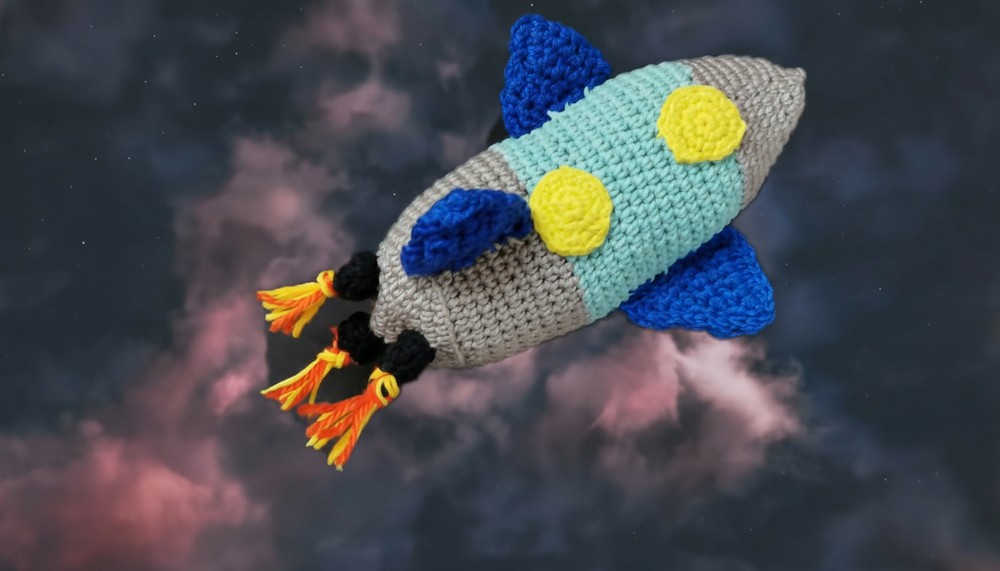
Whether you’re looking to learn, gift, or just play around with yarn, this crochet rocket is the perfect project to bring a little creativity, and cuteness, into your day.
Amigurumi Rocket Crochet Pattern
Bring a splash of fun to your decor or playtime with this cheerful amigurumi rocket! Crocheted in the round, this rocket is customizable and makes an ideal project for adventurous beginners looking to expand their amigurumi skills. The pattern covers the rocket’s body, nose cone, circular windows, and side wings (boosters), all worked separately and then assembled. You can personalize the rocket with bold color changes and added embroidery details.
Skill Level
Beginner to Intermediate
You should be comfortable working in the round, making basic increases and decreases, changing colors, and simple sewing/assembly.
Materials
- Yarn: DK or worsted weight acrylic/cotton in the following colors:
- Main Color (body)
- Contrast Color (nose, tail, boosters)
- Accent Colors (stripes, windows)
- Hook: 3.5 mm or 4 mm crochet hook
- Stuffing: Polyester fiberfill
- Tapestry needle: for sewing pieces and embroidering
- Stitch marker
- Scissors
- Optional: small amount of felt for flames or windows
- Optional: safety eyes (for window)
Measurements / Sizing
- Finished rocket is approximately 16–20 cm (6.5–8") tall when worked in DK yarn.
- Diameter is around 6–7 cm at the widest point.
Gauge
Gauge is not critical, but your stitches should be tight enough that stuffing doesn’t show.
- Example gauge: 8 rounds of single crochet in a spiral = 5 cm diameter
Stitch Abbreviations
| Abbreviation | Definition |
|---|---|
| MR | Magic Ring / Magic Circle |
| sc | Single crochet |
| inc | Increase (2 sc in same stitch) |
| dec | Decrease (sc 2 together) |
| sl st | Slip stitch |
| ch | Chain |
| st(s) | Stitch(es) |
| FO | Fasten off |
Special Stitches
- Magic Ring (MR): Wrap yarn around your finger to form a loop, insert hook, pull up a loop, and work stitches into the loop as instructed.
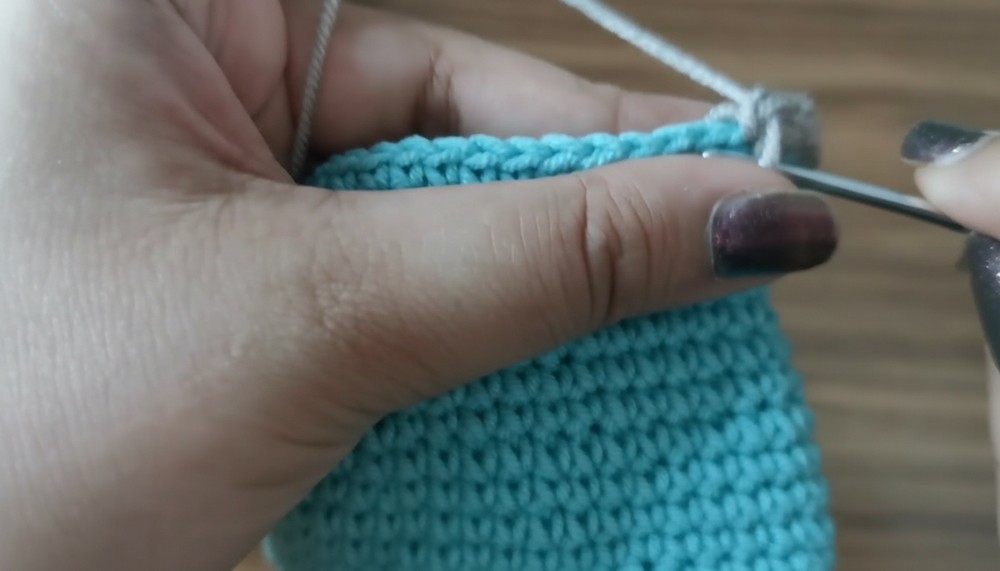
- Invisible Decrease: Insert hook into the front loop of each of the next 2 sts, yo, pull through both front loops, yo, pull through both loops on hook.
Pattern Notes
- Work in continuous rounds unless specified; use a stitch marker to keep track of your rounds.
- Change colors as indicated for stripes, windows, or boosters.
- Embroider details such as window outlines or flames if desired.
- Take time to stuff the rocket firmly for optimal shape.
The Crochet Pattern
Rocket Body
- Start at the nose:
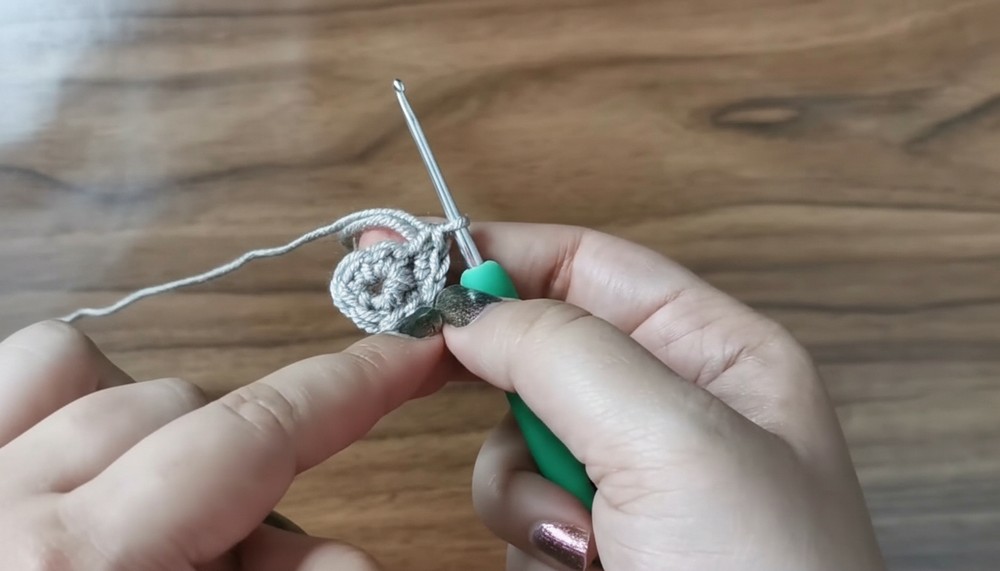
- With nose color, create a MR.
- Round 1: 6 sc in MR (6)
- Round 2: Inc in each st around (12)
- Round 3: [sc, inc] around (18)
- Round 4: [2 sc, inc] around (24)
- Rounds 5–6: Sc in each st (24)
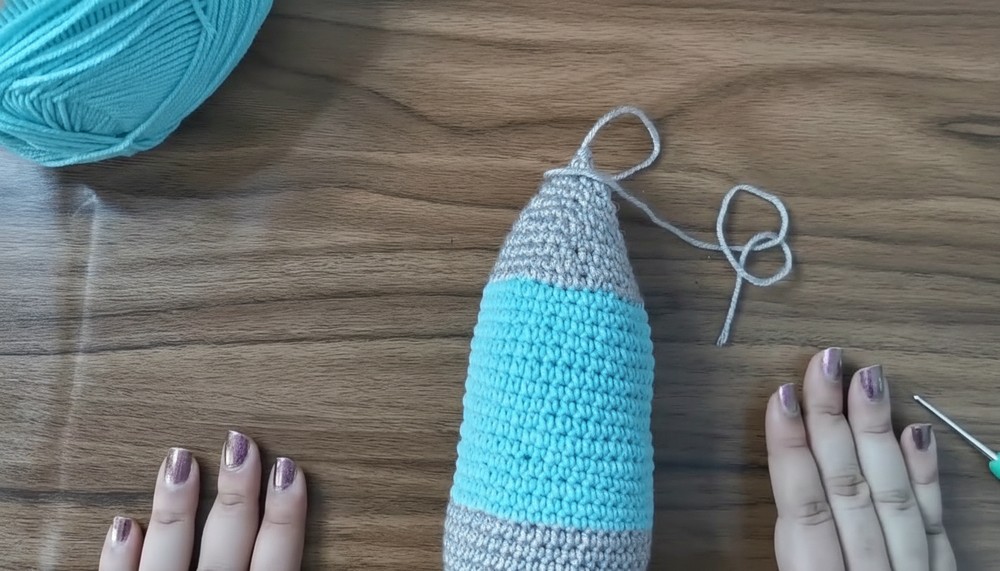
- Switch to body color.
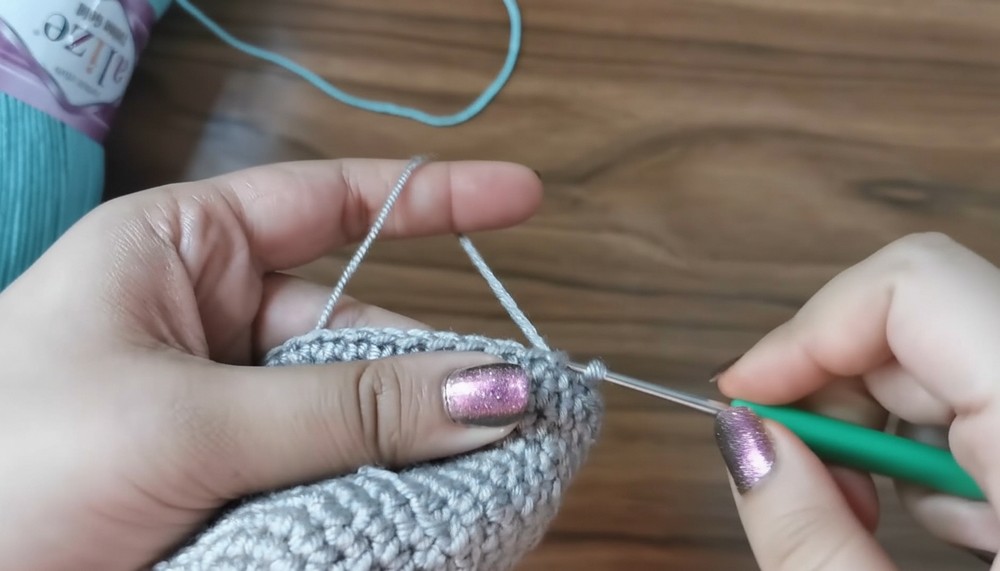
- Rounds 7–14: Sc in each st (24)
- (Optional) Change to an accent/stripe color for 2 rounds, then back to body color.
- Rounds 15–26: Sc in each st (24)
- Start decreases for the tail:
- Round 27: [2 sc, dec] around (18)
- Round 28: [sc, dec] around (12)
- Stuff firmly.
- Round 29: [dec] around (6)
- FO, weave tail through last sts and pull tight to close.
Windows (Make 1–2 as desired)
- With window color (yellow), MR.
- Round 1: 6 sc in MR (6)
- Round 2: Inc in each st around (12)
- Sl st in next st, FO leaving tail for sewing.
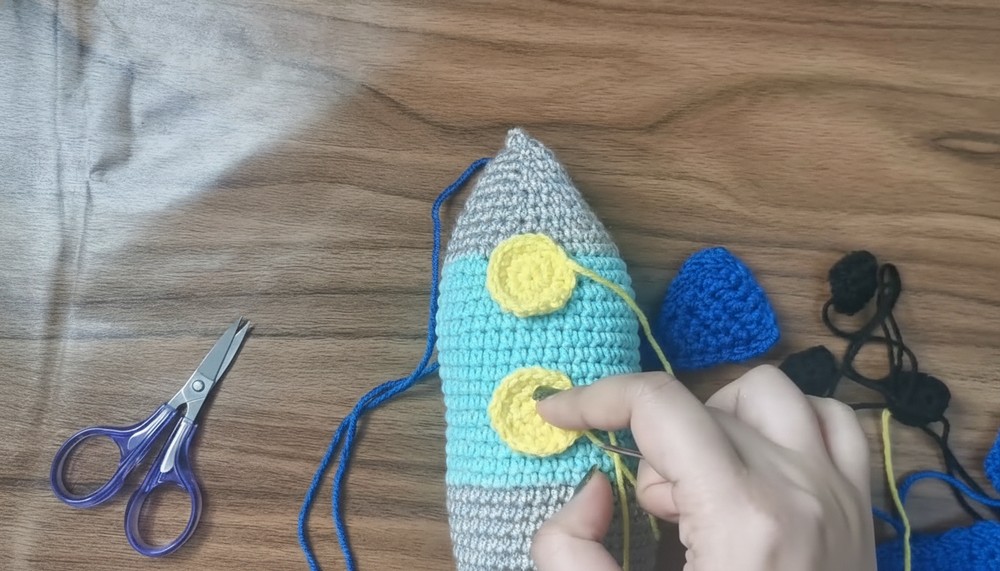
Optional: Use black yarn to embroider a border or sew on a felt circle for the window.
Side Boosters (Make 2)
- With booster color, MR.
- Round 1: 6 sc in MR (6)
- Round 2: [sc, inc] around (9)
- Rounds 3–6: Sc in each st (9)
- Stuff lightly, FO leaving long tail for sewing.
Fins/Wings (Make 3)
- Ch 8, turn.
- Row 1: Sc in 2nd ch from hook and across (7)
- Row 2: Ch 1, turn, sc2tog, sc in 3, sc2tog (5)
- Row 3: Ch 1, turn, sc across (5)
- Row 4: Ch 1, turn, sc2tog, sc, sc2tog (3)
- Row 5: Ch 1, turn, sc3tog (1)
- FO, leave a tail for sewing.
Assembly & Finished Size
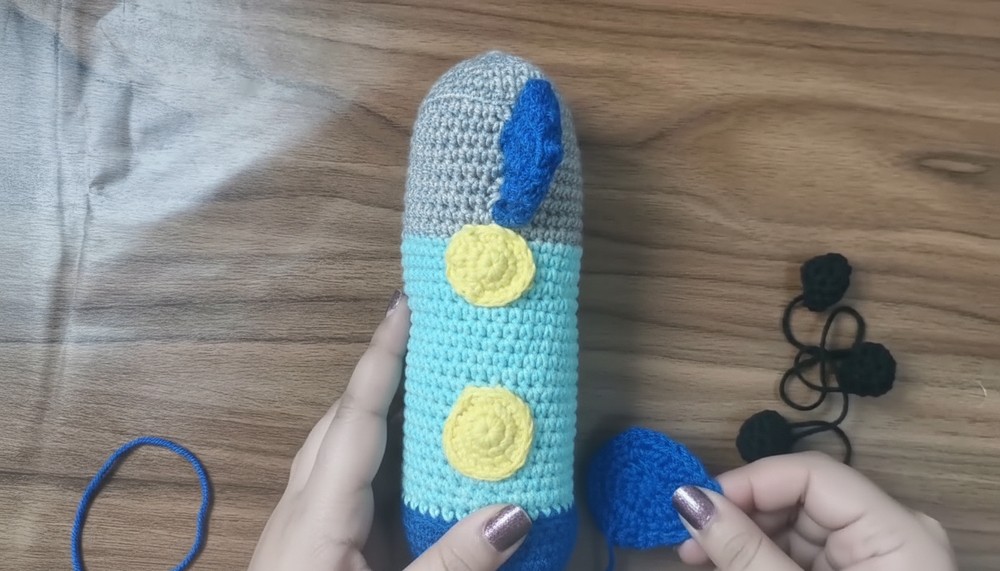
- Sew window(s) onto main body approximately ⅓ from nose.
- Attach the 2 boosters symmetrically to the lower sides of the rocket body.
- Sew three fins evenly around the base of the rocket.
- Add embroidered or felt flames in contrast color to the bottom if desired.
- The rocket will stand approximately 16–20 cm tall.
Quick Overview for Beginners
- Crochet a cone-shaped nose, then continue working rounds for the body, switching colors if you want stripes.
- Decrease and close the tail, stuffing as you go.
- Crochet small circles for windows and attach to the front.
- Crochet and sew on side boosters and three fins for stability.
- Embroider window outlines and add flames if you like.
Final Tips
- Mark your first stitch of each round.
- Stuff rocket firmly so it holds shape.
- Adjust colors and window placement as you wish.
- This rocket makes fun gifts, toys, or room decorations!
With clear steps and room for creativity, this amigurumi rocket is sure to launch your crochet skills to new heights!