
Quick & Fun Crochet Rocket Pattern for a Child’s Room
Blast off creatively with Crochet Rocket Pattern that's a lively guide that helps you stitch a space toy perfect for gifts, playtime, or decor.
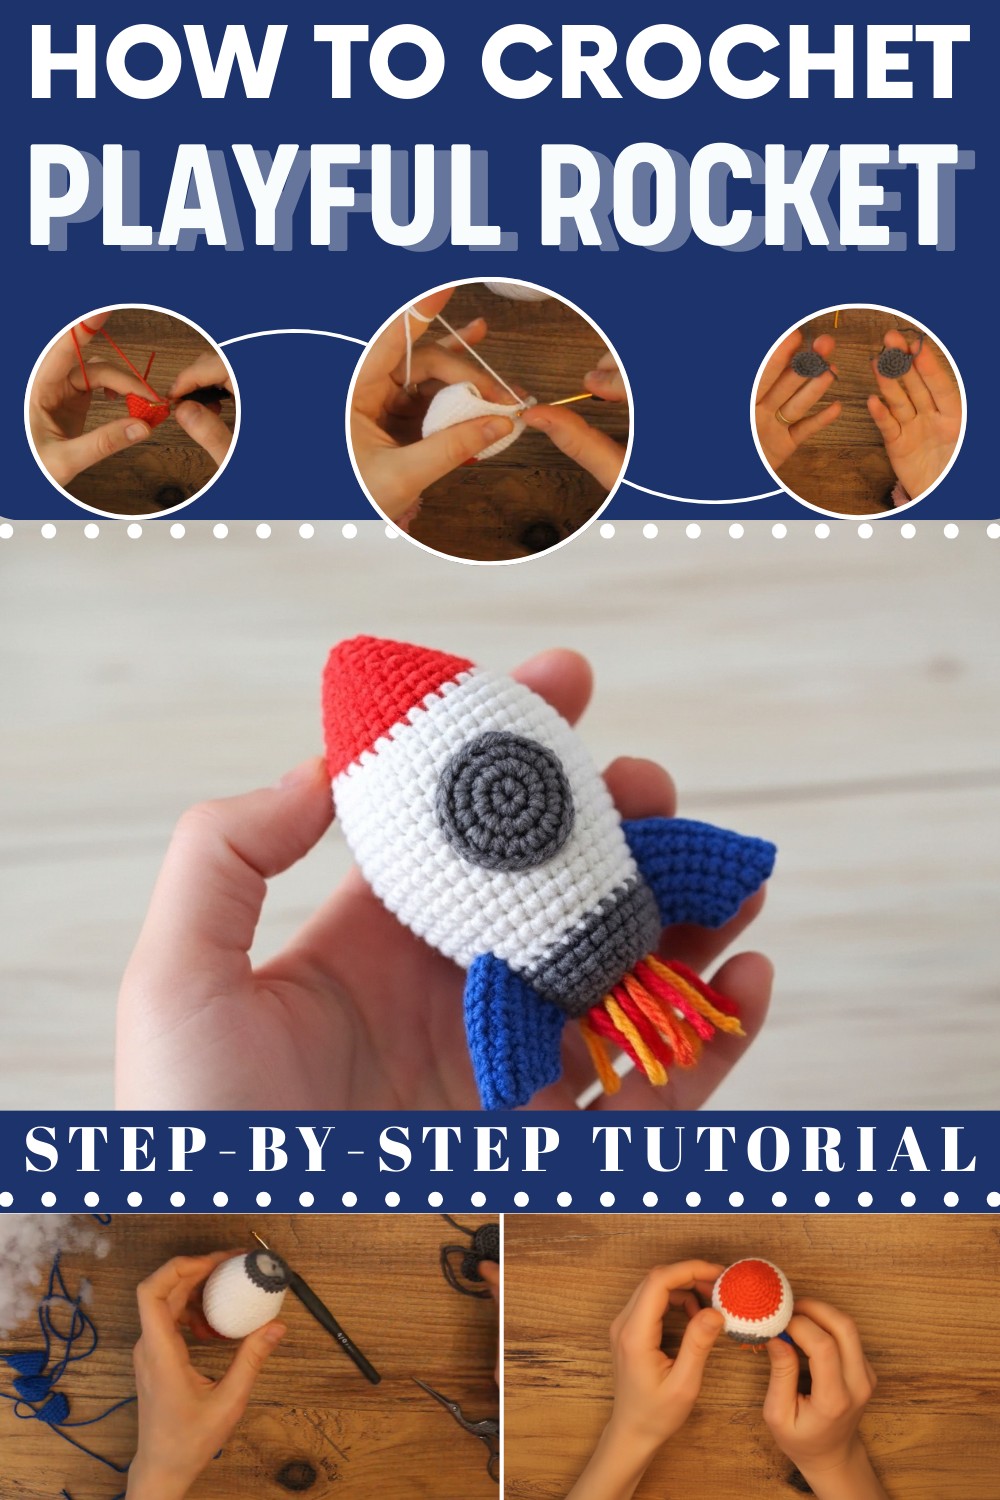
A tiny space adventure can begin right on your crocheting table with a soft and colorful rocket. The Crochet Rocket pattern guides you step by step to shape a bright rocket with a round body, cute side fins, and a small flame detail that makes it look ready to zoom.
Its soft, squishy design makes it a safe and imaginative toy for a child’s bedroom or a charming addition to a space-themed nursery. The standout detail is the clever use of layered yarn colors at the base, which perfectly mimic the roaring flames of a liftoff, giving the rocket a sense of motion even when it's just sitting on a shelf.
How to Crochet Rocket Pattern For Gift
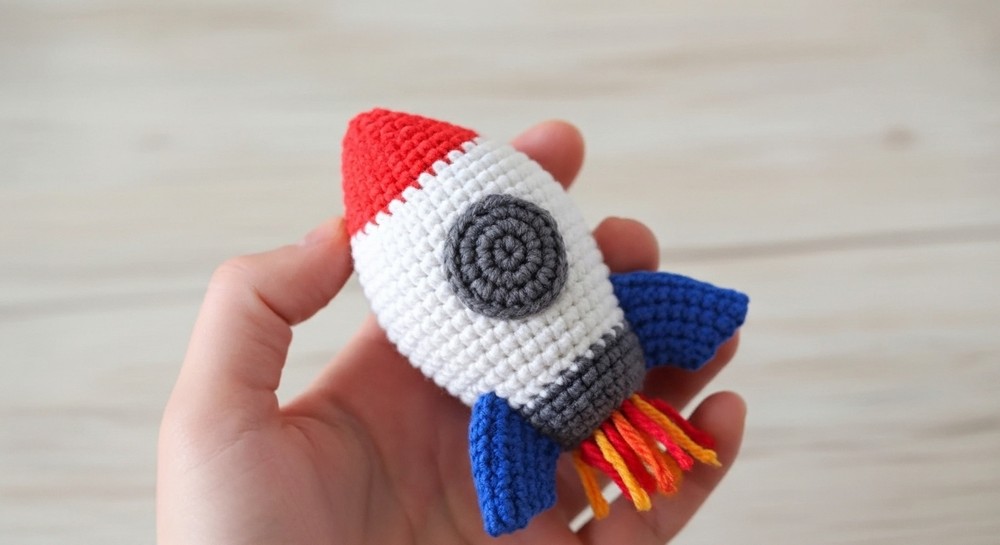
If you've been looking for a fun and creative crochet project, this rocket amigurumi is perfect for you! It's a charming design with colorful details, including a "flame" at the back, a window, and small feet to add personality. It's excellent for beginners comfortable with basic crochet techniques and looking to advance their skills.
Crochet Rocket Amigurumi Pattern Step-by-Step
Features:
- Cute rocket design with well-defined details (flames, feet, window).
- Uses multiple vibrant colors - red, white, gray, blue, and yellow.
- Lightweight and ideal as decoration or as a toy.
Materials You’ll Need:
- Yarn Colors:
- White (main body)
- Red (rocket tip and base details)
- Gray (window and bottom base)
- Navy Blue (feet)
- Orange, Yellow, and Red (flames)
- Hook Size:
- Use a 3.0 mm crochet hook, or adjust based on your yarn.
- Stuffing:
- Polyfill or regular stuffing.
- Stitch Markers: Optional but helpful to track rounds.
- Scissors, Tapestry Needle.
Abbreviations:
- ch: chain
- sc: single crochet
- inc: increase (2 sc in the same stitch)
- dec: decrease (single crochet 2 stitches together)
- sl st: slip stitch
- st(s): stitch(es)
- MR: magic ring
Pattern Instructions
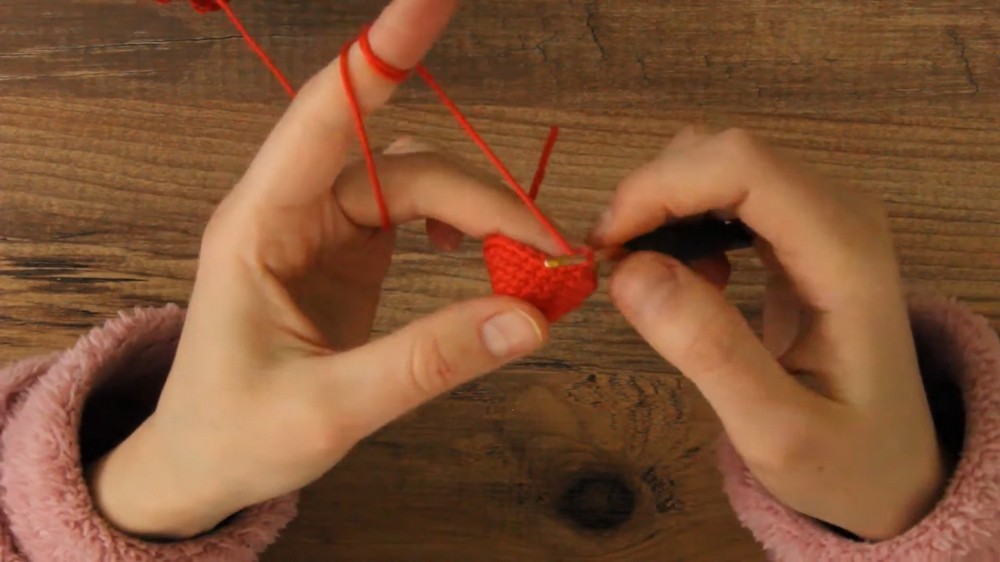
1. Tip of the Rocket (Red)
- Start with a Magic Ring (MR):
- Work 6 sc into the ring. (6 sts)
- Round 2:
- [1 sc, 1 inc] around. Repeat 3 times. (9 sts)
- Round 3:
- [2 sc, 1 inc] around. (12 sts)
- Round 4:
- [3 sc, 1 inc] around. (15 sts)
- Round 5:
- [4 sc, 1 inc] around. (18 sts)
- Round 6:
- [5 sc, 1 inc] around. (21 sts)
- Round 7:
- [6 sc, 1 inc] around. (24 sts)
- Round 8:
- [7 sc, 1 inc] around. (27 sts)
Note: The increases make the tip evenly cone-shaped. Remember to tightly secure your stitches for neat increases.
2. Body of the Rocket (White)
- Attach White Yarn:
- In the last stitch, join the white yarn and secure it by pulling through.
- Round 9:
- [8 sc, 1 inc] around. (30 sts)
- Round 10:
- [4 sc, 1 inc] around 6 times. (36 sts)
- Rounds 11-17:
- Work 36 sc for 7 rounds.
- Round 18:
- [9 sc, 1 dec] around. (33 sts)
- Round 19:
- Work 33 sc without increases or decreases.
- Round 20:
- [8 sc, 1 dec] around. (30 sts)
- Round 21:
- Work 30 sc without increases or decreases.
- Round 22 and 23 (Gray yarn):
- Switch to gray yarn and work 24 sc evenly for two rounds.
Tip: After completing the body, stuff the rocket firmly with polyfill to maintain its shape. Avoid overstuffing to prevent any gaps between the stitches.

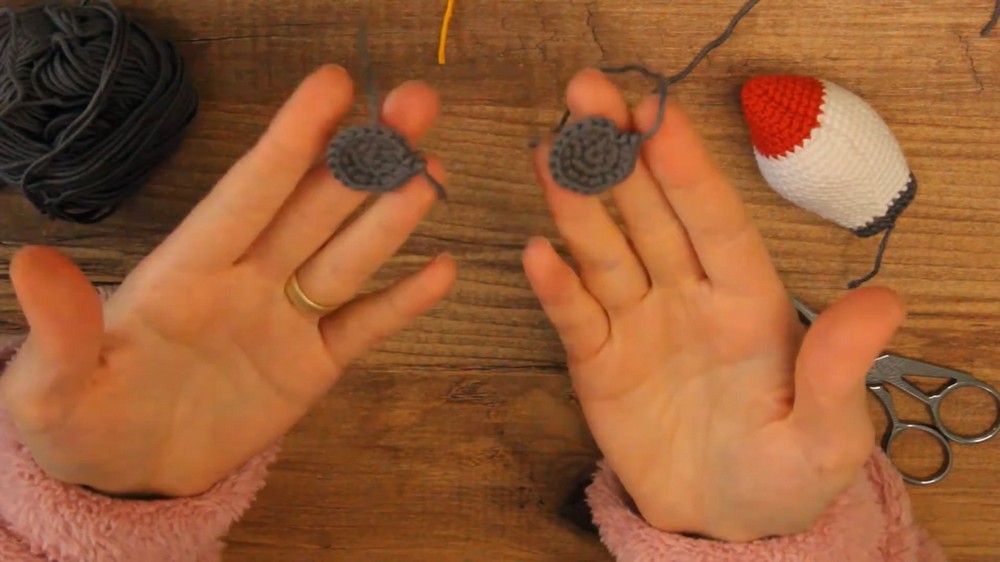
3. Base of the Rocket (Gray)
- Start with a Magic Ring (MR):
- Work 6 sc into the ring. (6 sts)
- Round 2:
- Inc in every stitch. (12 sts)
- Round 3:
- [1 sc, 1 inc] around. (18 sts)
- Finish off:
- Leave a long tail for sewing.
- Make 2 Base Pieces:
- One will act as the rocket base, and the other as the window.
4. Rocket Feet (Navy Blue)
- Start with a chain (ch) foundation:
- Ch 5, then sc in the second chain from the hook, work 4 sc along the chain.
- Continue Around the Chain:
- Work down the opposite side of the foundation chain with 4 sc.
- Round 2:
- Work a total of 8 sc evenly around.
- Round 3:
- Increases: Work 8 sc across, adding an increase in corners.
- Round 4:
- Add shape by working 1 inc in the first st, 4 sc, 2 inc, 4 sc, repeat to create an oval.
- Repeat x3:
- Make 3 identical feet.
- Assembly of Feet:
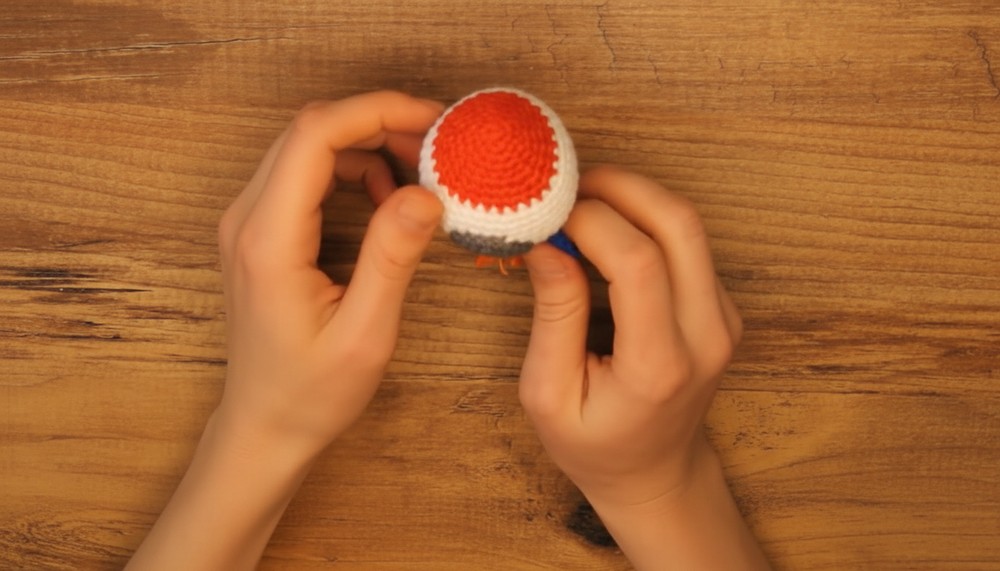
- Fold each foot in half and stitch the open edges together. Afterward, attach the feet symmetrically around the bottom of the rocket body (spaced evenly to create the "legs").
5. Window (Gray)
- Magic Ring (MR):
- Inside the ring, create 6 sc.
- Round 2:
- [1 sc, 1 inc] around.
- Finish off:
- Leave a tail for sewing.
- Attach the Window:
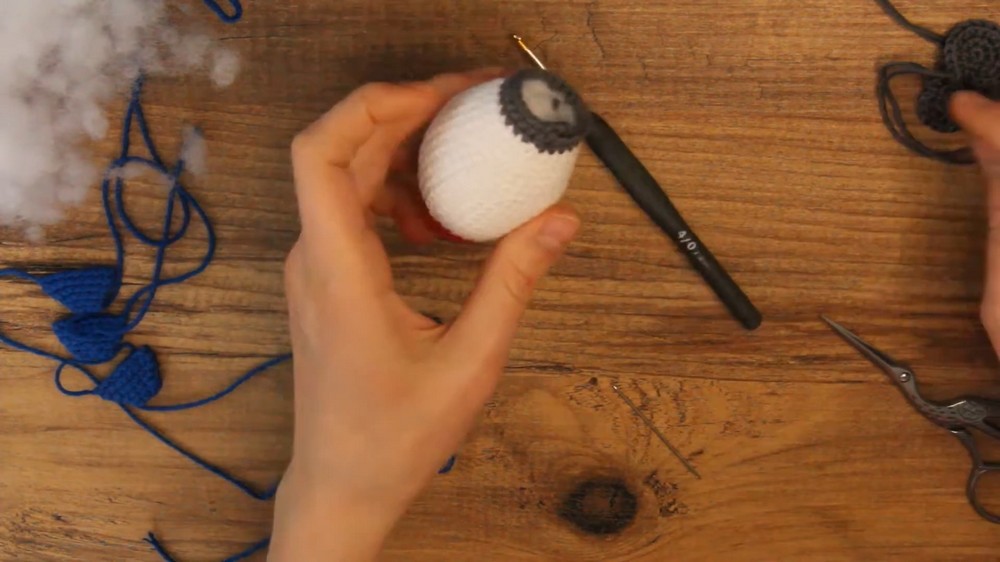
- Position the window near the top of the white rocket body and sew it on neatly using the yarn tail.
6. Flame at the Rocket’s Base (Red, Yellow, and Orange)
- Cut Strings:
- Cut equal lengths of red, yellow, and orange yarn (roughly 3 inches). Add a variety of these colors for dimension.
- Group by Color:
- Group yarn pieces into 3 strands per color.
- Tie onto Rocket:
- Use a tapestry needle to pull each small set through the gray base of the rocket's back, securing it with a knot.
- Separate Individual Strands:
- For a "fire" effect, split and fray the yarn strands into thinner fibers.
- Trim for Design:
- Trim the excess to make a flame burst design.
Assembly Instructions
- Stuff the Rocket:
- Use polyfill to lightly stuff. Ensure the rocket holds its shape but don’t overstuff.
- Attach the Base:
- Sew the base piece to the open bottom of the rocket, leaving a small gap to add more stuffing. Once adequately filled, close the remaining gap securely.
- Sew on the Feet:
- Equally space the three feet around the bottom of the rocket and sew them to the base for stability.
- Attach the Window:
- Sew the gray window to the rocket body near the top, ensuring it’s symmetrical.
- Add Flames:
- Tie the flame strands into the holes at the base and fray and trim for a “fire effect.”
Suggestions and Uses
- Level of Difficulty: Advanced beginner to intermediate (some shaping/multiple parts).
- Tutor's Suggestions: Use stitch markers to keep track of rounds and be intentional with stuffing to maintain the shape without gaps.
- Uses:
- Unique decorative piece for kids' rooms.
- Great personalized toy gift for space enthusiasts.
- Creative addition to space-themed party decor.
Tips
- If you’re a beginner, watch the video tutorial a few times before starting your project. This helps to get familiar with increases/decreases, magic rings, and transitions.
- To avoid gaps when using stuffing, ensure your stitches are uniform and tightly pulled.
- Experiment with different color schemes to match your décor!
Conclusion
Your crochet rocket amigurumi is complete! With its whimsical design and fun details, it's the perfect project for gifting, decorating, or simply challenging yourself with something unique.