
Stomping Crochet Giraffe Amigurumi Pattern for Big Safari Adventure
Tailor a giant jungle sweetness with this Crochet Giraffe Amigurumi Pattern, a trendy and vibrant style to provide a splash of wild joy.

Easy Crochet Giraffe Amigurumi Pattern to Hug and Squeeze Forever
Reaching toward the sky with a graceful and slender neck this charming yellow animal provides a whimsical touch of the savanna to your living space. A Crochet Giraffe Amigurumi Pattern yields a tall and striking figure featuring iconic brown spots and tiny nosecones that look magnificent in a child's playroom. This long-limbed friend is remarkably versatile serving as a playful height marker for a nursery or a cheerful decorative piece for a sunny windowsill. Its elongated shape and vibrant colors offer a distinctive aesthetic that sparks curiosity and joy.
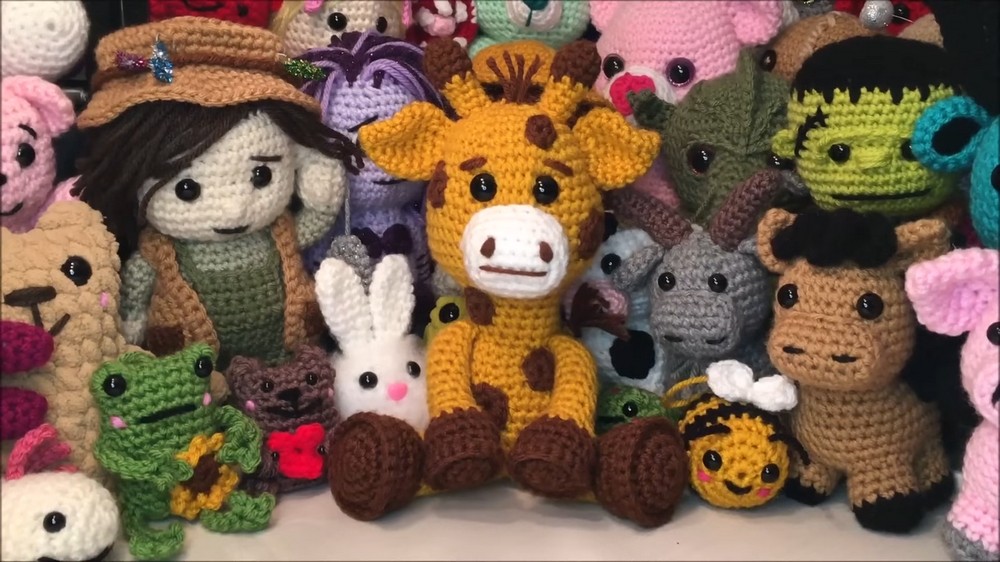
Working on this project delivers a satisfying and calm experience as you focus on rhythmic color changes and neat structural shaping. The finished toy is incredibly sturdy and soft making it a safe choice for little hands to grasp and explore. Since it stays bright and holds its form beautifully it serves as a lasting memento of childhood wonder. This elegant safari resident adds a sunny and stylish vibe to your environment while celebrating nature's most unique heights.
Materials
-
Yarn: Medium weight (Number 4) yarn in yellow (base), brown (hooves, spots, horns), and white (muzzle).
-
Hook: 4.25 mm crochet hook [00:44].
-
Safety Eyes: 14 mm [00:44].
-
Stuffing: Polyester fiberfill.
-
Notions: Stitch marker, tapestry needle, pins, and scissors [01:21].
Step-by-Step Pattern
1. Limbs (Make 4: 2 Arms, 2 Legs)
-
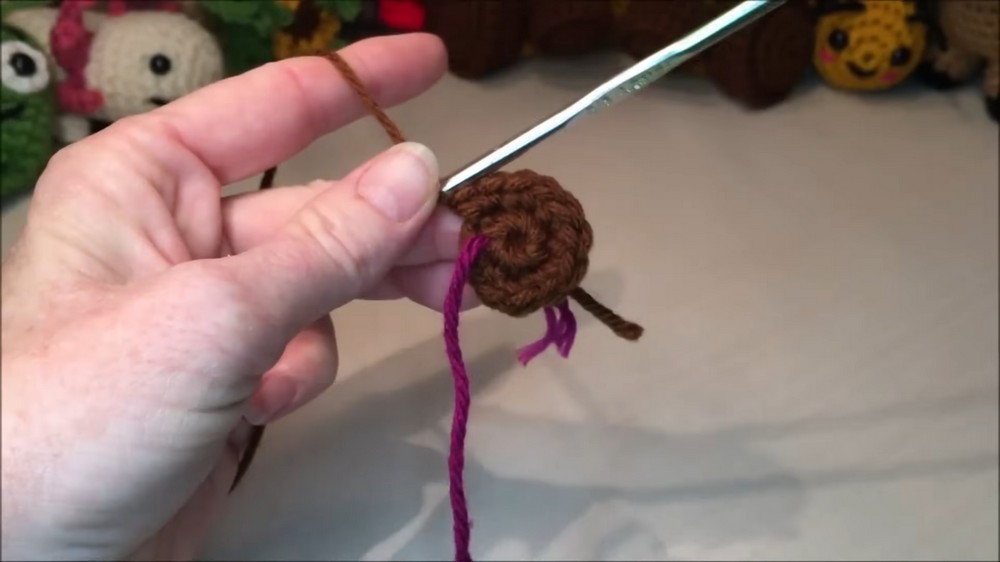
Hooves (Brown): Start with 6 single crochet (sc) in a magic ring. Increase to 24 sc by Row 4 [05:44].
-
Texture: Row 5 in front loops only and Row 6 in back loops only to create a distinct hoof ridge [06:59].
-
Leg Transition: Decrease to 12 sc and change to yellow yarn at Row 9 [13:58].
-
Length: Sc 12 for 9 rows [15:58].
-
Finishing: Stuff the hoof firmly and the upper leg lightly. Sc 5 across to close [23:53]. Note: Arms require 3 extra sc before closing to align correctly on the body [22:12].
2. Head and Upper Body (Yellow Yarn)
-
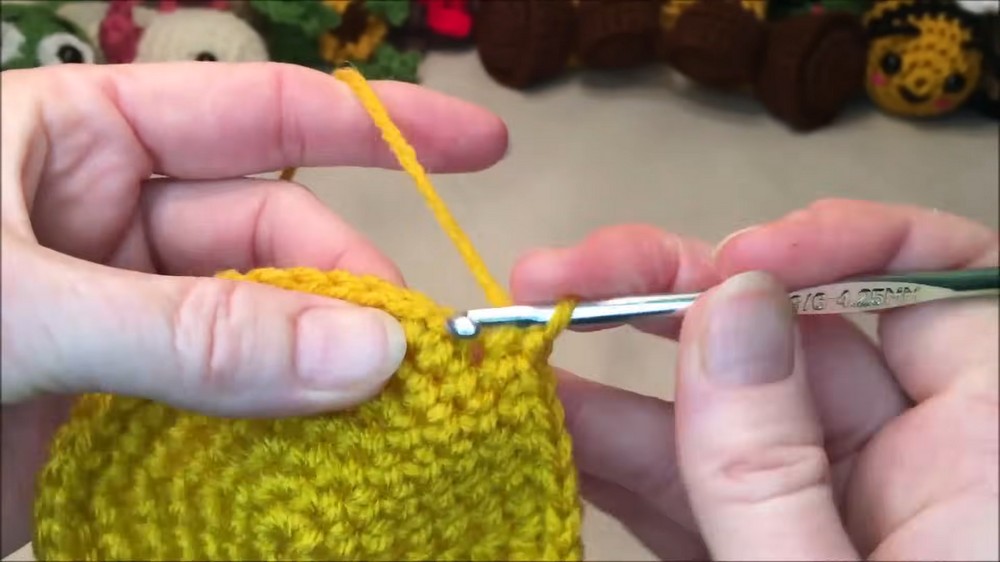
Head: Start with 6 sc in a magic ring and follow standard increase rounds to reach 42 sc at Row 7 [26:27].
-
Neck Taper: Work sc rows, then decrease rounds (36, then 18) to form the long neck [53:38]
-
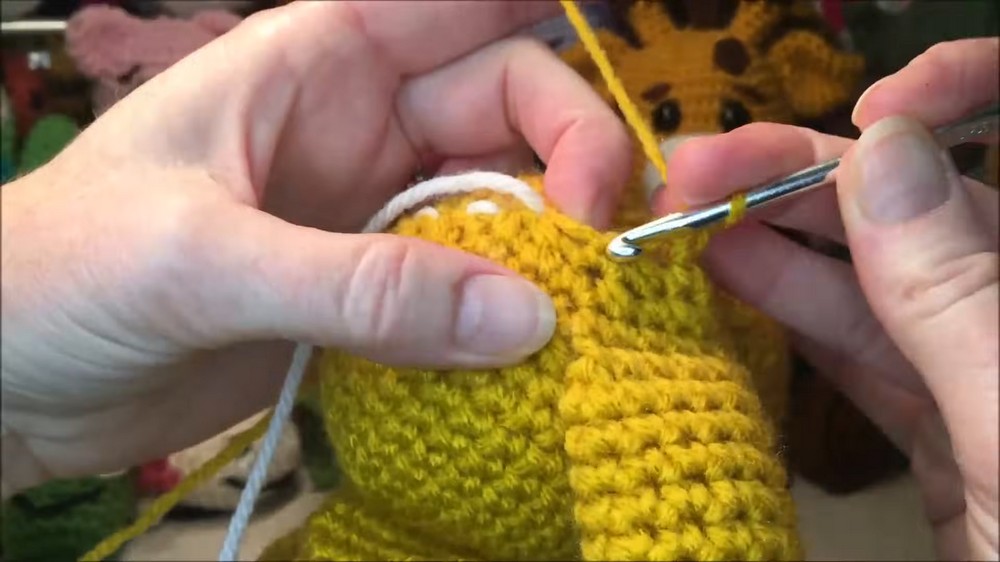
Arm Integration: Work 2 sc, then 5 sc through the first arm and neck. Sc 4 across the front, then 5 sc through the second arm and neck. Finish with 2 sc [01:05:19].
3. Lower Body and Legs
-
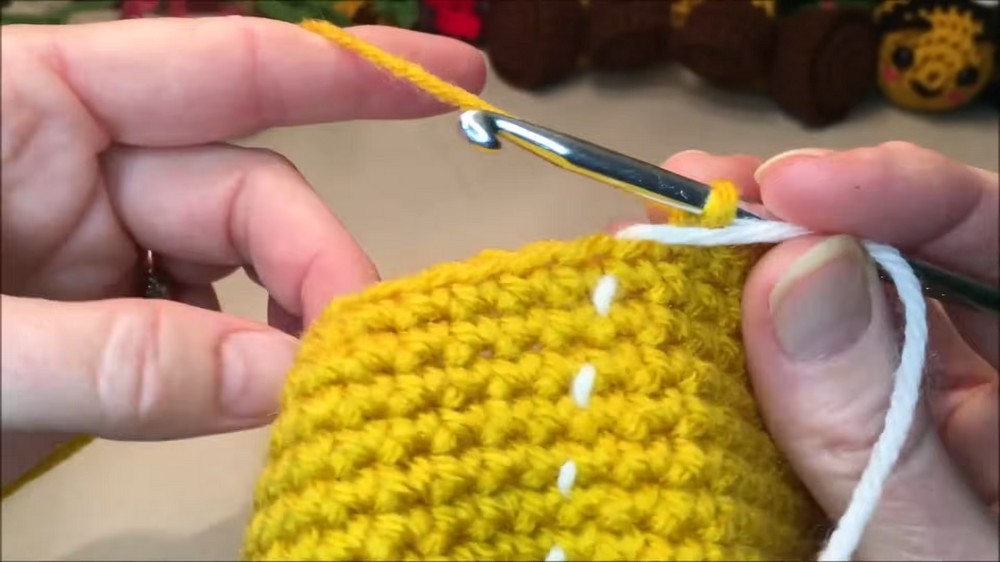
Torso Expansion: Increase rounds (24, 30, 36) and work sc rows to build the body [01:08:44].
-
Leg Integration: At Row 37, position the legs at the front for a sitting posture. Work 5 sc through each leg and the body with 2 sc between them [01:34:09].
-
Closing: Decrease down to 12 sc. Stuff the body firmly, ensuring you push stuffing into the neck for support [01:38:29]. Finish with 6 dec and weave closed [01:46:25].
4. Facial Features and Spots
-
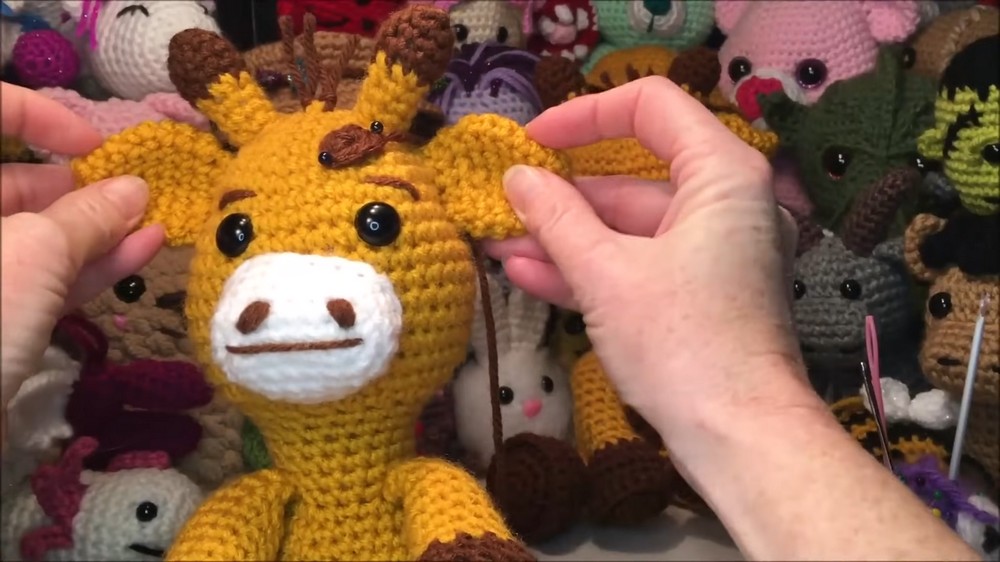
Eyes: Place 14 mm safety eyes between Rows 9 and 10 of the head, 6 holes apart [01:31:05].
-
Muzzle (White): Work around a chain-7 foundation to create an oval. Sew between the eyes [01:51:45].
-
Horns and Ears: Crochet small tapered tubes for horns and leaf shapes for ears. Sew them to the top of the head [01:59:32].
-
Spots (Brown): Create flat circles in varying sizes (6, 8, or 10 sc in a ring) and sew them randomly onto the body [02:20:06].
Special Features
-
Hoof Ridge: The combination of front and back loop stitches in Rows 5 and 6 creates a realistic, defined hoof shape [06:59].
-
Integrated Body: The no-sew body construction means the limbs and torso are one continuous unit, increasing the toy's playability and safety [00:12].
Level of Difficulty
This project is Intermediate. While it uses basic stitches, the integration of limbs and the long, thin neck require careful tension control and precise stitch counting.
Tutor's Suggestions
-
Neck Stability: Stuff the neck extremely firmly to prevent the head from flopping. You can also insert a crocheted tube or foam curler for extra support if needed [58:24].
-
Arm Securing: Use the yarn tails from the arms to pull them inward toward the neck before knotting them inside. This stabilizes the limbs and prevents them from being wobbly [01:42:09].
Uses
-
Nursery Decor: A perfect soft sculpture for a safari-themed room.
-
Child's Toy: The sturdy construction makes it safe for regular play.
Conclusion
By following these steps, you create a character-rich giraffe with beautiful anatomical details. The no-sew technique provides a professional finish that highlights your technical crochet skills.
Pro-Tip
When sewing on the brown spots, pin the bottom side first and then pull the top slightly to create an oval shape. This makes the giraffe look more natural than perfectly round spots.