
Adorable Crochet Dinosaur Pattern That Kids Will Love
Ignite playful creativity with this Free Crochet Dinosaur Pattern, crafting a cute, collectible figure perfect for gifts, décor, and tiny hands to enjoy.
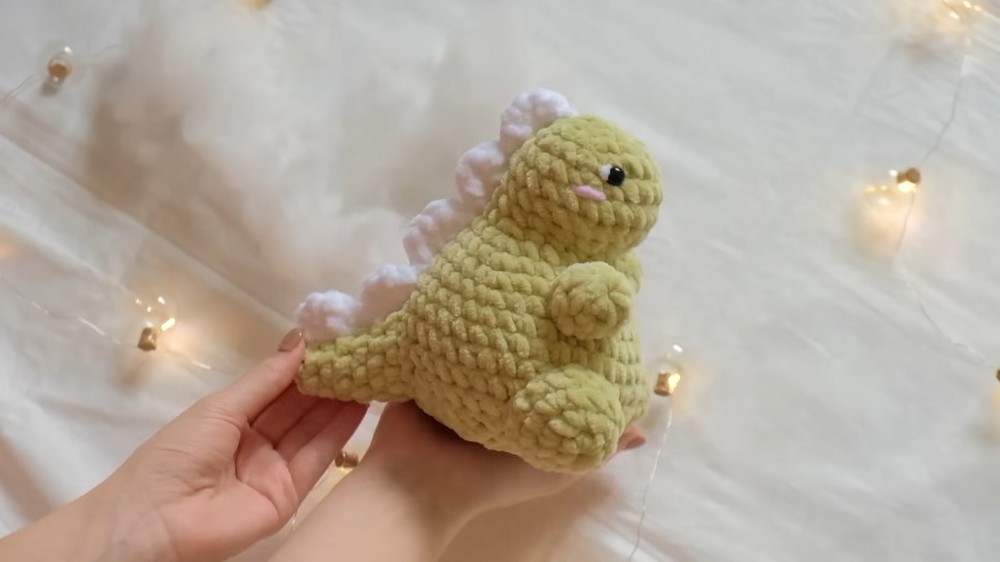
Long before fossils became the centerpiece of museums, dinosaurs captured the curiosity and imagination of children and adults alike. Translating this fascination into a tactile, playful form, a small crochet dinosaur provides both entertainment and a sense of accomplishment. Perfect for little hands, it can serve as a comforting companion, a cheerful décor piece, or a creative gift for dinosaur enthusiasts. Its compact size and soft texture make it safe and portable, ideal for carrying along on adventures or displaying proudly on shelves.
How to Crochet Dinosaur Pattern Step by Step

The Free Crochet Dinosaur Pattern begins with forming the rounded body, ensuring a sturdy yet cuddly structure. Next, the tail and legs are carefully shaped to maintain balance and allow a playful stance. Subtle ridges along the back and the addition of a friendly face add character, while the arms are attached in proportion to give the figure a lifelike, approachable appearance. Midway through, stitch details enhance texture without compromising safety, making it suitable for children and collectors alike.
Beyond its charming look, this small creation fosters patience, focus, and fine motor skills, offering a rewarding hands-on experience. Whether used as a gift, an educational tool, or a decorative item, the Free Crochet Dinosaur Pattern brings fun, functionality, and tactile delight together, making it a versatile addition to any home or collection.
Materials Needed
- Yarn:
- Dolphin Baby yarn (olive color) - about half a skein.
- White yarn - a small amount for accents.
- Pink yarn - minimal quantity for details.
- Eyes:
- 9 mm eyes (either safety eyes or sewn eyes as demonstrated).
- Tools:
- 5 mm crochet hook.
- Sewing needle (optional metal needle for durability).
Step-by-Step Instructions
Step 1: Preparing the Legs
- Make an amigurumi ring by wrapping the yarn and holding it in a cross-like shape.
- Use the crochet hook to create an air loop, then pull the working thread through the circle.
- Crochet 6 single stitches into the ring. Tighten the ring after pulling the working thread.
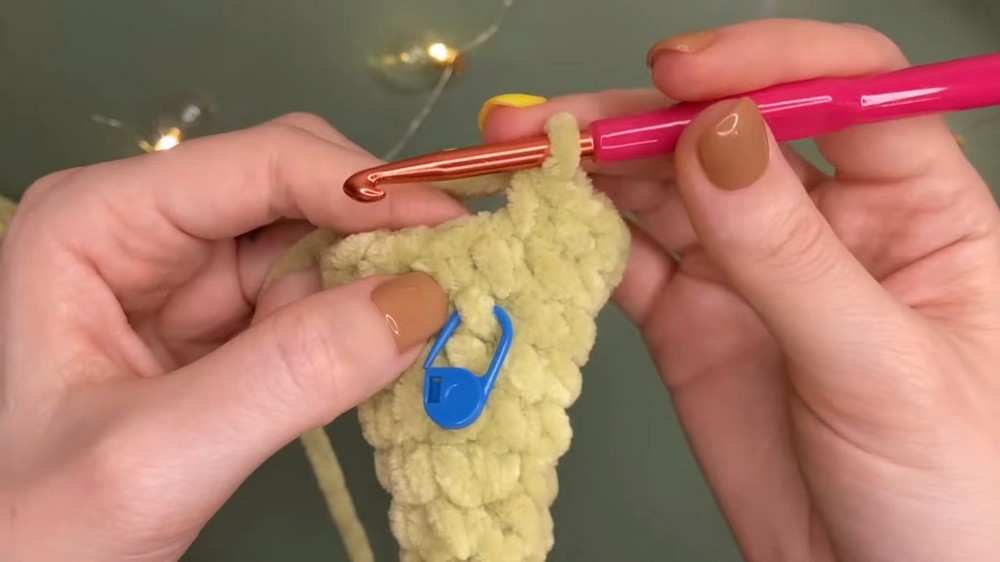
- Mark the row’s start with a stitch marker.
- Second row: Create increases by crocheting 2 stitches into each hole. This brings the total to 12 stitches.
- Continue to subsequent rows until there are 15 single crochets in total. Finish the row by cutting the thread, leaving 20–30 cm for sewing.
Repeat to make two identical legs.

Step 2: Creating the Arms
- Begin with an amigurumi ring and 6 single crochets.
- Second row: Alternate between one single crochet and an increase to create 9 stitches.
- Third row: Crochet 9 stitches in a circle.
- Finish by cutting the thread and leaving a tail for sewing.
Repeat to make two identical arms.
Step 3: Crafting the Tail
- Start with an amigurumi ring and 6 stitches.
- Gradually increase the number of stitches in each row to shape the tail.
- Pay extra attention when the stitches are small, as the knitting may twist inward—turn the work to the front side if needed.
- Continue alternating between single crochets and increases, decreasing as necessary.
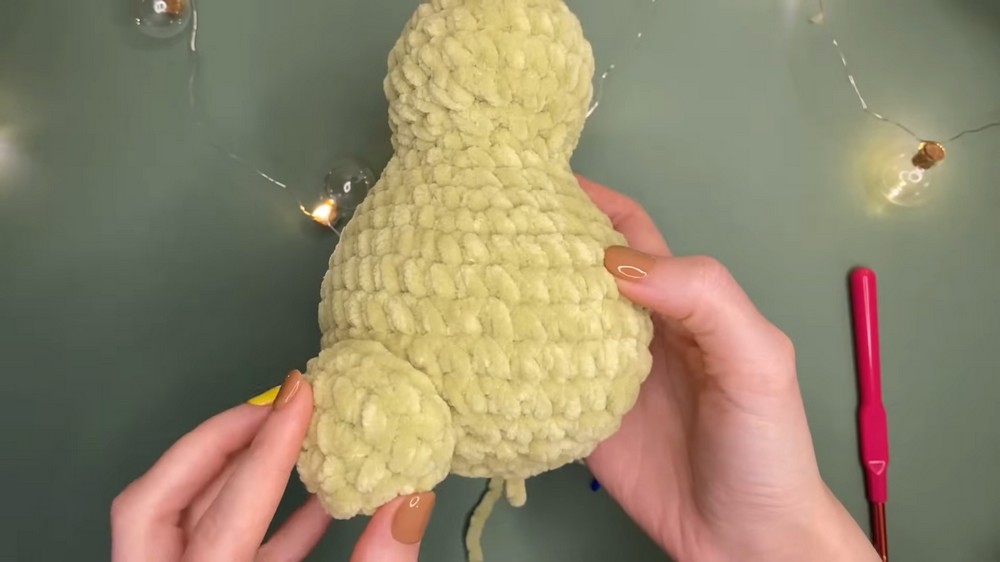
Step 4: Making the Body
- Form an amigurumi ring with 6 stitches.
- Gradually increase stitches to create a larger circle. This involves alternating between single crochets and increases.
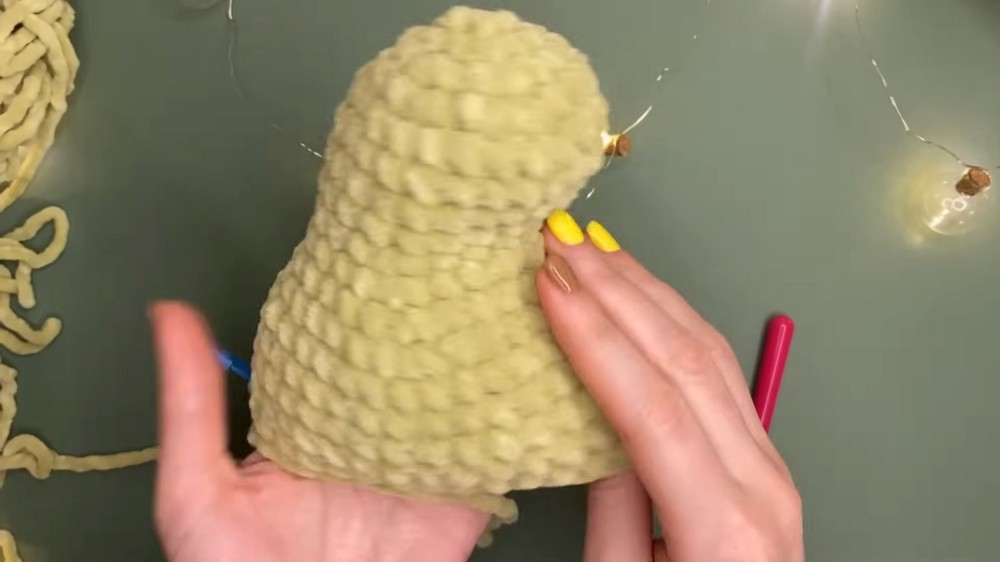
- Add rows without increases for shaping and stuff the toy as it grows.
- Begin narrowing the hole with decrease rows: Add 4 stitches, then decrease for shaping.
Step 5: Belly and Decorative Waves
- Use the white yarn for the belly accents.
- Crochet 28 air loops, leaving a loose tension.
- Create decorative waves using half-columns with a crochet stitch, repeating the process in sets.
- Attach the decorative waves securely to the dinosaur's body using a sewing needle.

Step 6: Assembly
- Sew the legs onto the base of the body, leaving 5 columns between them. Make sure to stuff each leg before securing it.
- Sew the arms, ensuring they are evenly spaced from the legs.
- Attach the tail at the center back of the dinosaur. Ensure it is positioned evenly relative to the body.
- Sew on the belly wave accents.
Step 7: Adding Eyes
- Leave space after completing the head (around the fourth row). Place safety eyes at this point, or sew eyes later.
- Bring the needle through the desired position for the eyes, ensuring symmetry.
Special Features
- Adorable Design: A cute dinosaur shape with realistic features (legs, arms, tail, and belly waves).
- Personalizable: Choose different yarn colors to customize the look.
- Kid-Friendly: Safe eyes add durability to make it suitable for young children.
Level of Difficulty
This project is beginner to intermediate:
- Straightforward for those familiar with amigurumi basics such as single crochet, increases, and decreases.
- Challenging for newcomers in shaping complex parts like the tail and head.
Tutor’s Suggestions
- Use a stitch marker to keep track of rows and avoid mistakes.
- Avoid tightening stitches too much to ensure the amigurumi ring can be closed smoothly.
- Stuff parts as you go for easier assembly and a more uniform shape.
Uses of the Final Product
- Toy: Ideal for children or as a baby gift.
- Decor: Perfect for crafting collections, shelves, or themed displays.
- DIY Gift: Handmade, thoughtful gift for loved ones.
Extra Tip
When sewing the details (legs, arms, etc.), ensure symmetry by carefully counting rows or stitches for alignment. This guarantees a polished and professional-looking final product.
Conclusion
This crochet dinosaur tutorial offers a fun and creative project that is both rewarding and versatile. From its adorable design to being a thoughtful handmade gift, the dinosaur is sure to delight anyone who sees it. Following the clear step-by-step instructions, even beginners can successfully complete this project.