
Spooky Free Crochet Jigsaw Billy Pattern to Play a Little Game
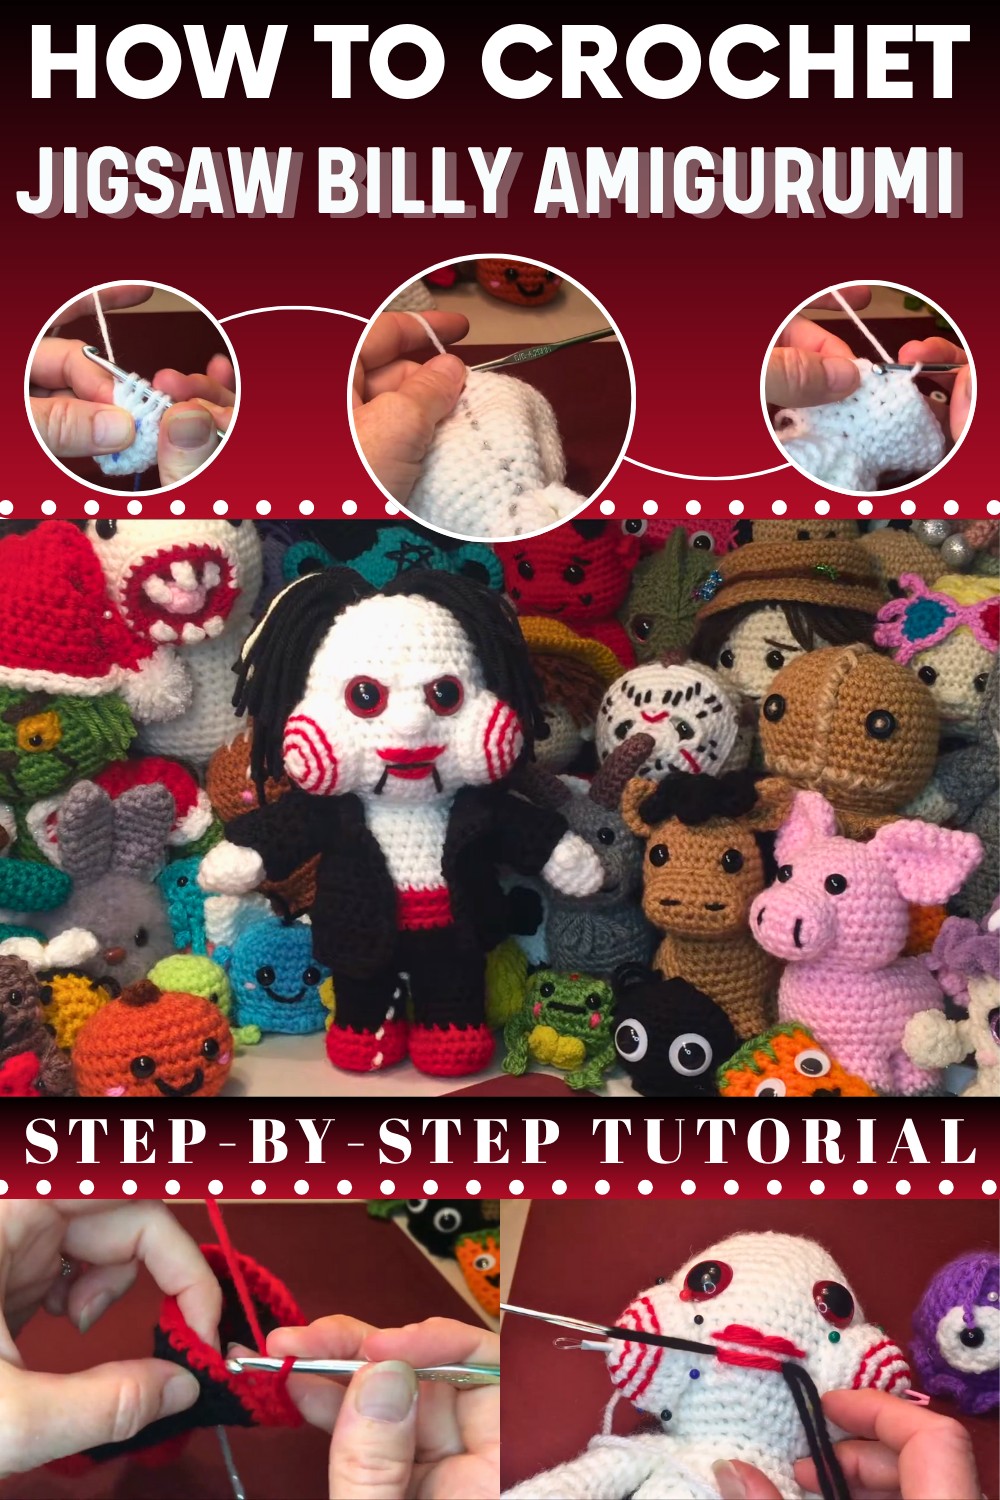
Fashion a spooky movie icon with this Crochet Jigsaw Billy Pattern, a bold and fresh design to bring some thrills to your horror display.
Classic Free Crochet Jigsaw Billy Pattern for a Retro Horror Vibe
Stitch together a legendary icon that brings a sharp and edgy feel to any modern collection. This Crochet Jigsaw Billy Pattern uses simple techniques to produce a sophisticated plush figure featuring a crisp black suit and iconic red cheek swirls. The final result is a sturdy freestanding character that serves as a captivating focal point for a themed display or a unique addition to a festive mantel.

Beyond its striking look the process of making this piece offers a calm and relaxing break that helps sharpen your focus and technical skill. This finished masterpiece boasts a high-quality professional look making it a wonderful gift for fans of classic suspense or a special keepsake for your home. Its smooth surface and bold colors provide a great feel that catches the eye immediately. By following this project you get a timeless decorative asset that adds a refined and spirited personality to your space.
Materials
-
Yarn: Medium weight (Number 4) worsted yarn in white (skin), black (suit/hair), red (bow tie/spirals), and gray (accents).
-
Hook: 4.25 mm crochet hook.
-
Safety Eyes: 20 mm clear safety eyes painted red on the back.
-
Fill: Polyester fiberfill stuffing.
-
Tools: Stitch marker, tapestry needle, pins, and scissors.
-
Optional: Red paint for customizing clear safety eyes.
Step-by-Step Pattern
Arms (Make 2)
-
Rows 1-2: Start with 6 sc in a magic ring, then increase to 12 sc [03:40].
-
Rows 3-4: Work 12 sc in each row.
-
Row 5: Create a "double crochet cluster of 3" for the thumb, followed by 11 sc [06:50].
-
Row 6: (1 sc, 1 dec) around for 8 stitches. Change to black yarn for the suit sleeve [08:25].
-
Rows 7-14: Work 8 sc in each row. Stuff the hand firmly and the arm lightly. Sc 3 across the top to close [15:00].
Legs and Lower Body (Black/Blue Yarn)
-
Rows 1-5: Follow standard increase patterns up to 18 sc. Use back loops only for Row 4 to create a flat sole [19:06].
-
Row 6: (1 sc, 1 dec) for 12 sc. Change to pant color.
-
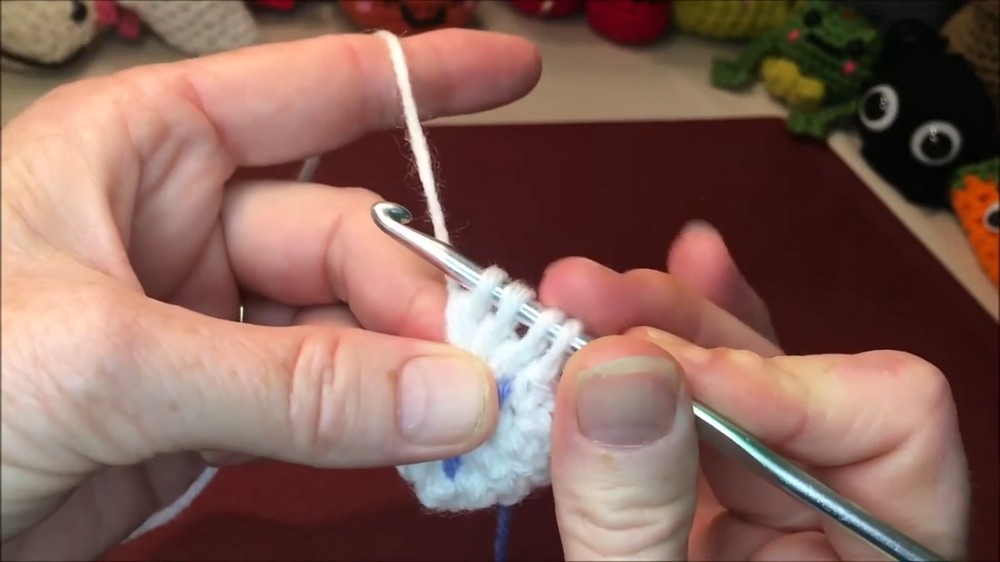
Rows 7-12: Work 12 sc around for 6 rows. Repeat for the second leg but keep the yarn attached [23:29].
-
Row 13 (Joining): Sc across both legs to join them into a single piece (24 stitches) [28:21].
-
Rows 14-17: Follow increase patterns to reaching 30 sc. Change to red at the end of Row 17 for the cummerbund [37:34].
-
Row 18: Sc 30 around.
-
Rows 19-20: Sc 30 in back loops only [42:16]. Change to white for the shirt on Row 20.
Upper Body and Head (White Yarn)
-
Rows 21-27: Work sc and decrease rows to form the chest and neck [46:47].
-
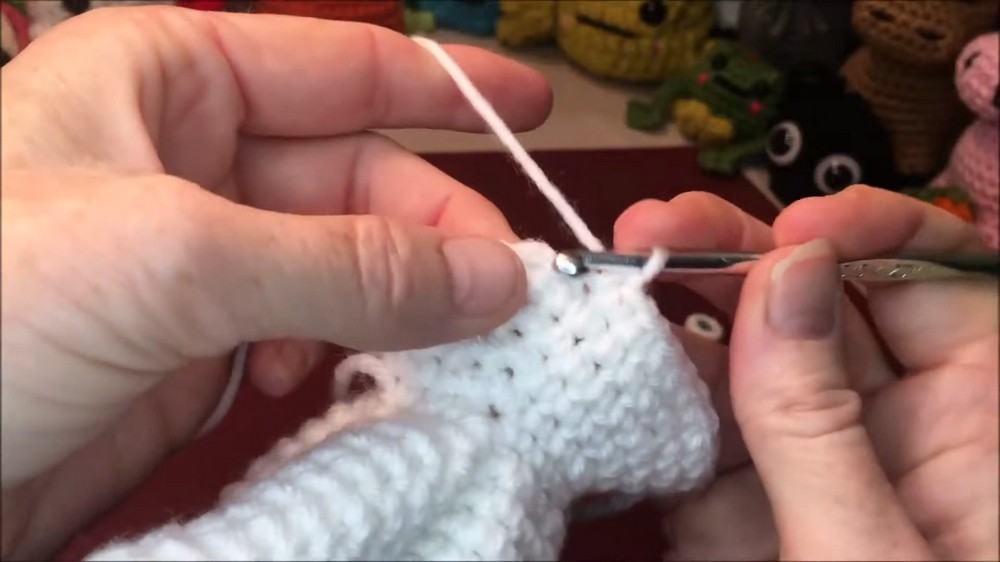
Row 28: Crochet the arms onto the sides of the body [58:11].
-
Rows 29-39: Follow increase patterns and sc rows to build the white head [01:03:08].
-
Rows 40-47: Decrease rows to close the top of the head. Insert safety eyes between rows 38 and 39 [01:23:41].

Finishing Details
-
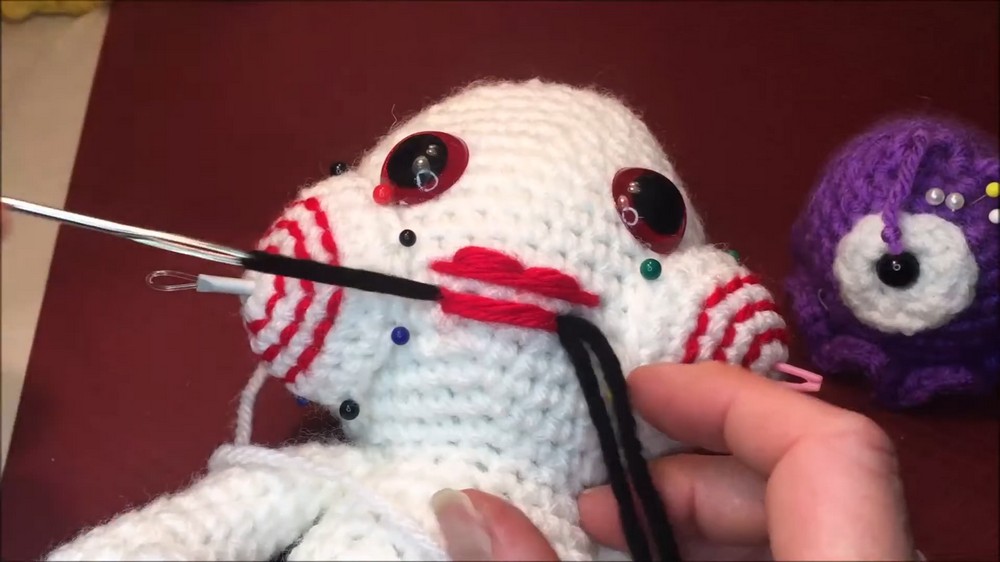
Cheeks (Make 2): Crochet flat circles up to 20 sc. Embroider a red spiral onto each before sewing them to the face at a 45-degree angle from the eyes [01:46:14].
-
Mouth: Embroider puffy red lips with black vertical lines to mimic the puppet's jaw [02:06:35].
-
Hair: Attach long strands of black yarn using a latch-hook method to the back and sides of the head [03:25:56].
-
Accessories: Crochet a separate black jacket with sleeves and a small red bow tie to complete the look [02:27:48].

Special Features
-
No-Sew Suit Integration: The red cummerbund and white shirt are worked directly into the body's stitch structure using color changes and back-loop techniques [42:16].
-
Sculpted Eyes: The pattern includes instructions to pull yarn through the head to indent the eyes, giving the puppet a more expressive and eerie appearance [02:15:30].
Level of Difficulty
This project is Intermediate. While the body follows a standard amigurumi shape, the detailed facial embroidery, 3D lips, and separate jacket construction require precision and patience.
Tutor's Suggestions
-
Arm Positioning: When attaching the arms, ensure the thumbs point toward the front. If your stitch count is slightly off, adjust your starting sc on Row 28 to keep the arms centered [58:37].
-
Spiral Embroidery: Use your hand as a guide to wrap red yarn 15 times to get the perfect length for the cheek spirals [01:52:11].
-
Firm Stuffing: Stuff the feet and head very firmly to help the doll sit upright and hold its characteristic pointed head shape [01:33:13].
Uses
-
Horror Collection: A perfect shelf-sitter for fans of the Saw franchise.
-
Halloween Decor: Use it as a spooky accent piece for seasonal displays.
Conclusion
By following these detailed steps, you transform simple yarn into a striking tribute to horror cinema. The combination of integrated limbs and separate clothing provides a high-quality, professional look.
Pro-Tip
To achieve the most accurate look, use a small paintbrush to add white paint accents to the red safety eyes once they are installed. This adds a glint of "life" to the puppet's stare [01:05].