
Simple Crochet Cupcake Pattern That Looks Good Enough to Eat
Bake this sweet Crochet Cupcake Pattern to craft a zero-calorie, frosted delight that adds a sprinkle of sugary joy to your home decor.

This crochet project is as adorable as it is functional, boasting a charming cupcake design that’s perfect for adding sweetness to any room. Whether used as a practical pincushion or simply as a decorative piece, its textured ribbed sides, colorful frosting, and customizable details make it stand out. This Crochet Cupcake Pattern has a soft, plushy appearance, making it ideal for gifting or sprucing up a craft shelf, workspace, or cozy nook at home.
Sweet & Decorative Crochet Cupcake Pattern for Pins

The design starts with crocheting the cupcake base, working upwards in rows for the ribbing effect, and adding the top “frosting” with decorative twists. Though simple, it leaves room for creativity—you can play with colors or even add embellishments to personalize your creation.
Step-by-Step Crochet Cupcake Pattern
Materials Needed:
- Yarn: Mercerized cotton yarn (colors: pink, tan, and white). The brand used is Sinfonía.
- Crochet Hook: Aluminum hook, 2mm size.
- Stuffing: Fiber fill for the cupcake and frosting.
- Tools: Scissors, yarn needle, stitch markers.
Step 1: Crocheting the Cupcake Base
Round 1: Magic Ring
Start by making a magic ring. Sew 6 half double crochets (hdc) into the ring.
- Close the loop slightly and secure the stitches.
Round 2: Increase Stitch Count
For the second round, do 1 increase in each stitch (two half double crochets in each stitch).
- At the end, you will have 12 hdc.
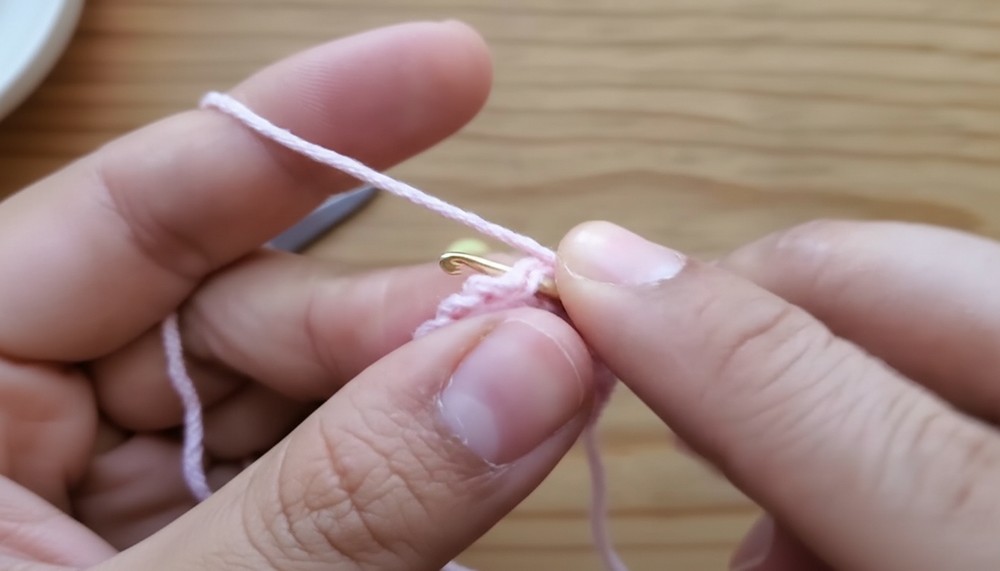
Round 3: Alternate Between 1 hdc and 1 Increase
Work 1 hdc in the first stitch and 2 hdc in the next all around the circle.
- Total stitches for this round: 18 hdc.
Round 4: Two Half Double Crochets + One Increase
Crochet 2 hdc followed by 2 hdc in the next stitch (increase) for the entire round.
- Total stitches at the end: 24 hdc.
Step 2: Creating the Cup Base Sides
Switch to working in rows.
- From the last stitch, chain 11. Skip the first ch and work 10 hdc down the chain.
- Turn your work: Chain 1 (does not count as a stitch), work only into the back loop for all 10 stitches in the row.
- Repeat this process for 47 rows (starting from Row 6 through Row 52). This will form the sides of the cupcake.
Step 3: Joining the Base Edges
- Fold and align the edges of the cupcake side flat.
- Be sure the right side of the base faces out.
- Use slip stitches (working only into the FRONT loops) to seam the edges together neatly.
- Keep the stitches loose, ensuring that the seam doesn’t compress the piece.

Step 4: Attaching the Base to the Sidewalls
- With the yarn still attached, pass the thread to the inside.
- Secure the cupcake sides to the bottom base using a sewing technique:
- Turn the cupcake right-side out.
- Use the yarn needle, sewing each stitch carefully by grabbing the back loops of the stitches on the bottom base.
Once the seam is complete, leave a small gap to add stuffing.

Step 5: Crocheting the Frosting (Pan Section)
Round 1:
Start with another magic ring. Work 6 hdc into the ring.
Round 2:
Work 1 increase in each stitch (2 hdc per stitch). Total stitches: 12 hdc.
Round 3:
Alternate between 1 hdc and 1 increase. Total stitches: 18 hdc.
Remaining Rounds:
Each subsequent round will have increases separated by more stitches. Use this table:
| Round | Pattern | Total Stitches |
|---|---|---|
| 4 | 2 hdc + 1 inc | 24 stitches |
| 5 | 3 hdc + 1 inc | 30 stitches |
| 6 | 4 hdc + 1 inc | 36 stitches |
| 7 | 5 hdc + 1 inc | 42 stitches |
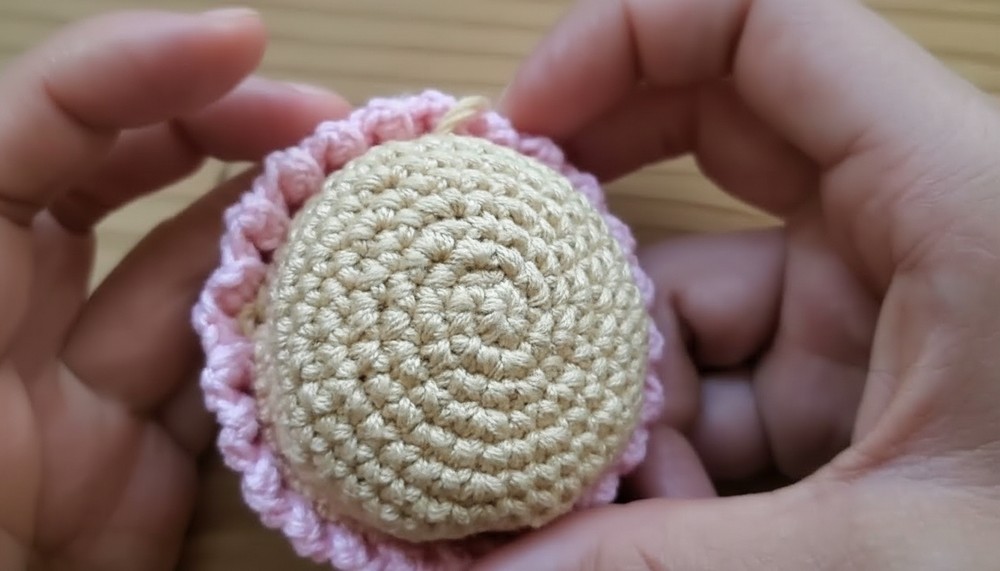
After completing the increases, work evenly for 3 rounds (Rounds 8–10). This will result in a cylindrical shape for the "frosting."
Step 6: Attaching the Frosting
- Place the frosting part onto the cupcake base so that the edges overlap slightly.
- Use pins to secure placement and ensure symmetry.
- Sew the parts together carefully. Work through the inside loops to keep the stitches invisible from the outside.
Step 7: Final Details – Decorating the Frosting
To create a decorative glaze effect:
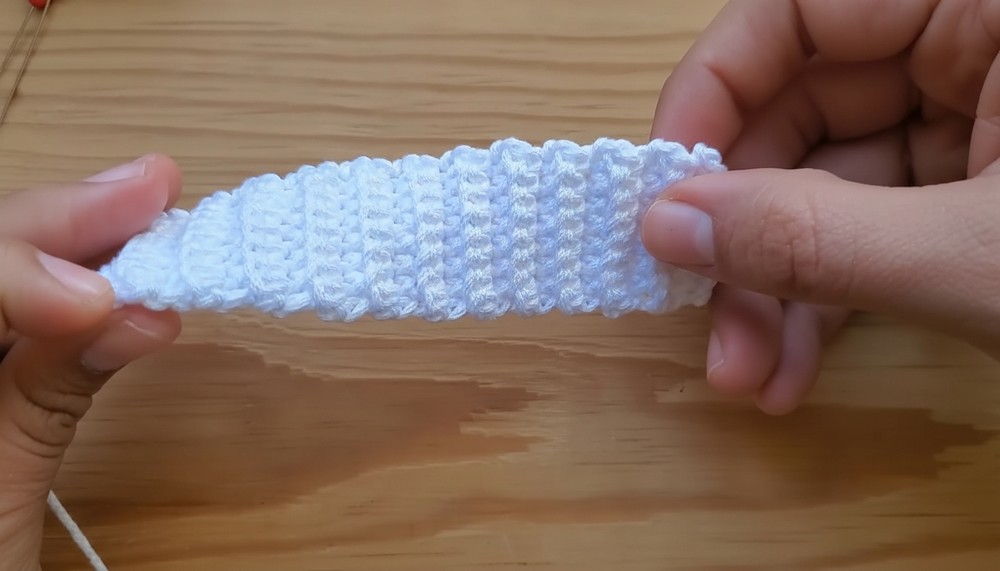
- Work 14 Rows (Glazing Strip):
- Chain 11. Skip first ch and work 10 hdc across each row.
- Chain and turn, working in back loops only to create texture.
- When finished, twist the strip into a spiral and sew it onto the frosting top. You can adjust the spiral’s length by adding or subtracting rows.
Special Features:
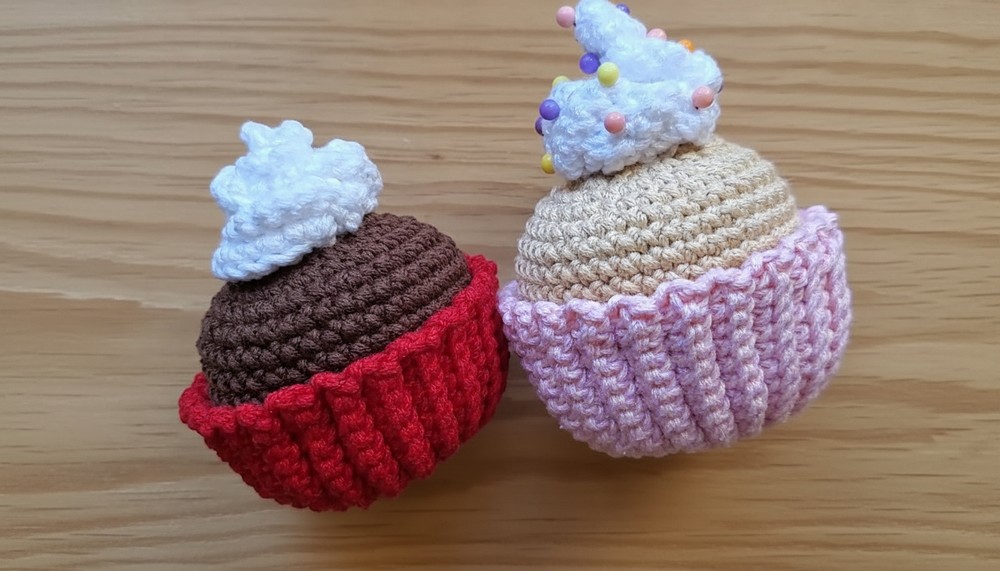
- Customization: You can use different colors for the cupcake base, frosting, or glaze according to your taste.
- Dual Use: Works as both a decorative pastry or as a pin holder, adding practicality to its beauty.
- Texture: The ribbing on the sides and the glaze spiral make the design elegant.

Tutor’s Suggestions:
- Beginner Tips: Work slowly when sewing the pieces together to achieve clean seams.
- Sewing Hack: Use pins to hold the pieces in place before sewing. This helps achieve symmetry.
- Relax and Release: Ensure your tension is even for a consistent finish.
Uses:
- Functional as a pin holder to store sewing pins.
- A perfect handmade decoration for shelves or workspaces.
- Great as a gift for crochet or craft enthusiasts.
Tip for Beginners:
Take regular breaks while creating textured parts like the ribbing to avoid hand strain. Working in back loops can be slightly difficult at first but gets easier with practice.
Conclusion:
This crochet cupcake pattern is a charming project that lets you showcase creativity while stepping slightly out of beginner terrain. You’ll learn techniques like working in back loops, increasing for amigurumi shapes, and assembling neatly. In the end, you’ll have both a practical and adorable crochet piece to cherish or gift! Keep experimenting with colors and designs to make it uniquely yours.