
How to Crochet Puffy Star Pillow for the Coziest Decor
Snuggle into warmth with the crochet puffy star pillow pattern that adds personality to your space while offering soft textures and playful charm.
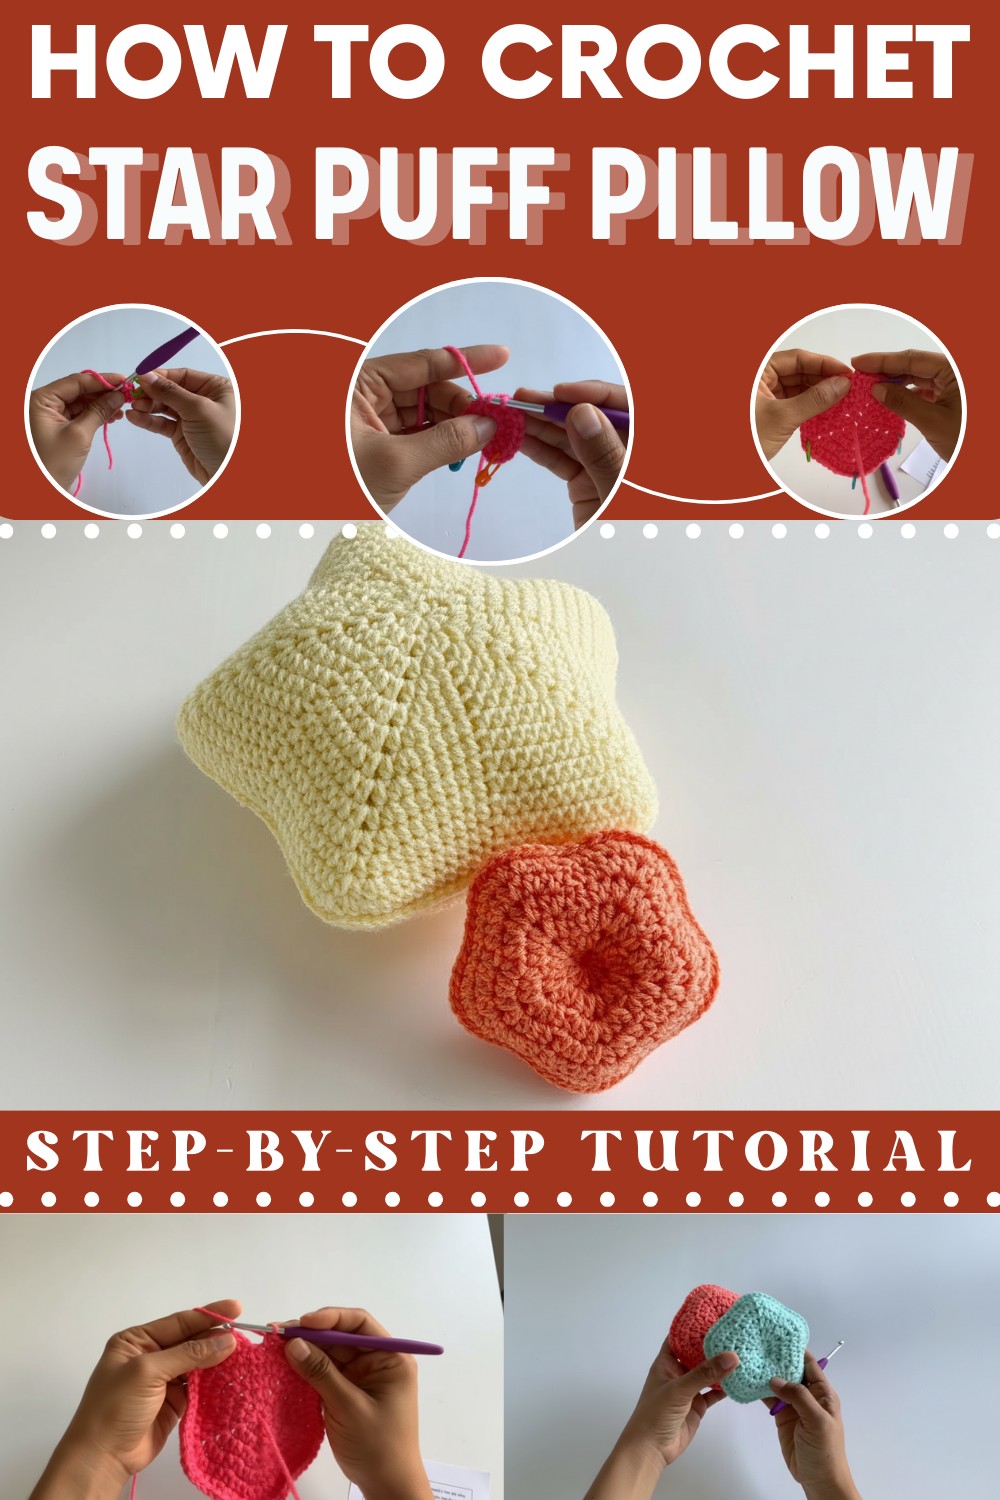
Create a cozy and whimsical décor piece that stands out in any space. This free crochet puffy star pillow pattern is perfect for crafting soft, textured pillows that double as both charming accents and comfortable cushions. Ideal for nurseries, reading nooks, or living rooms, the star design brings a playful yet elegant touch to your home.
Crochet Puffy Star Pillow Anyone Will Absolutely Adore
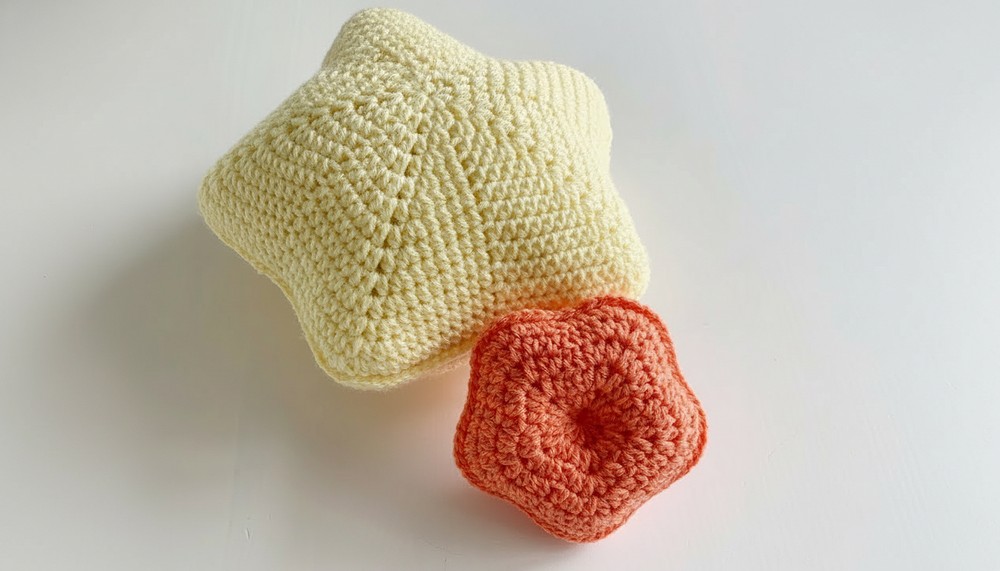
Customize it with pastel shades for a serene vibe or bold colors for a cheerful pop. Whether it's a handmade gift or a treat for yourself, this pattern is beginner-friendly, versatile, and great for adding personality and softness to your favorite spaces.
Crochet Puffy Star Pillow Pattern - Step-by-Step Guide
Materials Needed
- Yarn:
- I Love This Yarn by Hobby Lobby or size 4 medium worsted weight yarn (100% acrylic recommended).
- You’ll need two skeins if you're making a large pillow with both sides.
- Note: Acrylic yarn is recommended over cotton as it hides holes better.
- Hook: G-4mm crochet hook.
- Other Tools:
- Stitch markers (at least 5 are highly recommended).
- Scissors.
- Yarn needle (for weaving in ends).
- Optional: A few extra inches of starting tail for tufting the pillow.
Step-by-Step Crochet Pattern
1: Starting the Pentagon Base
- Create a Magic Circle:
- Leave a few inches of starting tail in case you want to make your pillow tufted later.
- Wrap your yarn around your fingers, insert the hook into the loop, grab the working yarn, and pull through to create a magic circle.
- Chain 2 (counts as 1 HDC).

- Create Clusters for the Star Points:
- The pattern calls for 5 clusters to form the 5 sides of the pentagon. A cluster stitch consists of:
- Half double crochet (HDC).
- Chain 1.
- Half double crochet (HDC).
- Repeat this cluster 5 times into the magic circle. After each cluster, place a stitch marker in the chain space to keep track of your clusters. This will make it easier to find the chain space for the following rounds.
- The pattern calls for 5 clusters to form the 5 sides of the pentagon. A cluster stitch consists of:

- Close the Pentagon:
- After finishing all 5 clusters, pull the starting tail to tighten the magic circle.
- Slip stitch into the first chain space (created with the initial chain-2). Your pentagon now has 5 chain spaces forming the points of the star.
2: Adding Increases
- Chain 1 to Begin:
- Slip stitch into the first chain space and chain 1 to start Round 2.
- Cluster + Increase Repeats:
- For each repeat, do the following:
- Work a cluster stitch (HDC, chain 1, HDC) into the first chain space of the previous round. Mark the chain space of the cluster you just made.
- Skip the next stitch (usually hidden by the cluster).
- In the stitch after skipping, make a half-double crochet increase (2 HDC into the same stitch).
- Repeat these steps for all 5 chain spaces in the round.
- For each repeat, do the following:
- Close the Round:
- Slip stitch to the first HDC to close the round.
- Check that the pentagon maintains an even shape by ensuring the chain spaces and stitches between them are balanced.
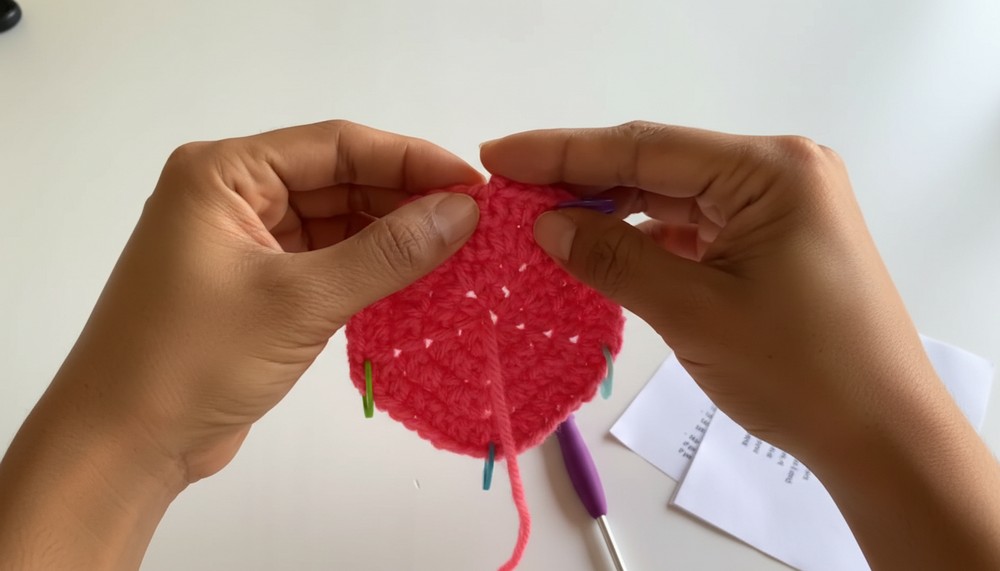
3: Expanding the Pentagon
- Chain 1 to Start:
- After slip stitching, chain 1 to begin Round 3.
- Repeat the Sequence:
- Cluster in Chain Space: Work a cluster stitch (HDC, chain 1, HDC) into each chain space from the previous round.
- Mark Chain Spaces: Use stitch markers to keep track of the chain spaces for later rounds.
- Increase in Stitches: Between each chain space, alternate between 1 HDC increase (2 HDC in one stitch) and regular HDC stitches.
- Skip the hidden stitch after each cluster.
- Close the Round:
- Slip stitch to the first HDC to close.
4+: Shaping the Star
- Follow the Formula:
- For all subsequent rounds, the formula is:
- Cluster in the Chain Space of the previous round.
- Skip the hidden stitch.
- Alternate between HDC increases and regular HDC stitches between chain spaces.
- Repeat until you reach your desired size or shape.
- For all subsequent rounds, the formula is:
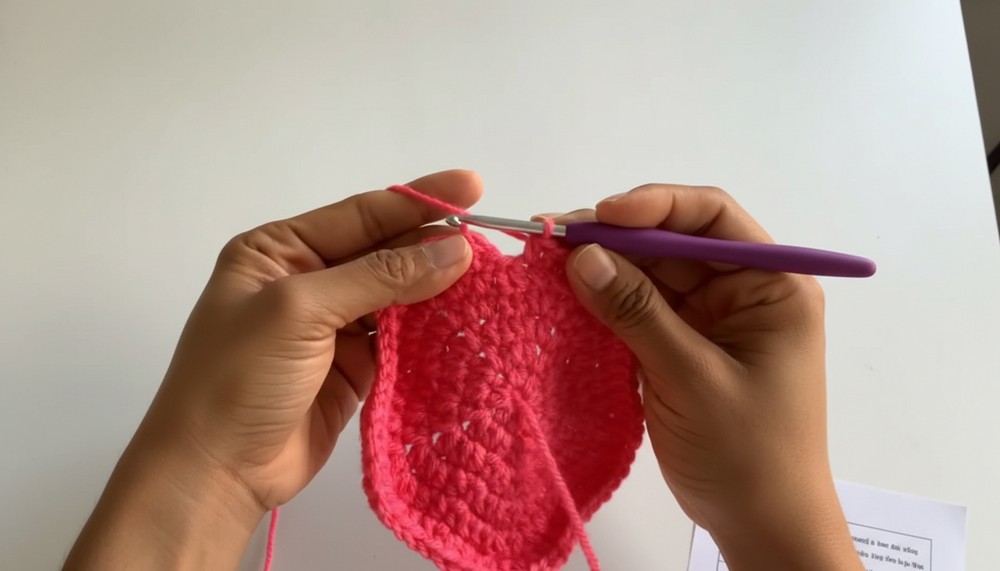
- Adjustment for Star Points & Concave Edges:
- As you expand, the cluster stitches create the points of the star, and skipping stitches creates the concave edges. This technique naturally builds the iconic star shape without needing special instructions.
Finishing the Pillow
- Stop crocheting once your desired size is reached.
- Weave in Ends:
- Use a yarn needle to weave in all loose ends, ensuring no loose strands poke out. If making a tufted pillow, tie the starting and ending tails together.
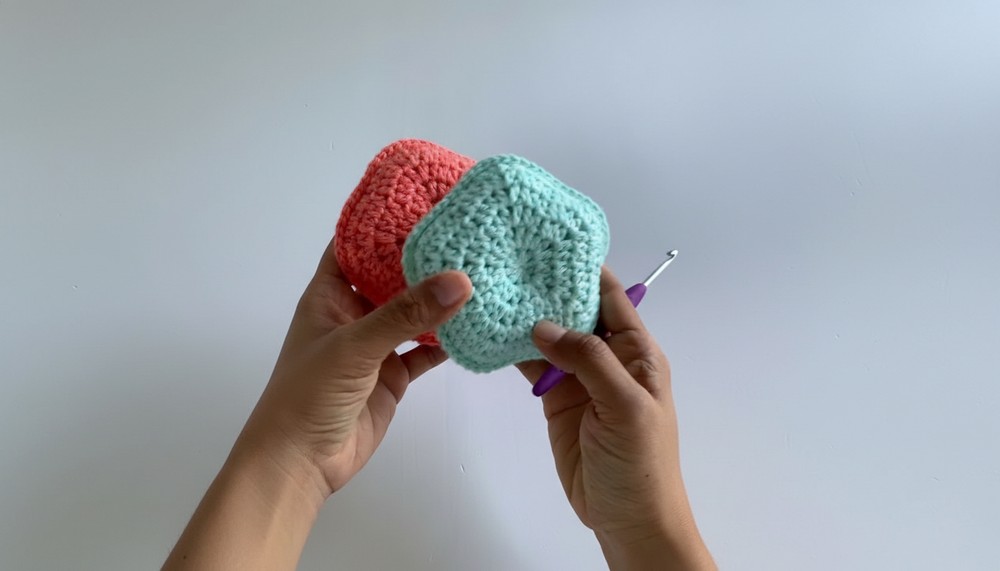
- Create the Pillow:
- If making a functional pillow, crochet two star shapes and sew them together, leaving a small gap to stuff with filling. Once stuffed, sew the remaining gap closed.
Special Features
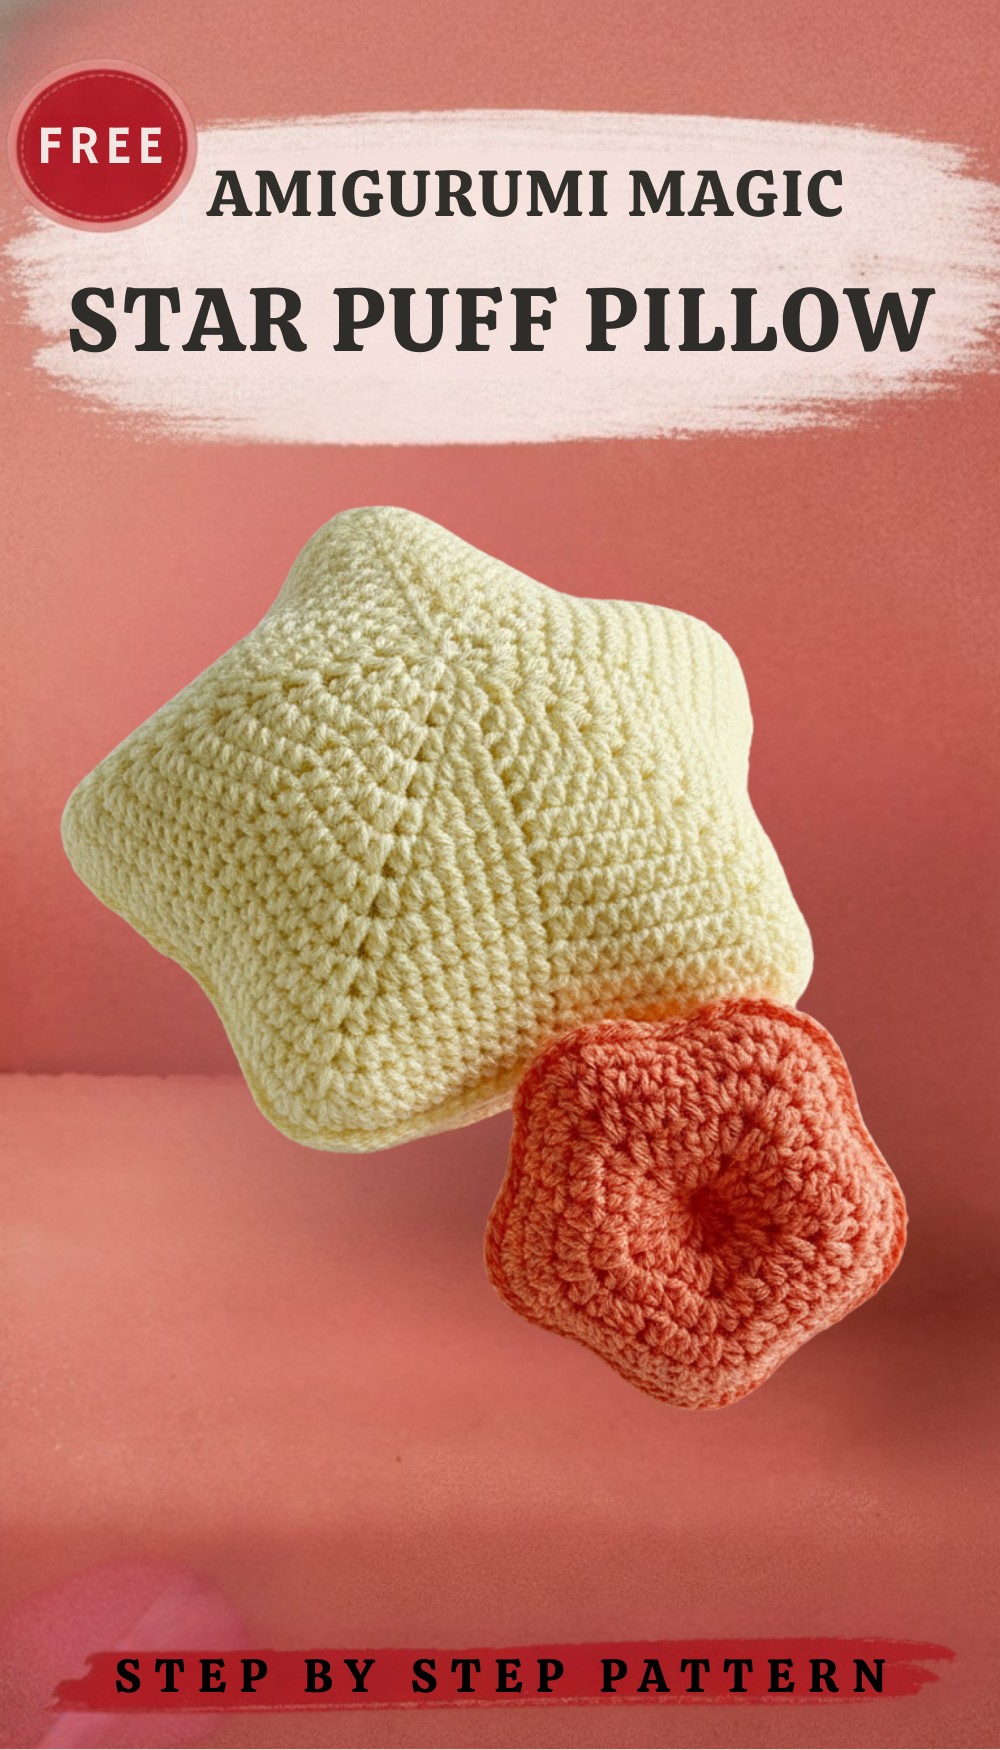
- Star Shape Design: The pattern starts with a pentagon shape that grows into a 3D star using cluster stitches.
- Beginner-Friendly: Includes simple stitches like the half-double crochet (HDC), chaining, and slip stitch.
- Customizable: Use any yarn type, colors, or texture to make your star as unique as you like.
- Optional Tufting: Use the starting tail to create a tufted look for a classic pillow design.
Level of Difficulty
Beginner to Intermediate
- Basic stitches and techniques are used (magic circle, HDC, cluster stitch, increases).
- Clear guidance is provided on tricky steps, making it approachable for beginners while still interesting for intermediate crocheters.
Uses
- Decorative Pillow: Perfect for kids’ rooms or a cozy nook.
- Seasonal Decor: Great for Christmas, patriotic themes, or celestial-inspired decor.
- Gifting: A thoughtful handmade gift for friends or family.
- Customizable Projects: Adjust the size and yarn for unique results!
Tutor's Suggestions
- Stitch Markers Are Your Best Friend: Always mark your chain spaces, especially in the first few rounds, to avoid confusion.
- Acrylic Yarn is Perfect: It hides any holes in the stitches better than cotton and creates a smoother finish for rounded shapes.
- Test the Formula: Once you understand how to alternate clusters, increases, and skipped stitches, the rest of the pattern will flow naturally.
Tip
For a consistent star shape, count your stitches after each round to ensure all sides are evenly divided. Use the chain spaces as your guide to maintain symmetry.
Conclusion
The Star Puff Pillow is a delightful project that showcases simple stitches and techniques in a unique star-shaped design. Ideal for everything from home decor to heartfelt gifts, this pattern is perfect for crocheters of all levels.