
Simple Crochet Amigurumi Ladybug Free Pattern For Small Gifts
Use red and black yarn for the Crochet Amigurumi Ladybug Free Pattern, a cheerful little insect toy for desk displays and handmade gifts.
Creating tiny, cute creatures with yarn brings joy and creativity into any home. Among these charming handmade toys, the Crochet Amigurumi Ladybug stands out as a delightful project that anyone can enjoy. Its bright red body with black spots instantly catches the eye and brings a touch of nature’s beauty indoors.
Free Crochet Amigurumi Ladybug Pattern For Toy Collections
The Crochet Amigurumi Ladybug is more than just a toy; it is a wonderful decoration piece, a playful companion for children, or even a unique gift. Its small size makes it perfect for holding in your hand or placing on a shelf to brighten up any room. You can easily customize the size by choosing thicker or thinner yarn, and adjusting the hook size, which makes this project flexible for different skill levels and preferences.
One of the most important stitches used in making this ladybug is the single crochet stitch. This stitch creates a tight, firm fabric that holds the stuffing well and keeps the shape intact. Adding details like little embroidered eyes or tiny antennae helps bring personality and charm to your amigurumi.
The colors used can be adjusted as well if you want to experiment beyond traditional red and black. Soft pastels or even rainbow hues give the ladybug a modern twist. This project encourages creativity while teaching patience and fine motor skills.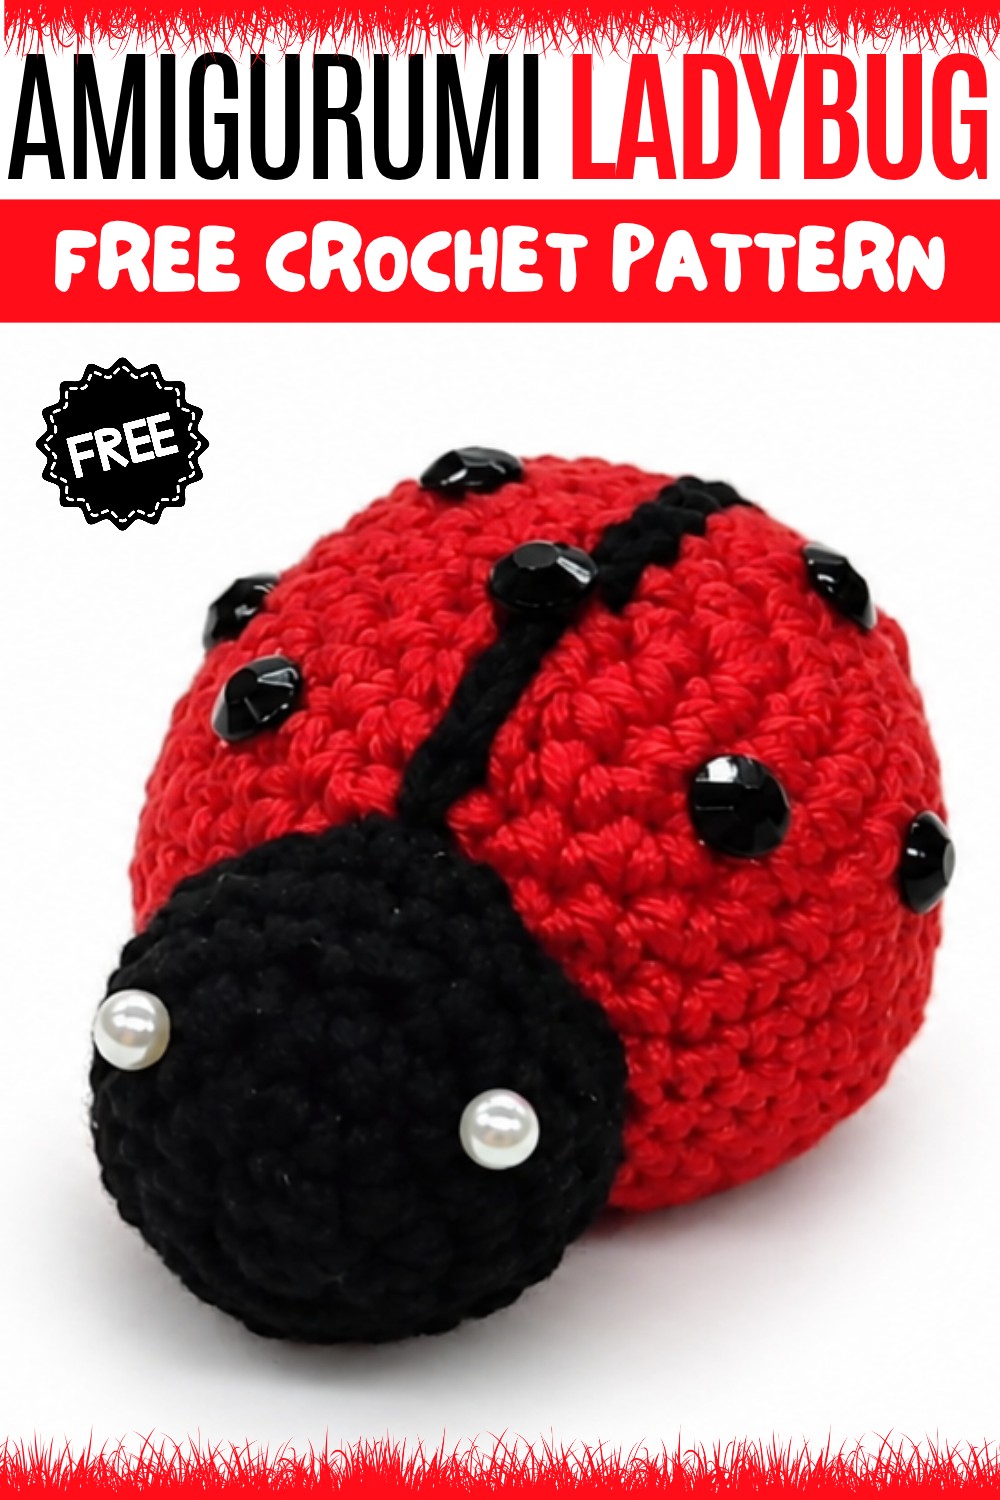
Overall, the Crochet Amigurumi Ladybug design by Passione Uncinetto is a perfect introduction to the world of amigurumi. Its combination of simplicity, beauty, and versatility makes it enjoyable for crafters of all ages. Whether you make one for yourself or as a gift, this little ladybug brings a big smile wherever it goes.
Crochet Ladybug Pattern
About the Pattern
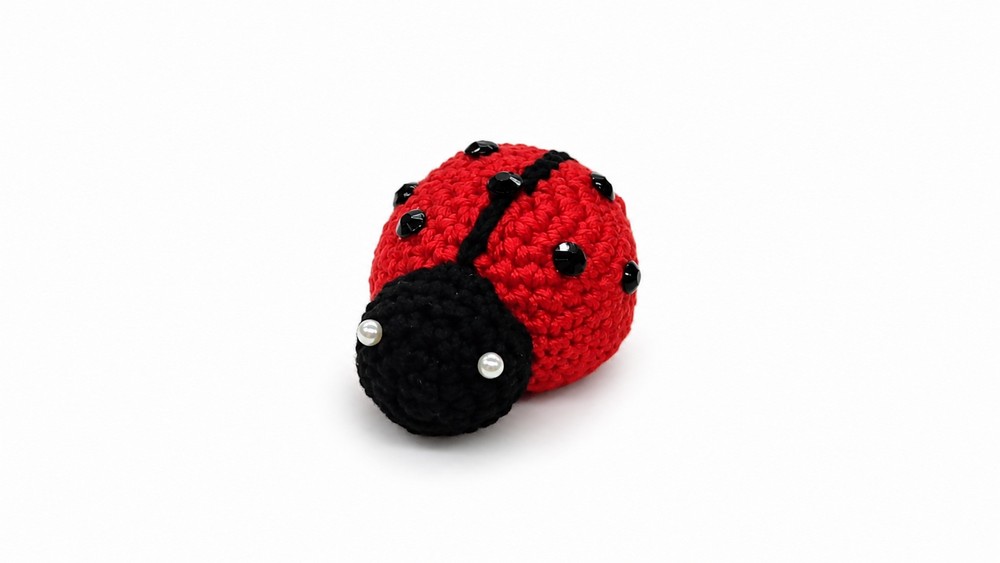
This crochet ladybug is designed as a small, three-dimensional amigurumi suitable for toys, mobiles, or decor. The pattern is constructed in carefully sequenced rounds, using traditional amigurumi techniques for shaping and thoughtful assembly for realistic features. The shell features a black central detail for the classic ladybug look, and decorative eyes and dot spots are applied for charm.
Pattern at a Glance
- Worked in joined rounds, not a spiral, ensuring a uniform shape.
- Distinct red shell/body, with a central black stripe created after crocheting.
- Base is shaped and closed with stuffing inside for a soft, rounded form.
- The head is crocheted separately and attached securely.
- Final decorations use simple craft materials for eyes and spots.
Important Notes
- All rounds are closed with a slip stitch to maintain the shape; do not work in a continuous spiral.
- The shell is worked with increases up to the widest part, maintained for several rounds, then closed with decreases.
- Stuffing should be added before final closure to shape the ladybug.
- For a neat finish, take care when attaching the head and working the central stripe.
Difficulty Level
Beginner to Intermediate
The pattern involves basic crochet stitches, increases, and decreases, as well as amigurumi assembly steps.
Supplies Needed
- Red yarn (suitable for hook size 3 mm)
- Black yarn or cotton (for central stripe, head, base, and spots)
- Crochet hook size 3 mm
- Stuffing/wadding for filling (polyester recommended)
- Needle for sewing pieces and final closure
- Small craft pins, beads, or googly eyes for decoration
- Adhesive black stickers or felt for dot spots
- Scissors
Size & Measurements
- Ladybug measures approximately 6–8 cm in length (depends on yarn and tension)
- Head is proportionally sized to shell/body, approx. ⅓ the length
- Final size depends on stuffing amount and crochet tension
Gauge & Stitch Details
- Gauge is flexible; ensure stitches are tight enough to hold stuffing without holes.
- Work consistently for a smooth amigurumi finish.
- The number of stitches per round must follow instructions for proper shaping.
Crochet Abbreviations
- ch = chain
- sc = single crochet
- sl st = slip stitch
- inc = increase (2 sc in same stitch)
- dec = decrease (sc 2 together)
Special Stitch Guide
- Magic Circle: Adjustable ring for working in the round.
- Increase: Work two sc in the same stitch.
- Decrease: Work two sc together (invisible decrease recommended for amigurumi).
- Slip Stitch: Used to close rounds and for central stripe detailing.
- Back Rib: Crochet into the back loop only for textural effect.
Complete Crochet Pattern
Body (Shell)
Use red yarn and crochet hook no. 3 mm.
Do not work in a spiral; close each round with a slip stitch.
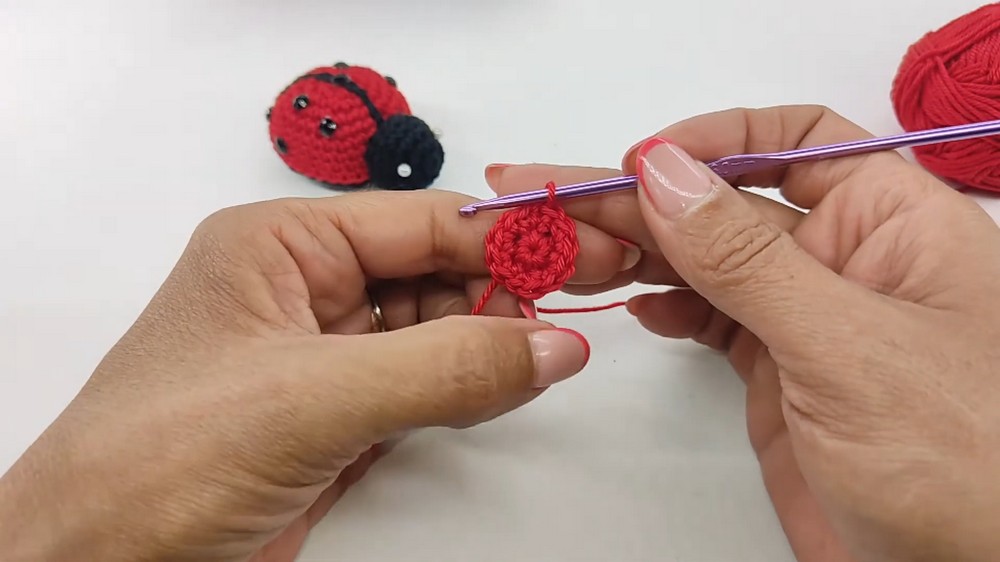
- Round 1:
Make a magic circle, 6 single crochet (sc) into the ring. Close with a slip stitch (sl st). - Round 2:
2 sc in each stitch: (inc in every stitch) — 12 sc total.
Close with sl st. - Round 3:
1 sc, 1 increase (inc):
Repeat around — 18 sc total.
Close with sl st. - Round 4:
2 sc, 1 inc:
Repeat around — 24 sc total.
Close with sl st. - Round 5:
3 sc, 1 inc:
Repeat around — 30 sc total.
Close with sl st. - Rounds 6–9:
30 sc in each round (no increases).
Work for 4 rounds, closing each round with sl st.
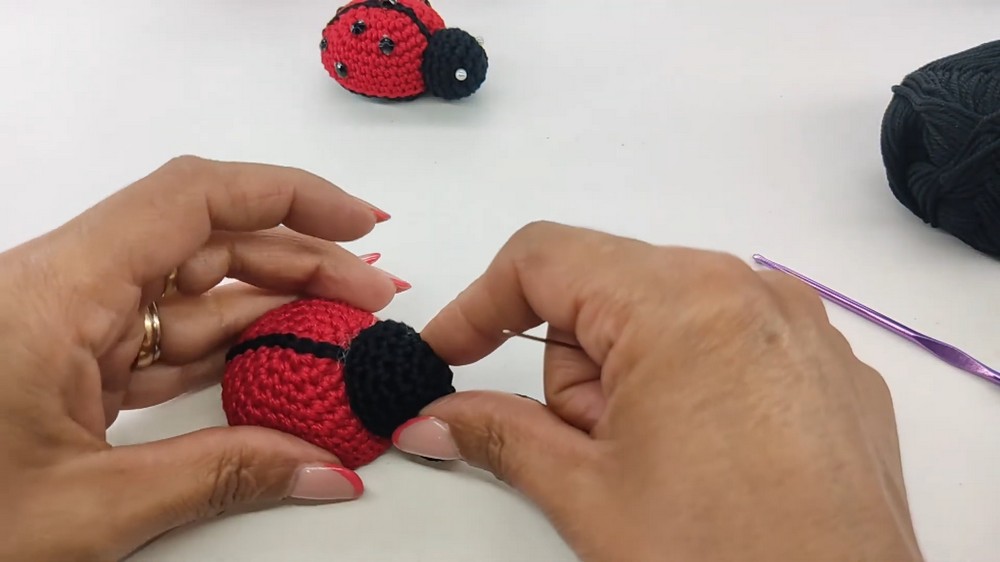
Central Detail (Black Stripe)
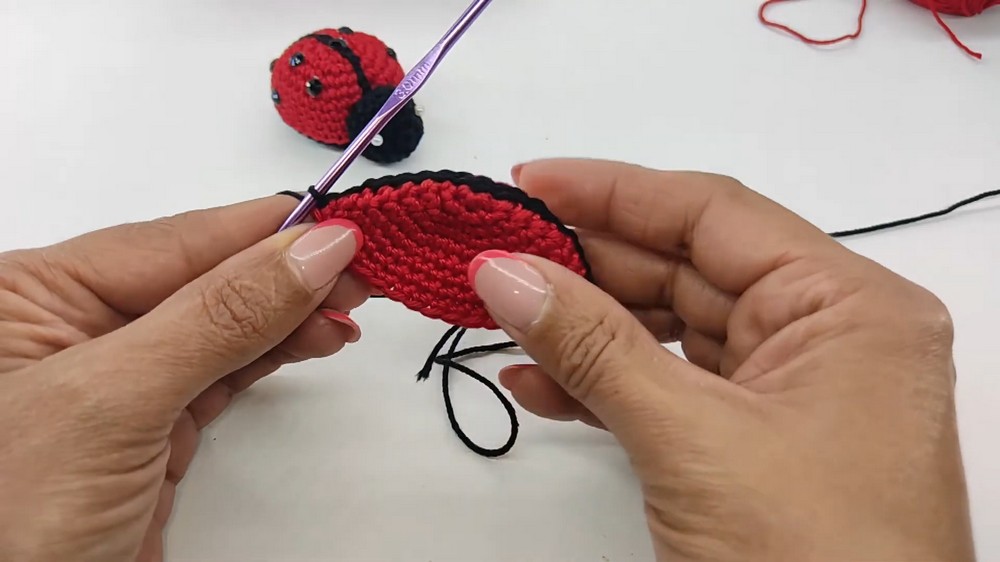
- Fold the shell in half to locate the center line.
- With black cotton, work slip stitches (sl st) along the centerline, catching the top of the red stitches to create the classic ladybug stripe (work from front to back).
Base and Closure
Switch to black yarn for the closing rounds.
- Round 1:
Attach black yarn and sc in each stitch, working only in the back rib/loop of each stitch for a textured edge.
Close with sl st. - Round 2:
3 sc, 1 decrease (dec):
Repeat around.
Close with sl st. - Round 3:
2 sc, 1 dec:
Repeat around.
Close with sl st. - Round 4:
1 sc, 1 dec:
Repeat around.
Close with sl st.
Padding:
- Before the final closure, insert the wadding/stuffing into the body, shaping as desired.
Final Closure:
- Use a needle to pass the yarn through the remaining stitches, pulling tight to close all gaps. Secure and fasten off.
Head
Use black yarn, work separately.
- Round 1:
Magic circle, 6 sc into ring. Close with sl st. - Round 2:
2 sc in each stitch:
12 sc total. Close with sl st. - Round 3:
3 sc, 1 inc:
Repeat 3 times — 15 sc total. Close with sl st. - Rounds 4–6:
15 sc in each round (no increase).
Work 3 rounds in total, closing each with sl st.
Assembly and Finishing
- Sewing:
Stuff the head lightly. Sew it to the body at the front, using hidden stitches and a yarn needle for a seamless join. - Decorations:
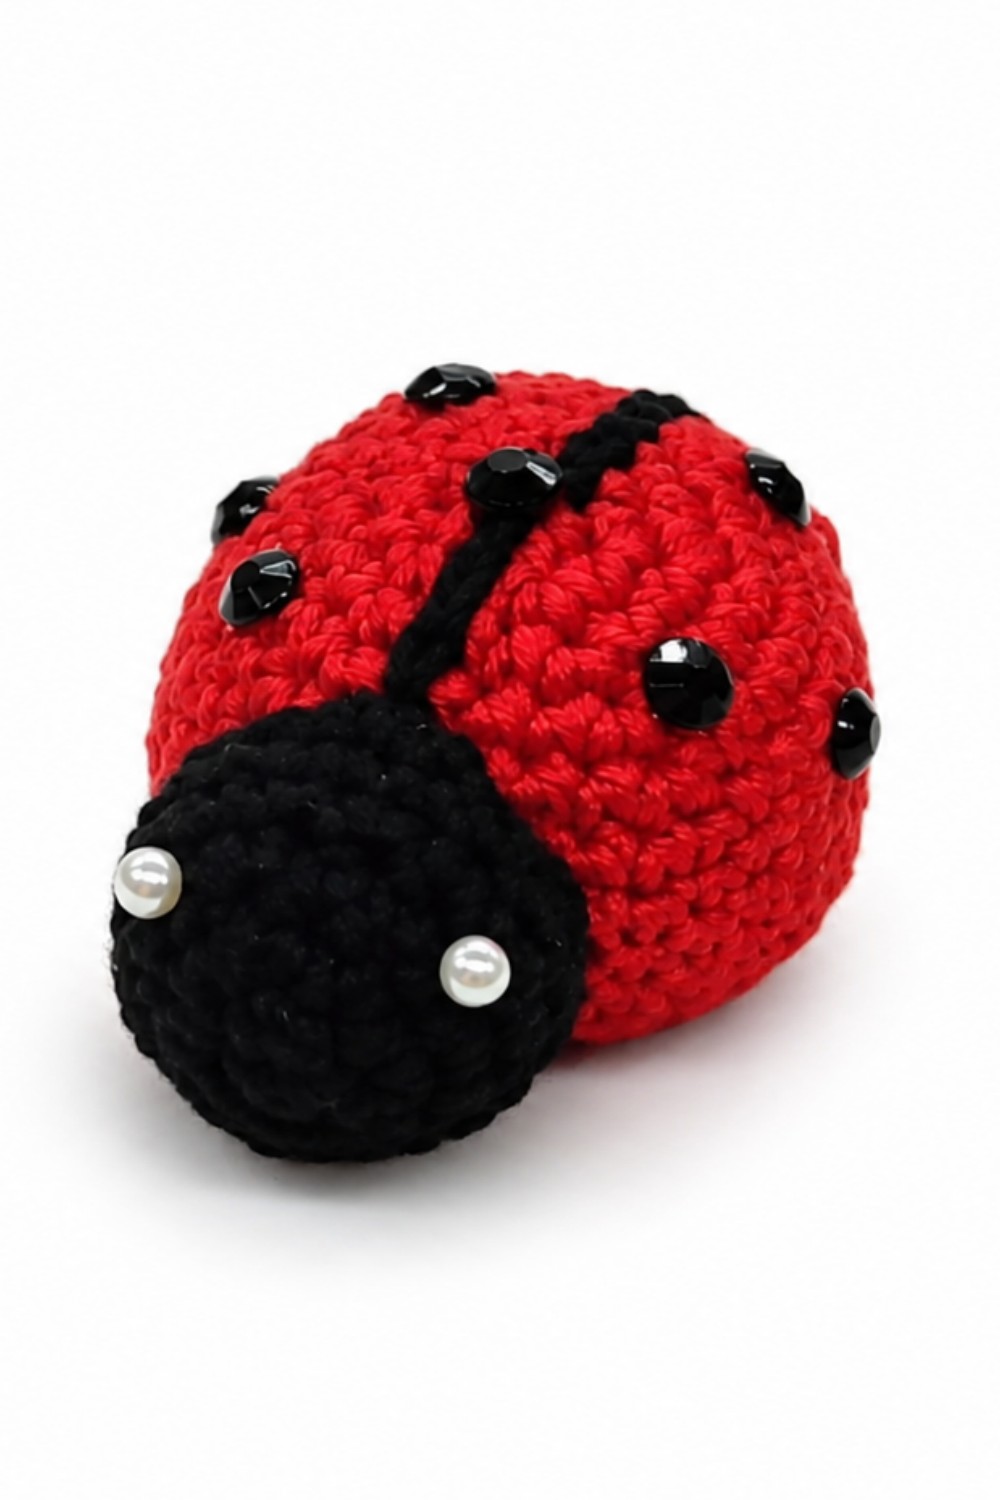
- Attach or glue eyes (small pins, beads, or googly eyes) to the head.
- Apply black stickers or felt circles as dot spots on the red shell, placing symmetrically for the ladybug effect.
Assembly & Finished Size
- The body and head are securely joined, with the shell padded for a soft, rounded shape.
- After decorative additions, the ladybug is ready for play or display.
- Finished length is about 6–8 cm, suitable for small toys, keychains, or decor.
Conclusion
This crochet ladybug pattern features intuitive shaping, stitch-by-stitch increases and decreases, and simple join-round construction. The combination of amigurumi technique and classic motif details, such as the black central stripe and spotted shell, give a recognizable and appealing result. Careful stuffing, assembly, and decorative finishing ensure durability and charm. The pattern is ideal for crafters seeking a quick, approachable project with delightful character. Explore color variations and personalize with different eye styles for a unique amigurumi creation every time.