
Mini Crochet Ladybug Amigurumi Pattern Perfect for Keychains
Cheerful little companion this Free Crochet Ladybug Amigurumi Pattern makes a perfect addition to gifts playful décor or charming keepsakes.
Bright red with glossy black spots this little bug adds charm and a smile wherever it goes, whether perched on a keyring, tucked into a bag, or displayed among other soft figures. The Crochet Ladybug Amigurumi pattern creates a tiny companion that is both decorative and practical, bringing cheerful color to daily life while helping keep small items organized.
Effortless Crochet Ladybug Amigurumi Pattern Looks Professional

Following the Crochet Ladybug Amigurumi pattern is enjoyable and beneficial for beginners and experienced makers alike. It’s a fun way to practice essential stitches and improve hand coordination while turning leftover yarn into something delightful. Lightweight and portable, this ladybug makes a sweet keychain, ornament, or pocket-sized friend that adds personality, creativity, and a playful touch to everyday life.
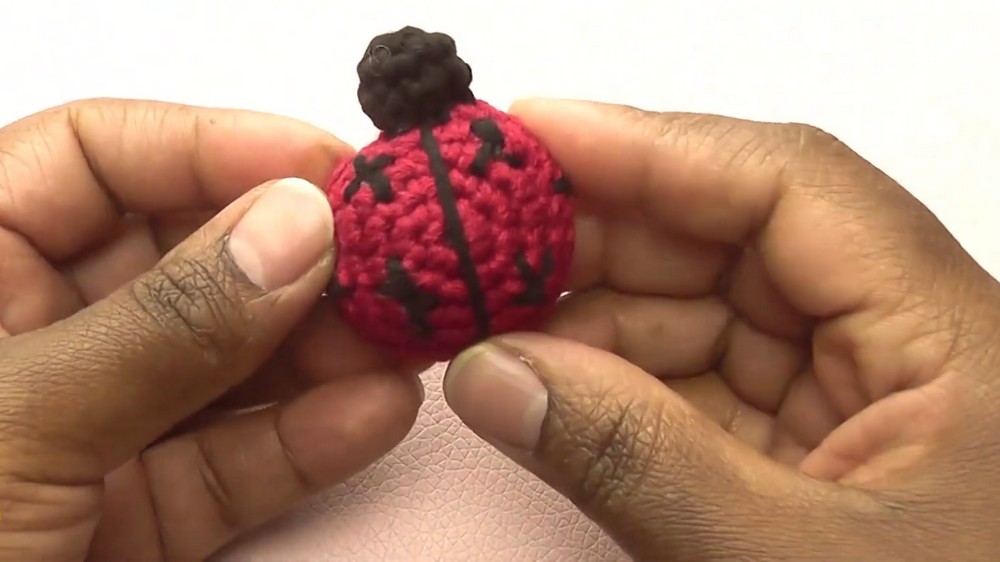
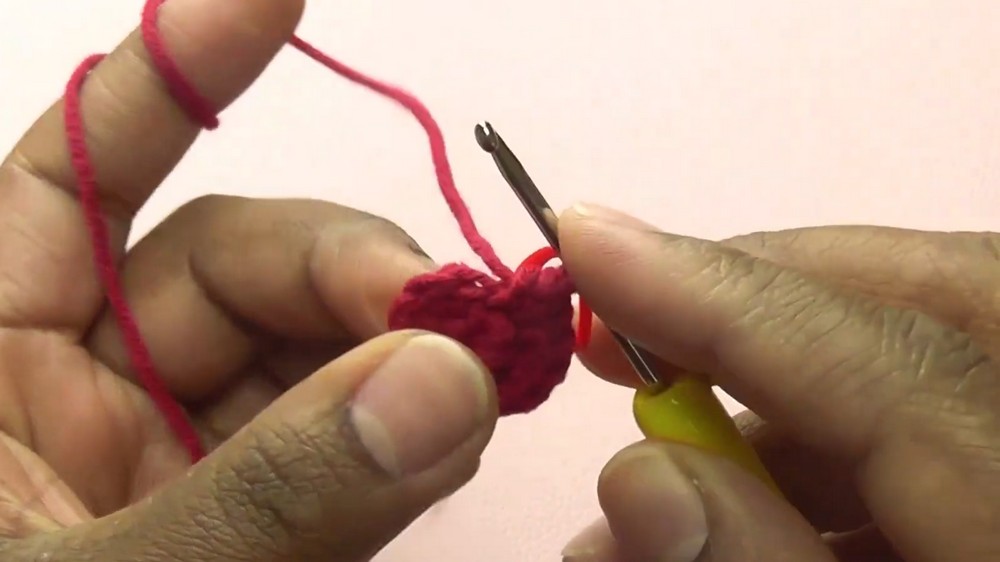
This pattern uses basic stitches like single crochet (sc), slip stitch (sl st), increase (inc), and decrease (dec) to shape the ladybug’s rounded body and contrasting spots.

Many versions begin with a magic ring and work in continuous rounds to form a smooth, stuffed shape.
Adding small details like safety eyes or tiny embroidered features gives the face a playful expression.
The classic red and black color change brings the iconic look to life, and its compact size makes it easy to finish quickly with minimal yarn and a small crochet hook.

This amigurumi tutorial by Mels Crochet Cabin provides a clear, step-by-step guide to creating a charming and classic Crochet Ladybug. The project uses a combination of basic shaping, color-switching, and embroidery to bring the little beetle to life, making it a perfect quick project for crafters of all levels.
Materials
-
Yarn: Cotton yarn in Red, Black, and a small amount of White.
-
Hook: 2.5 mm crochet hook (used with yarn that typically recommends 3.5–4 mm for a tighter amigurumi finish).
-
Stuffing: Fiberfill (cotton stuffing).
-
Tools: Tapestry needle, stitch marker, scissors, and sewing pins.
Step-by-Step Details
1. The Red Body (Shell)
-
Foundation: Start by chaining two and working 6 single crochets (SC) into the second stitch from the hook. Tighten the loop and knot it.
-
Increasing: Work 2 SC in every stitch (12 SC) for Round 2. In Round 3, alternate 1 SC and 1 increase (18 SC). In Round 4, alternate 2 SC and 1 increase (24 SC). In Round 5, alternate 3 SC and 1 increase to reach 30 stitches.
-
Finishing the Top: Work one round of plain SC (30 stitches) and cast off.
2. The Black Underbody
-
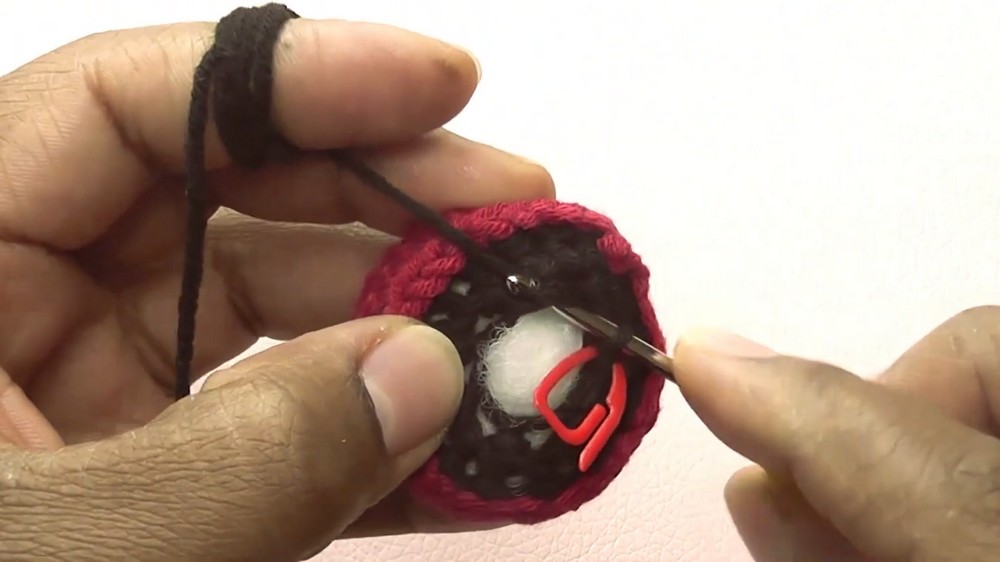
Connection: Join black yarn to a "post" on the wrong side of the red piece. Secure with a knot.
-
Front Post Decreases: Work front post single crochet decreases all the way around to begin pulling the shell into a 3D dome shape.
-
Stuffing: Pause to firmly stuff the body with fiberfill to give it its round form.
-
Closing: Continue decreasing (SC 2 together) until you reach 4 stitches. Cast off and use a tapestry needle to sew the final opening closed.
3. The Head
-
Construction: Create a magic ring (or chain 2) and work 6 SC into the center.
-
Expansion: Increase in every stitch (12 SC), then work one plain round of 12 SC.
-
Assembly: Stuff the head lightly with scrap yarn. Hem around the base, pull the yarn to partially close the opening, and pin the head to the body. Use a tapestry needle to sew the head securely to the front of the ladybug.
4. Embroidery and Details
-
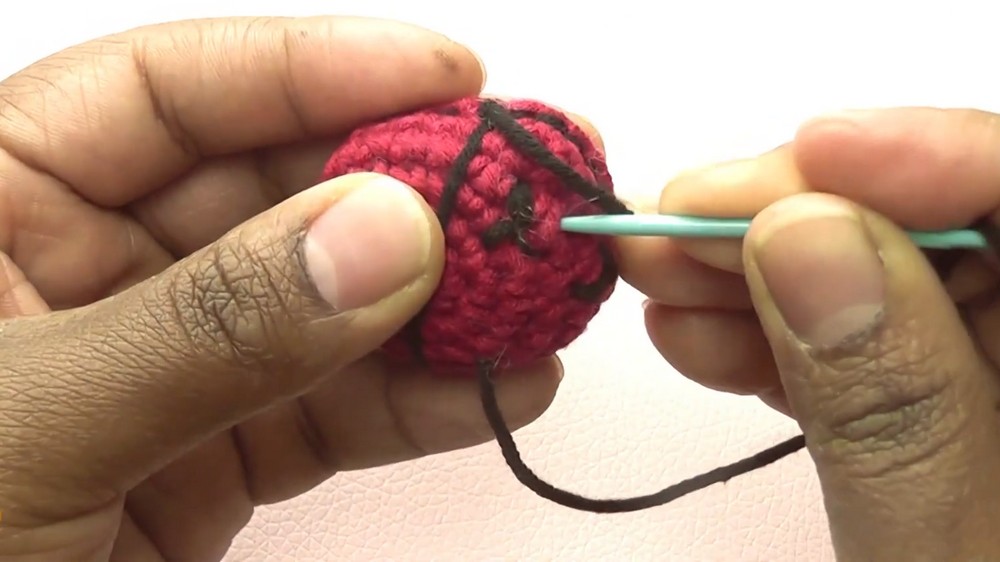
Shell Line: Use black yarn to embroider a straight line down the center of the red shell to represent the wings.
-
Spots: Embroider three small black spots onto each half of the shell using a simple satin stitch or French knot style.
-
Eyes: Using white yarn, embroider two small horizontal stitches on the head to create expressive eyes.
Special Features
The post-stitch base construction is a unique feature of this pattern. By working into the posts of the red shell with black yarn, the creator achieves a seamless transition between the colorful wings and the dark underbody without needing to sew two separate discs together.
Level of Difficulty
The difficulty is Beginner. The project uses standard amigurumi increases and decreases, and the "no-sew" body transition simplifies the assembly process significantly.
Tutor's Suggestions
-
Hook Choice: The tutor suggests using a smaller hook (2.5 mm) than what the yarn recommends (3.5–4 mm) to ensure the stitches are tight enough that the stuffing doesn't show through.
-
Eye Tension: When embroidering the white eyes, watch your tension carefully—don't pull too tight or leave them too loose to ensure they look uniform.
Uses
-
Keychain: A lightweight and durable accessory for bags.
-
Nursery Decor: A safe, soft toy for children’s play or room decoration.
-
Learning Tool: An excellent project for beginners to practice color changes and embroidery.
Conclusion
This Crochet Ladybug is a delightful and efficient amigurumi project that results in a high-quality handmade toy. By following the tutor's method of integrated shaping and simple embroidery, you can create a perfectly round and symmetrical ladybug that is both sturdy and adorable.
Pro-Tip
To make your ladybug even more realistic, use a slightly thinner black yarn for the embroidery details (line and spots) than the yarn used for the body. This prevents the spots from looking too bulky and keeps the focus on the vibrant red shell.