
Simple Crochet Amigurumi Crab Free Pattern To Make A Sea Friend
Fill your ocean collection with this Crochet Amigurumi Crab Free Pattern and enjoy a colorful little sea creature with a sweet appearance.
This small toy is about 4 to 5 inches wide. It has a round body with two big claws and eight small legs. The Crochet Amigurumi Crab has eyes on stalks that make it look lively. It also has a tiny stitched smile. The claws are raised like it is waving. The bright colors, like red or orange, make it look happy and fun.
Mini Crochet Amigurumi Crab Free Pattern For Summer Decorations
The shape is simple with smooth curves and basic parts for the legs and claws. It is made mostly with single crochet stitches and simple increases and decreases. This makes it easy for beginners or people with some crochet experience.
This crab can be used in many ways. It works well as a soft toy for children because it is small and friendly. It also looks nice as a decoration on desks or shelves. Some people turn it into a keychain or bag charm by adding a small ring. It can also be a nice gift for friends and family who like cute handmade things.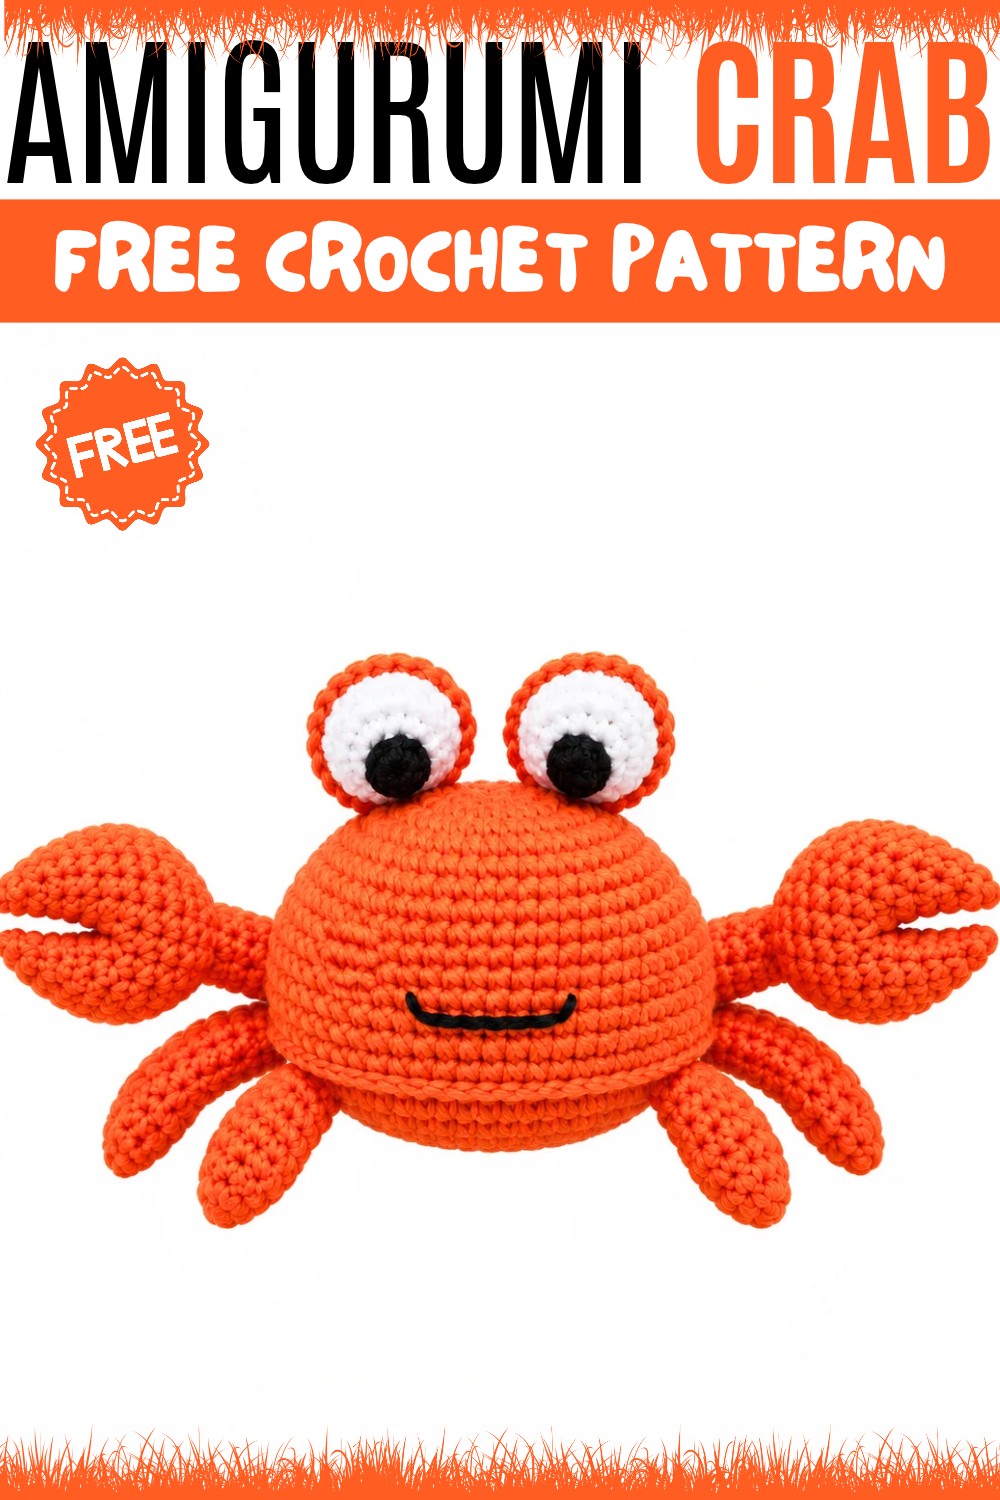
In short, the Crochet Amigurumi Crab is Desgin By EİNE ESRA is a small, fun item that is easy to make and use. Its bright colors and happy face make it attractive. The simple design helps people of different skill levels finish it without trouble. This crab is a great little project for anyone wanting an easy and charming crochet toy.
Amigurumi Crab Lula Pattern
Lula the amigurumi crab is constructed in sections: body, legs (in three lengths), pincers, and expressive eyes with eyelids. This design makes for a fun, tactile toy and a great project for practicing magic rings, increases, decreases, and detail assembly. With layered textures and bold crab-like shapings, Lula is both visually lively and sturdy enough for play or display.

Pattern Basic Points
- Three types of legs (big, middle, short) for realism
- Pincers constructed from two parts and joined seamlessly for articulation
- Ample, round crab body worked in spirals with shaping via increases and FLO for a natural underbody effect
- Eyes include color change and eyelid worked with back loop technique for animated expression
- Body and appendages joined for balance and durability
- All pieces crocheted in spirals unless otherwise noted
Special Notes
- Use stitch markers to keep track of rounds—especially in small pieces.
- Adjust stuffing to keep legs and pincers light for stability.
- The FLO (Front Loop Only) and BLO (Back Loop Only) techniques are used for texture on body and eyelids.
- For firmness, legs can be sewn closer at the base to help the crab sit properly.
- Safety eyes or embroidery can be substituted if preferred for the whites of the crab's eyes.
Skill Level
Intermediate. This pattern is best suited for crafters comfortable with magic rings, basic increases/decreases, color changes, and sewing detailed parts. Some experience with amigurumi assembly will be helpful.
Materials
- Worsted weight acrylic yarn: orange (main), white (eye whites), small amount of black (pupil, optional), additional contrast for details
- Crochet hook: 2.5–3.5mm (adjust as needed for tight stitches)
- Polyester fiberfill stuffing
- Yarn needle (for sewing parts)
- Stitch marker
- Scissors
Measurements and Gauge
- Finished size: Approx. 14–18 cm (5.5–7 in) wide with legs extended
- Gauge: Not critical, but work should be tight enough that stuffing does not show through stitches
- Stitch pattern: Single crochet worked continually in round (amigurumi spiral)
Stitch Abbreviations
- MR: Magic Ring (Magic Circle)
- SC: Single Crochet
- INC: Increase (2 SC in same stitch)
- DEC: Decrease (single crochet 2 stitches together)
- BLO: Back Loop Only
- FLO: Front Loop Only
- St(s): Stitch(es)
- Slst: Slip Stitch
Special Stitches Used
- Magic Ring (MR): Create a loop, pull yarn through, SC into the ring for starting small circles.
- BLO/FLO: When working into the back/front loop only, insert the hook under just the designated loop for ribbed or textured effects.
Detailed Lula Crab Crochet Pattern
Leg Preparation
Big Legs (Make 2)
- R1: MR, 8 SC.
- R2: INC into each stitch (16 SC).
- R3–R11: 1 SC in each stitch around (16 SC).
- R12: Decrease around as indicated in video to shape and close the leg.

Middle Legs (Make 2)
- R1: MR, 8 SC.
- R2: INC evenly as needed (video reference) to achieve required leg thickness.
- R3–R11: 1 SC in each stitch around for length.
- Fasten off; leave a tail for sewing.
Short Legs (Make 2)
- R1: MR, 8 SC.
- R2: INC as needed, work to thickness.
- R3–R10: 1 SC in each stitch.
- Fasten off; leave a tail for sewing.
- Note: For each leg, ensure neat, even shaping and minimal stuffing for stability.
Making the Pincers (Claws)
Small Section
- R1: MR, 4 SC.
- R2: INC (8 SC).
- R3: 1 SC, INC repeat around.
- R4-R7: Work increases as indicated in video until 16 SC.
- R8: Work even, 16 SC.
Long Section
- R1: MR, 4 SC.
- R2–R9: Continue as for smaller section, working increases where necessary as shown in video.
- R10: Join with Small Section (place adjacent and work next round through both pieces’ adjacent stitches).
- R11–R20: Continue SC around both the joined pieces, shaping the pincer and tapering as needed for claw tip.
- Bind off; leave a long yarn tail for sewing.
Body Construction
- R1: MR, 8 SC.
- R2: INC in each stitch (16 SC).
- R3: 1 SC, INC around (24 SC).
- R4: 2 SC, INC around (32 SC).
- R5: 3 SC, INC around (40 SC).
- Continue increasing by 8 SC per round until you reach the required size (as indicated to round 35).
- R23 (FLO round): Work one round through front loops only. This will create a “ridge” for the crab’s underside detail.
- R24–R35: Work SC evenly in each stitch. Begin decreases to shape the base after desired width is achieved (video shows precise changes for tapering and closing).
- Fasten off and stuff body firmly before final closure.

Making the Eyes
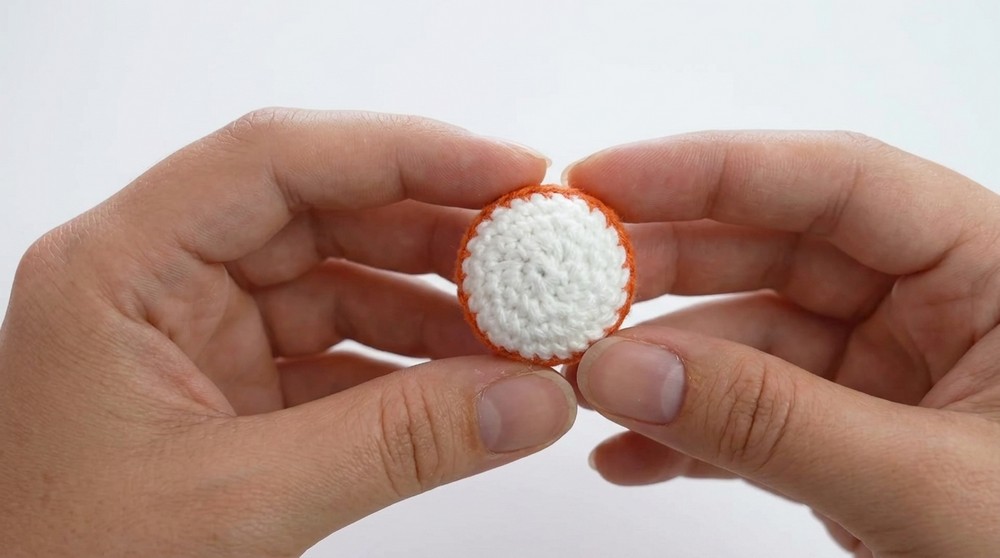
- R1: Using orange yarn, MR, 8 SC.
- R2–R6: Continue SC in rounds, increasing as needed for an eye dome.
- Color Change: At the end of eye dome, switch to white; work several rounds for the “white” of the eye.
- Eyelid detail: Attach orange yarn, work 19 SC around the outer edge of the eye via BLO to form a defined eyelid.
- Fasten off, leave tail for sewing.
Assembly
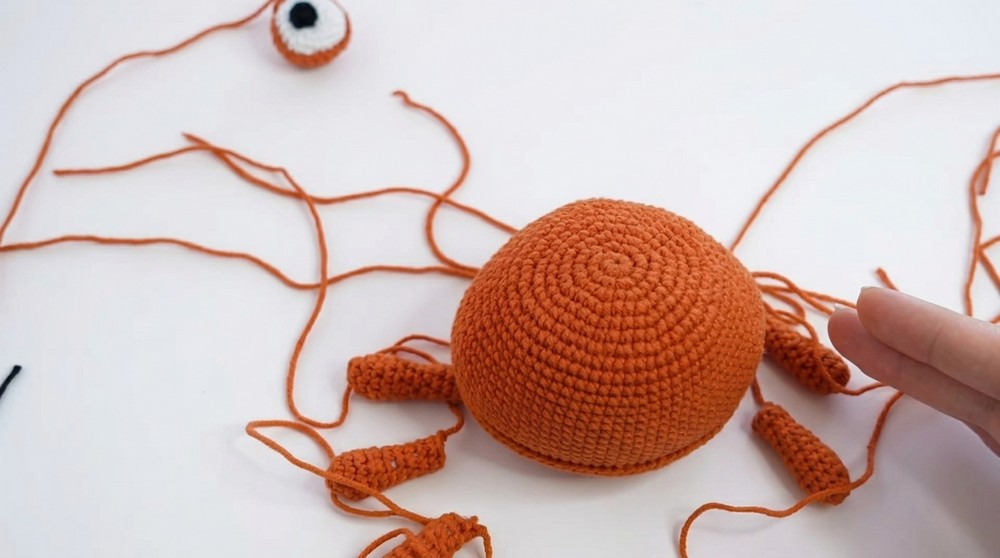
- Arrange legs: Attach all legs to the underside of the crab. Place short legs at the front corners, medium legs on the sides, big legs further back for stability.
- Attach pincers: Sew claws carefully to each side of the body, about three rows above the front-loop (“FLO”) ridge created earlier.
- Sew on eyes: Firmly attach domed eyes to the top of the crab, spaced evenly.
- Leg stabilization: For a crab that sits stably, sew or tack the bases of the legs together if needed, so they help support the body and remain flat to the surface.
Assembly & Finished Size
Position all appendages as described for a balanced look and experience. Finished Lula should balance well on her sturdy legs, and her claws should be symmetrically placed. The finished crab measures approximately 14–18 cm across, depending on tension and stuffing. Eyelids and face should show expressive personality.

Conclusion
This Lula crab pattern offers a delightful project packed with shaping, colorwork, and detail assembly. Each part—legs, pincers, domed eyes, and bright orange body—is crafted individually then teamed for whimsical sea-creature appeal. Attention to limb placement and careful use of BLO/FLO techniques ensures accurate form and expressive features. Lula makes an engaging addition to a shelf or child's toy box, with every round contributing to her distinctive crabby personality.