
Rustic Free Crochet Farmer Amigurumi Pattern to Harvest Little Joy
Assemble a rustic country doll with this Crochet Farmer Amigurumi Pattern, a cheerful and modern project to enhance your harvest display.

Cute Free Crochet Farmer Amigurumi Pattern to Gift Your Gardener
Bring a touch of rustic charm to your collection with a detailed character that celebrates the heart of the countryside. This Crochet Farmer Amigurumi Pattern provides a wonderful way to bring a friendly and hardworking figure to life using soft yarn and classic stitching techniques. The design features a sturdy standing pose and adorable tiny overalls which make it a perfect addition to a nursery shelf or a farmhouse-themed display.
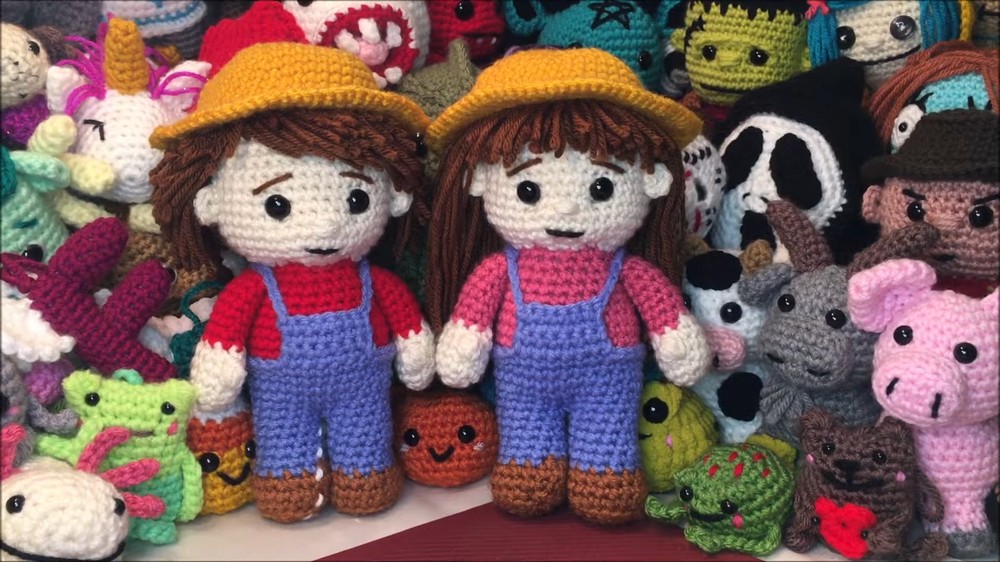
Beyond its visual appeal the process of making this doll offers a peaceful and rewarding escape that helps you relax while building your technical skills. This finished masterpiece serves as a high-quality heirloom toy for imaginative play or a thoughtful gift for someone who loves the quiet beauty of nature. Its textured surface and tiny tool accessories provide a delightful feel that captures everyone’s attention. By following this project you get a timeless handmade friend that brings a warm and spirited personality to your home.
Materials
-
Yarn: Medium weight (Number 4) yarn in your choice of skin tone, hair color, shirt color, and overall (pant) color.
-
Hook: 4.25 mm crochet hook.
-
Safety Eyes: 12 mm eyes.
-
Fill: Polyester fiberfill stuffing.
-
Notions: Stitch marker, tapestry needle, and scissors.
-
Details: Scraps of pink yarn for a girl farmer’s shirt and brown or black for hair and facial embroidery.
Step-by-Step Pattern
Arms (Make 2)
-
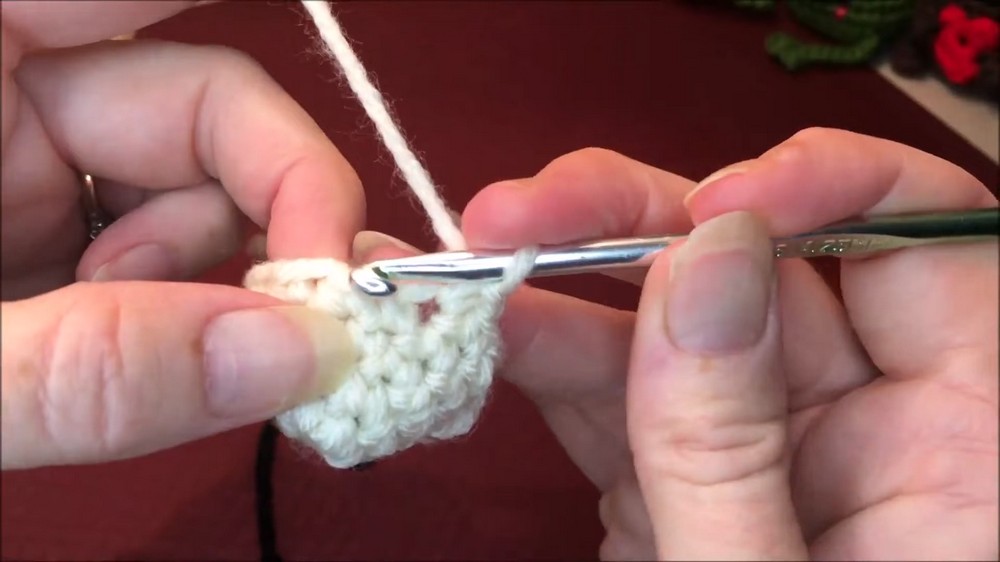
Row 1 (Skin Color): Work 6 single crochets (sc) into a magic ring [02:38].
-
Row 2: Work 6 increases (12 stitches) [03:20].
-
Rows 3–4: Crochet 12 sc in each row [04:18].
-
Row 5: Work a "double crochet cluster of 3" (yarn over, pull up a loop, pull through two, repeat three times in one stitch, then pull through all four loops) for the thumb, followed by 11 sc [05:46].
-
Row 6: (1 sc, 1 dec) around (8 stitches). Change to the shirt color [07:30].
-
Rows 7–14: Crochet 8 sc in each row. Fasten off and sc 3 across the top to close [09:14].
Legs and Body (Starting with Shoe Color)
-
Rows 1–3: Work a standard increase pattern up to 18 stitches [17:03].
-
Row 4: Work in the back loops only to create a flat sole [19:54].
-
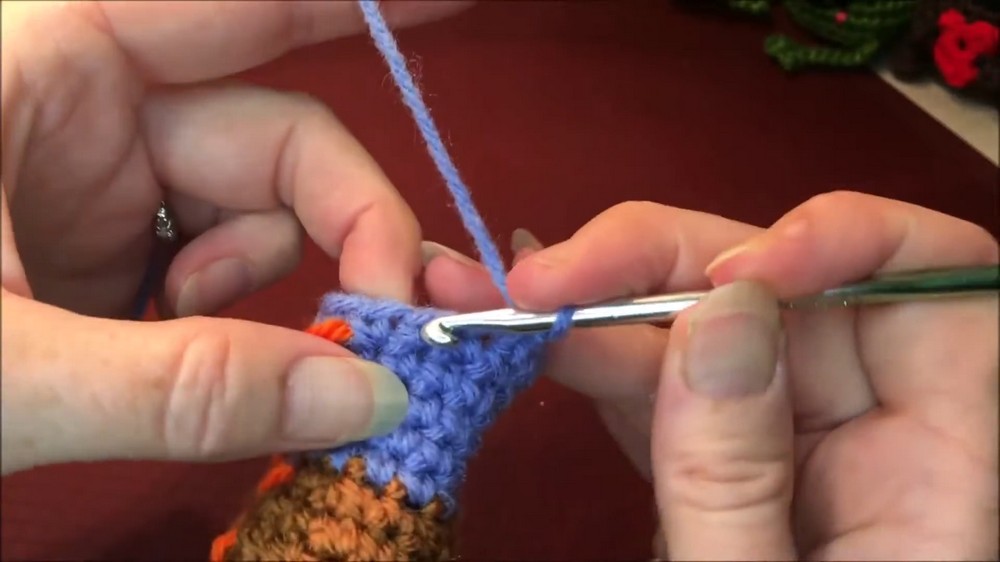
Rows 5–12: Work sc and decrease rows to form the leg. Change to the overall color at Row 6 [22:08]. Repeat for the second leg, but do not cut the yarn.
-
Row 13 (Joining): Sc across both legs to join them (24 stitches total) [30:55].
-
Rows 14–17: Increase to 30 stitches and sc around [32:52].
-
Row 18: Work in the front loops only to create a ridge for the overalls [38:07].
-
Row 19: Change to shirt color and work in the back loops of Row 17 (30 stitches) [44:04].
-
Rows 20–27: Follow sc and decrease patterns for the torso [46:32].
-
Row 28: Crochet the arms directly onto the sides of the body [59:18].

Head and Face
-
Rows 29–39: Change to skin color and follow increase/sc rows to form the head [01:03:52].
-
Facial Details: Insert safety eyes between rows 33 and 34. Embroider a nose, mouth, and eyebrows. Use skin-colored yarn to pull the eyes slightly inward for a sculpted look [01:29:29].
-
Rows 40–45: Decrease and change to hair color at Row 40. Stuff the head firmly and close the top [01:31:02].
Accessories
-
Overall Bib: Crochet a rectangle (7 sc wide by 4 rows) onto the front ridge and add chain-13 straps over the shoulders [01:50:04].
-
Hat: Create a separate bucket hat using standard increase and sc rows, finishing with a wide brim in the front loops [02:20:46].

Special Features
-
No-Sew Construction: The legs, body, and arms are integrated as you go, ensuring a sturdy and durable toy [01:18].
-
Sculpted Face: Using an internal yarn bridge between the eyes and ears allows you to pull the face into a more human-like, expressive shape [01:56:51].
Level of Difficulty
This project is an Intermediate pattern. While the basic shapes are simple, the continuous construction and detailed facial shaping require a firm grasp of amigurumi fundamentals.
Tutor's Suggestions
-
Arm Stuffing: Stuff the hands firmly but the upper arms lightly to ensure they hang naturally against the body [01:46:52].
-
Hair Color: When closing the head, change to the hair color for the final rows. This ensures that any gaps in the hair won't show the white stuffing underneath [01:45:12].
-
Overall Bib: If the bib looks off-center after Row 1, simply adjust your starting stitch by one to ensure it sits perfectly between the legs [01:49:09].
Uses
-
Handmade Gifts: Perfect for children who love farm animals.
-
Nursery Decor: The soft, no-sew design makes it a safe and charming addition to a bookshelf or dresser.
Conclusion
By following these steps, you build a high-quality, professional-looking character. This farmer provides a great foundation for learning how to shape amigurumi faces and integrate multiple parts into a single piece.
Pro-Tip
When closing the final row of the head, weave your tail through the front loops only and pull gently. This creates a much cleaner finish than weaving through both loops of the final circle [01:43:53].