
Tiny Free Crochet Little Red Riding Hood Pattern That Feels Magical
Adorn your collection with charm using this Free Crochet Little Red Riding Hood Pattern, perfect to personalize, embellish, and brighten décor.
This charming handmade crochet toy brings the beloved fairy‑tale character to life with delightful details and a cozy, storybook feel. With its tiny hood, dress, and classic basket, it adds a playful touch to your home décor, nursery shelves, or crochet display.
Playful crochet little red riding hood pattern for Amigurumi Fans
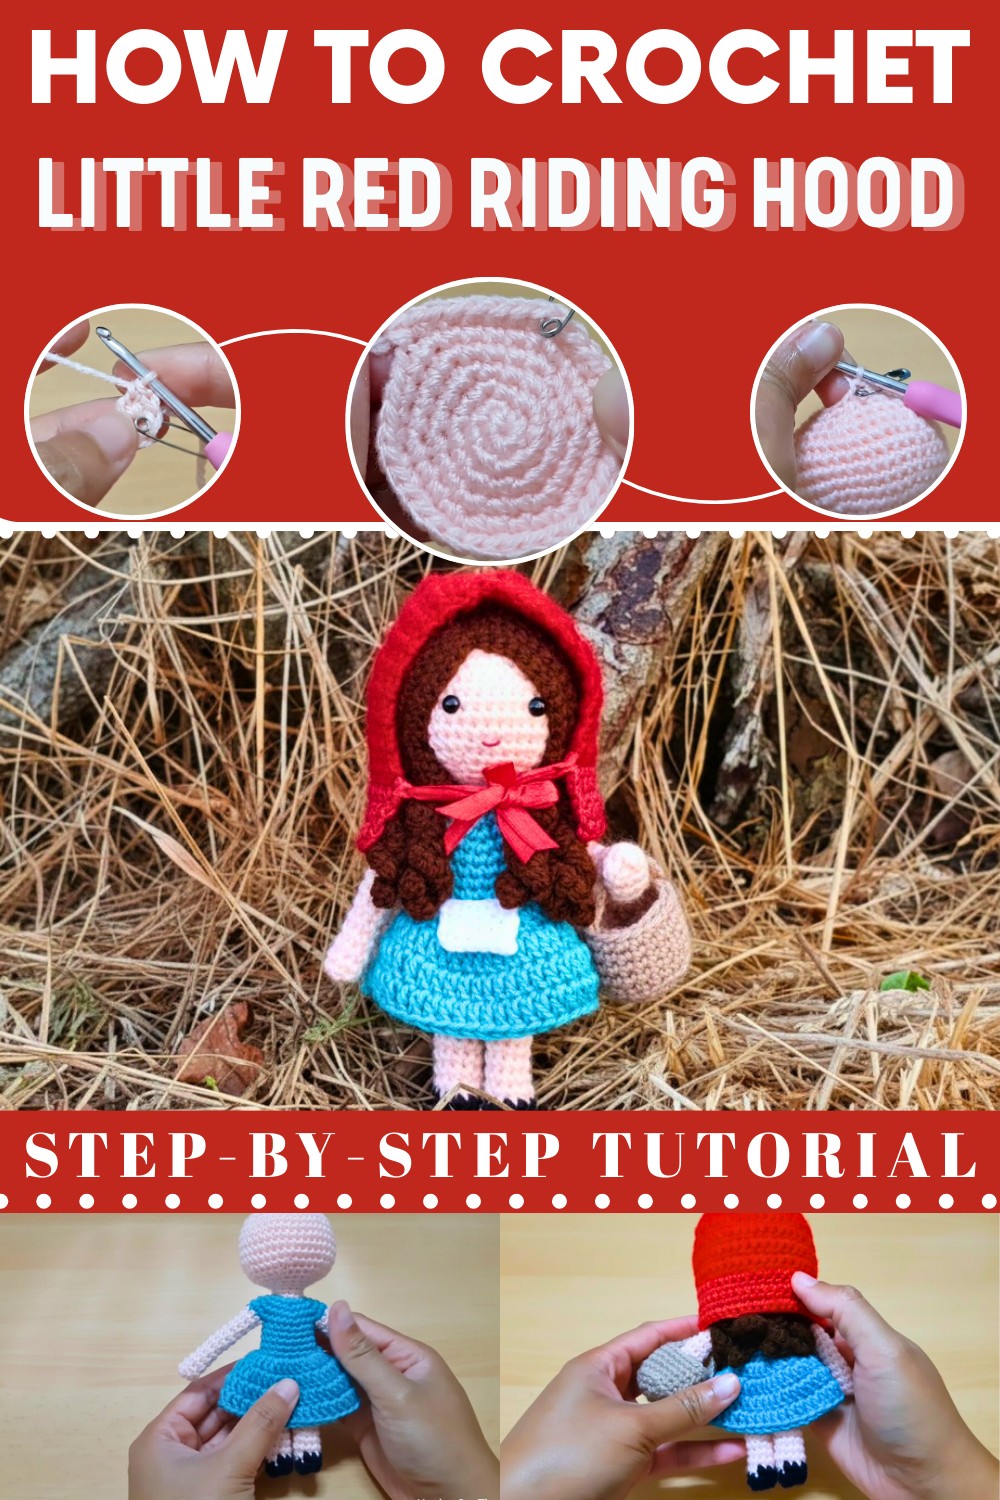
Many crocheters also enjoy making it as a unique, heartfelt gift for friends and family who love handmade treasures or fairy‑tale themes. Making this design is not only enjoyable but also beneficial, it strengthens hand‑eye coordination, improves stitch control, and allows you to personalize colors and accessories for your finished toy.

The pattern uses simple and classic amigurumi stitches such as single crochet (sc), magic ring starts, increases (inc) and decreases (dec) to build each piece in smooth, rounded shapes. These foundational stitches make the project both fun and satisfying, whether you’re new to crochet or looking for a relaxing creative break. The result is a beautiful, durable amigurumi figure that captures the magic of a classic tale and brightens any space with handmade charm.
Free Crochet Little Riding Hood Pattern
Materials
- Yarn (acrylic or cotton recommended; DK/light worsted weight):
- Skin tone (head, arms, legs)
- Brown (hair)
- Red (hood and hood bow)
- White (apron)
- Light Blue (dress/skirt)
- Black (shoes)
- 3.0 mm crochet hook
- Toy stuffing
- Safety eyes (6 mm recommended, small size)
- Yarn needle
- Stitch marker (or safety pin)
- Crafting pipe cleaner or wire (for arm/leg support; optional)
- Red ribbon (optional, for hood bow)
- Scissors
Key Abbreviations (US Terms)
| Abbreviation | Meaning |
|---|---|
| MR | Magic Ring |
| sc | Single Crochet |
| inc | Increase (2 sc in same st) |
| dec | Decrease (sc2tog) |
| dc | Double Crochet |
| ch | Chain |
| sl st | Slip Stitch |
| st(s) | Stitch(es) |
| FLO/BLO | Front/Back Loop Only |
Special Notes
- Continuous rounds (spiral) are used unless otherwise noted. Use a stitch marker to keep track of round starts.
- Invisible decrease (sc2tog) is recommended for neater finish.
- Add stuffing as you progress, particularly at decreases and before closing.
- Limbs and arms are worked directly from the body.
- Arms and legs can be reinforced with pipe cleaners for posability.
Pattern Instructions
Head
With skin-tone yarn:
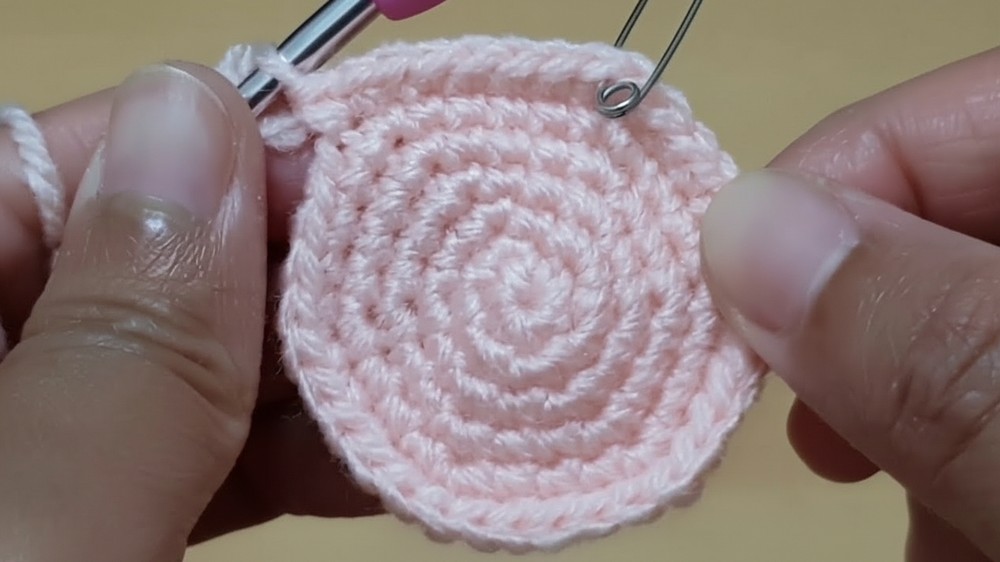
- Round 1: MR, 6 sc. (6)
- Round 2: Inc in each st around. (12)
- Round 3: (sc 1, inc) repeat around. (18)
- Round 4: (sc 2, inc) repeat around. (24)
- Round 5: (sc 3, inc) repeat around. (30)
- Round 6: (sc 4, inc) repeat around. (36)
- Round 7: (sc 5, inc) repeat around. (42)
- Rounds 8–12: Sc in each st around. (42)

Head Shaping (Decreases)
- Round 13: (sc 5, dec) repeat around. (36)
- Round 14: (sc 4, dec) repeat around. (30)
- Round 15: (sc 3, dec) repeat around. (24)
- Round 16: (sc 2, dec) repeat around. (18)
- Begin stuffing head and continue as you decrease.
- Round 17: (sc 1, dec) repeat around. (12)
- Rounds 18–20: Sc in each st around. (12)
- Finish stuffing head.
Dress Bodice
Switch to Light Blue yarn at the last st of the previous round.
- Round 21: (sc 1, inc) repeat around. (18)
- Fasten off skin-tone yarn.
- Round 22: (sc 2, inc) repeat around. (24)
- Round 23: (sc 3, inc) repeat around. (30)
- Round 24: (sc 4, inc) repeat around. (36)

Arm Partition
- Using markers:
- Use markers to partition off two spaces for arms, marking out 8 stitches on each side for arms after Round 24.
- Body will continue in the remaining 20 sts.

Body
25–29. Rounds 25–29: Sc in each of the 20 remaining body stitches. (20)
- Round 30 (BLO): Sc in each st around—back loop only. (20)
- Round 31: Sc in each st around—both loops. (20)
- Stuff body.
Legs (Make 2)
- Switch to skin-tone yarn for each leg; work in the round from the remaining unworked stitches.
- Partition 20 sts into 10 for each leg.
- Rounds 1–13: Sc in each st around. (10 per round)
- Switch to Black for shoes:
- Rounds 14–15: Sc in each st around. (10)
- Fasten off and close the opening using the BLO of last round.
- Insert pipe cleaner for structure before closing up if desired.
Arms (Make 2)
- Attach skin-tone yarn at each armhole (8 sts each); work in the round:
- Rounds 1–12: Sc in each st around. (8 per round)
- Fasten off and close as with legs; add pipe cleaner/toy stuffing if desired.
Dress Skirt
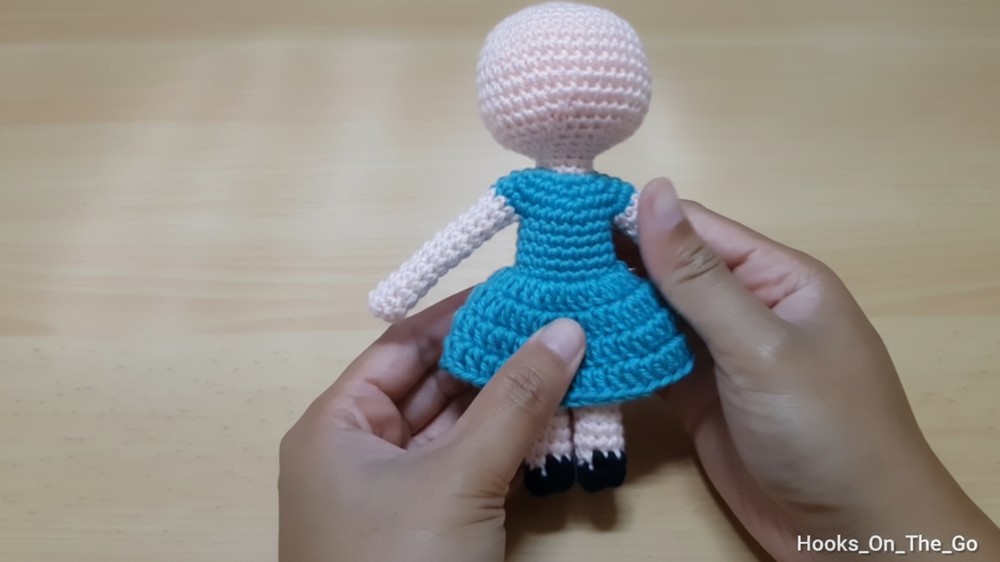
Work in FLO from Round 30 of body with Light Blue:
- Join yarn; ch 2 (does not count as st).
- Round 1: (dc in next st, 2 dc in next st) repeat around. (30 dc)
- Sl st to join.
- Round 2: Ch 2, (dc in next 2 sts, 2 dc in next st) repeat around. (40 dc)
- Sl st to join.
- Rounds 3–4: Ch 2, dc in each st around. (40 dc)
- Fasten off, weave in ends.
Apron
With White:
- Turn work upside down and join yarn at desired spot on skirt.
- Row 1: Ch 1, sc in next 6 sts. Turn. (6)
- Rows 2–5: Ch 1, sc across. Turn. (6 per row)
- More rows = longer apron; 5 rows recommended in video.
- Fasten off, weave in ends.
Hair
- With Brown: Make 16 strands of hair; attach at the crown, as per your usual “loop” or strand attachment method, style as desired.
- (Tutorial reference in video description.)
Face
- Insert safety eyes between rounds 10–12 of head; ensure even spacing.
- Embroider mouth and eyebrows with red/black thread or yarn.
Hood
With Red:
- Ch 31.
- Row 1: Sc in 2nd ch from hook and in each ch across. (30)
- Rows 2–22: Ch 1, turn. Sc in each st across. (30)
- Total 22 rows for a rectangular hood piece.
- Assembly:
- Fold rectangle in half, sew together edges (working in front loops only) to form the hood.
- Weave in all ends.

Finishing Touches
- Hood assembly: Place on doll. Sew bottom edge to secure as needed.
- Add red ribbon (optional) for hood tie/bow.
- Weave in all loose ends.
- Optional: Add a tiny basket (check referenced/next tutorial for pattern).
Conclusion
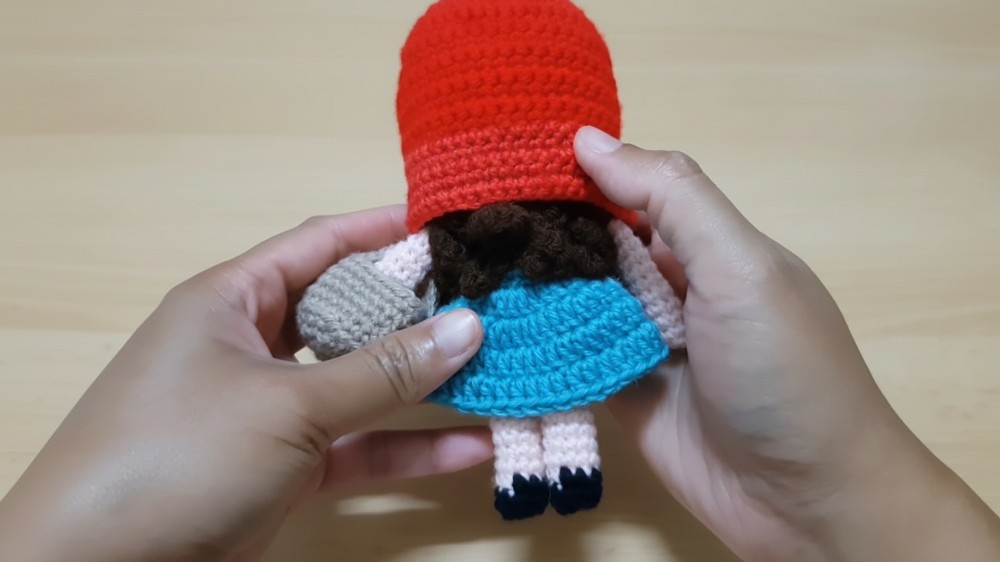
Congratulations! You have now completed an adorable Red Riding Hood amigurumi doll with removable hood. This project is perfect for storytelling, gifting, or collecting. Don’t forget to share your creations and explore additional accessories, such as a mini basket.
Pattern Correction
Apron length clarification:
- The video mentions 7 rows but ultimately recommends 5 rows for an apron—adjust as desired.
Tips
- Partition counting: Always double-check stitch counts for arm and leg partitions for symmetry.
- Color changes: Always complete the previous stitch with the new color for neat transitions.
- Blocking: Lightly steam block skirt/apron for neatness if needed.
- Assembly: Use a long tail for sewing the hood and for fewer yarn joins.