
FREE Crochet Egg Holder Hen with Vintage Elegance
Showcase farmhouse charm with this Crochet EGG HOLDER HEN Pattern, featuring playful details, rustic beauty, and delightful appeal.
There’s something inherently charming about blending functionality with creativity, turning everyday objects into something extraordinary for the home. The crocheted egg-holder hen is a testament to this, providing a beautiful and functional way to organize eggs while adding a whimsical, decorative touch to your kitchen. With the ability to hold up to 25 eggs, this unique piece redefines practicality by merging utility with elegance, all while incorporating a sustainable element by repurposing plastic bottles.
Classic Crochet Egg Holder Hen for Table Styling
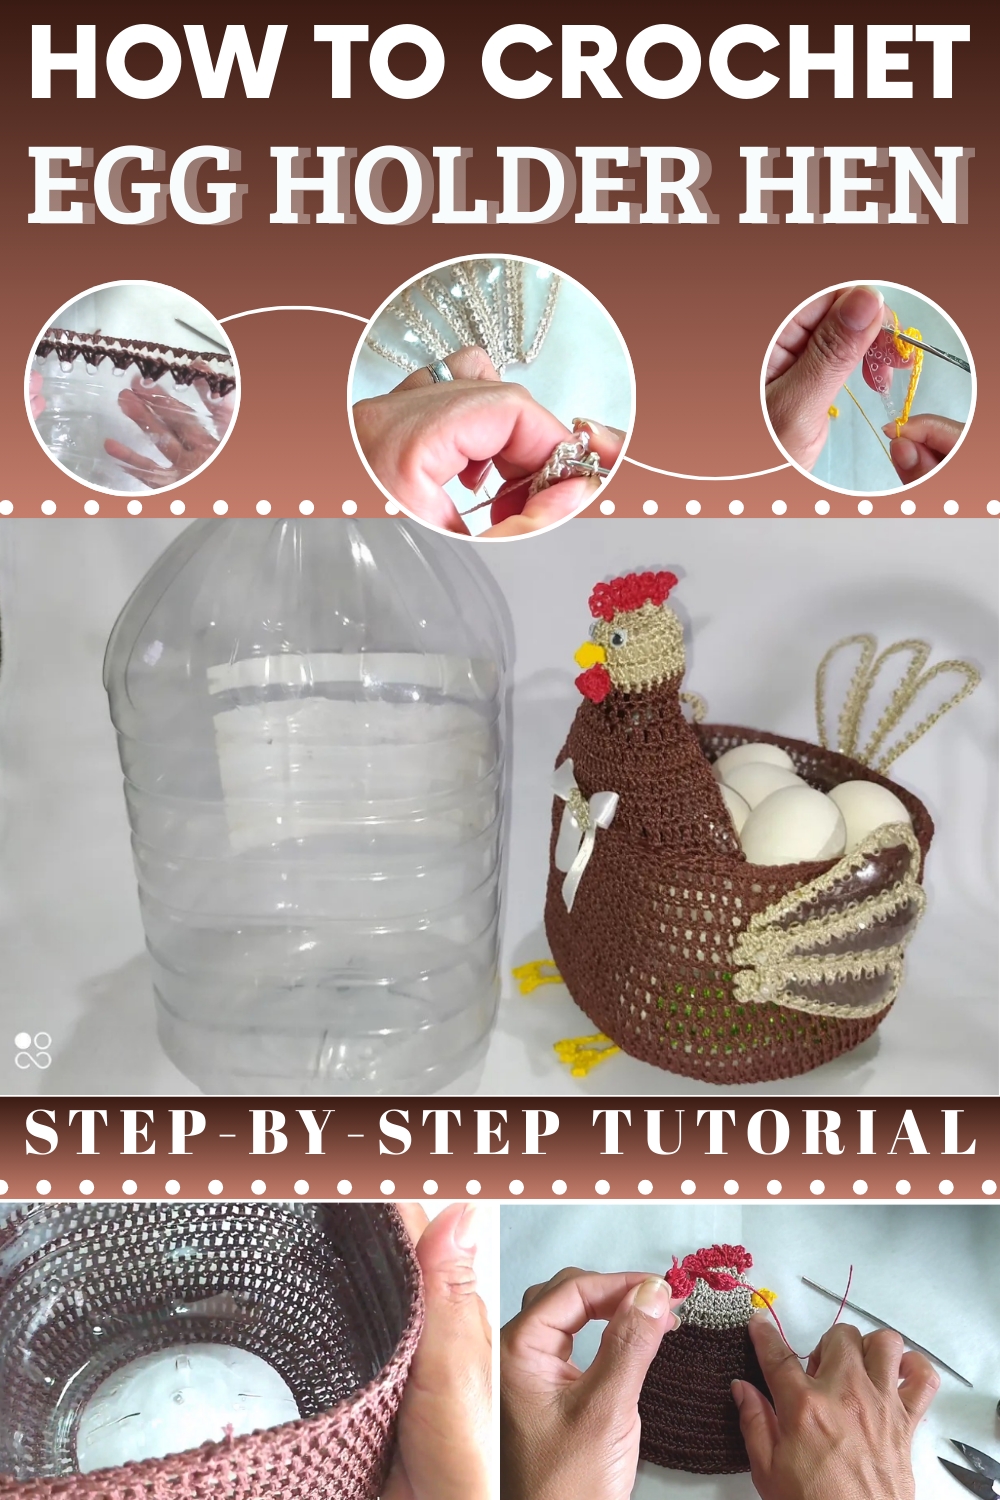
This egg holder is more than just a practical solution; it’s a delightful way to express your creativity while contributing to sustainable practices by recycling plastic. Whether used as a functional kitchen organizer, a conversation-starting decor piece, or even a heartfelt handmade gift, its versatility and charm are unmatched. Take pride in its utility and enjoy the sense of accomplishment as this unique creation becomes a part of your home.
Materials Needed
The following materials are essential for making the egg-carrying hen:
- Plastic components:
- One 5-liter plastic gallon (for the base).
- One 2-liter PET bottle (for smaller structural pieces like the neck and wings).
- Tools:
- Scissors.
- Soldering iron (alternatively, heated metal tools like a cat’s tooth to make holes).
- Crochet needle (1.75mm and 1.5mm for smaller details).
- Crochet thread:
- Colors include beige, yellow, brown, red, and golden yellow.
- Other supplies:
- Hot glue gun.
- Felt (for covering parts of the bottle).
- Decorative elements such as artificial flowers.
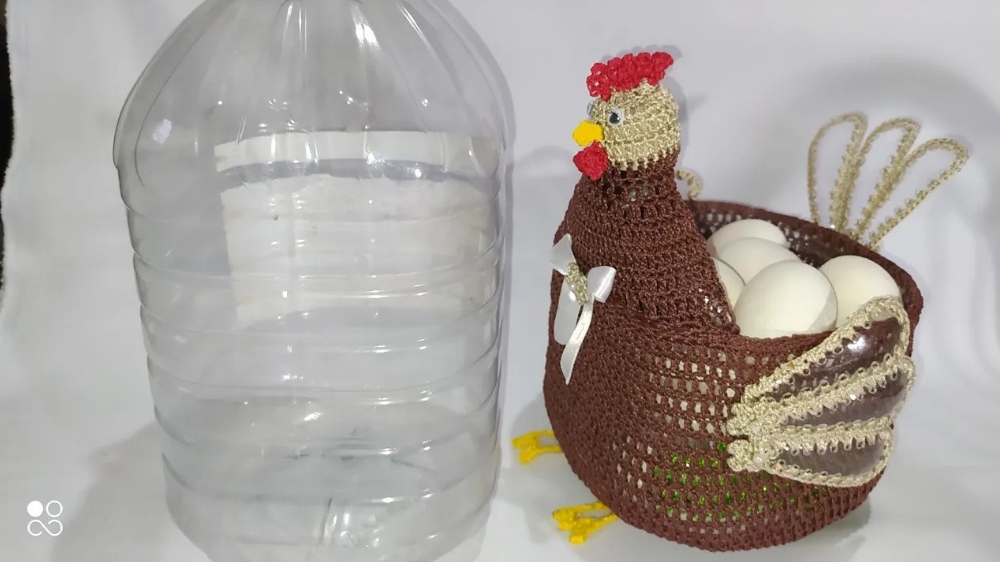
Finished Size
The finished egg-holder hen is approximately 30-35 cm (12-14 inches) tall and holds up to 25 eggs, depending on the size of your eggs.
Materials
To complete this project, you will need the following:
- Recycled Materials:
- 5-liter gallon jug (transparent or clear).
- 2-liter PET soda bottle (e.g., Sukita bottle).
- Yarn:
- Beige Yarn: For the body and head.
- Brown Yarn: Accents for the neck and base.
- Red Yarn: For the chicken's comb and details.
- Yellow Yarn: For the beak.
- Optional Colors: Add pops of color for decorations or creative accents.
- Tools:
- Crochet hook (size 1.75mm or 1.5mm for smaller parts like feet).
- Sewing Needle to assemble and sew pieces.
- Scissors.
- Hot Glue Gun or universal craft glue.
- Lighter to seal yarn ends.
- Accessories:
- Felt (small pieces for decoration or base circle).
- Plastic Flowers or Rococo Flowers for embellishment.
- Plastic Eyes: For adding facial features.
Special Techniques
- Magic Ring:
Wrap yarn around your fingers to form a loop, insert hook, yarn over, and pull through the loop. Chain to secure, then crochet into the ring before tightening to close. - Chain Stitch (CH):
Yarn over, pull through the loop on the hook. Repeat for the required number of chains. - Single Crochet (SC):
Insert hook into stitch, yarn over, pull up a loop (2 loops on hook), yarn over, pull through both loops. - Half Double Crochet (HDC):
Yarn over, insert hook into stitch, pull up a loop (3 loops on hook), yarn over, pull through all loops. - Double Crochet (DC):
Yarn over, insert hook into stitch, pull up a loop (3 loops on hook), yarn over, pull through 2 loops, yarn over, pull through remaining loops. - Slip Stitch (Sl St):
Insert hook into stitch, yarn over, pull through stitch and loop on hook.
Pattern Instructions
Part 1: Prepare the Recycled Plastic Base
- 5-Liter Gallon Base (Body):
- Measure 12 cm from the base of the gallon and mark a cutting line.
- Cut around the gallon to form the lower base of your hen.
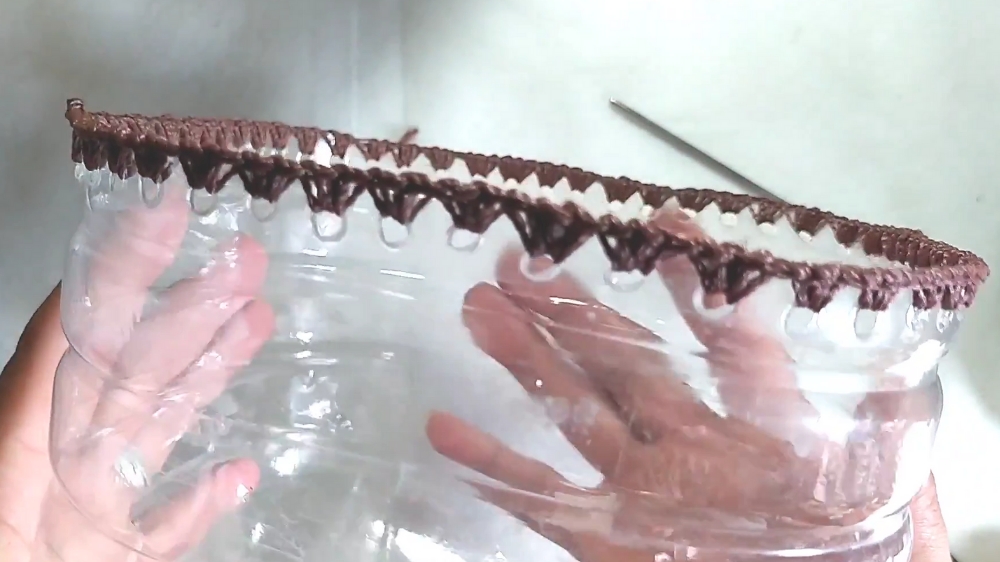
- Drill small, evenly spaced holes (large enough for your crochet hook) around the rim of the cut gallon using:
- A soldering iron, or
- A knife or heated needle if a soldering iron is not available.
- Reserve this part for later.
- 2-Liter PET Bottle (Neck and Head):
- Measure 9 cm from the bottle’s neck and mark the cutting line.
- Cut the neck part of the bottle and drill small holes around the rim for sewing the neck and attaching the head.
- Tail, Wings, and Feet:
- Use the leftover plastic to cut 3 feathers for each wing and 3 feathers for the tail.
- For the feet, cut 4 pieces shaped like chicken claws. Drill small holes around the edges of each piece to prepare for crochet covering later.
Part 2: Crochet Base Cover
- Foundation Chain:
- Begin with 71 chain stitches using beige yarn.
- Slip stitch into the first chain to form a circle.
- Round 1:
- Chain 3 (counts as first DC).
- Work 1 DC into each chain stitch around. (Total: 71 DC).
- Join with a slip stitch into the third chain.
- Round 2 (Increase):
- Chain 3.
- Work 2 DC in one stitch (increase), followed by 1 DC in the next two stitches.
- Repeat this pattern around: [2 DC, 1 DC, 1 DC].
- Slip stitch to join.
- Round 3 - 14:
- Chain 3. Continue working 1 DC in every base stitch for 12 rows.
- Finish the last round with 1 row of single crochet stitches.
- Assembly:
- Sew or glue this crocheted piece over the bottom of the 5-liter gallon.

Part 3: Head and Neck
- Head (Beige Yarn):
- Magic ring: Work 8 SC in the ring.
- Round 2: Work 2 SC in each stitch (Total: 16 SC).
- Rounds 3-5: Work 1 SC in each stitch (no increases). Stuff the head lightly with fiberfill.
- Neck (2-Liter PET Bottle):
- Work single crochet stitches around the drilled holes of the bottle neck.
- Continue crocheting evenly for 5-7 rows, forming the connecting neck.
- Attach Head to Neck:
- Sew the head to the crocheted neck using a needle and beige thread.
Part 4: Wings, Tail, and Feet
- Wings and Tail:
- Crochet around the drilled holes of the pre-cut feather pieces:
- Work 2 SC in every hole. Adjust as needed to achieve uniform coverage.
- Sew the wings onto the sides of the gallon body and the tail onto the back.
- Crochet around the drilled holes of the pre-cut feather pieces:
- Feet (Orange or Yellow Yarn):
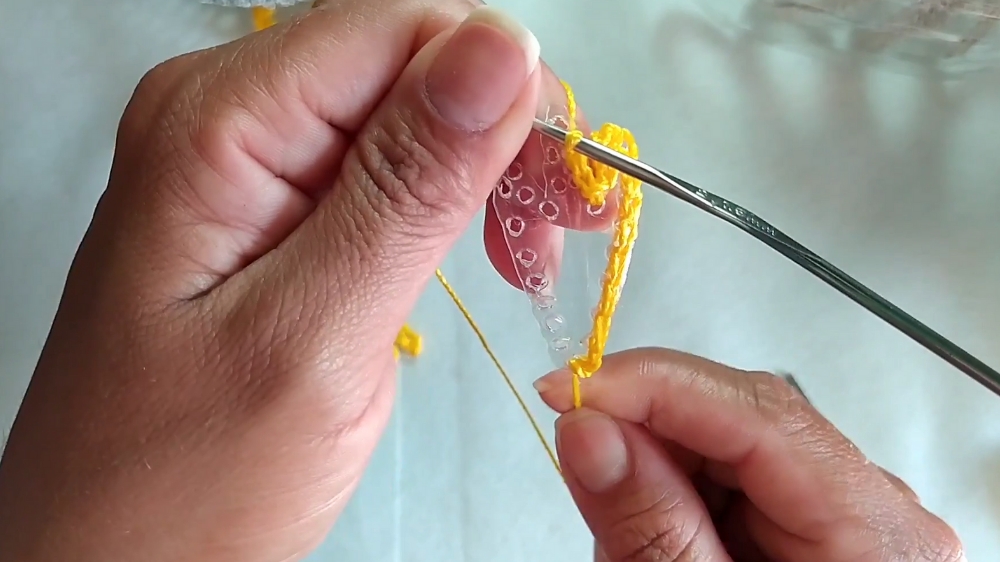
- Crochet using SC stitches around the feet pieces.
- If desired, use slip stitches to outline the toe shapes for a more defined look.
- Sew the feet to the bottom of the body.

Part 5: Comb, Beak, and Face
- Comb (Red Yarn):
- Chain 8.
- Work 2 HDC in the 2nd chain from the hook, SC in the next chain, Sl St in the third chain. Repeat this pattern to form scallops for the comb.
- Sew the comb to the top of the head.
- Beak (Yellow Yarn):
- Chain 3.
- Work 3 DC into the first chain. Close the beak with a slip stitch.
- Sew below the comb.
- Eyes:
- Attach plastic eyes or crochet small circles with white and black yarn.

Finishing and Decoration
- Flowers and Embellishments:
- Use hot glue to attach small plastic flowers near the wings, tail, or neck.
- Add Rococo-style flowers or decorative ribbons for a more vibrant finish.
- Insert Eggs:
- Once assembled, the hen’s body can hold 16-25 eggs, depending on size.
Final Words
Congratulations on completing your Egg-Holder Hen! This charming craft combines functional storage with delightful decor and can be a unique kitchen centerpiece or gift.
Tips and Suggestions
- Color Customization: Experiment with bright or pastel yarn to match your kitchen or gifting theme.
- Alternative Uses: Add weight to the base for stability and use it as a decorative centerpiece.
- Selling: These hens make great handmade gift items for fairs and online shops.