
Quirky Crochet Frying Pan Pattern for Handmade Décor
Whimsical kitchen style shines with this Free Crochet Frying Pan Pattern, a playful accent that adds charm, fun, and personality to everyday décor
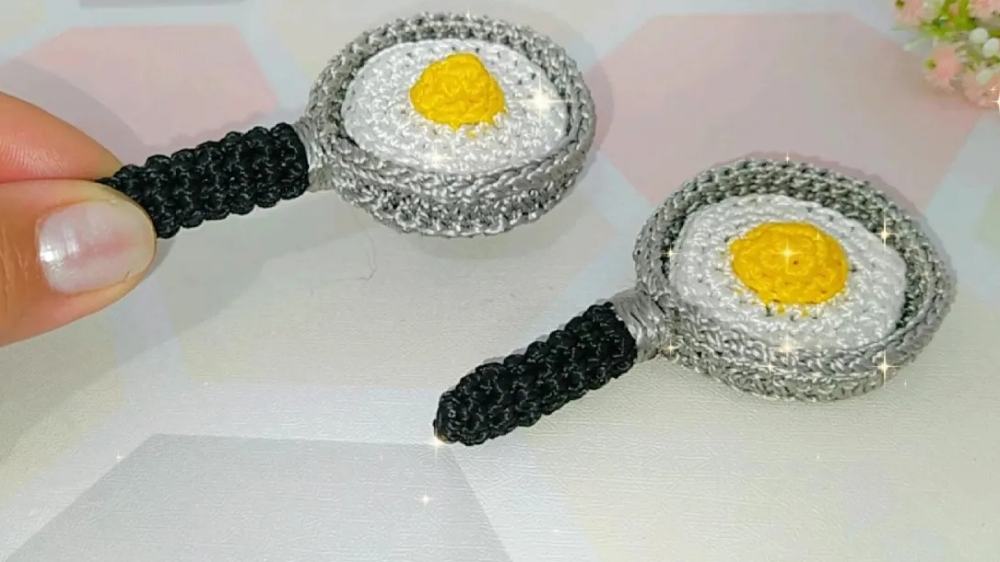
In the heart of a bustling kitchen, where the aroma of sizzling ingredients fills the air, a charming crochet fry pan adds a whimsical touch to the culinary ambiance. Its realistic appearance, with a textured surface and a sturdy handle, makes it a delightful decorative piece or a fun accessory for themed displays. This crochet fry pan is not just a visual delight; it can also serve as a playful keychain, a quirky pin, or a unique gift for kitchen lovers and crochet enthusiasts alike.
Cute Crochet Frying Pan Pattern for Home Style

The pattern’s straightforward steps make it approachable for all skill levels, allowing even beginners to produce an impressive miniature replica. The detailed instructions guide you from the initial circular base through shaping the sides, adding surface texture, and securely attaching the handle. The final product stands out with its realistic details, such as the slightly raised edge and textured surface, which give it a lifelike touch.
Its vibrant finish and detailed craftsmanship make it an attractive addition to any collection of handmade items or kitchen-themed decor. Whether displayed on a shelf or used as a cute accessory, this crochet fry pan offers a charming combination of functionality and artistry. Overall, this pattern provides a rewarding experience that results in a delightful piece, celebrating the beauty of simple stitches transformed into an engaging, realistic accessory that brightens any space with its playful charm.
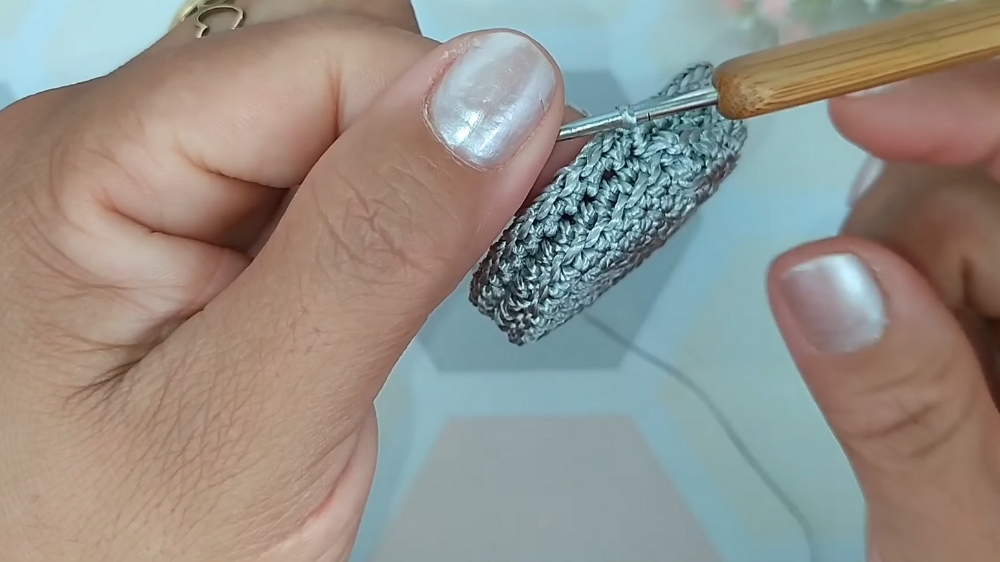
The pattern begins with forming the pan’s base by working in circular rounds, ensuring the bottom is flat and stable. As the work progresses, the sides are shaped by gradually increasing stitches around the perimeter, giving the pan its characteristic depth and rounded edges.

The mid-section involves adding a textured surface, which mimics the non-stick coating or pan’s surface, achieved through specific stitch techniques.

The final steps include attaching the handle and adding small details such as a rivet or a slight ridge, enhancing the realistic look. The entire process emphasizes even tension and precise assembly, resulting in a lightweight yet sturdy finished piece that can be used for decoration or as an accessory.
The finished crochet fry pan boasts a convincingly realistic appearance, featuring a textured surface and a comfortably proportioned handle. Moreover, the handle feels both sturdy and lightweight, making it practical to use. In addition to its charming design, its versatile uses range from delightful kitchen decor to playful props that are ideal for themed events or photoshoots. Overall, the thoughtful attention to detail in the design enhances its appeal and functionality.

The handle is crocheted separately with sturdy stitches to replicate the grip of a real frying pan, then securely attached to the body, emphasizing strength and durability.

Materials
- Yarn: Thick silk yarn, Tex 288
- Hook: 1.75 mm crochet hook.
- Stuffing: A small amount of stuffing for the handle.
- For the egg: Yellow and white yarn.
Difficulty Level
The tutor describes the project as "very quick and easy to make," suggesting it is suitable for beginners.
Uses
You can use the finished piece as a refrigerator magnet or as a keychain.
Tutor's Suggestions/Tips
- When making the slip stitch border, do not pull the stitches too tight to prevent the piece from puckering.
- The tutor recommends watching the other videos in the series to complete the set of kitchen utensil magnets.
Step-by-Step Instructions
In This tutorial, Creator demonstrates how to crochet a small frying pan magnet. They describe the project as quick and easy and state that it requires very little material.
Conclusion
In conclusion, the tutorial wraps up by beautifully showcasing the finished frying pan magnet, giving viewers a clear picture of the end result. Furthermore, the instructor expresses hope that viewers enjoyed following along with the tutorial and found it both engaging and inspiring. Finally, the video encourages viewers to try their hand at the project, creating their own unique variations.