
Free Crochet Apple & Pencil Charms for Gifts Keychains
Brighten your day with a whimsical Crochet Apple and Pencil Charm Pattern, perfect for gifts, creative accessories, and teacher appreciation.
In the realm of token-sized crochet treasures, turning a rearview mirror charm into a heartwarming gift can bring simple joy to everyday life. With an adorable apple and pencil motif, this crochet charm becomes the perfect addition for teacher appreciation, creating a heartfelt gesture that combines practicality with creativity. These charms are not just decorative; they celebrate the thoughtfulness of handmade gifts, making them ideal for hanging in your car, adorning purses, or even as a quirky addition to backpacks. What makes the process even sweeter is the quick and beginner-friendly approach to stitching these cute designs.
Cute Free Crochet Apple & Pencil Charm Pattern Teachers Will Love
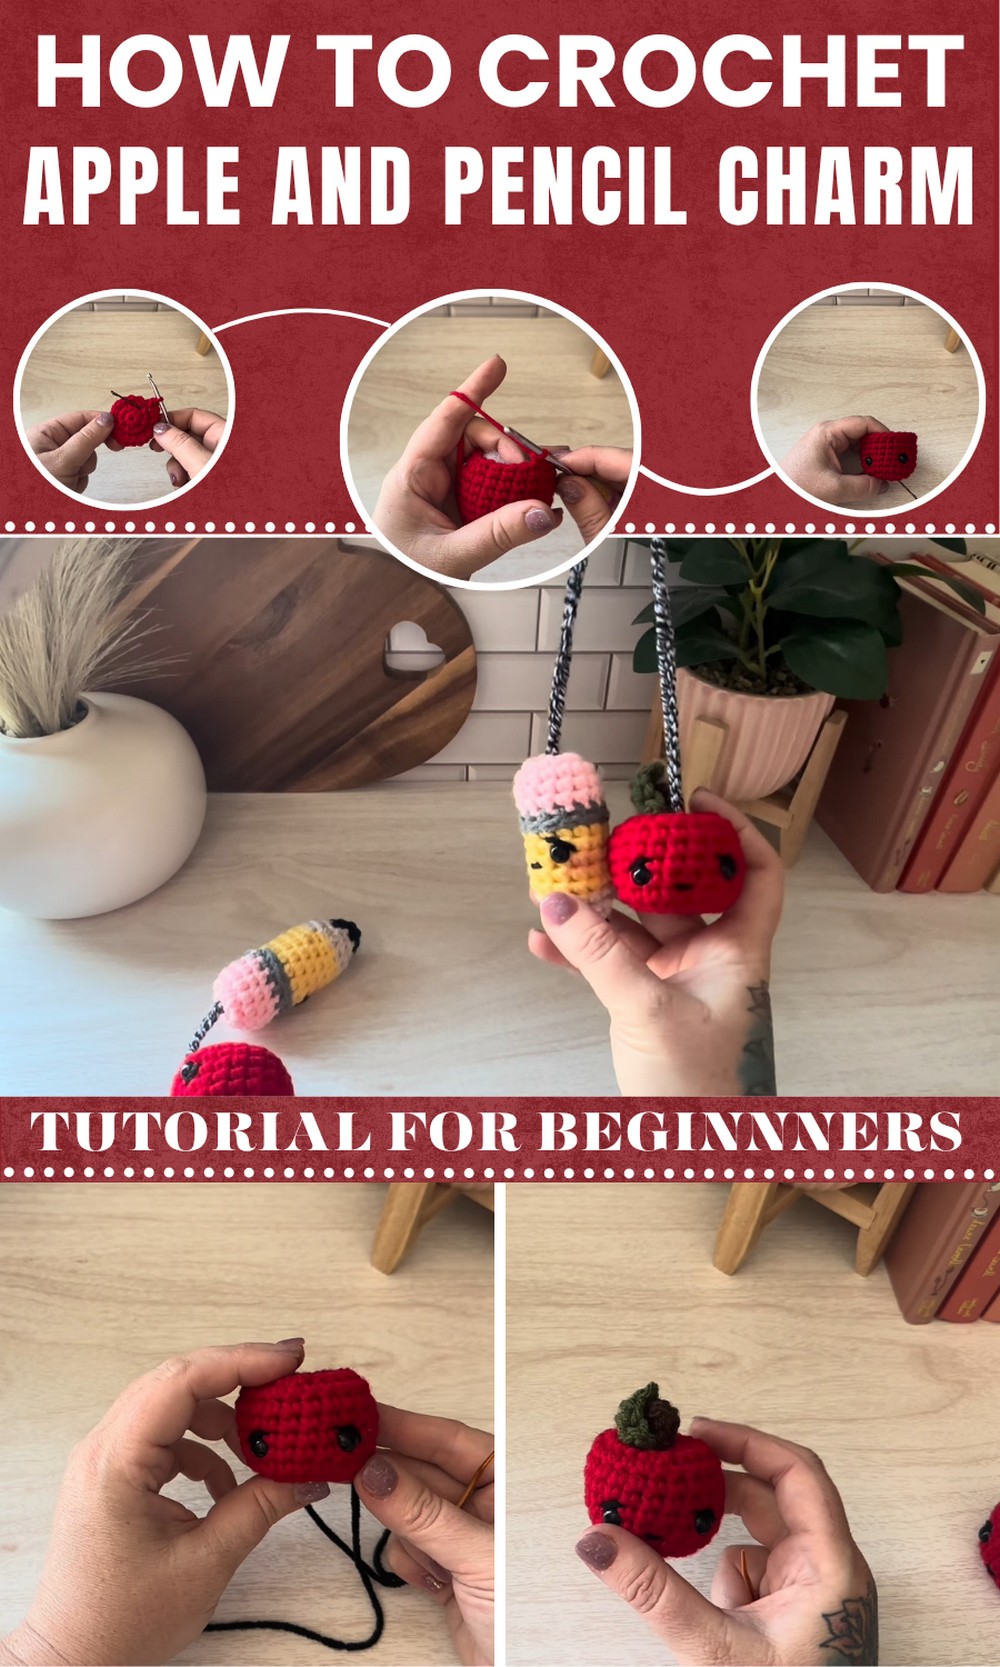
Flexible and portable, this crochet Apple and Pencil Charm is small but brimming with personality. Its uses extend beyond simple charms; it can evoke smiles, spark conversation, or become a token of appreciation for educators. The project is ideal for all skill levels and beginners will appreciate the clear instructions while experienced crocheters will enjoy the quick, gratifying process. Whether as a thoughtful gift or just something to brighten your own day, these handmade charms weave practicality and charm into the everyday.
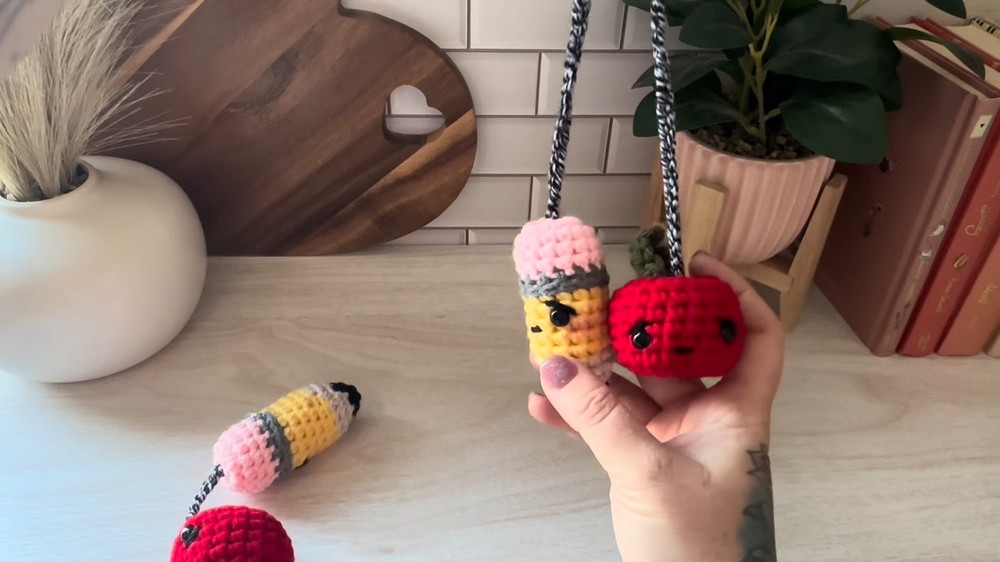
Apple Car Charm Crochet Pattern
Materials
- Yarn:
- Red, Green, Brown (Medium/Worsted Weight #4 acrylic or cotton)
- Black (or scrap for face details)
- “Marbled” or black/white combo yarn for chain (composition notebook effect)
- Hook: 4.0 mm (G-6) crochet hook
- Stuffing: Polyester fiberfill
- Safety Eyes: 2, 9 mm
- Yarn Needle: for sewing and embroidery
- Scissors
- Optional: Hot glue, scissors for weaving/sealing ends
Abbreviations (US Terms)
- ch – chain
- sc – single crochet
- inc – single crochet increase (2 sc into same st)
- dec – single crochet decrease (here: invisible dec, using front loops only)
- sl st – slip stitch
- hdc – half double crochet
- dc – double crochet
- st(s) – stitch(es)
- FO – fasten off
Special Notes
- Apple is worked amigurumi-style in a spiral (do not join; use a stitch marker).
- Safety eyes are added after round 9.
- Facial embroidery is optional for extra cuteness.
- Both stem and leaf are made separately and sewn/glued to the top.
Pattern
Apple Body
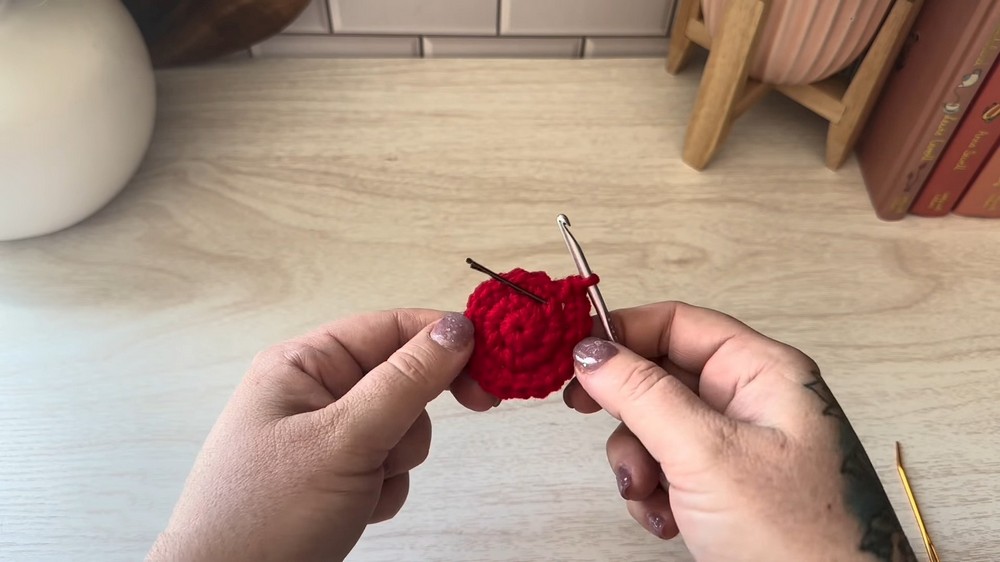
- With red yarn and 4 mm hook: Make a magic ring.
- Round 1: Work 7 sc in magic ring. (7 sts)
- Round 2: Inc in each st around (2 sc in each st). (14 sts)
- Round 3: (Sc in next st, inc in next st), repeat around. (21 sts)
- Rounds 4–9: Sc in each st around. (21 sts each round)
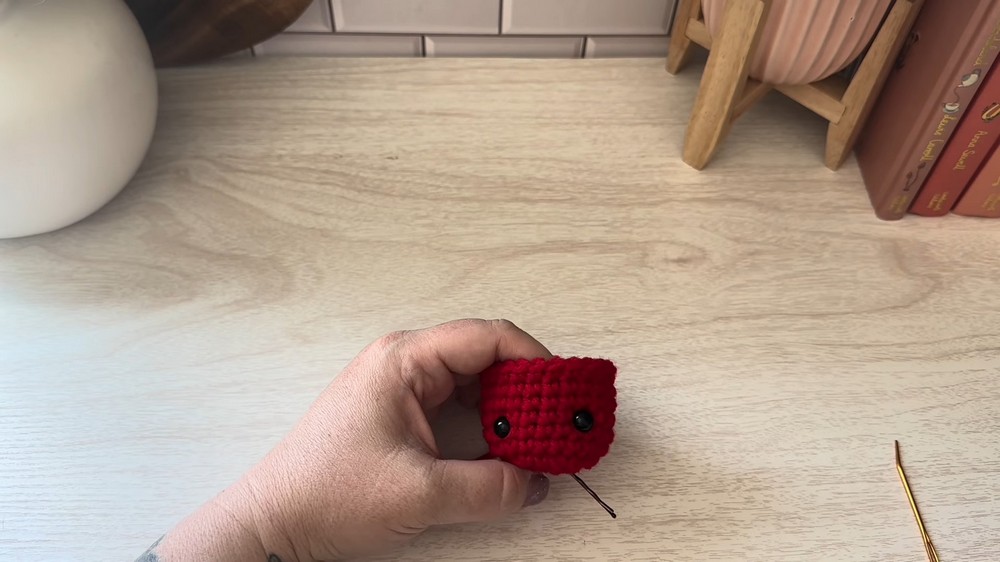
- At the end of round 9, place safety eyes between rounds 5 and 6, spaced 4 stitches apart. Attach backing.
- Round 10: (Sc in next 4 sts, dec next 2 sts together [use front loop only for invisible dec]) repeat twice, sc in last 3 sts. (18 sts)
- That is: (4 sc, 1 dec) three times, then 3 sc.
- Stuff lightly with fiberfill. Do not overstuff.
- Round 11: (Dec in next 2 sts) around using front loop only invisible dec. (9 sts)
- FO, leaving a 12-inch tail.
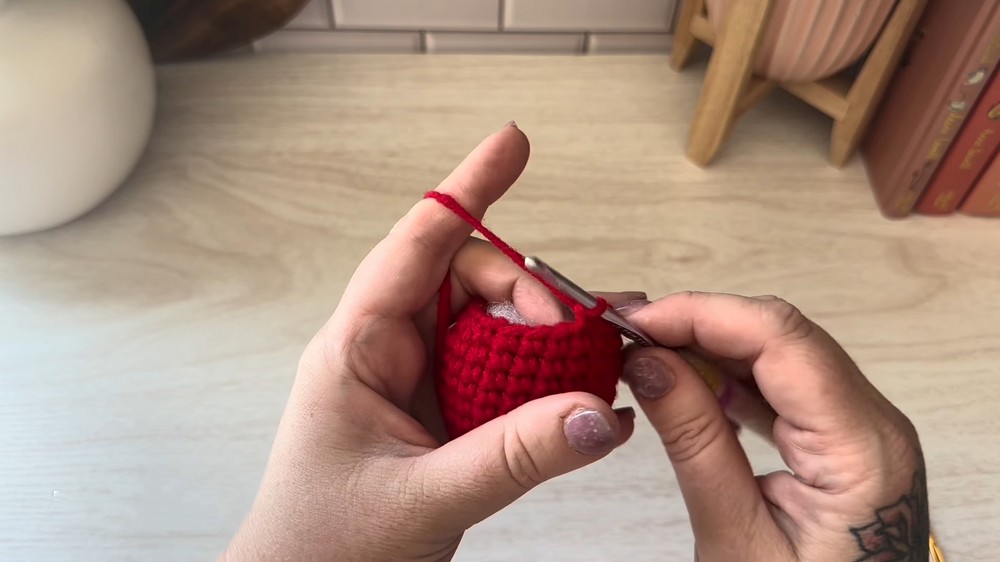
Closing and Shaping Apple
- Thread the long tail onto a yarn needle.
- Weave tail in front loop ONLY around the open edge (as for a decrease).
- Pull tightly to close.
- To make the top and bottom indentations:
- Insert the needle through the top center to the bottom center, pull tight to indent, then bring back up through the apple.
- Pull gently; repeat 2–3 times to create a defined apple shape.
- Weave in end.
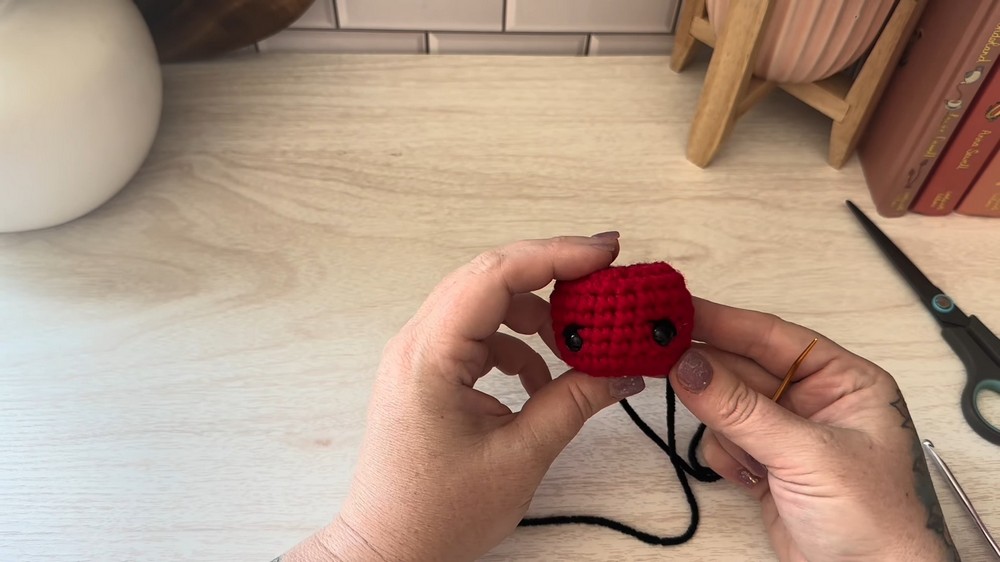
Face Embroidery (Optional)
- With black yarn/scrap: Stitch small "eyebrow" lines above safety eyes by bringing yarn up one corner of eye, up/over and down to the other corner.
- For mouth:
- Stitch a small smile centered below the eyes, one round down.
- Weave in ends.
Stem
- With brown yarn and 4 mm hook:
- Ch 8.
- Starting in 2nd ch from hook, sc in each ch to end. (7 sts)
- FO, leave long tail for sewing.
- Optional: Fold stem in half and wrap base with tail yarn to secure and add dimension.
Leaf
- With green yarn and 4 mm hook:
- Ch 5.
- Sl st in 2nd ch from hook,
- Sc in next ch,
- Hdc in next ch,
- Dc in last ch,
- Ch 2. Sl st in last ch again. FO, leave long tail for sewing or glue.
Assembly
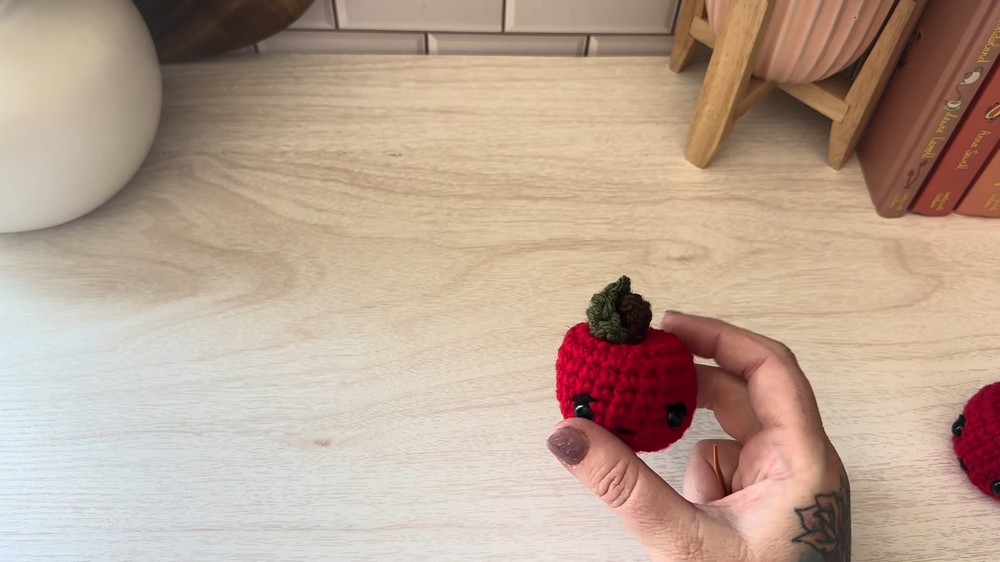
- Attach Stem: Fold stem, sew or glue base to top center of apple, secure well.
- Attach Leaf: Curve leaf as desired and sew near stem at top. Weave in all ends (or glue base and snip extra tails as the video suggests).
- Optionally: If using as a toy (not charm), reinforce sewing for durability.
Chain/Charm Hanger
- With marbled (black/white) yarn, ch 65.
- FO, leave long tails on both ends.
- Attach one end securely (by sewing multiple times through chain and body) to the top of the apple (at stem).
- Use the other end to attach/suspend another item (such as the pencil charm) as described, or simply knot to make a hanging loop.
- Weave/seal ends.
Conclusion
This project yields an adorable, sturdy, and customizable apple charm ideal for a car rearview mirror, backpack, or as a teacher appreciation gift. You can combine it with themed charms (like a pencil) on the same chain.
Pattern Corrections
- Stuffing: Do not overstuff, or the shape may become too round instead of apple-like.
- Invisible Decrease: Always use the front loops for a neater finish.
- Eye Sizing: Adjust safety eye size for different apple sizes.
Tips
- For a “composition notebook” look, use a marled black & white yarn for the chain.
- Embroider face before attaching stem/leaf for easier maneuvering.
- For extra durability (especially if gifting), sew rather than glue wherever possible.
- Try variations: Add blush with pink thread, make green or yellow apples, or use a carabiner clip for easy hanging.