
Quick Free Pikachu Keychain Crochet Pattern for Beginners

The pattern is simple and easy to follow, making it great for beginners or anyone who likes to crochet. The design captures Pikachu’s look perfectly, with just enough detail to make it special but still quick to make.
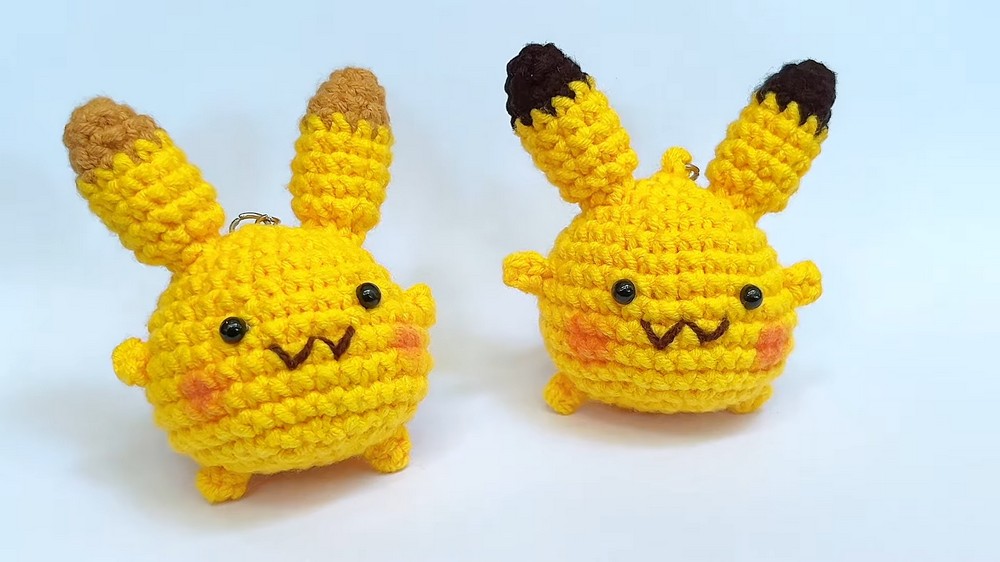
Making this handmade Pikachu keychain is a wonderful way to share happiness with friends and family, especially if they love Pokémon too. It’s a small, thoughtful gift that can brighten someone’s day.
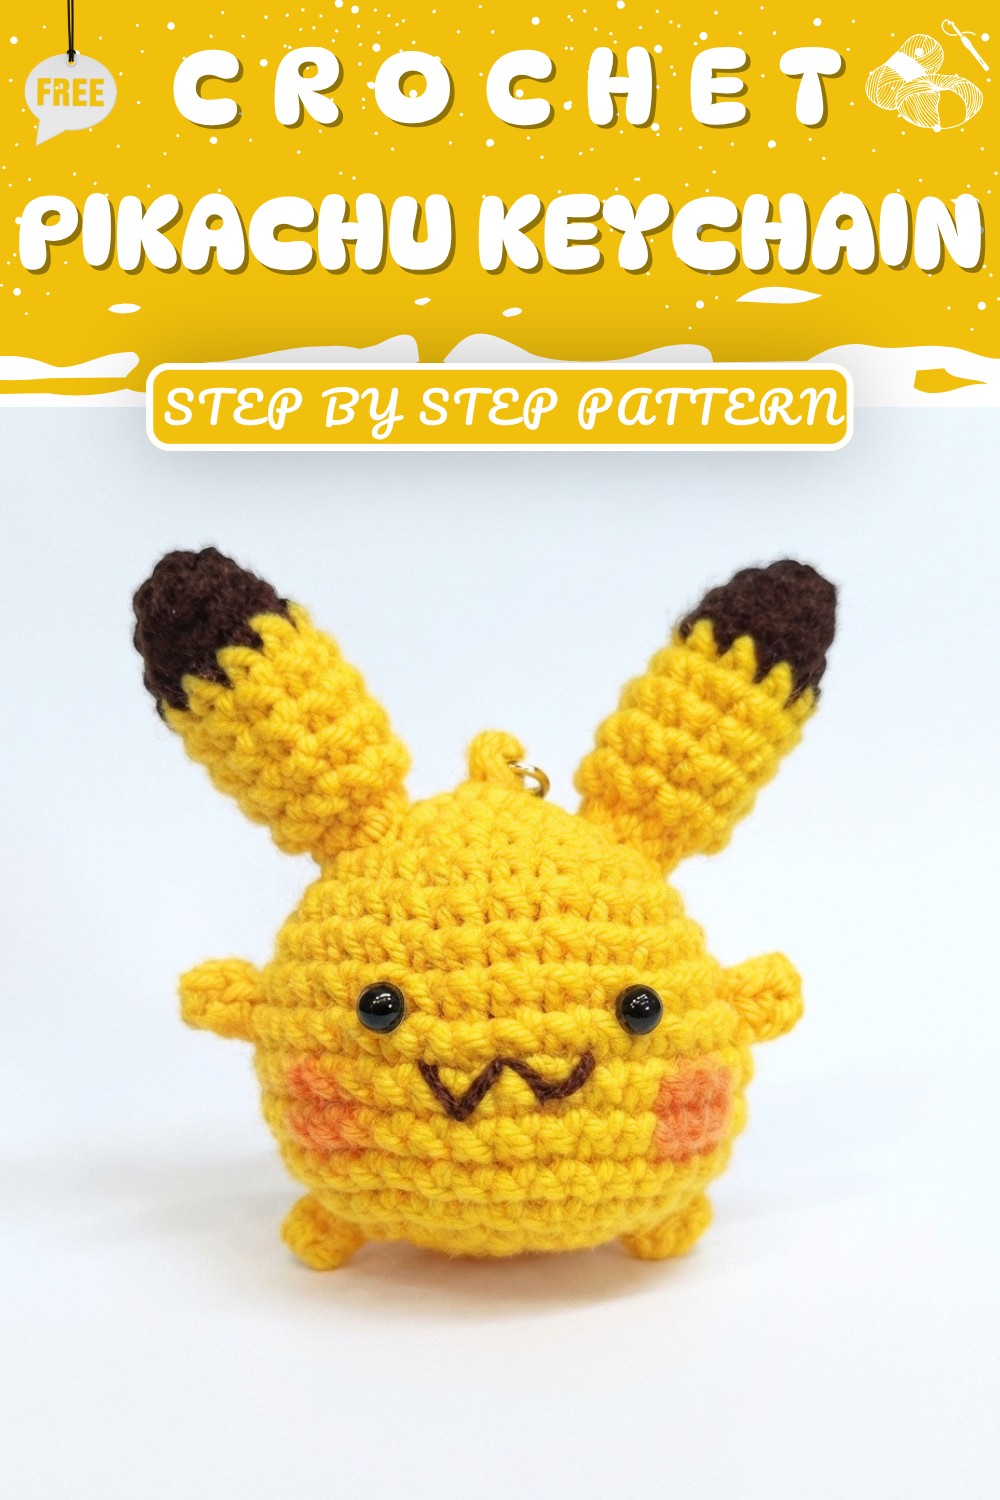
If you enjoy crocheting, you will love this fun and quick project. The free crochet Pikachu keychain pattern is a great choice to make a cheerful, little Pikachu that you can carry anywhere. It’s simple, joyful, and ready to bring a smile to your face!
Crochet Pattern: Pikachu Amigurumi
This detailed crochet pattern instructs you on creating an adorable Pikachu amigurumi using a 2.5 mm crochet hook and milk cotton yarn. The pattern guides you step-by-step through the process—from crafting the body, legs, and ears to final assembly and detailing—to capture Pikachu’s charming likeness with precision and care. Follow each round carefully to achieve the best results.
Quick Overview of Pattern
- Body: Worked in rounds, gradually increasing and then decreasing stitches to shape the torso.
- Legs (Make 4): Small rounds worked separately and attached.
- Ears (Make 2): Worked in two colors with increases to shape, sewn onto the body.
- Assembly: Attaching legs and ears; embroidering mouth; gluing on eyes.
Notes
- The body uses continuous rounds of single crochet with increases and decreases.
- The pattern involves color changes, notably for ears.
- Legs and ears are crocheted separately then sewn or glued onto the body.
- Emphasis on neat finish with secure attachment and embroidery.
- Use a stitch marker if desired to keep track of round beginnings.
- Stuff firmly but lightly for shape retention.
Skill Level
- Intermediate: Requires knowledge of amigurumi basics, increases, decreases, color changes, and sewing parts.
Materials
- Milk cotton yarn in yellow, black/brown for ears
- 2.5 mm crochet hook
- Fiberfill stuffing
- Yarn needle for sewing and weaving ends
- 4 mm safety eyes or glue-on eyes
- Embroidery thread for mouth
- Scissors
- Fabric glue (optional for attaching eyes and legs)
Measurements / Sizing
- Finished Pikachu approximately 8-10 cm tall, depending on yarn tension.
- Proportions based on the original character, small enough to be a cute collectible.
Gauge
- Gauge not critical but uniform tension ensures neat shaping.
- Approximately 30 sc rounds for the body’s widest part.
Stitch Abbreviations
| Abbreviation | Stitch Name |
|---|---|
| ch | Chain |
| sc | Single Crochet |
| inc | Increase (2 sc in the same stitch) |
| dec | Decrease (single crochet two stitches together) |
| sl st | Slip Stitch |
| MR | Magic Ring |
Special Stitches
- Increase (inc): 2 sc in one stitch.
- Decrease (dec): sc two stitches together to reduce stitch count.
- Color changes for ears require switching yarn at round ends.
- Embroidery for mouth done with simple thread stitching.
Pattern Details
1. Body
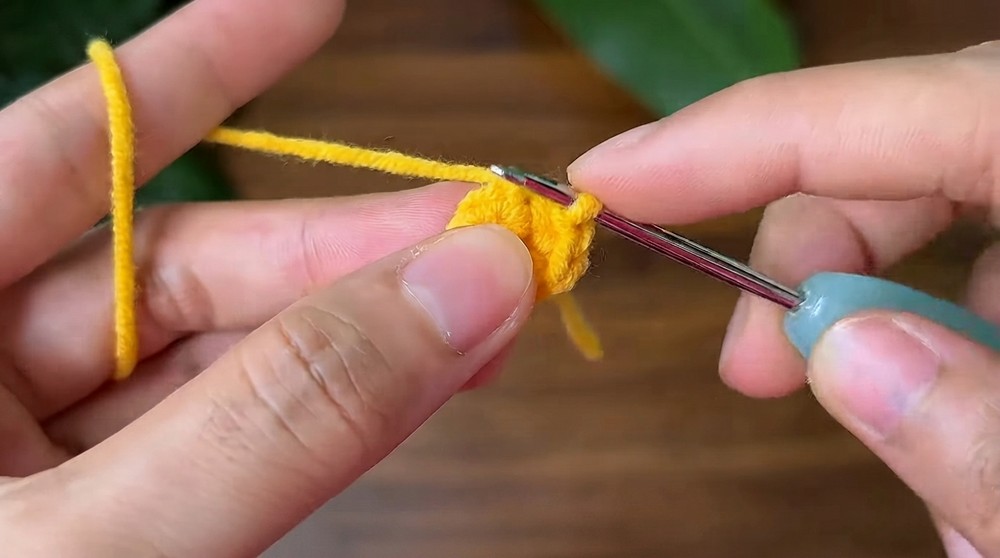
- Row 1: Create a magic ring (MR) and work 6 single crochets (sc) into the ring. (6 stitches)
- Row 2: Work inc in every stitch (2 sc in each stitch) to double to 12 stitches. (12)
- Row 3: 1 sc, 1 inc — repeat 6 times. (18)
- Row 4: 2 sc, 1 inc — repeat 6 times. (24)
- Row 5: Work 24 sc evenly around. (24)
- Row 6: 3 sc, 1 inc — repeat 6 times. (30)
- Row 7: Work 30 sc evenly around. (30)
- Row 8: 4 sc, 1 inc — repeat 6 times. (36)
- Row 9: Work 36 sc each round evenly. (36 each)
- Row 10: Work 36 sc each round evenly. (36 each)
- Row 11: Work 36 sc each round evenly. (36 each)
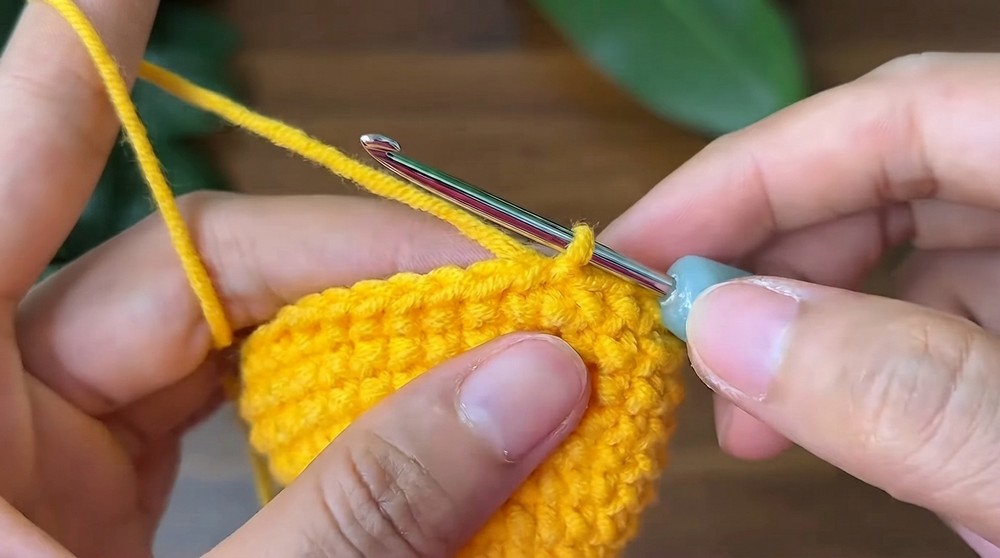
- Row 12: 2 sc, 1 dec, 3 sc, 1 dec — repeat 4 times. (28)
- Row 13: 1 sc, 1 dec, 2 sc, 1 dec — repeat 4 times. (20)
- Row 14: 1 sc, 2 dec — repeat 4 times. (12)
- Closing: Fasten off leaving a long tail. Weave the yarn through the front loops and pull tight to close the opening neatly.
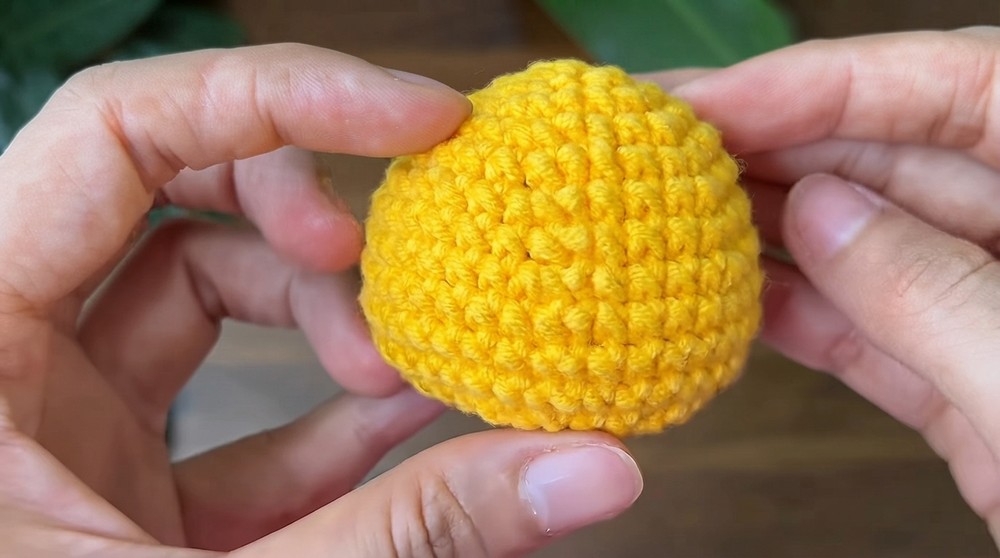
2. Legs (Make 4)
- Create a magic ring.
- Work 5 sc into the magic ring.
- Join with a slip stitch (sl st) to close the round.
- Fasten off leaving a tail for sewing.
3. Ears (Make 2)
- Row 1: Using black or brown yarn, create a magic ring. Work 6 sc into the ring. (6)
- Row 2: Work 6 sc evenly. (6)
- Row 3: 1 sc, 1 inc — repeat 3 times. (9)
- Change to yellow yarn.
- Row 4: Work 9 sc evenly in each row for 5 rows to build height and shape.
- Row 5: Work 9 sc evenly in each row for 5 rows to build height and shape.
- Row 6: Work 9 sc evenly in each row for 5 rows to build height and shape.
- Row 7: Work 9 sc evenly in each row for 5 rows to build height and shape.
- Row 8: Work 9 sc evenly in each row for 5 rows to build height and shape.
- Fasten off leaving a tail for sewing.

4. Assembly
- Sew ears: Flatten each ear and sew onto the body between Rows 3 and 4 to position correctly.
- Mouth: Embroider mouth carefully onto Row 9 with black embroidery thread or yarn.
- Attach eyes: Glue or securely sew 4 mm safety eyes onto the face, positioned symmetrically on Row 7 or 8.
- Attach legs: Sew or glue the four legs symmetrically around the lower body for a balanced look.
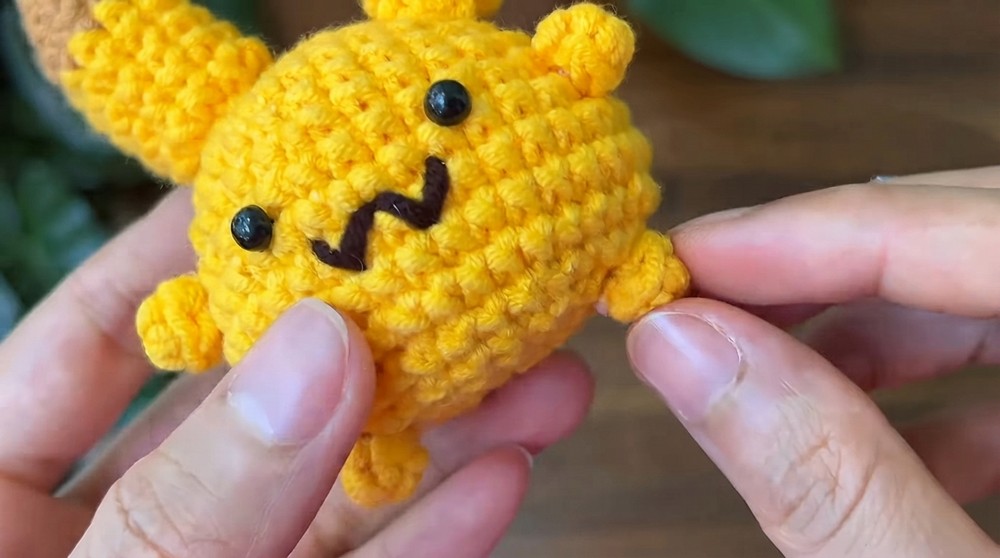
Assembly & Finished Size
- After sewing all parts securely, hide yarn ends inside the amigurumi.
- Check that all parts are firmly attached for durability.
- The final amigurumi stands approximately 8-10 cm tall and is compact and cuddly.
Conclusion
You have now completed your own delightful Pikachu amigurumi! This project combines classic amigurumi construction with special detailing to capture Pikachu’s iconic appearance. Through careful shaping, colorwork, and finishing touches, your miniature Pikachu can become a treasured handmade companion or gift. Explore variations with yarn colors and sizes to personalize your creation further.