
Crochet Onigiri Rice Ball Amigurumi Free Pattern Is a Japanese Food
Stitch an adorable onigiri rice ball amigurumi using this free crochet pattern, offering a fun and engaging way to personalize your decor or handmade gifts.
Making a tiny, tasty rice ball with yarn is a joy that brightened my day. The Free Crochet Onigiri Rice Ball Amigurumi Pattern helps you create a soft toy inspired by a classic Japanese snack. It’s a wonderful project for anyone who enjoys cute handmade toys and wants a simple, fun project to work on.
Free Crochet Onigiri Rice Ball Toy – Step by Step Amigurumi Guide
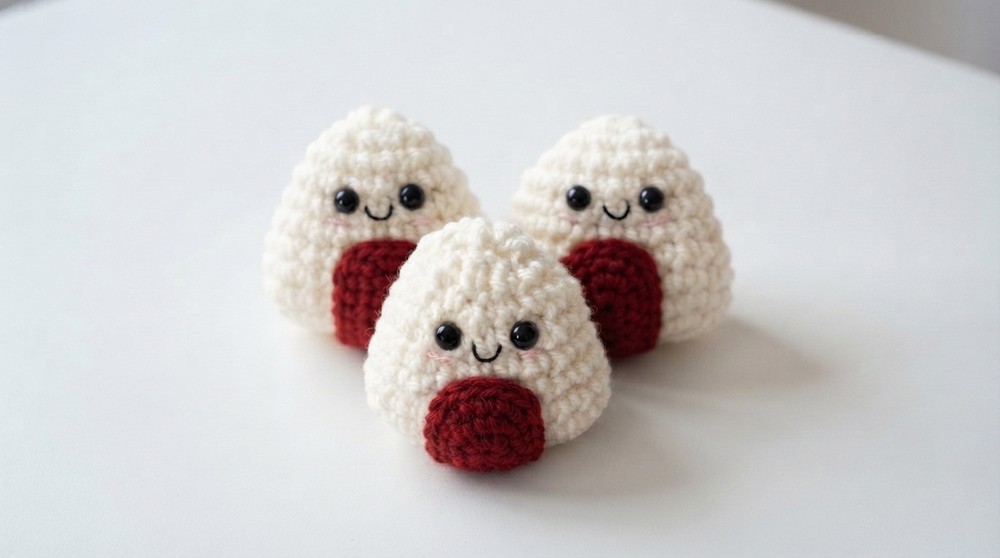
This crochet onigiri has a smooth, round shape that feels soft and gentle in your hands. A black band wraps around the bottom, just like seaweed on a real rice ball, adding a playful contrast. Its clean and simple look makes it perfect as a small decoration, a keychain, or a sweet gift. The texture is cozy and pleasing, making this little piece a charming addition to any space.
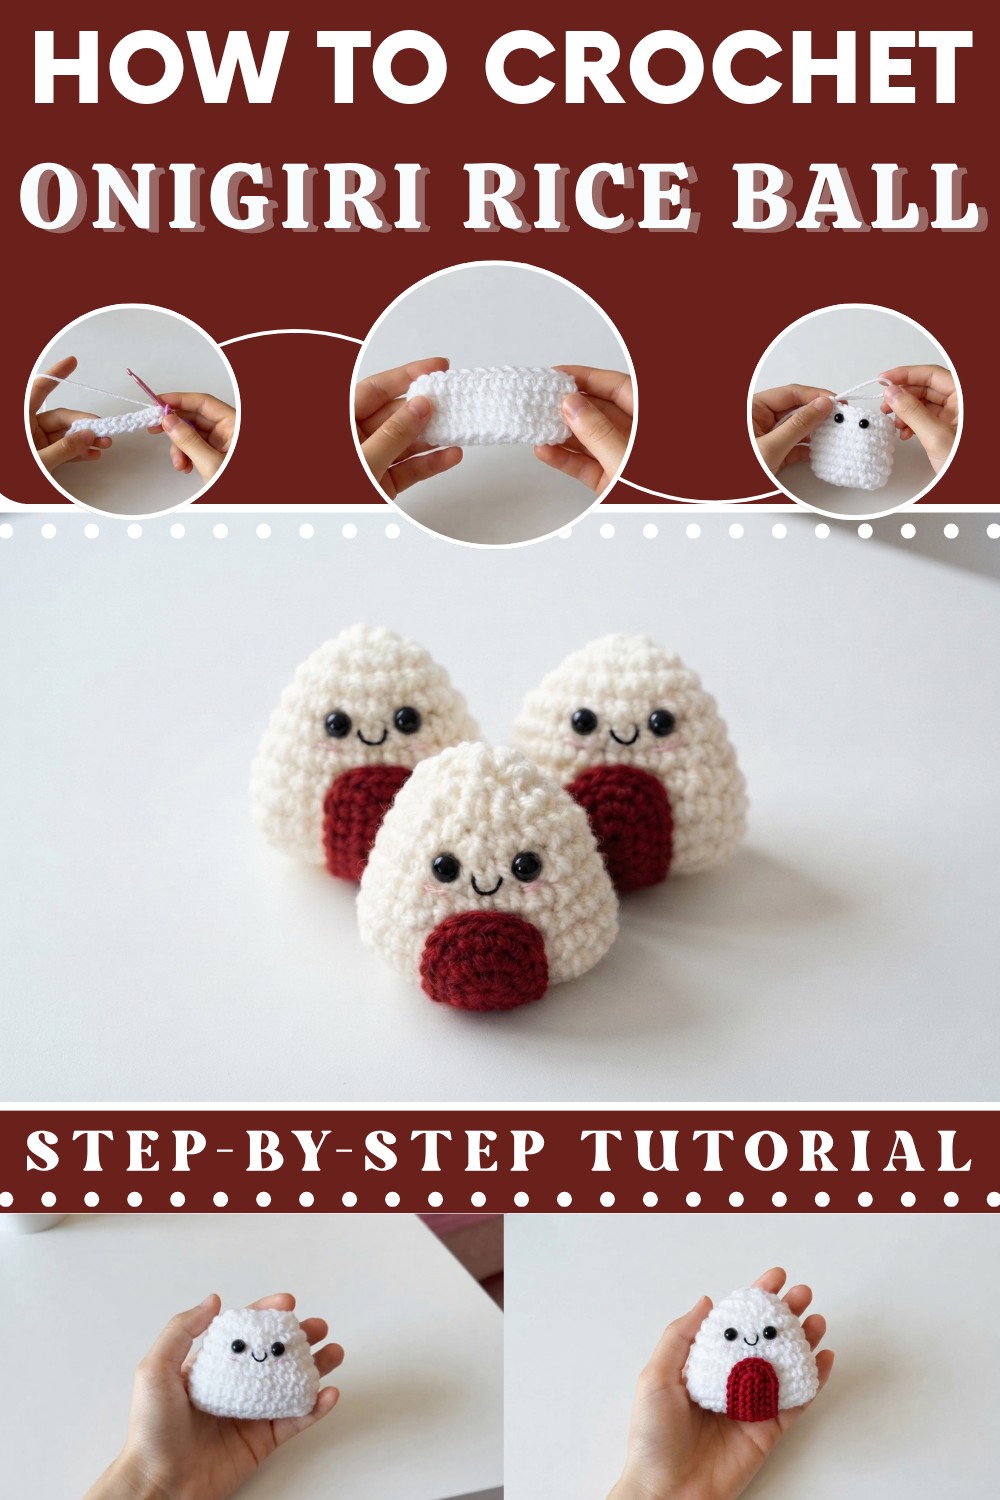
This project is easy enough for beginners, using mainly single crochet stitches that are simple to learn and quick to work through. The instructions explain each step clearly to help you shape the round onigiri with no trouble. Whether you are new to crochet or want a quick, enjoyable project, this fits the bill nicely.
The Free Crochet Onigiri Rice Ball Amigurumi makes a thoughtful gift, a fun collectible, or a cheerful decoration. If you like creating cute and simple handmade items, this project invites you to enjoy every stitch with ease and satisfaction. Give it a try and see how fun making little yarn rice balls can be!
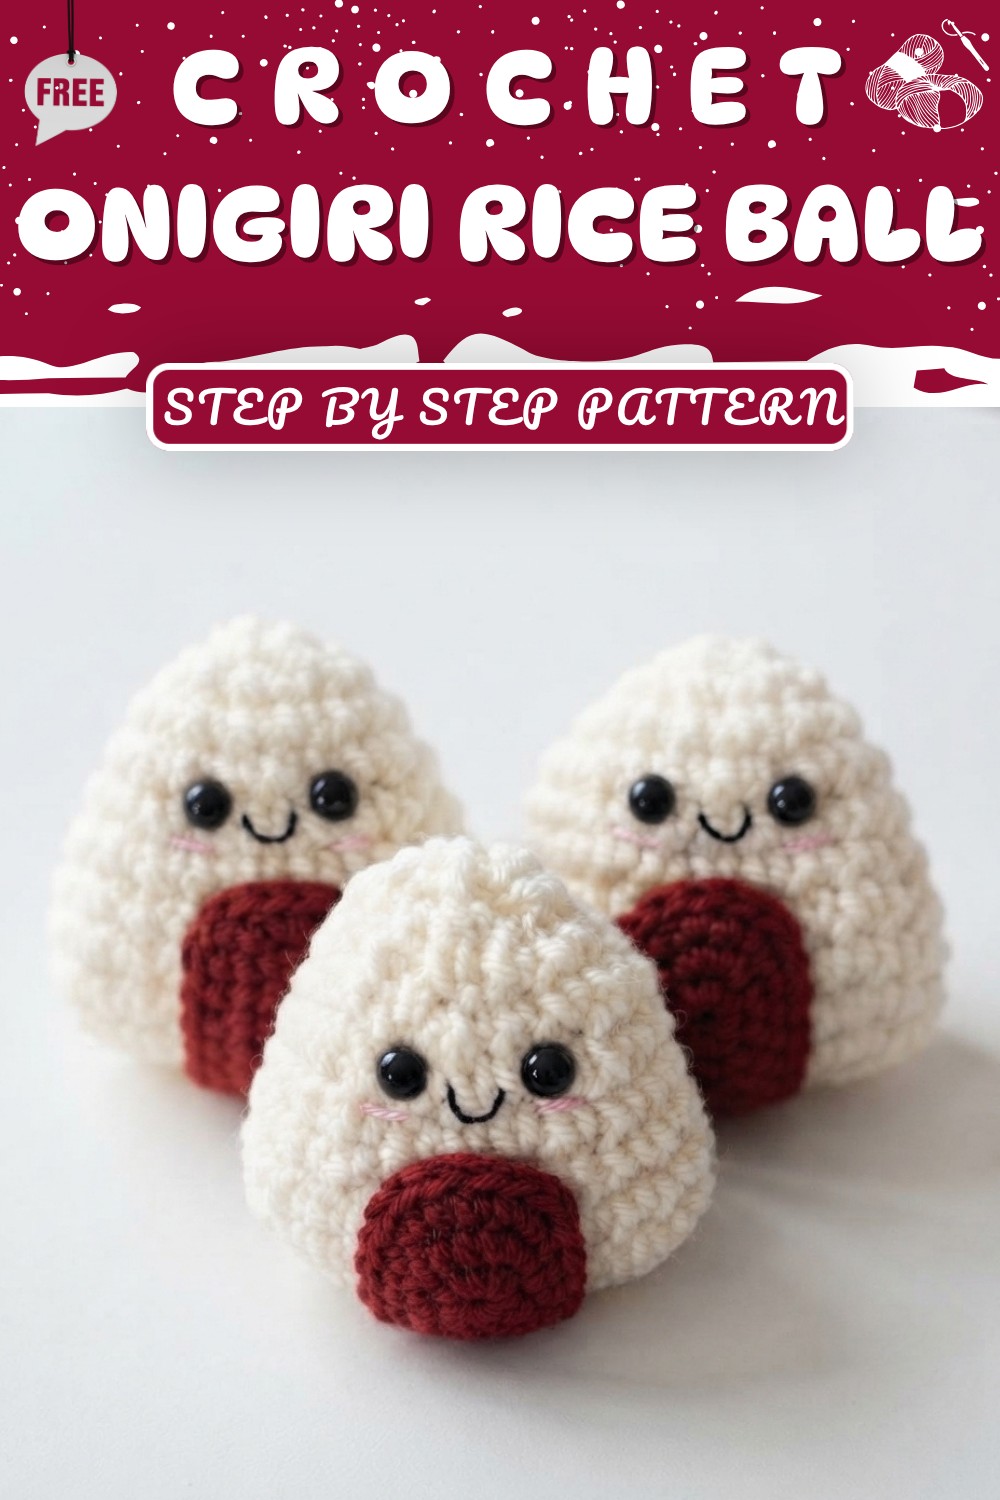
Onigiri (Rice Ball) Amigurumi Crochet Pattern
In this pattern, I’ll guide you through creating a cute onigiri (rice ball) amigurumi—one of the smallest and quickest projects I’ve made using my own pattern. You’ll be able to finish this project in no time, add eyes, blush, and a simple seaweed strap for the most adorable results. If you prefer written patterns, you’ll find the link in my video description, but you can also follow along here step-by-step.
Quick Overview Of Pattern
- Worked in continuous rounds (do not join rounds).
- Main body is formed in white, with shaping increases and decreases.
- Safety eyes are added before closing the piece.
- Embroidered face and optional blush give extra cuteness.
- A double crochet strip in black serves as the seaweed “strap.”
- Very little sewing—most details are glued or stitched directly onto the body.
- Perfect project for leftover yarn scraps and quick gifts.
Notes
- All instructions use US terminology.
- Work the first row in the back loop of the starting chain for a neat bottom edge.
- Don’t forget to use a stitch marker to keep track of rounds.
- Invisible decrease is recommended for shaping.
- Embellishments (eyes, mouth, blush) and the seaweed are customizable.
- For the best finish, sew or glue on the seaweed piece and embroidered face before closing up the bottom.
- This pattern is ideal for beginners and great for using up your yarn scraps.
Skill Level
Beginner
If you know how to single crochet, make chains, color changes, increase, decrease, and work in the round, you can make this amigurumi.
Materials
- Yarn:
- White (main body, worsted weight)
- Black (seaweed, mouth, worsted or lace as noted)
- Hook: Size appropriate for your yarn (e.g., 3.5 mm or 4 mm)
- Safety eyes: 7.5 mm size
- Yarn Needle: For sewing and finishing
- Stitch marker: Essential for marking rounds
- Fabric glue: For attaching mouth and seaweed (optional—can sew instead)
- Scissors
- Small amount of stuffing (polyfill)
- Optional: Blush (fabric paint, powder, or embroidery floss)
Measurements / Sizing
- Finished Size:
- The finished onigiri stands about 2–2.5 inches tall, fitting nicely in the palm of your hand.
- The seaweed strap is sized to fit two rows under the eyes.
Gauge
- Gauge not critical for this small project.
- Ensure your stitches are tight enough so stuffing does not show through.
Stitch Abbreviations
- ch: chain
- sc: single crochet
- dc: double crochet
- sl st: slip stitch
- inc: increase (2 sc in same stitch)
- inv dec: invisible decrease (see Special Stitches)
- st: stitch
- BL: back loop
Special Stitches
- Invisible Decrease (inv dec):
Insert hook into the front loop of the next two stitches, yarn over, pull through both front loops, yarn over and pull through remaining loops on hook. - Back Loop Only (BL):
For designated rounds, insert your hook into the back loop only for a defined line or neat finish.
The Crochet Pattern
Main Onigiri Body
Foundation
- With white yarn, ch 11.
- Turn the chain over and working in back loops only, sc in each of next 10 ch. (10 sc)
- Add a stitch marker to the last stitch for tracking rounds.

Round 2
- For the second round:
Sc in next 3 stitches, inc in next st (3 sc, inc), repeat this sequence around.
Note: Skip turning chain at the end, then continue. - At the end of this round, you will have a slightly curved piece.
Rounds 3–5
- Sc in each st around without increasing or decreasing.
(Continue for a total of 3 rounds.)

Round 6
- Place the stitch marker at the start of the round.
- Sc 3, inv dec—repeat sequence around the round.
(3 sc, invisible decrease)
Finish the round with 20 stitches.
Rounds 7–8
- Sc in each st around (no increases or decreases).
- At the end of round 8, begin facial details before closing up.
Facial Features
Eyes
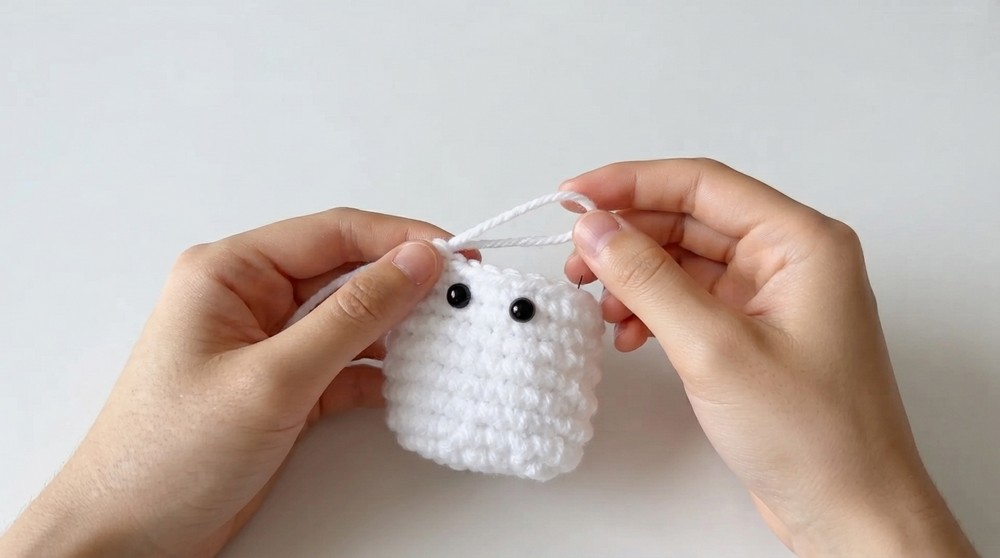
- Use 7.5 mm safety eyes.
- Position eyes on the body, spacing them three stitches apart and placing them between rounds 7 and 8.
Mouth
- Embroider a small mouth using black lace yarn or thread.
- Use fabric glue to secure the mouth in place, or carefully stitch it.
- Optional: Add blush using pink embroidery floss, chalk, or fabric paint on each side of the eyes for an extra cute touch.
Shaping the Top (Creating the Pointed Edge)
Round 9
- (Sc 2, inv dec)—repeat around.
- Begin stuffing the body with polyfill at this stage.
Round 10
- (Sc 1, inv dec)—repeat around.
- There should be 10 stitches remaining.
Round 11 (Closing)
- Inv dec all the way around.
- Finish off, leaving a long tail.
- Use your yarn needle to close the hole:
- Weave through front loops only of the last 5 stitches, draw closed, and secure with a few extra stitches.
- Pull the tail through to a random stitch, trim, and tuck inside.

Seaweed Strap (Bottom Detail)
Seaweed Piece
- With black yarn, make a slip knot.
- Ch 16.
- Yarn over, skip the first 2 ch, and in the 3rd ch from hook, dc in each ch across (14 dc).
- Finish off leaving a tail.
- Optional: For a wider band, add more rows.
Attaching the Seaweed
- Place the finished strap two rows beneath the eyes, wrapping around the bottom of the onigiri.
- Use fabric glue or carefully sew the seaweed piece in place, pinning as needed for accuracy.
- Hold in place for a minute for glue to set (if gluing).
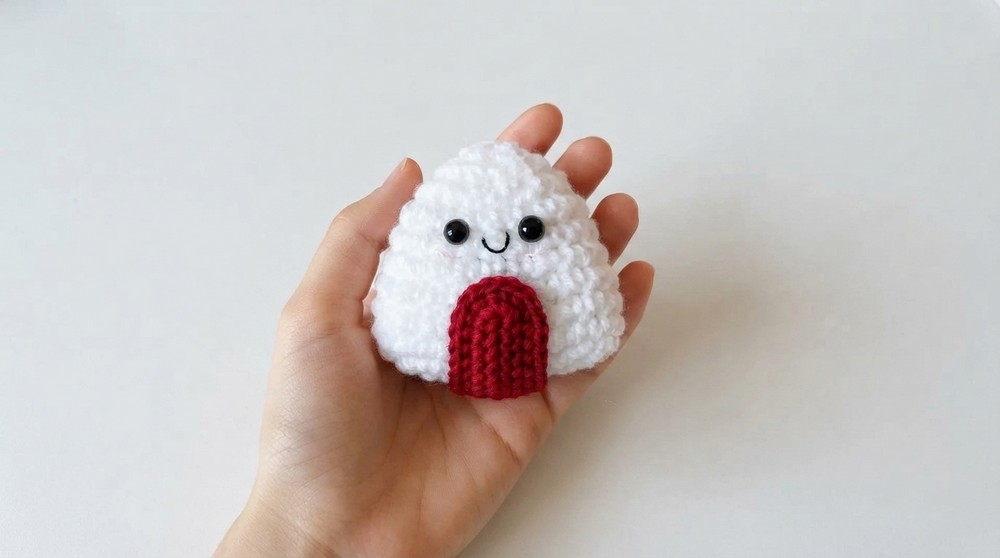
Assembly & Finished Size
- The completed onigiri should be seamless, with a cute face and perfectly placed seaweed.
- Finished size: About 2–2.5 inches tall and wide.
- This makes a wonderful gift, desk buddy, or keychain!
Conclusion and Ending Words
That’s it—your cute onigiri amigurumi is all done! This is such a quick and easy project, made with just a little yarn, minimal sewing, and lots of personality. Don’t forget to tag me on Instagram if you try this pattern; I love seeing your adorable results! Thank you for all your support on Ko-fi and on my channel—it helps bring more fun and creative patterns like this to life.