
Quick Crochet Quail Egg Holder Pattern That’s Easy & Fun
Show off your kitchen charm with this Free Crochet Quail Egg Holder Pattern, a delightful accent that keeps eggs neat while adding warmth and style
In the realm of kitchen accessories, a tiny crochet quail egg holder stands out as a charming blend of functionality and elegance. This miniature holder not only keeps quail eggs safe but also adds a rustic charm to breakfast tables or kitchen shelves. Its delicate appearance showcases the artistry involved in crochet work, turning a simple egg storage into a decorative statement. The holder's compact size makes it perfect for serving individual eggs with a touch of sophistication, while its durable construction ensures long-lasting use. Beyond its visual appeal, this crochet piece offers practical benefits, organizing eggs neatly and preventing breakage, all while serving as a conversation starter. Its versatility extends to use as a small gift or a unique addition to a kitchen display, making everyday routines feel a bit more special.
Free Crochet Quail Egg Holder Pattern for Neat Kitchen Décor

With a combination of neat stitches, textured details, and thoughtful finishing, this miniature holder captures a sense of handcrafted beauty that complements both traditional and modern interiors. The holder’s small size makes it easy to incorporate into daily routines, whether on breakfast trays or as part of a decorative table setting. The pattern’s step-by-step instructions guide enthusiasts through each phase, from forming the base, shaping the cavity, adding textural details, to finishing the rim and optional embellishments.
The result is a piece that not only protects delicate eggs but also adds a touch of handcrafted elegance to any kitchen. Its versatility ensures it can be used for more than just eggs, serving as a tiny container for jewelry or other small treasures. Ultimately, this crochet quail egg holder celebrates the beauty of miniature crochet work, offering an elegant solution that combines practicality and artistry in a uniquely charming way.

The pattern begins with forming a sturdy base, which provides stability and shape for the holder. Starting with a magic ring or chain loop, the initial rounds involve working in single or double crochet stitches to build the foundation.

As the work progresses, the mid-section incorporates increases to widen the holder, creating a snug but accessible cavity for the egg. The pattern includes a gradual tapering toward the top, achieved through strategically placed decreases that shape the opening without compromising strength.
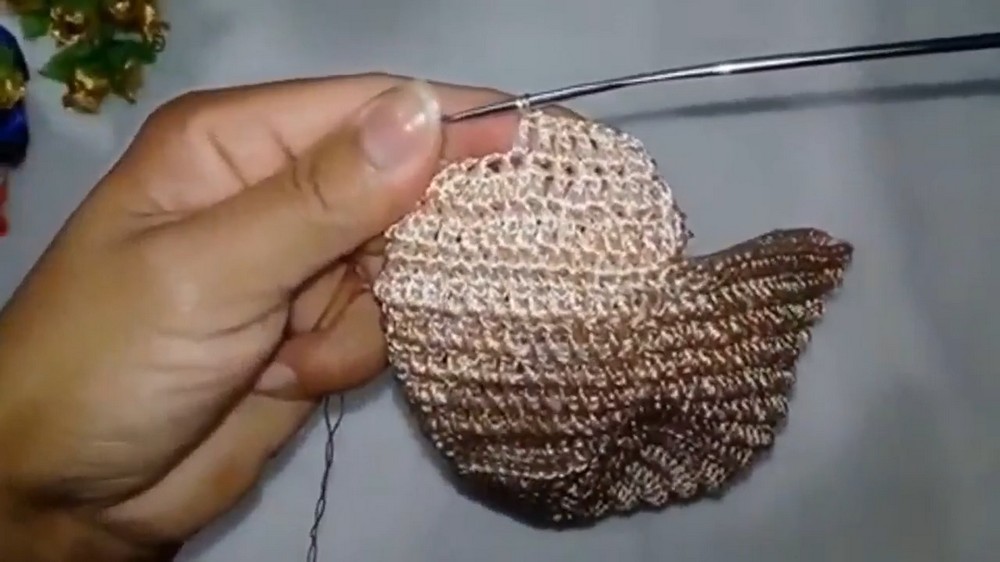
The middle stages see the addition of textured rows that simulate the natural surface of a quail egg, adding a tactile dimension to the piece. For the upper portion, the pattern features a neat finishing edge with slip stitches or a row of single crochets, ensuring a smooth, elegant rim.
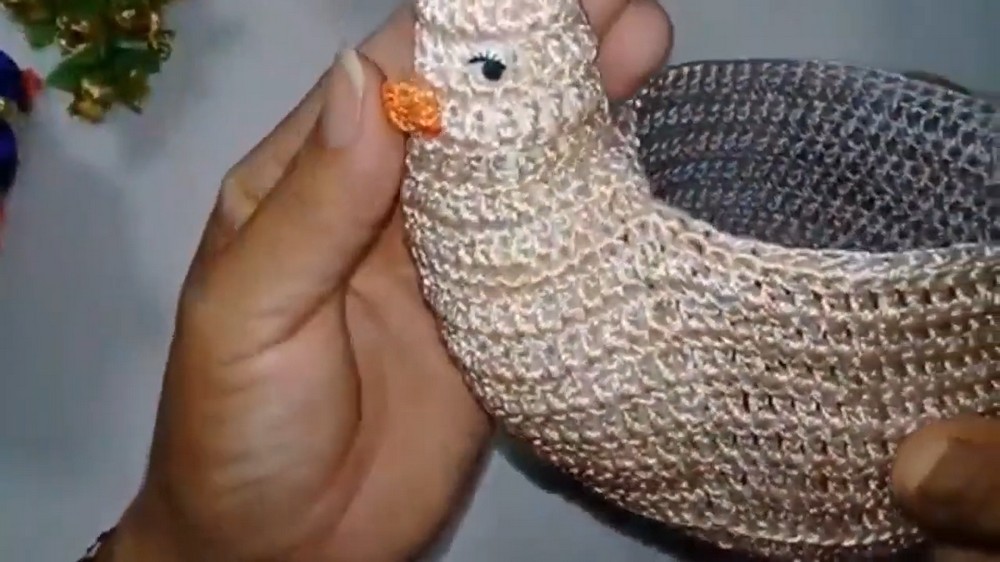
Small decorative elements like a tiny handle or a loop for hanging can be added during the final rounds, enhancing both utility and aesthetic appeal. The assembly involves sewing the parts together seamlessly, ensuring the holder maintains its form and grip. The pattern emphasizes precision in stitch work, resulting in a compact, balanced piece that is both functional and beautiful.

As the last stitches are secured, the finished crochet quail egg holder presents a delightful combination of form and function. Its intricate detailing invites admiration, while its practical use streamlines meal presentation and storage.

Special Features
The crafter uses a plastic bottle as a base for the hen's body to give it shape and structure. They also use different types of stitches, such as the magic ring, double crochet, half-double crochet, and picot stitches to create texture and detail.
Tutor's Suggestions and Tips
- Materials: You will need a crochet hook, different colors of yarn, a pearl, a needle, and a plastic bottle.
- Assembly: While the crafter uses a needle and thread to attach the pieces, they mention that you can also use hot glue. However, they recommend sewing as it makes the hen washable without the pieces falling off.
- Final Tip: The crafter suggests taking your time and being patient, as the project can be a bit long. They also remind you to pay close attention to the details, such as the placement of the wings and tail, to ensure the finished hen looks correct.
Step-by-step Guide
The tutorial is the second part on how to crochet a hen. In this part, the creator focuses on finishing the hen, starting with the tail, then the wings, and finally assembling the piece.
Conclusion
The tutorial ends with the crafter showing the finished hen and expressing their satisfaction with the result. They encourage viewers to try the project themselves, as it is a great way to decorate their home, give a handmade gift, or even sell it as a source of income.