
Quick Crochet Amigurumi Pumpkin Free Pattern For Seasonal Displays
Set a cozy fall mood with this Crochet Amigurumi Pumpkin Free Pattern featuring a rounded shape, warm colors, and a charming green stem.
This Writtern Pattern is base on YouTube channel Keep Calm and Crochet who provides clear and easy instructions, giving full credit to the creator for this charming project. The Crochet Amigurumi Pumpkin is a small, soft decoration or toy that fits well with fall and Halloween themes.
Cozy Crochet Amigurumi Pumpkin Free Pattern With A Rustic Look
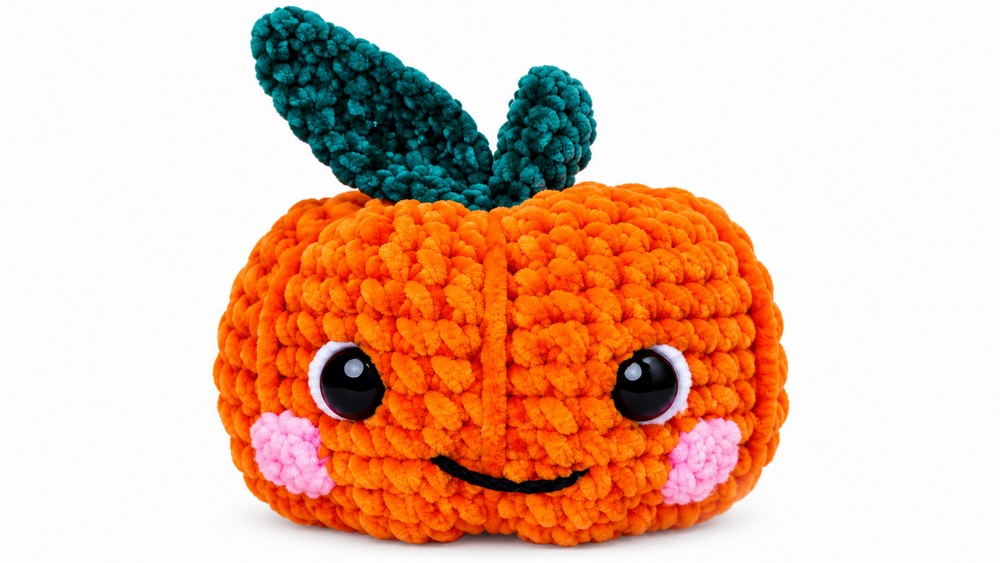
This pumpkin has a round, plump shape with gentle ridges that give it a realistic appearance. Measuring around 4 to 5 inches wide, it works nicely for placing on tables, shelves, or as part of seasonal displays. The warm orange color combined with a small green stem adds to its autumn feel.
One unique aspect of this pumpkin is the option for personalization. Using different yarn weights or hook sizes can change its size. Some add tiny leaves, a curly vine, or a simple face to turn it into a mini jack-o’-lantern. These small details make each finished pumpkin stand out.
The steps involved in the project are simple and accessible for beginners. They include starting with a magic ring, making single crochet stitches, and using increases and decreases to shape the pumpkin. After completing the body, yarn is carefully sewn around to create the ridges. Finally, the stem is crocheted separately and attached to the top.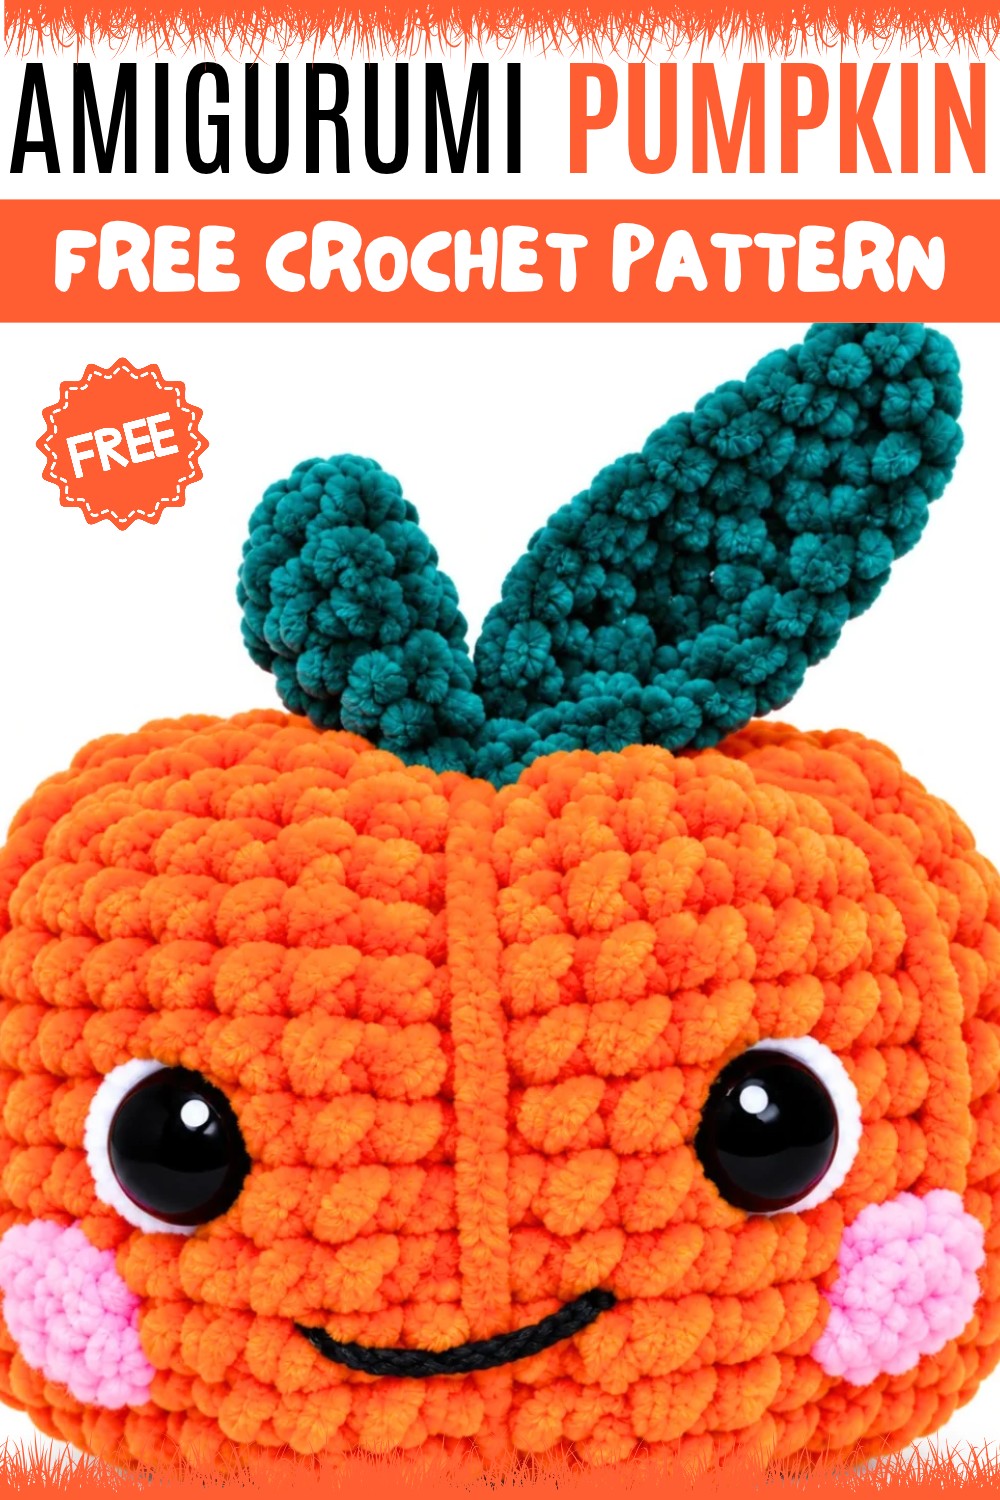
Overall, the Crochet Amigurumi Pumpkin is an easy and pleasant project that adds a bit of warmth and charm wherever it’s placed.
About the Pattern
This comprehensive pattern guides the process of creating a plush Kawaii Pumpkin amigurumi, using a 5.5 mm crochet hook and plush yarn for a soft, inviting texture. Steps are organized for clarity, focusing on exact stitch counts, increases, decreases, and all important detailing. Each section, from the pumpkin body to its whimsical face and finishing touches, adheres to classic amigurumi construction principles, delivering a project designed to bring joy and satisfaction to crafters of all skill levels.
Key Pattern Details
- The pumpkin body is worked in a continuous round, utilizing systematic increases and decreases to form a rounded, squash-like shape.
- Eyes are inserted between specified rounds for precise placement and a characteristic cute expression.
- Stem and leaf are crocheted separately and sewn to the top, adding botanical authenticity.
- Cheeks, ridges, and facial features are added using basic crochet and sewing techniques.
- All rounds and stitch counts are clearly provided for uniformity and reliability in results.
Important Notes
- Use a stitch marker to indicate the beginning of each round to maintain stitch count accuracy.
- Ensure plush yarn is worked tightly to avoid gaps; adjust hook size for personal tension as needed.
- Safety eyes should be inserted firmly and securely between rounds 4 and 5.
- Stuffing should be added gradually and firmly after round 20, and especially before closing the pumpkin base.
- When creating ridges, divide pumpkin into 6 evenly spaced points for symmetry.
- All embellishments are sewn on after assembly for controlled placement.
Difficulty Level
The project is designed for adventurous beginners and intermediate crocheters. Basic familiarity with stitches such as single crochet, increases, decreases, half double crochet, double crochet, slip stitch, and simple shaping is necessary.
Supplies Needed
- Plush yarn in orange (pumpkin) and green (stem & leaf)
- Small amount of pink yarn or felt for cheeks
- Small amount of white yarn or felt for eye highlights
- 5.5 mm crochet hook
- 20 mm safety eyes
- Polyfill stuffing
- Darning needle for assembly and embellishments
- Scissors
- Stitch marker
Size & Measurements
The finished pumpkin measures approximately 8–12 cm tall and wide, depending on yarn and hook tension. The cheeks and leaf are sized appropriately to complement the pumpkin body, adding to the overall kawaii appearance.
Gauge & Stitch Details
Gauge is not specifically required for amigurumi but should be tight enough so that stuffing does not show between stitches. For plush yarn with a 5.5 mm hook, the ideal fabric is dense and secure. If needed, adjust hook size to achieve a neat finish.
Crochet Abbreviations
- sc: single crochet
- inc: increase (2 sc in one stitch)
- dec: decrease (single crochet two stitches together)
- ch: chain
- sl st: slip stitch
- hdc: half double crochet
- dc: double crochet
Special Stitch Guide
- Increase (inc): Work two single crochets into the same stitch.
- Decrease (dec): Single crochet two stitches together.
- Magic ring (if desired): Work stitches into a loop and pull tight; alternate method uses chain 2 and sc into second chain, as outlined.
- Half Double Crochet (hdc): Yarn over, insert hook into stitch, yarn over and pull up a loop (three loops on hook), yarn over and pull through all three loops.
- Double Crochet (dc): Yarn over, insert hook into stitch, yarn over and pull up a loop, yarn over and pull through two loops (twice).
Detailed Pattern
Pumpkin Body (Orange Yarn)
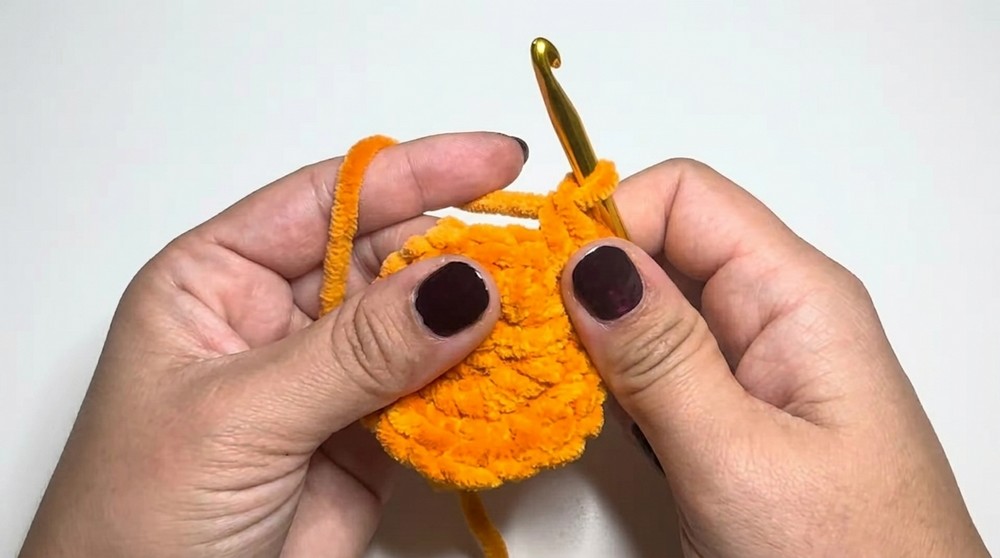
- Foundation: Chain 2. Work 8 sc into the second chain from the hook.
- Round 2: 8 inc (16 sts).
- Round 3: 1 sc, 1 inc (repeat 8 times, 24 sts).
- Round 4: 3 sc, 1 inc (repeat 6 times, 30 sts).
- Round 5: 2 sc, 1 inc, 2 sc (repeat 6 times, 36 sts).
- Round 6: 5 sc, 1 inc (repeat 6 times, 42 sts).
- Round 7: 3 sc, 1 inc, 3 sc (repeat 6 times, 48 sts).
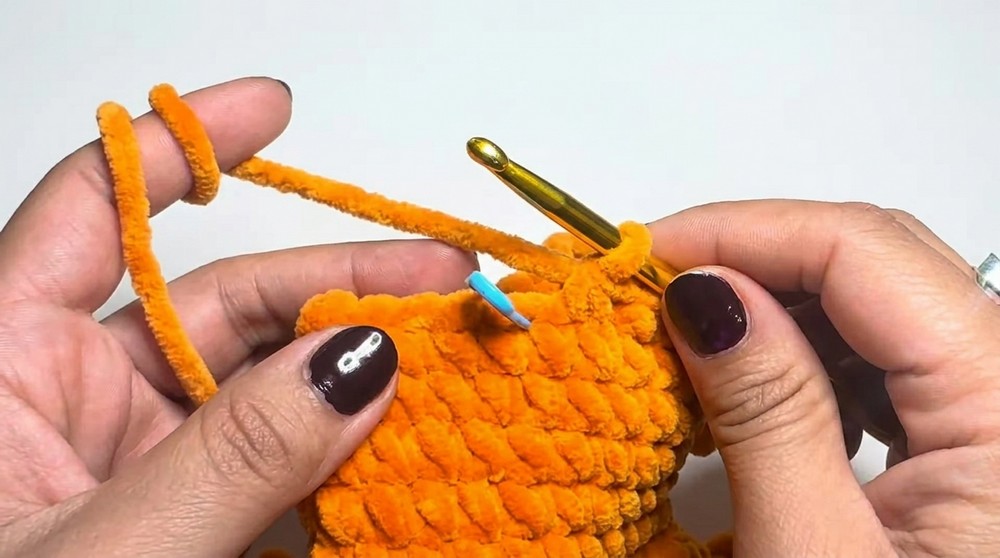
- Rounds 8-15: Work 8 rounds of 48 sc in each round.
- Eyes: Insert 20 mm safety eyes between rounds 4 and 5.
- Round 16: 6 sc, 1 dec (repeat 6 times, 42 sts).
- Round 17: 5 sc, 1 dec (repeat 6 times, 36 sts).
- Round 18: 4 sc, 1 dec (repeat 6 times, 30 sts).
- Round 19: 3 sc, 1 dec (repeat 6 times, 24 sts).
- Round 20: 2 sc, 1 dec (repeat 6 times, 18 sts).
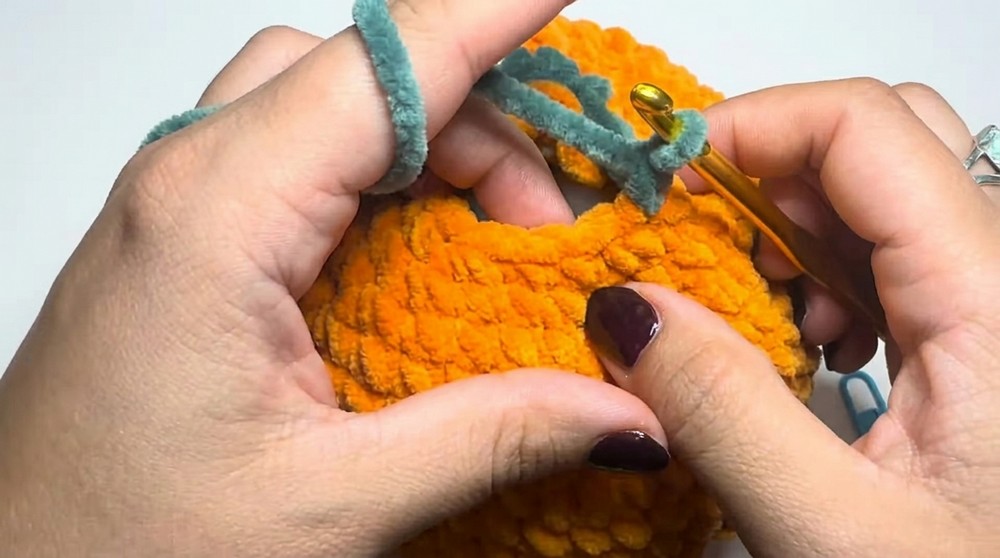
Stem (Green Yarn)
- Round 21: 1 sc, 1 dec (repeat 6 times, 12 sts).
- Round 22: 6 dec (6 sts).
- Rounds 23-26: Work 4 rounds of 6 sc in each round.
- Fasten Off: 3 dec and close.

Leaf Pattern
- Chain 9.
- Row 1: Skip first chain, work 1 sc, then 3 hdc, 3 dc, and 4 hdc in the last chain.
- Return: Work down the other side of the chain: 3 dc, 3 hdc, 1 sc, ending with 1 sl st to finish.
Cheek Pattern
- Chain 2, work 8 sc in second chain from hook.
Assembly & Details
- Ridges: Take a long strand of orange yarn and use a darning needle to draw through the pumpkin base at 6 symmetrical points, tightly pulling to form indentations or ridges.
- Sew Cheeks: Attach cheeks on each side of the face below the eyes.
- Attach Leaf: Sew the leaf securely to the side or top of the stem.
- Mouth: Using black or dark yarn, embroider a simple curved mouth between the cheeks.
- Eye Highlights: With white yarn or embroidery thread, add small stitches for highlights on the eyes to enhance the kawaii expression.
Joining & Final Size
Once assembly is complete, stuff firmly but gently for a well-rounded pumpkin. The ridges and cheeks, together with carefully placed mouth and highlights, unify the personality and plushy form. The stem and leaf complete the pumpkin’s botanical look. When finished, the pumpkin measures approximately 8–12 cm in each direction, with proportionate embellishments for balanced cuteness.

Final Words
This guide provides a straightforward yet detailed pathway to creating a plush Kawaii Pumpkin with expressive features and soft textures. The instructions are crocheted to ensure reliable results, combining classic amigurumi techniques with unique Kawaii styling for a delightful result. The finished pumpkin makes an appealing decorative piece or gift, combining playful design with tactile comfort and charm.