
Precious Crochet Tulip Plushie for Heartfelt Warmth
Buzzing cuteness comes alive with Crochet Bumble Bee Pattern, a joyful project that brings charm, cheer, and handmade warmth to life.
In gardens buzzing with life, the bumble bee has always been a gentle reminder of nature’s harmony, its tiny wings carrying the promise of growth and renewal. Capturing that lively charm in a soft and playful form brings the same sense of delight into daily surroundings, whether displayed as décor, gifted to a loved one, or cherished as a keepsake. This little bee radiates cheer, its rounded body, striped details, and delicate wings offering both whimsy and character.
Glowing Crochet Tulip Plushie for Festive Charm
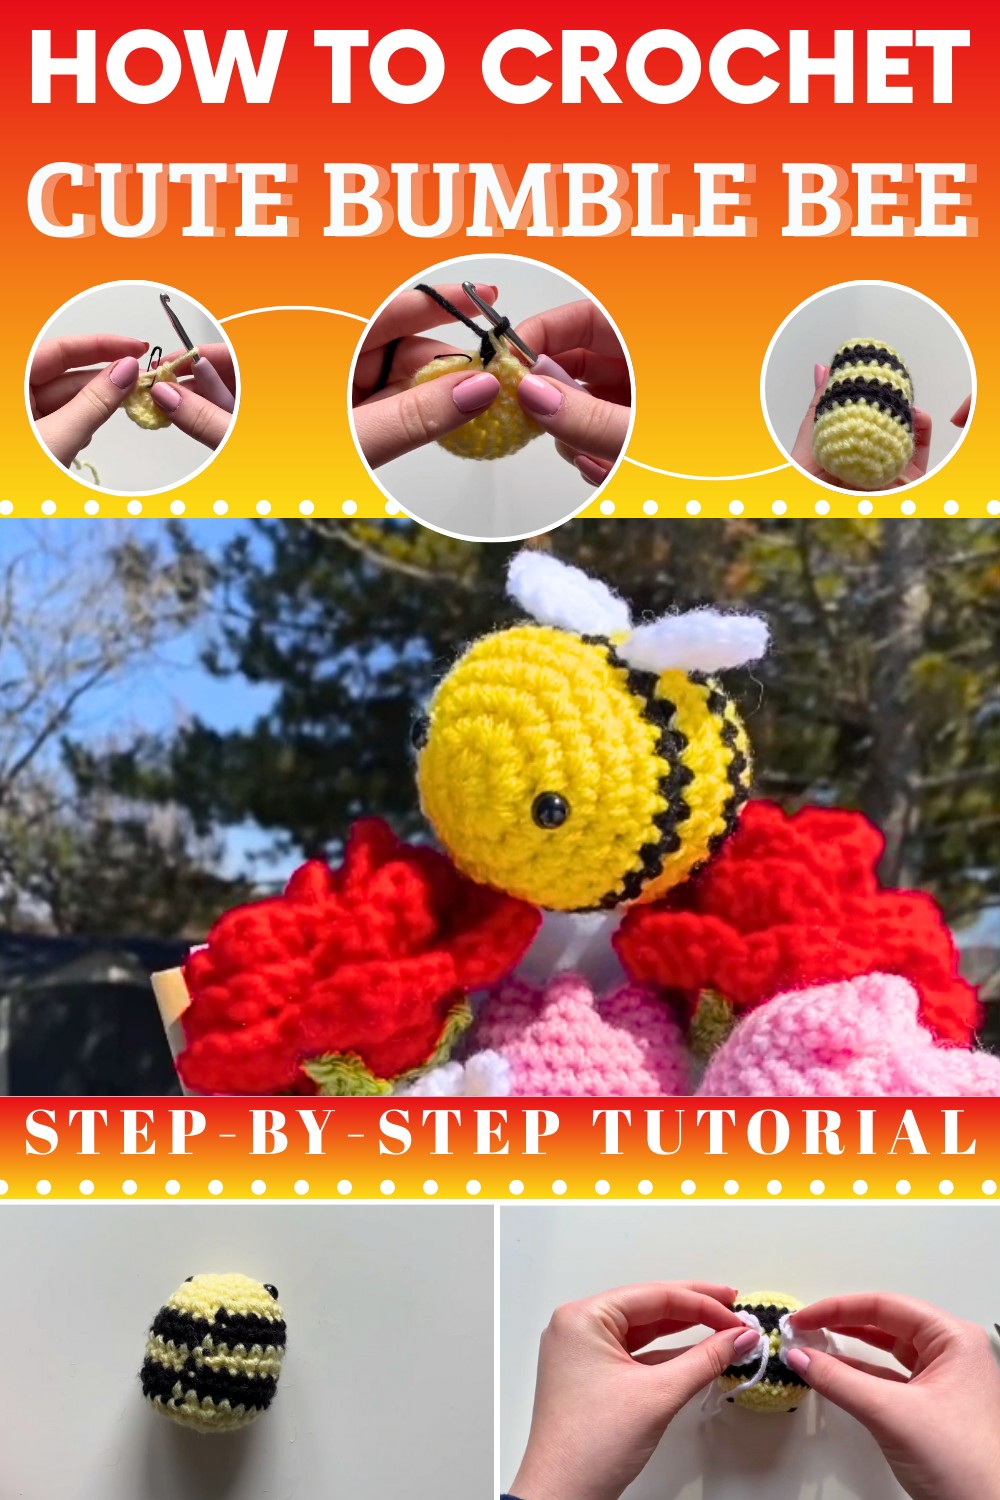
Small yet full of personality, it can brighten a child’s playroom, serve as a thoughtful keychain, or add a joyful touch to seasonal displays. Its compact size makes it versatile, fitting easily into bags or baskets, while its durable form ensures it remains a lasting companion. The bold contrast of golden yellow and deep black gives it a vibrant presence, while the gentle textures invite touch and admiration.
More than a playful figure, it symbolizes positivity and the sweetness of simple joys. Perfect as a charming gift or a delightful accent for the home, this bumble bee captures the spirit of nature in a lasting way, bringing warmth, happiness, and a touch of sunshine wherever it goes.
Materials Required
The tutor lists all required materials in the video’s description, but here is the essential list:
- Yarn: Weight 4 yarn in yellow, black, and white (or preferred wing colors).
- Crochet Hook: 3.75 mm hook.
- Safety Eyes: Sized to fit your project (commonly between 9-12 mm).
- Stuffing: Polyfill stuffing for the bee’s body.
- Stitch Marker: To keep track of rounds.
- Tapestry Needle or Hot Glue: For assembling wings.
- Scissors: For cutting yarn and final touches.

Special Features
- Simple Color Transition: The tutor shares tips for seamless transitions between yellow and black stripes.
- Customizable Wings: The design allows freedom in whether to sew or hot glue the wings.
- Beginner-Friendly Approach: Each step is explained clearly, with specific suggestions for improving techniques like color changes and stuffing.
Level of Difficulty
The crochet bumblebee is mainly beginner-friendly, but familiarity with basic stitches like single crochet, increases, decreases, and working in the round is recommended. The incorporation of color changes and assembling wings pushes the difficulty slightly toward intermediate.
Step-by-Step Details
Body of the Bumblebee
- Magic Circle (Start):
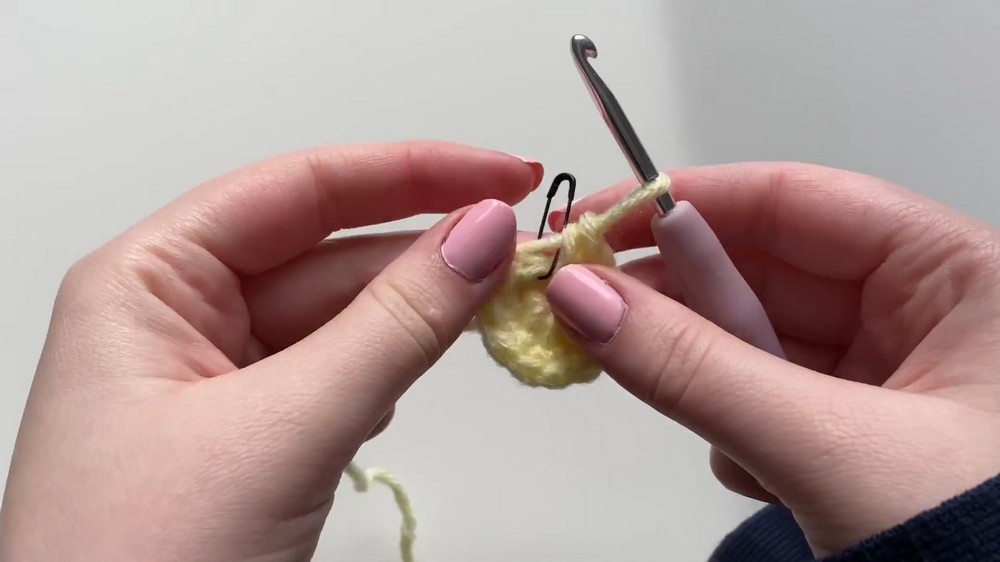
- Use yellow yarn to create a magic circle and crochet 6 single crochets into the circle.
- Pull the tail end to close the circle completely.
- Round 2: Increase every stitch. Place 2 single crochets into each stitch. By the end of this round, you’ll have 12 stitches.
- Round 3: Alternate between a single crochet and an increase. Place 1 single crochet and then 2 single crochets in the next stitch; repeat. By the end, you’ll have 18 stitches.
- Round 4: Alternate 2 single crochets (one in each stitch) with an increase (two single crochets in the same stitch). By the end, you should have 24 stitches, and the project will begin to curl into a rounded shape.
- Round 5: Single crochet evenly across all 24 stitches, with no increases.
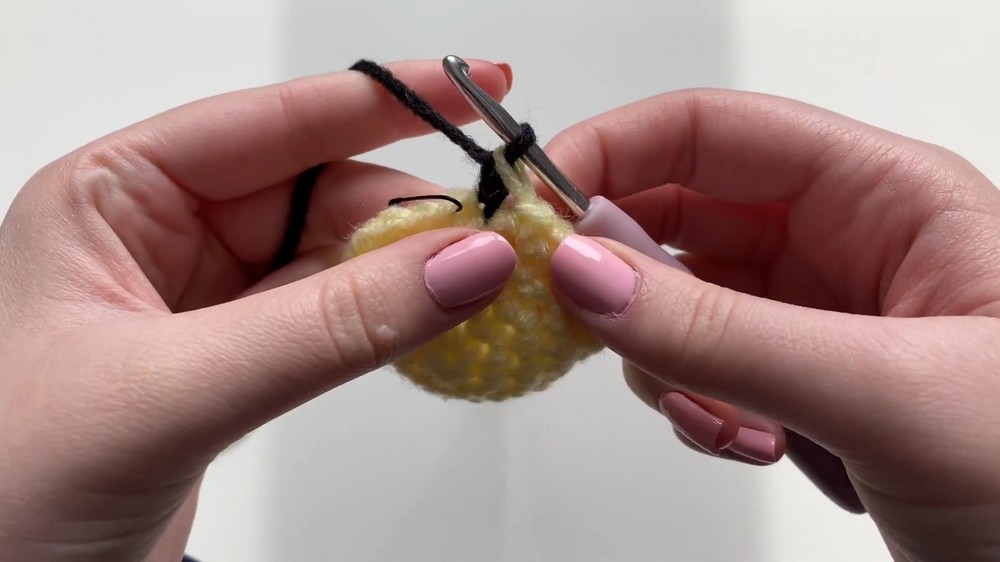
- Round 6: Begin the color change to black yarn for the stripes. The tutor demonstrates a seamless technique where the yellow yarn is swapped for black during the last pull-through of the round’s final stitch. Use black yarn to single crochet evenly for two rounds, maintaining 24 stitches per round.
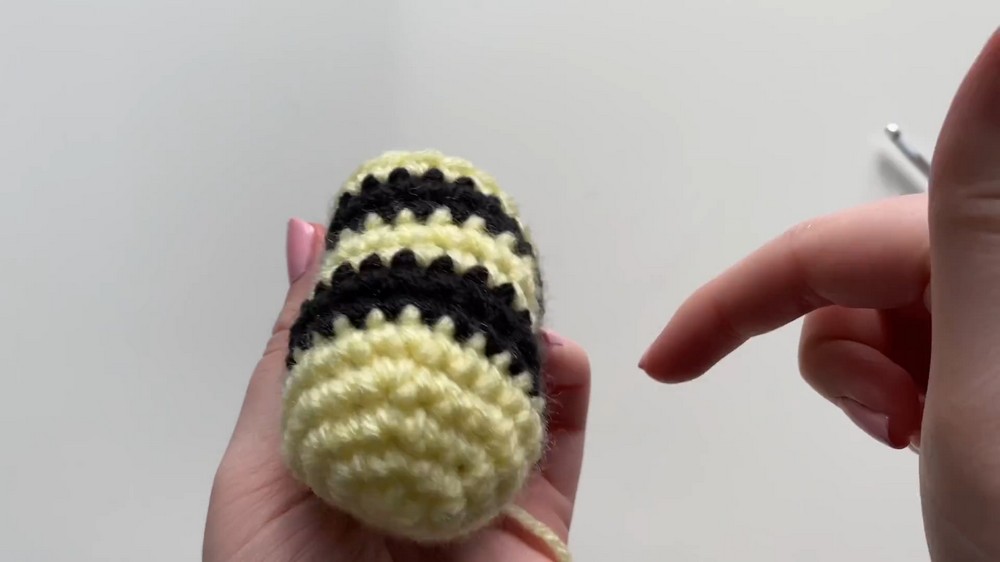
- Rounds 8–9: Switch back to yellow yarn. Follow the same seamless color change method and single crochet evenly for two rounds in yellow.
- Rounds 10–11: Repeat the black yarn stripes as before, crocheting evenly for two rounds in black.
- Rounds 12–13: Switch back to yellow yarn and crochet evenly for these final two rounds.
Adding Safety Eyes
- Place the safety eyes between rounds 3 and 4, ensuring they are evenly spaced from each other and aligned opposite to the seam area created during color transitions.
- Secure the safety eyes with washers, and for added durability (especially if gifting to children), the tutor recommends using hot glue around the washers.
Stuffing and Shaping
- Stuff the bumblebee generously with polyfill to ensure its round and plump shape.
- Adjust the filling to avoid lumps, and ensure the bee feels soft yet firm.
Decreasing and Closing
- Round 14: Begin decreasing by alternating 2 single crochets with 1 decrease. By the end, the round should have 18 stitches.
- Round 15: Alternate 1 single crochet with 1 decrease. By the end, you’ll have 12 stitches.
- Final Round: Complete the bee with decreases across all stitches. Pull to close the remaining gap securely.

Creating the Wings
- Magic Circle (Start): Create a magic circle with white yarn (or preferred wing color) and place 6 single crochets into the circle. Pull the circle tight.
- Round 2: Increase in every stitch; place 2 single crochets into each stitch for a total of 12 stitches.
- Fasten Off: Cut the yarn, leaving a tail long enough for sewing, or skip this step if you plan to use hot glue.
- Attachment: Position the wings near the middle-top of the bee, approximately one stitch apart, and secure them by sewing or hot gluing.

Tutor’s Suggestions
- Seamless Color Changes: Changing yarn during the completion of the previous stitch ensures neat boundaries between stripes.
- Eye Placement: Be mindful of stitch rounds to ensure alignment; slight mismatches can affect the visual appeal.
- Hot Glue for Wings: For those who struggle sewing small parts, hot glue is recommended as a quick alternative.
Uses
This crochet bumblebee can be used in various ways, including:
- As a playful decorative item for homes, offices, or gifts.
- An adorable addition to handmade crochet bouquets.
- A keychain, plush toy, or child-friendly accessory.
Tip
When working with darker yarns, ensure proper lighting to avoid missed or tight stitches. This will make it easier to count correctly and maintain consistent stitching throughout the project.
Conclusion
The crochet bumblebee plushie is a delightful project combining simplicity with charm. While it requires attention to detail during color changes and assembly, the final result is an adorable handmade keepsake. With clear steps, versatile techniques, and room for customization, this project is perfect for anyone looking to bring some buzzing joy to their crochet collection.