
Perfect Crochet Snow Owl Pattern That's A Gift Idea for Babies
Who doesn’t love a soft and adorable handmade creation? The Crochet Baby Snow Owl pattern is an easy and fun way to make a charming little owl that everyone will admire. With its fluffy wings, big round eyes, and detailed features, this owl looks like it came straight out of a storybook. Perfect for nursery decorations, baby shower gifts, or even as a cuddly toy, this pattern is great for almost any occasion.
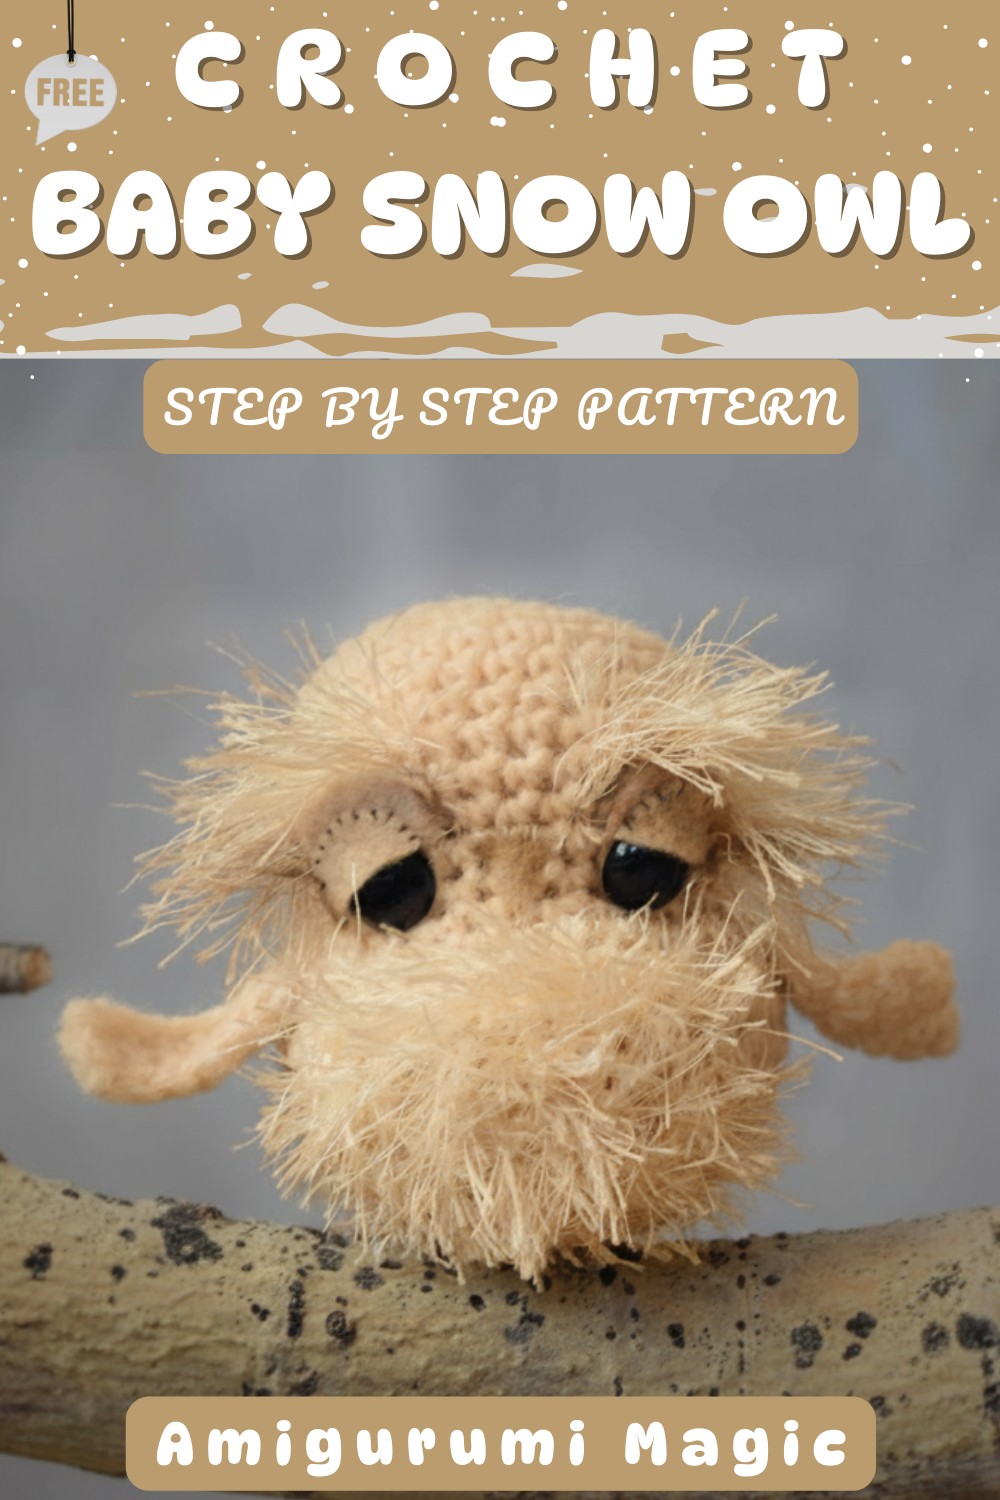
Unlike other toys, such as crochet teddy bears or plush bunnies, this snow owl stands out because of its realistic feathers and heartwarming design. One unique feature that makes it special is its use of textured stitches and soft yarn to create lifelike wings. It’s easy to customize with different colors to fit your theme. If you want to create something unique and meaningful, this adorable snow owl pattern is perfect for spreading joy and love!
Bring to life a charming Crochet Baby Snow Owl Pattern that lets you enjoy making a soft adorable owl perfect for gifting or decorating any space.
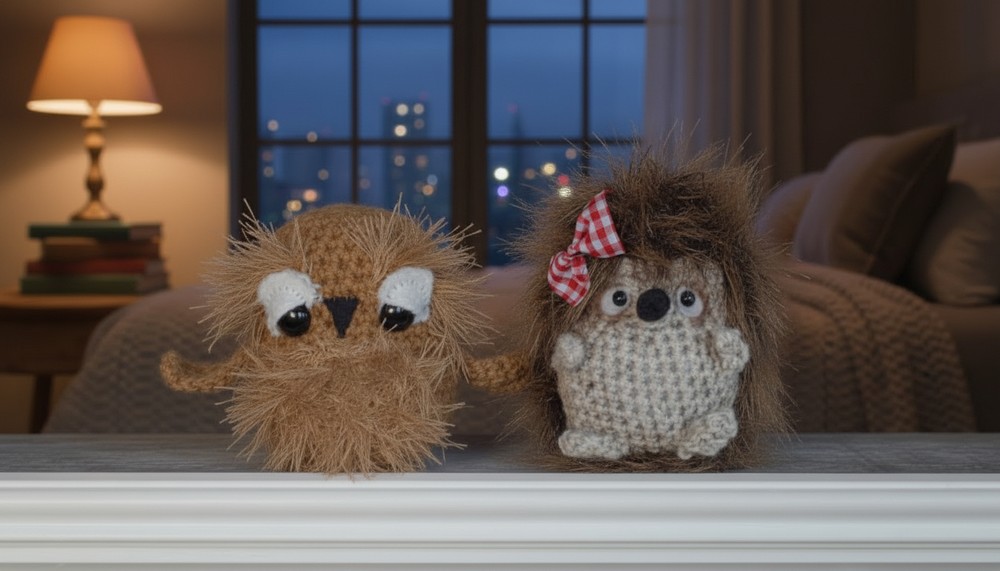
Easy Snow Owl Crochet Pattern for Gifting Inspiration
Materials List
- US Size F Crochet Hook (3.75mm)
- Worsted Weight Yarn: Less than 1 skein of Lion Brand Wool Ease in Fisherman (or any comparable worsted weight yarn).
- Lion Brand Fun Fur: 1 skein (less than a full skein) in Ivory (Soft Off White).
- Felt:
- Light tan felt (or white felt for eyes).
- Light grey felt (or preferred color for the beak).
- Safety Eyes: 15mm or 0.59 inches in solid black.
- Thread:
- Off-white thread (for attaching the beak).
- Brown thread (for eyelids).
- Sewing Needle.
- Tapestry Needle: For weaving in ends.
- Brown Eyeshadow (Optional): For shading accents.
- Polyester Stuffing: For filling the head and body.
- Scissors.
Key Abbreviations:
- ch = Chain
- sc = Single Crochet
- st(s) = Stitch(es)
- sl st = Slip Stitch
- sc2tog = Single Crochet Two Together (decrease)
Special Notes:
- The head and body are worked in one piece starting from the top down.
- Use a stitch marker to track your rounds. Move it up with each round.
- The feathers (Lion Brand Fun Fur) add texture and charm but are optional.
- Exact placement of eyes, beak, and feathers gives character, so adjust as preferred.
Pattern Instructions
Owl Body and Head (Worked in one piece):
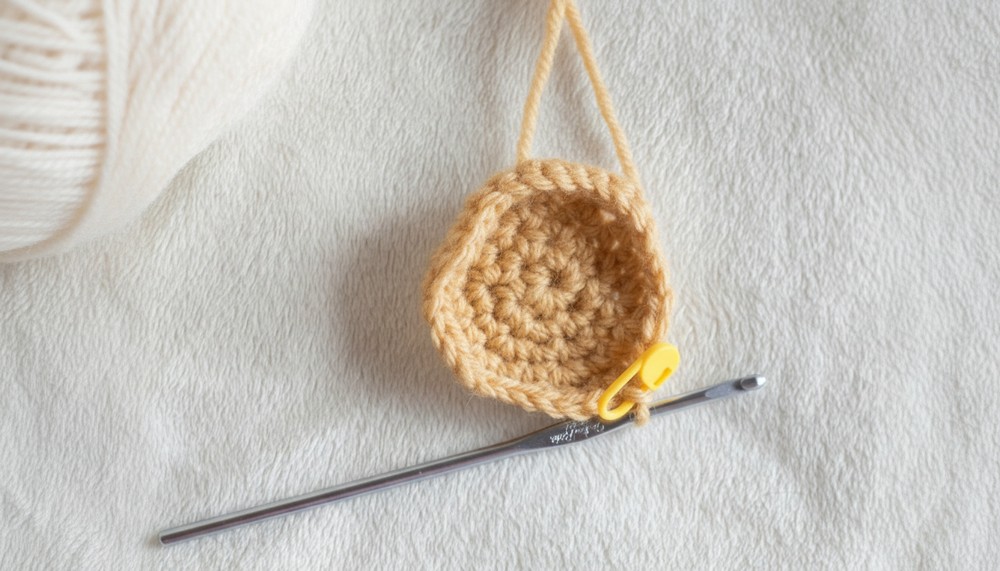
- Start with a Magic Circle or Ch 2
- Round 1: Place 6 sc into the second chain from the hook. (6 sts)
- Round 2: 2 sc in each stitch around. (12 sts)
- Round 3: 2 sc in the next stitch, sc in the next stitch. Repeat around. (18 sts)
- Round 4: 2 sc in the next stitch, sc in the next two stitches. Repeat around. (24 sts)
- Round 5: 2 sc in the next stitch, sc in the next three stitches. Repeat around. (30 sts)
- Continue building the head:
- Rounds 6–12: Sc in each stitch around. (30 sts per round)
- Begin shaping for the body:
- Round 13: Sc2tog, sc in the next stitch. Repeat around. (20 sts)
- Round 14: 2 sc in the next stitch, sc in the next stitch. Repeat around. (30 sts)
- Round 15: 2 sc in the next stitch, sc in the next two stitches. Repeat around. (40 sts)
- Pause here to attach the eyes and beak (see “Attaching Eyes” and “Beak” sections below).
- Begin to fill the owl with polyester stuffing.
- Work the body rounds:
- Rounds 16–21: Sc in each stitch around. (40 sts per round)
- Round 22: Sc2tog, sc in the next two stitches. Repeat around. (30 sts)
- Round 23: Sc2tog, sc in the next stitch. Repeat around. (20 sts)
- Final rounds for the body shape:
- Round 24: Sc in each stitch around. Ensure the body is stuffed fully! (20 sts)
- Round 25: Sc2tog around. (10 sts)
- Round 26: Sc2tog around. (5 sts)
- Pull yarn tight to close, tie off, and weave in all ends.
Wings:
- Start with a Chain Base:
- Ch 8.
- Row 1: Sc across (7 sts), ch 1, turn.
- Row 2: Sc across (7 sts), ch 1, turn.
- Row 3: Sc in the first four stitches, sl st in the remaining three stitches.
- Finish the Wing Shape:
- Single crochet around the entire piece to give a neat edge.
- Finish Off:
- Tie off and weave in ends.
- Attach the wings to the sides of the body (below the increase rows on the body) using a sewing needle or tapestry needle.
Attaching the Eyes:
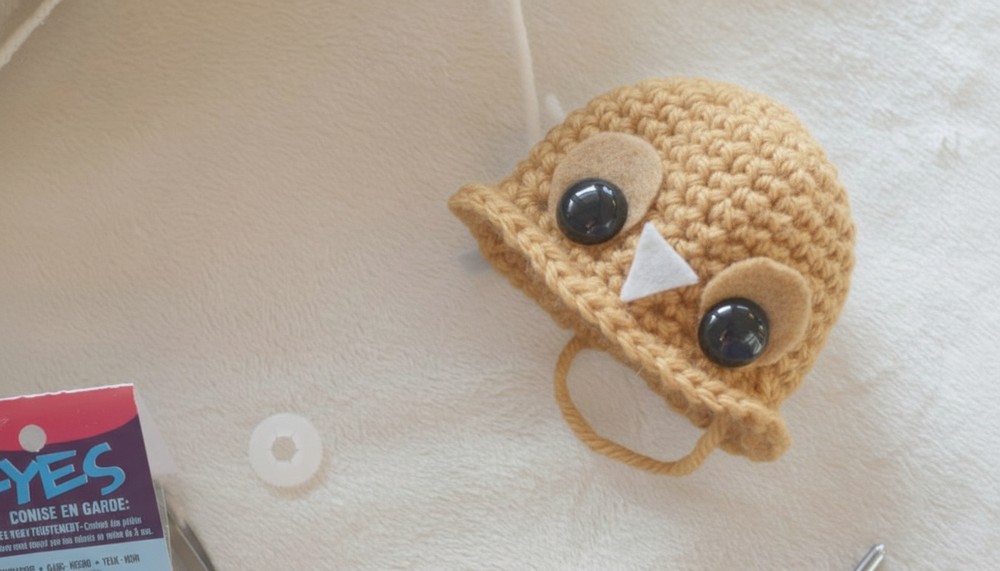
- Cut two circles out of tan felt (or your preferred color) about the size of a nickel (~¾ inch diameter).
- Cut small holes approximately ⅓ of the way up from the bottom of each circle.
- Insert the safety eyes through the felt circles and secure tightly to the head:
- Placement: Attach eyes 2 rows above the increasing section of the head, leaving approximately 7 stitches between the eyes.
- Optional: Cut two smaller felt circles, trim them in half to create “eyelids,” and sew above each safety eye using a whip stitch and brown thread.
Beak:
- Cut out a small felt triangle using grey felt (or your chosen color).
- Size: Base width = ½", Height = ½".
- Attach the beak in between the eyes using a needle and off-white thread for a secure fit.
Feathers (Optional):
- Attach Lion Brand Fun Fur using surface single crochet stitches.
- Start from the edge of the belly section and crochet in a circular/spiral pattern until the belly is filled.
- Trim the fur as needed, especially around the eyes for better visibility.
- Add fur above the eyes for extra detailing:
- Start at the upper-right corner of an eye, crochet around the bottom outer edge of the eye, and then return to the upper inside edge.
- Tie off and trim as desired.
Conclusion
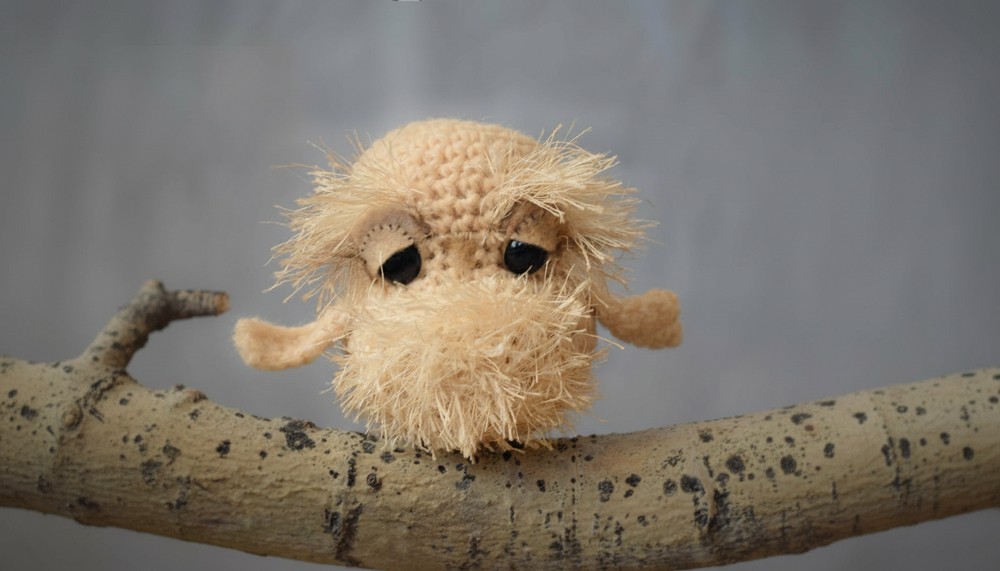
Congratulations! You’ve completed your adorable baby snow owl. This intermediate-to-advanced pattern allows for customization—change the colors, adjust the placement of features, or add your flare with accessories. The fun fur adds a soft, lifelike quality, while careful placement of the eyes and beak brings personality.
Corrections & Tips:
- Round Count: Keep a stitch marker handy to avoid losing track during rounds or increases.
- Eye Adjustment: Pull the safety eyes slightly inward when attaching to create a more lifelike appearance.
- Precision: Don’t worry about perfect feathers. The fun fur is forgiving, and uneven lengths will help create a natural look.
- Alternative: If you don't have fun fur, the owl still looks adorable when crocheted entirely in worsted weight yarn.