
Giftable Free Crochet Heart Teddy Bear Keychain Pattern Loved by All Ages
Warm sentiment meets this Crochet Heart Teddy Bear Keychain Pattern offering a small keepsake accent for keys bags gifts and daily smiles.
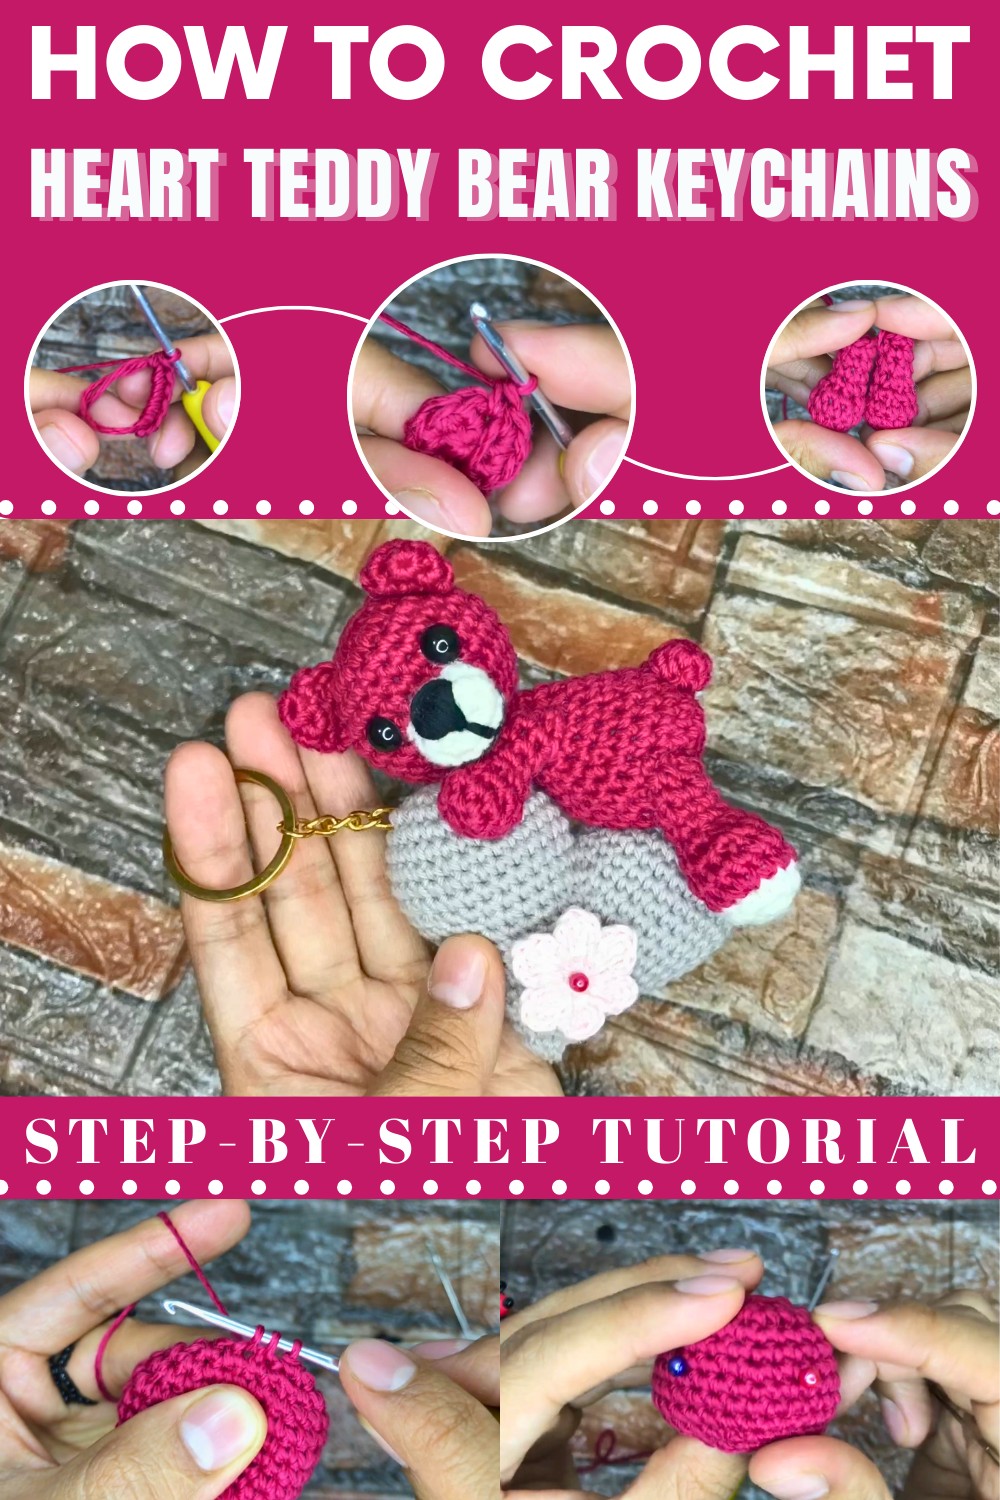
Tiny Free Crochet Heart Teddy Bear Keychain Pattern Carriable Comfort
Sharing a bit of love with a soft and cuddly friend is a lovely way to add a personal touch to your everyday items. Crochet Heart Teddy Bear Keychain pattern This tiny treasure works perfectly as a sweet surprise for a partner, a friendly charm for a child's bag, or a peaceful decoration for your car mirror. Its small size means it fits easily in your hand, and the plush yarn makes it feel much nicer than cold metal or plastic tags. The main specialty of this design is the bright heart it carries, which sends a warm message of care to anyone who sees it.
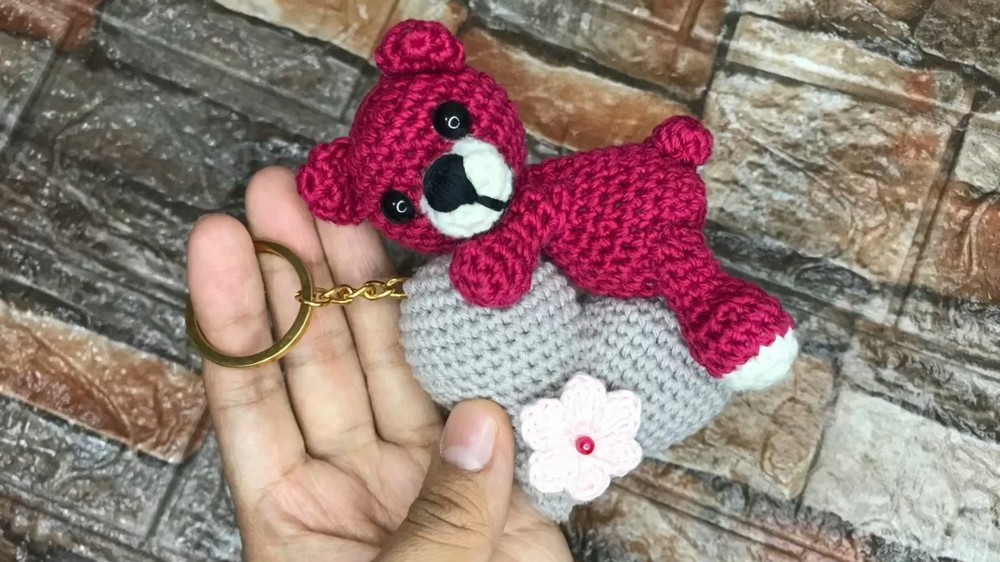
Materials
- Yarn:
- Light brown or beige (body, muzzle, limbs, ears, tail), 2 mm–thick yarn recommended
- White (snout)
- Pink or red (for heart, optional—heart pattern not included here but linked in the original content)
- Hook: 2.5 mm crochet hook
- Stuffing: Polyester fiberfill/silicone cotton
- Safety eyes or foldable eyes
- Tapestry needle
- Black embroidery thread (nose & mouth)
- Keychain finding (optional)
- Pins & stitch marker
- Liquid silicone glue (for eyes, optional)
- Scissors
Key Abbreviations (US Terms)
| Abbreviation | Meaning |
|---|---|
| MR | Magic Ring |
| sc | Single Crochet |
| inc | Increase (2 sc in the same st) |
| dec | Decrease (sc2tog, or invisible decrease) |
| sl st | Slip Stitch |
| ch | Chain |
| FO | Fasten Off |
| st(s) | Stitch(es) |
Special Notes
- The size of the bear is determined by the yarn thickness and hook size.
- Stuff as you go, especially before tightly closing small parts.
- The bear is designed to be sewn together at the end; pinning limbs in place before sewing helps with final positioning.
- The heart pattern is referenced but not included here.
- When making decreases, use the invisible decrease method for a neater finish.
Pattern
ARMS (Make 2)
- MR, 6 sc in ring (6)
- Rnd 2: inc in each st around (12)
- Rnd 3: sc in each st (12)
- Rnd 4: (sc in next 2 sts, dec) x3 (9)
- (2 sc, then decrease; repeat around)
- Rnd 5: (sc, dec) x2, 1 sc (6)
- (1 sc, 1 dec, 1 sc, 1 dec, 1 sc) to get to 6 sts
6.–8. Rnds 6–8: sc in each st (6) - Stuff lightly.
- (1 sc, 1 dec, 1 sc, 1 dec, 1 sc) to get to 6 sts
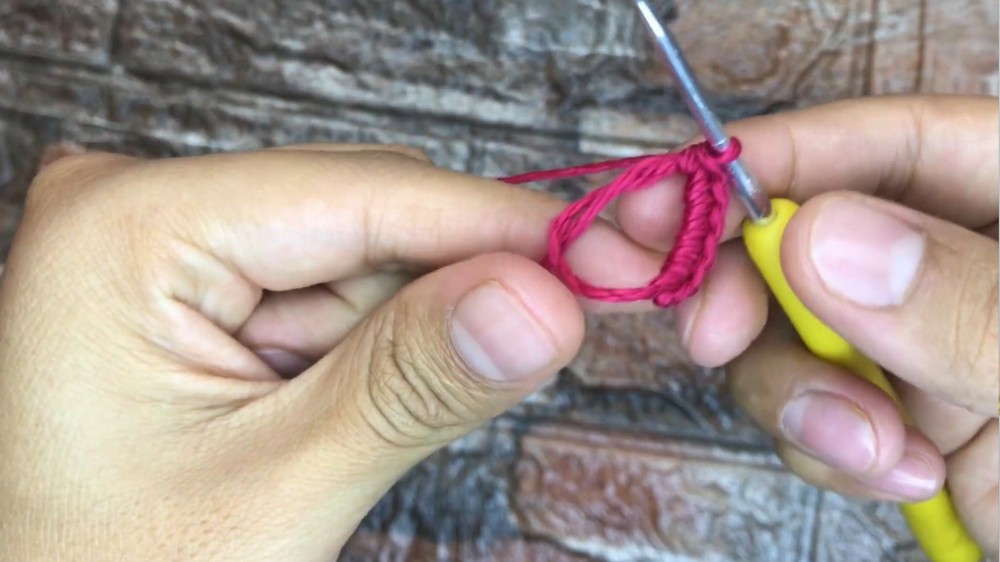
- Finish: sl st, ch 1, leave a long tail for sewing, FO.
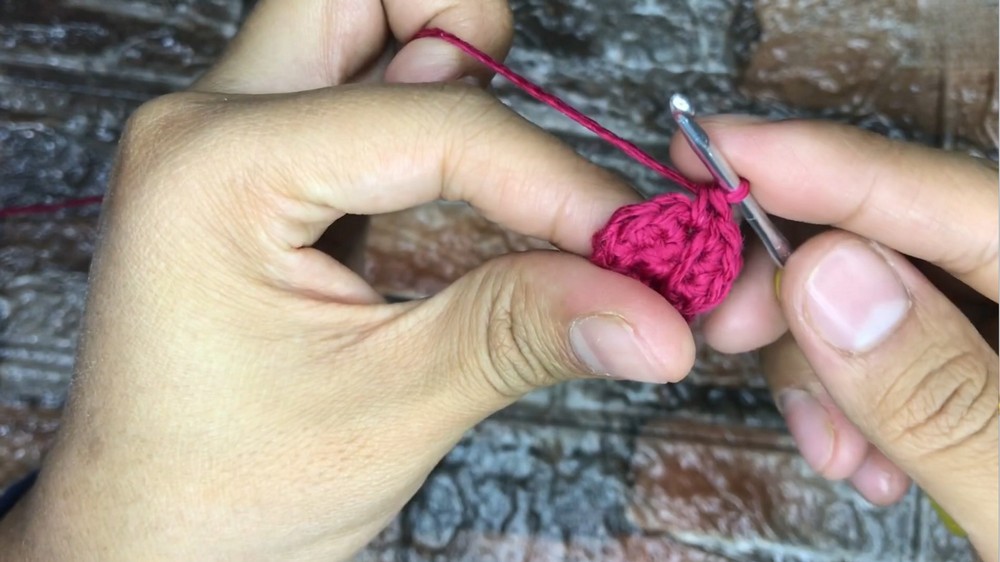
LEGS (Make 2)
- MR, 6 sc in ring (6)
- Rnd 2: inc in each st around (12)
- Rnd 3: Change color if desired. [(sc in next 2, inc) x4] (16)
- Rnd 4: sc in each st (16)
- Rnd 5: (sc in next 2, dec) x4 (12)
- Rnd 6: (sc, dec) x3, 1 sc (8)
- Stuff lightly.
7.–9. Rnds 7–9: sc in each st (8)
- Stuff lightly.
- Rnd 10: (sc in next 2 sts, dec) x2 (6)
- Stuff again.
- Finish: sl st, ch 1, FO, leave a long enough tail for sewing.

EARS (Make 2)
- MR, 6 sc in ring (6)
- Rnd 2: (sc, inc) x3 (9)
- Rnd 3: sc in each st (9)
- Rnd 4: sc in next 4 sts, sl st in next st, FO (leave tail for sewing)
TAIL
- MR, 6 sc in ring (6)
- Rnd 2: (sc, inc) x3 (9)
- Rnd 3: dec x3 (6)
- Finish: sl st, ch 1, leave tail for sewing, FO.
BODY
- MR, 6 sc in ring (6)
- Rnd 2: inc in each st around (12)
- Rnd 3: (sc, inc) x6 (18)
- Rnd 4: (sc in next 2, inc) x6 (24)
5.–8. Rnds 5–8: sc in each st (24) - Rnd 9: (sc in next 2, dec) x6 (18)
- Rnd 10: sc in each st (18)
- Rnd 11: (sc in next 4, dec) x3 (15)—Stuff firmly.
- Rnd 12: (sc in next 3, dec) x3 (12)
- Rnd 13: sc in each st (12)
- Rnd 14: (sc in next 2, dec) x3 (9)
- Stuff again, FO, close and leave tail for sewing.
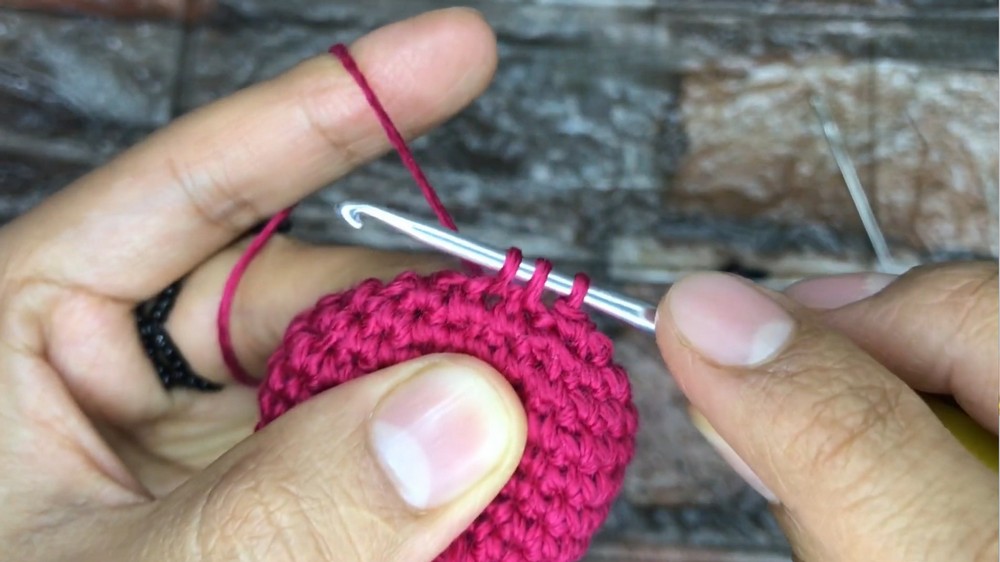
HEAD
- MR, 8 sc in ring (8)
- Rnd 2: inc in each st (16)
- Rnd 3: (sc, inc) x8 (24)
4–5. Rnds 4–5: sc in each st (24) - Rnd 6: (sc in next 5, inc) x4 (28)
7–9. Rnds 7–9: sc in each st (28) - Rnd 10: (sc in next 5, dec) x4 (24)
- Rnd 11: (sc in next 2, dec) x6 (18)—Start stuffing.
- Rnd 12: (sc, dec) x6 (12)
- Rnd 13: dec x6 (6)
- Stuff remaining space. FO, leave long tail, and use needle to thread through front loops of last round, pull taut to close.
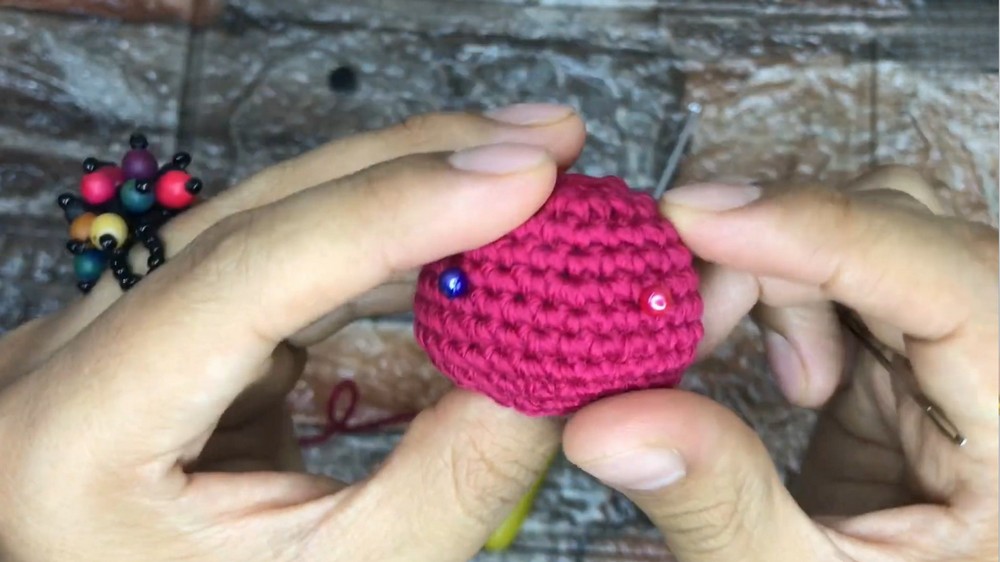
SNOUT
- Ch 4,
- Row 1: sc in 2nd ch from hook, sc in next ch, 3 sc in last ch. Continue on other side: sc in next st, 2 sc in last st. (8)
- Rnd 2: 3 sc in first st, 3 sc, 3 sc in last st, 3 sc (12)
- Rnd 3: sc in each st (12)
- FO, leaving long tail.
Assembly
- Sew head to body.
- Sew ears to head, leaving 2 rounds down from the top.
- Sew snout in the center of head, stuff lightly before closing.
- Embroider nose (small vertical oval), and a short line for mouth using black thread.
- Attach safety/foldable eyes or glue in place, positioned evenly on each side of snout (usually between rounds 6–7, spaced 4–5 sts apart).
- Sew arms at an angle holding the heart (or down at the sides if desired), and legs in a sitting or relaxed position.
- Sew tail to back of body.
- Attach keychain if desired.
- Place heart between arms and secure with a few stitches or glue if necessary.
Conclusion
You have now completed your adorable Mini Bear! This small, chubby bear is designed to hold a heart for a personal, loving touch—perfect as a gift, keychain, or everyday token. Adjust size with yarn thickness, and personalize your bear with different colors and accessories.
Pattern Correction & Tips
- Keep your stitches tight so stuffing does not show through.
- Invisible decreases create a neater finish for shaping.
- For the snout, ensure the seam is at center-bottom so it sits correctly under the eyes.
- Firmly stuff the head and body for ideal shaping.
- Pin limbs and ears in place before sewing to ensure symmetry.
- Original heart pattern is not included; use your preferred amigurumi heart.
Tip:
Use pins to position all pieces before final sewing. This guarantees the cute, classic look and makes adjustments easy.