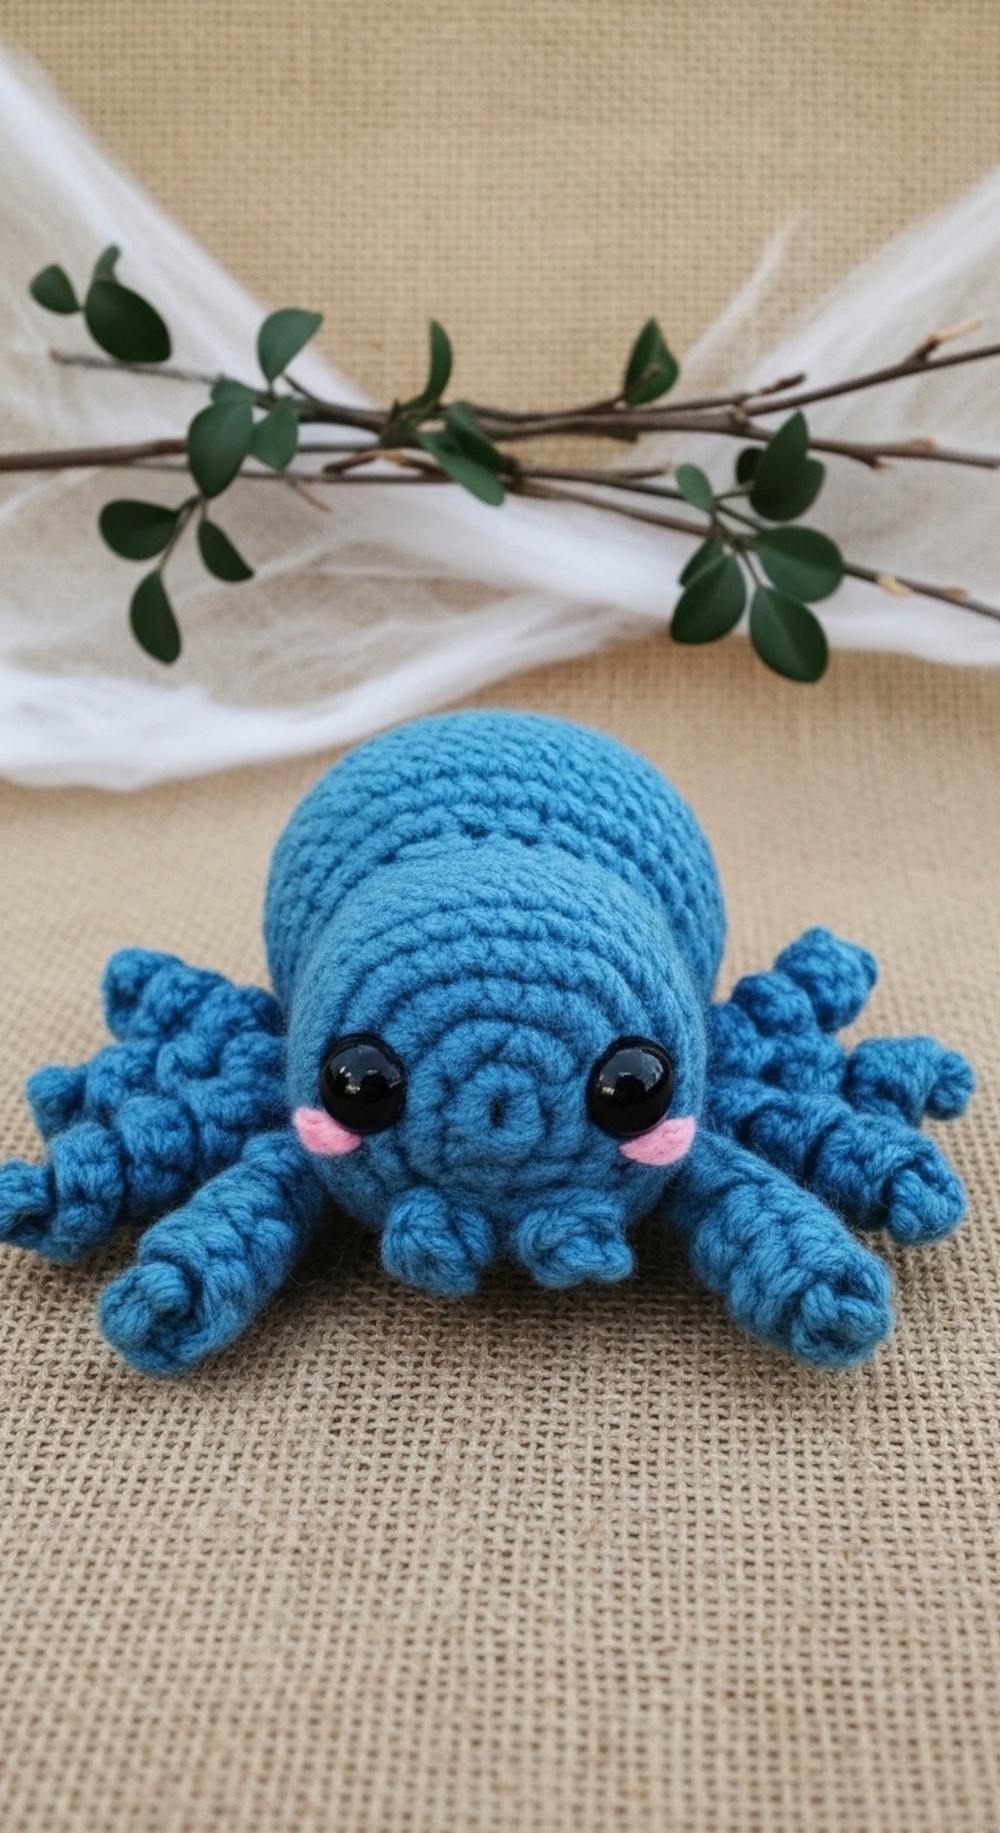
Mystical Crochet Spider Pattern Perfect for Spooky Vibes
This charming amigurumi spider is a delightful and playful item, perfect for brightening up any space. With its adorable appearance and whimsical design, it brings a touch of fun to home decor, makes Halloween celebrations even more memorable, and serves as a unique gift for friends, kids, or party favors. Featuring a crochet spider pattern, this project stands out with its convenient "no sew" construction, making it especially easy and enjoyable to finish—perfect even for beginners.
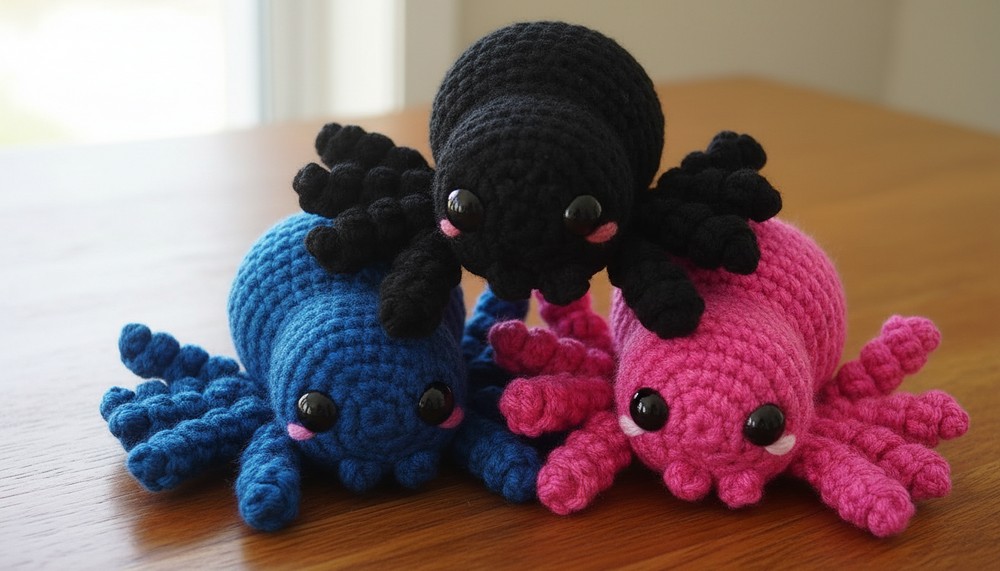
Personalize your spider with different colors or expressive eyes to match any occasion or personality. Not only does it make any space feel more inviting and joyful, but it can also be used as a keychain, classroom prize, or a cozy desk companion. Working on this little spider is a relaxing, satisfying way to express your creativity and share cheerful, handmade beauty with others.
Spin some fun with this Crochet Spider Pattern that's a charming creation perfect for adding a touch of whimsy and excitement anywhere.
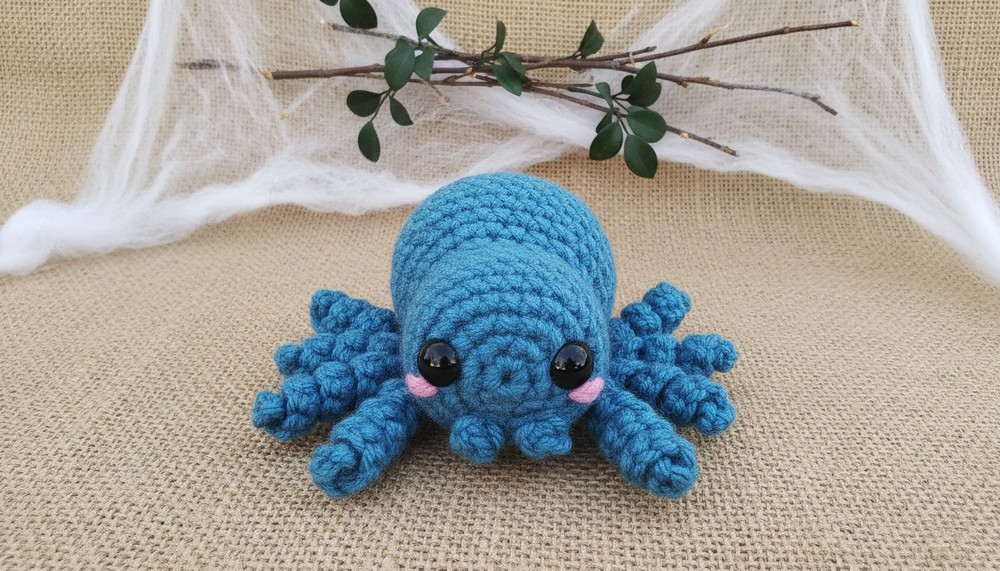
Spindly Crochet Spider Pattern Perfect for Ghoulish Displays
Materials
Small Spider (4" L x 5.5" W x 2.5" H)
- Yarn: Size 4 worsted weight yarn.
- Crochet Hook: 4 mm
- Eyes: 2 x 12 mm safety eyes
- Embroidery Needle: For cheeks (optional) and attaching features
- Polyfil: For stuffing
- Yarn for Fangs: 2 x 14-inch strands (match body or contrast)
Large Spider (8" L x 12" W x 5" H)
- Yarn: Blanket yarn
- Crochet Hook: 6 mm
- Eyes: 2 x 18 mm safety eyes
- Polyfil: For stuffing
- Yarn for Fangs: 2 x 14-inch strands
Optional Tools
- Stitch markers or bobby pins (for marking leg placement)
Key Abbreviations
- ch – chain
- sc – single crochet
- inc – increase (2 sc in one stitch)
- dec – decrease (sc 2 together)
- sl st – slip stitch
- st – stitch
Customization Ideas
- Use variegated or glow-in-the-dark yarn for a unique effect.
- Add embroidered cheeks with pink yarn.
- Attach the legs with different spacing for varying personalities.
- Embroider a mouth or other facial features.

Special Notes
- For no-sew assembly, plan feature placement before attaching legs/eyes.
- The pattern is designed for two sizes. Adjust materials/hook as needed.
- Safety eyes must be added before stuffing and closing the body.
- Stuff the spider firmly for a plush look, but avoid overstuffing.
Step-by-Step Pattern
1. Preparation
- Cut 2, 14-inch pieces of yarn for fangs before starting the body.
2. Legs (Make 8)
Row 1:
ch 15
Row 2:
sc into the second chain from the hook, then inc in each of the 13 remaining stitches.
- Fasten off, leaving a tail for tying.
3. Body
Begin with a Magic Ring
Round 1:
6 sc in magic ring [6]
Round 2:
(inc) repeat 6 times [12]
Round 3:
(sc in the next st, inc) repeat 6 times [18]
Round 4:
(sc in the next 2 st, inc) repeat 6 times [24]
Round 5:
(sc in the next 3 st, inc) repeat 6 times [30]
Rounds 6–8:
sc in all 30 stitches [30] (3 rounds)
Round 9:
(sc in the next 3 st, dec) repeat 6 times [24]
Round 10:
(sc in the next 2 st, dec) repeat 6 times [18]
Round 11:
(sc in the next 2 st, inc) repeat 6 times [24]
Round 12:
(sc in the next 3 st, inc) repeat 6 times [30]
Round 13:
(sc in the next 4 st, inc) repeat 6 times [36]
Rounds 14–18:
sc in all 36 stitches [36] (5 rounds)

4. Add Features
Safety Eyes:
- Add in desired positions before proceeding.
Cheeks (optional):
- Embroider blush with pink yarn using embroidery needle.
5. Fangs
- Use a stitch marker to center fang placement.
- With one 14-inch strand, sl st into the marked spot; then sc in the same spot 3 times.
- Fasten off; pull yarn through to inside.
6. Leg Placement and Attachment
- Use stitch markers/bobby pins to mark leg positions (space every 2 rows for even distribution).
- Tie leg ends through marked points.
- Attach eight legs.
7. Stuffing
- Add Polyfil to partially fill body, increasing as you close.
8. Body Closure
Round 19:
(sc in the next 4 st, dec) repeat 6 times [30]
Round 20:
(sc in the next 3 st, dec) repeat 6 times [24]
Round 21:
(sc in the next 2 st, dec) repeat 6 times [18]
Round 22:
(sc in the next st, dec) repeat 6 times [12]
- Fasten off, leaving tail to close the hole. Weave tail securely.
Pattern Correction
- In Legs Row 2, it should read:
sc into second chain, inc in each remaining chain (not stitch). - In some decrease rounds, double-check that your stitch counts match, especially after legs are attached and stuffing, to maintain symmetry.

Tips
- Use stitch markers to ensure features are placed symmetrically.
- Bobby pins make leg placement easier because their length helps visualize spacing.
- Stuff gradually and check firmness as you work.
Conclusion
This no-sew amigurumi spider pattern is beginner friendly and adaptable for various sizes. By following the step-by-step instructions and utilizing customization ideas, you can craft a personalized, plush spider with minimal sewing. Adjust color, size, and details for your own unique creation; ensure correct counts and feature placement for best results.