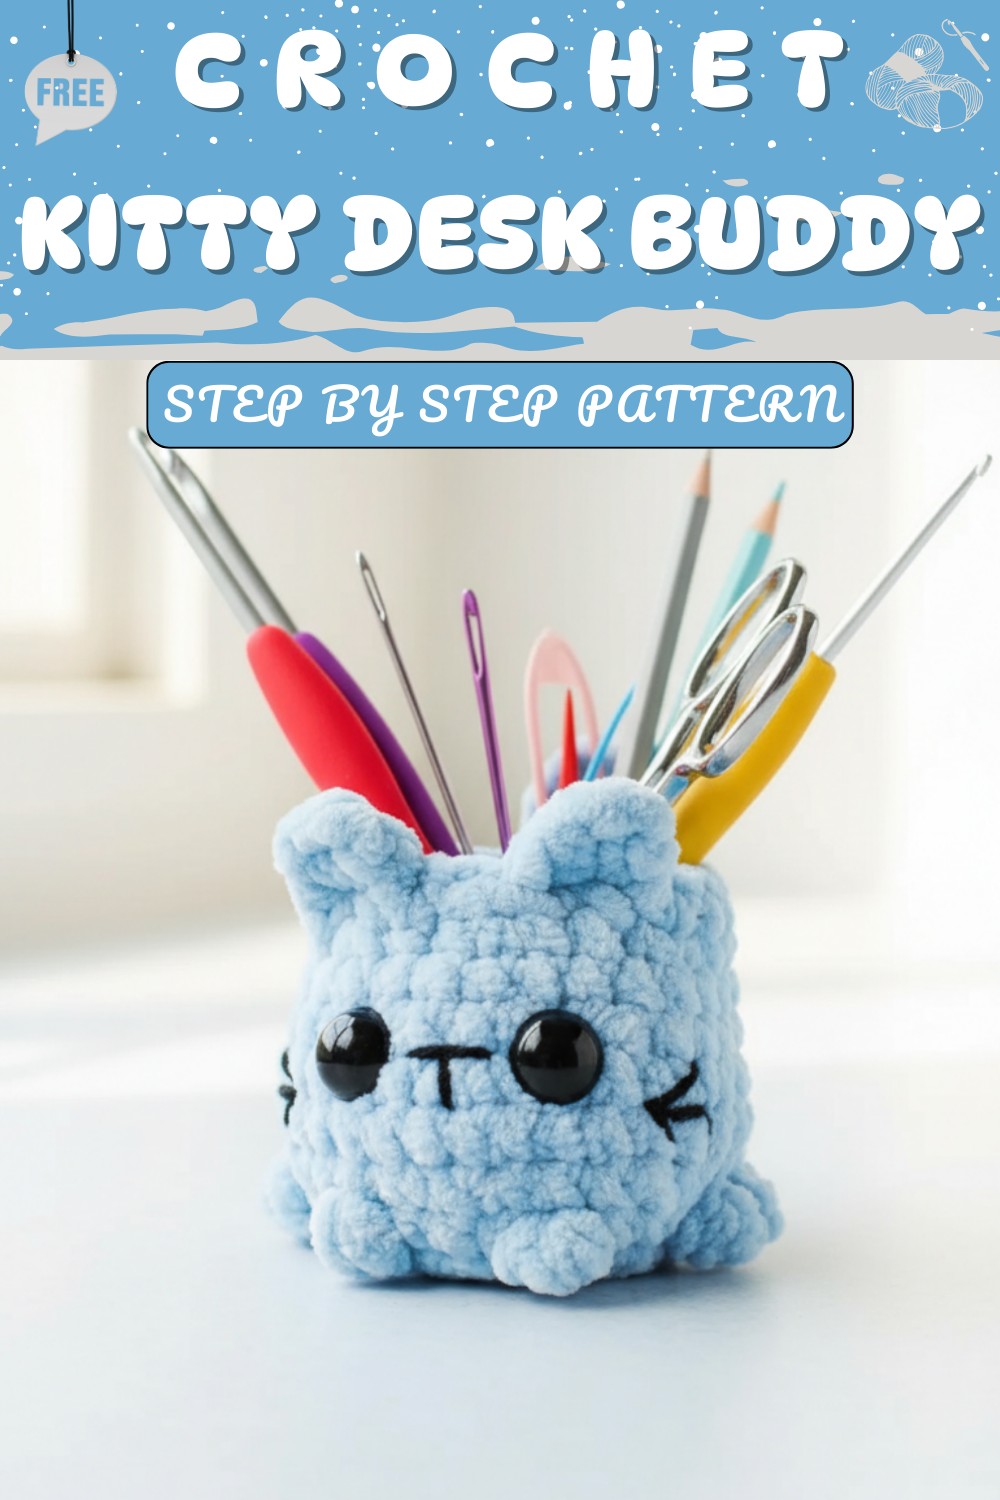
Must-Try Crochet Kitty Desk Buddy Pattern to Brighten Your Desk
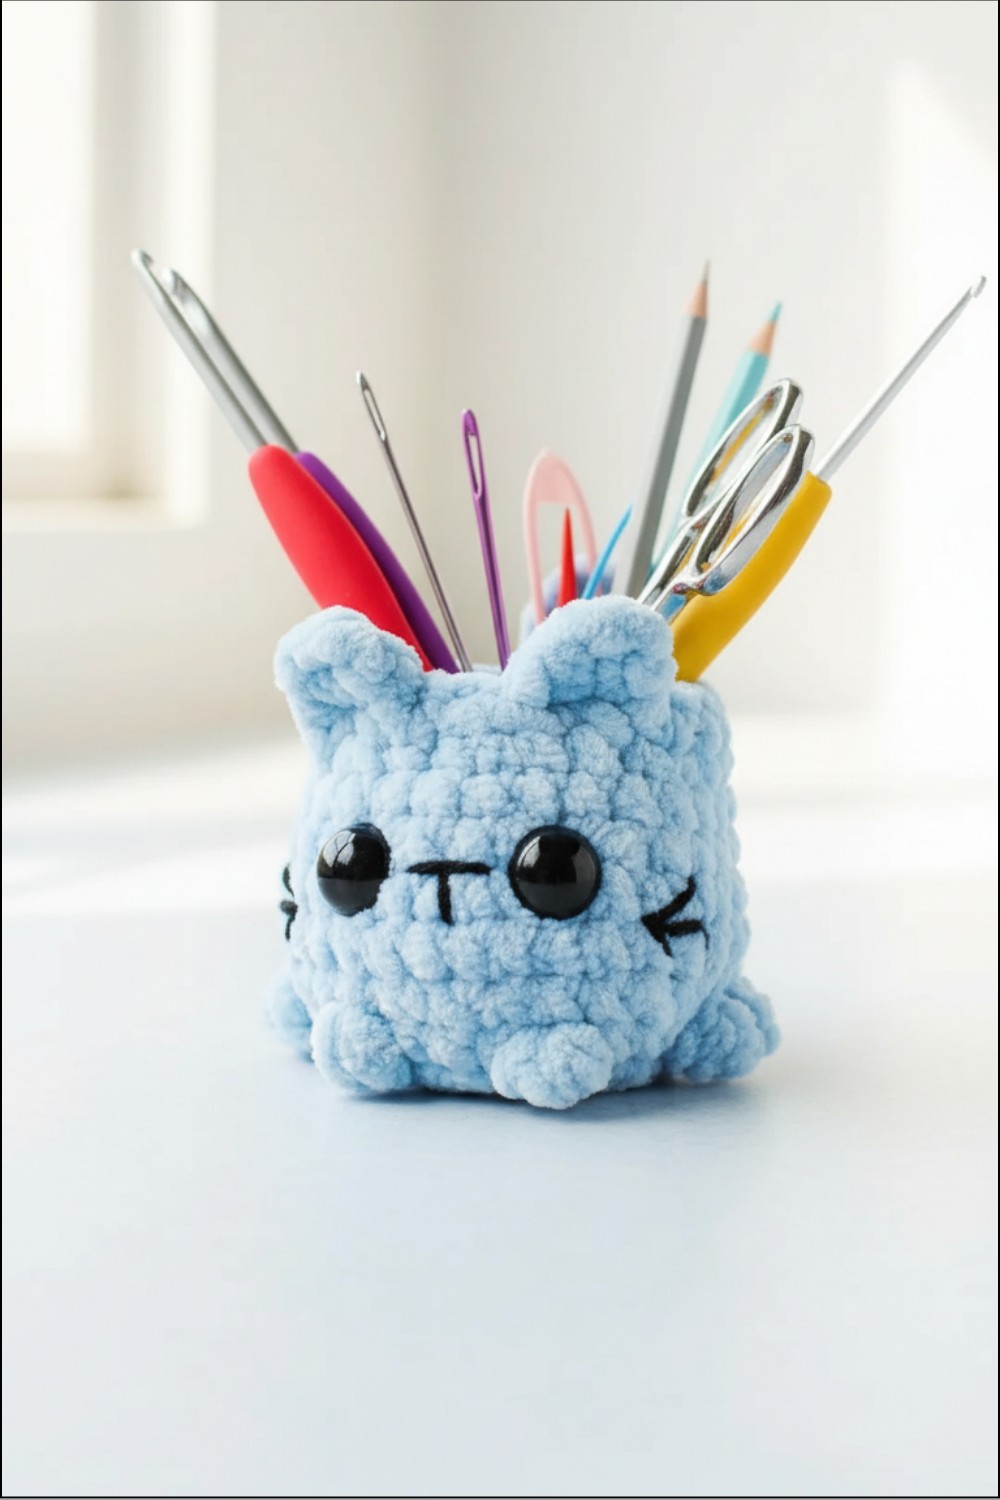
Bring a touch of charm and coziness to your space with this adorable Crochet Kitty Desk Buddy Pattern shaped like a sweet little kitty. Perfect for desks, shelves, or small corners around the home, it’s a lovely way to make any area feel warm and inviting. With soft textures and intricate details, like its tiny ears and paws, this delightful creation brings smiles and cheer wherever it's placed.
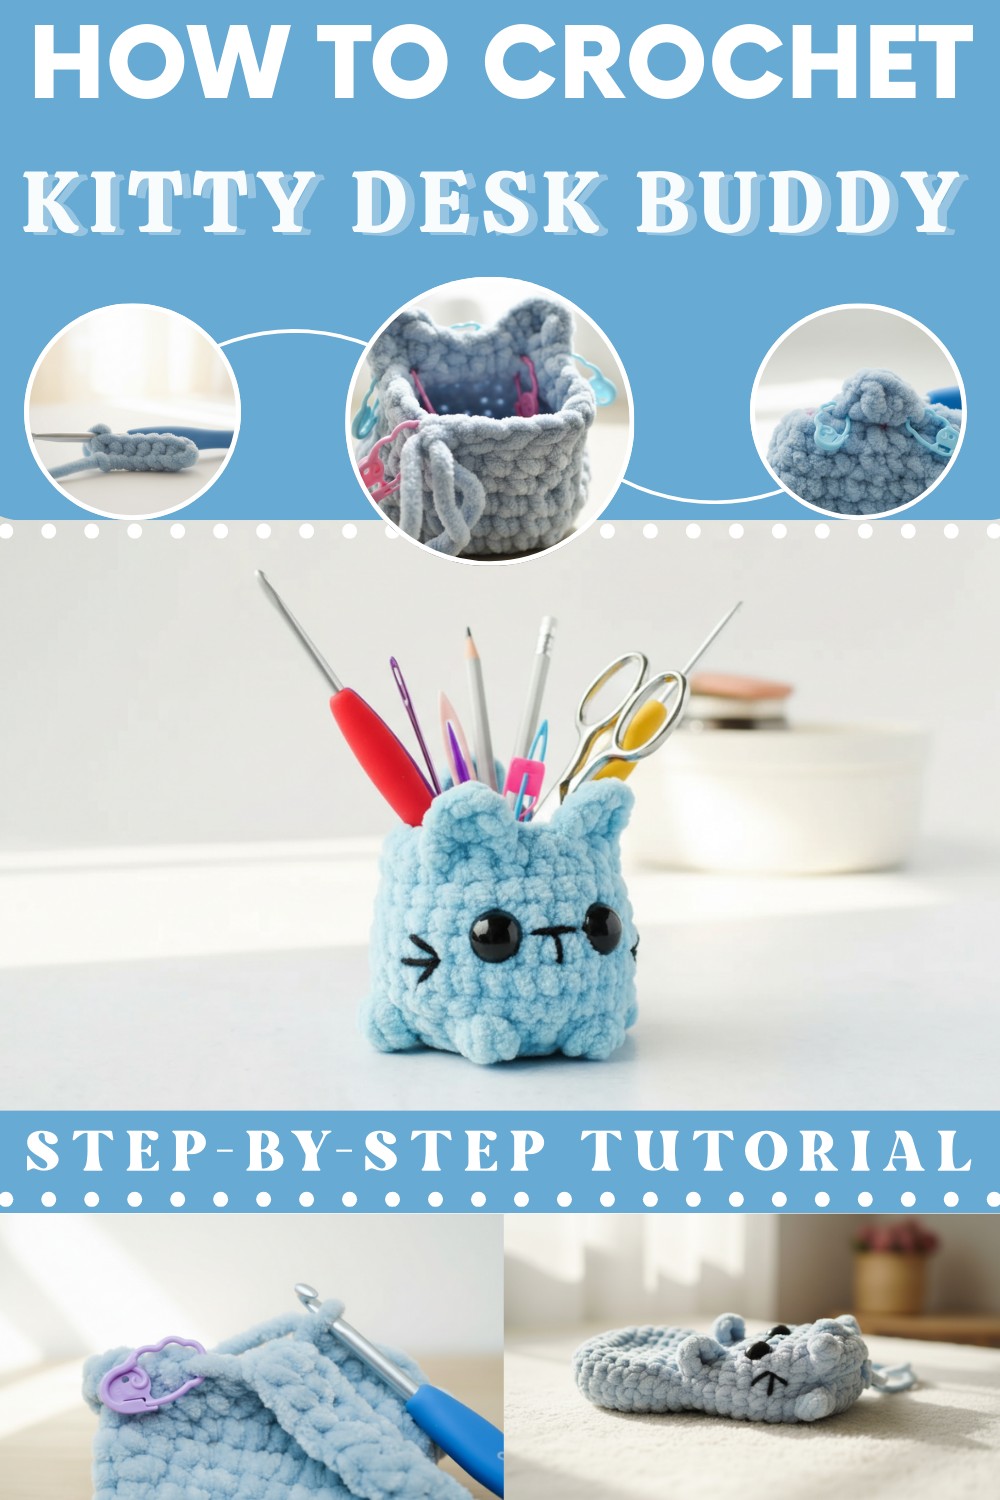
You’ll love the way it adds personality to your workspace, serves as a cute accent piece, or simply brightens your day as a unique desk buddy. It’s not just a decoration—it’s a fun companion for all ages and a thoughtful gift option for loved ones. Whether you use it to organize your desk or display it on a shelf, this crochet treasure is sure to add joy, style, and a sprinkle of whimsy to your home or office.
Say hello to the adorable Crochet Kitty Desk Buddy Pattern that's perfect playful companion to bring a hint of whimsy to your workspace.
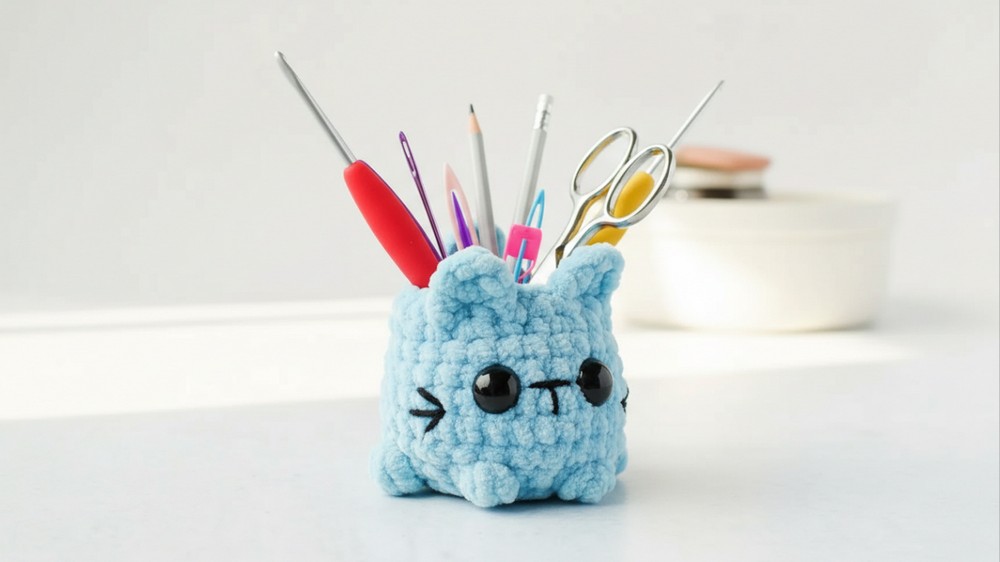
Purr-fect Crochet Kitty Desk Buddy Pattern for Cat Lovers
Skill Level
Intermediate: This pattern involves working in continuous rounds, creating various stitches (including bobbles), crocheting in front loops only (FLO), and attaching embellishments.
Materials Needed
Yarn
- Super Bulky Weight Yarn (#6):
- Premier Parfait Chunky or similar yarn (~32 yards/24 grams — choose your desired color).
Additional Supplies
- Safety Eyes: Two 14 mm plastic safety eyes (not recommended for children under 3 years old).
- Hook: 6.0 mm crochet hook.
- Thread or Embroidery Yarn: Black or pink for nose and whiskers (optional for details).
- Stuffing: Polyester fiberfill.
- Tools:
- Yarn/Embroidery needle.
- Scissors.
- Stitch markers (at least two).
- Optional: Fabric glue (for securing decorations or shaping).
Abbreviations (US Crochet Terminology)
| Abbreviation | Meaning |
|---|---|
| sc | Single Crochet |
| st(s) | Stitch(es) |
| inc | Increase; work 2 single crochet stitches into 1 stitch |
| dec | Decrease; join 2 single crochet stitches into 1 stitch |
| ch | Chain |
| hdc | Half Double Crochet |
| dc | Double Crochet |
| FLO | Front Loop Only |
| bobble | (5 dc bobble as defined below) |
| small bobble | (3 dc bobble as defined below) |
Bobble Instructions:
- Yarn over, insert the hook into the stitch, yarn over, pull up a loop.
- Yarn over, pull through 2 loops on the hook. Repeat 3 more times — there will be 6 loops on the hook.
- Yarn over and pull through all 6 loops. Pull up your bobble to make it “pop out”.
Small Bobble Instructions:
- Similar steps as the Bobble, but only repeat 1 more time, meaning there will be 4 loops on the hook before pulling through.
Special Notes
- Continuous Rounds: Always work in continuous rounds without joining. Use stitch markers to track your first stitch in each round.
- Placement Markers: Mark the ears and back loops as instructed for easier stitching during specific rounds.
- Tension: Keep your tension consistent for sturdy edges, especially when forming the “cup” shape for the desk buddy.
- Stuffing: Do not overstuff the desk buddy to maintain the correct cup shape.
Step-by-Step Pattern
Head and Body
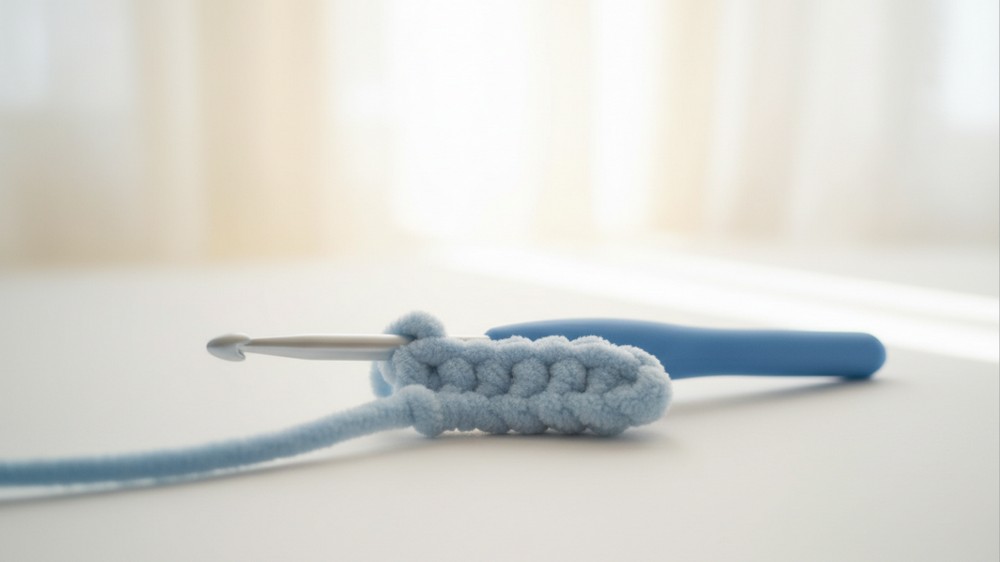
- Start with a Slipknot and Chain:
- Make a slipknot and ch 7.
- Round 1:
- Sc in the 2nd chain from hook, sc in the next 5 chains.
- Working down the opposite side of the chain, sc in the next 6 chains. (12 sts total)
- Round 2:
- (Inc, sc) – repeat 6 times. (18 sts total)
- Round 3:
- (Inc, sc in the next 2 sts) – repeat 6 times. (24 sts total)
- Round 4:
- Sc in each st around. (24 sts total)
- Round 5:
- (Inc, sc in the next 3 sts) – repeat 6 times. (30 sts total)
- Round 6:
- (Dec, sc in the next 3 sts) – repeat 6 times. (24 sts total)
- Round 7:
- Sc in each st around. (24 sts total)
- Round 8:
- (Dec, sc in the next 2 sts) – repeat 6 times. (18 sts total)
- Round 9:
- Sc in each st around. (18 sts total)
Adding Ears
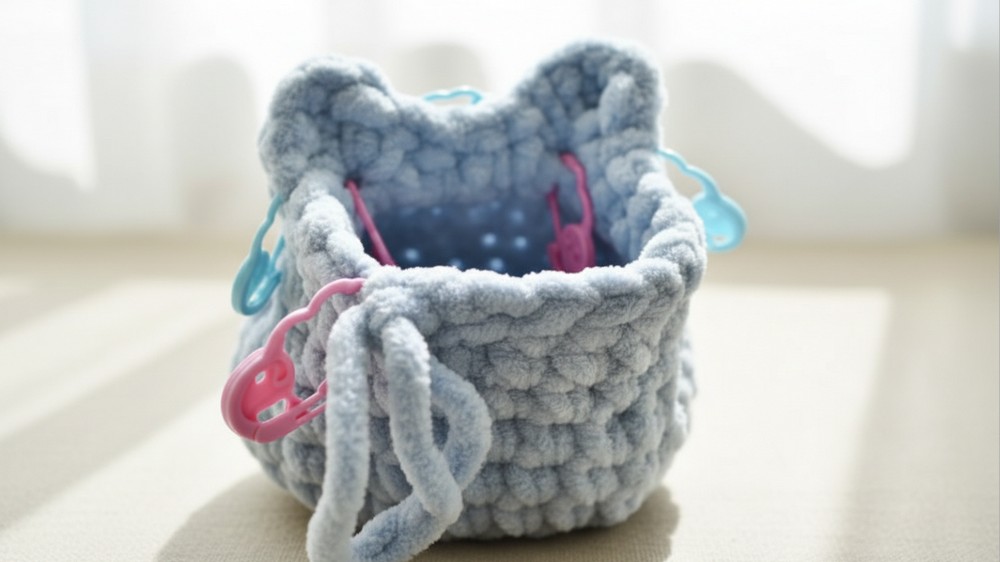
For shaping the ears, mark the FLO of the 4th and 8th stitches in this round.
- Round 10:
- Sc in the next 3 sts.
- Ear: In the next marked FLO, (sc, hdc, dc, ch 1, hdc, sc) all in the same st.
- Sc in the next 3 sts. Repeat for the second ear in the next marked FLO.
- Sc into the remaining unmarked back loops around. (18 sts total)
- Round 11:
- Sc in the next 3 sts, sc into the marked back loops, sc in the next 3 sts, sc into the marked back loops, then sc in the remaining 10 sts. (18 sts total)c
Forming the Base and Adding Bobbles
- Round 12:
- (Inc, sc in the next 2 sts) – repeat 6 times. (24 sts total)
- Rounds 13–14:
- Sc in each st around. (24 sts total per round)
- Round 15:
- (Inc, sc in the next 3 sts) – repeat 6 times. (30 sts total)
- Round 16:
- Sc in each st around. (30 sts total)
- Round 17:
- (Dec, sc in the next 3 sts) – repeat 6 times. (24 sts total)
- Round 18: (Adding Bobbles and Tail)
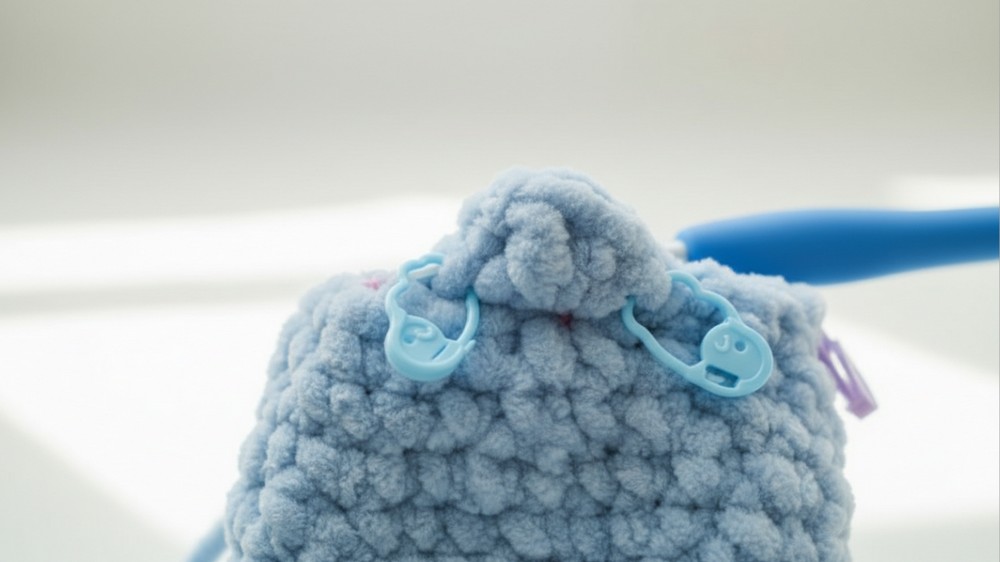
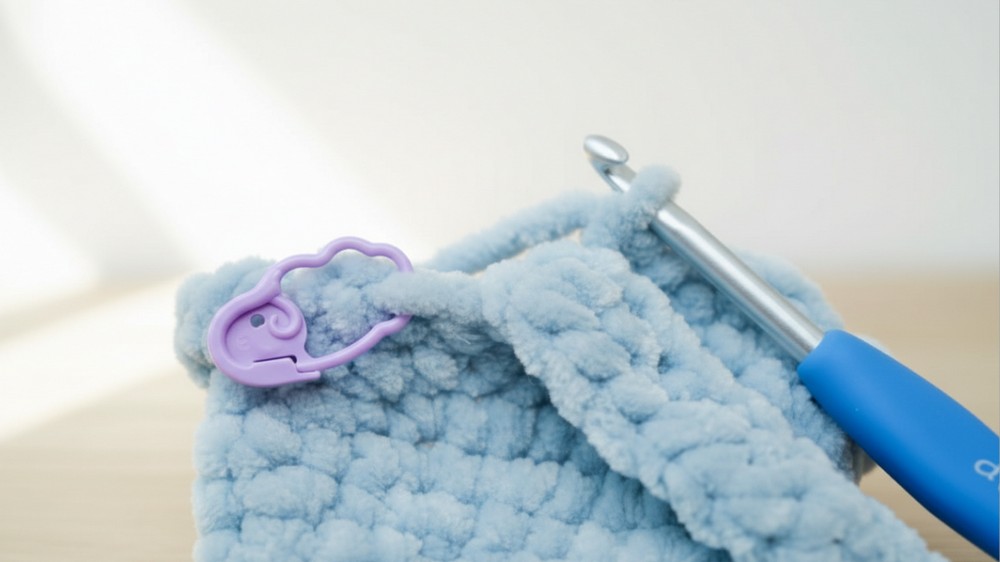
- Sc in next 2 sts, FLO bobble, sc in next 3 sts, FLO small bobble, sc in next 3 sts, FLO small bobble, sc in next 3 sts, FLO bobble, sc in the next 7 sts.
- Tail: Ch 13, hdc in the 2nd ch from the hook, hdc in the next 11 sts. Sc into the last 2 sts of the round. (24 sts total)
Face Details and Closing the Body
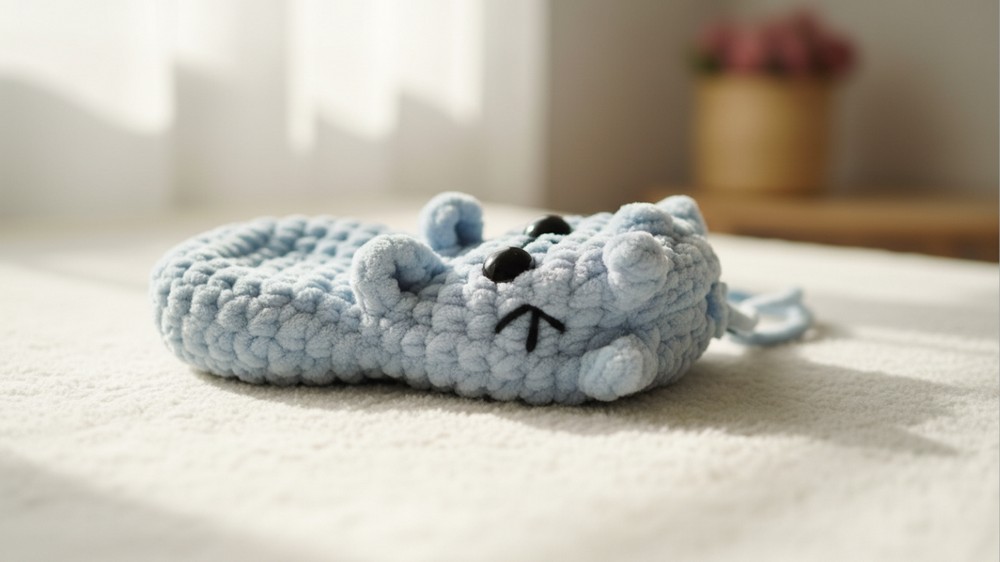
- Add Safety Eyes: Place 14 mm safety eyes between R14 and R15, leaving 3 sts between them.
- Add the Nose and Whiskers: Using black or pink yarn, embroider a nose and whiskers. The nose sits between the safety eyes and can have a vertical line extending beneath it for added detail.
- Rounds 19–21:
- (Dec, sc in the next 2 sts) – repeat for R19. (18 sts total)
- (Dec, sc) – repeat for R20. (12 sts total)
- (Dec) – repeat for R21. (6 sts total)
- Fasten Off: Sew the opening shut tightly, leaving a long tail to weave the yarn through the body for shaping and firmness.
Forming the Cup
- Once finished, roll or tuck the body inward, starting from the base, to form the sturdy "cup" structure. Stop at the ears.
- (Optional) Use a small amount of fabric glue to position the tail upright along the back of the cup. Let it hang or straighten depending on your preference.
Conclusion
Congratulations on completing your Kitty Desk Buddy! This adorable creation makes a perfect companion for your workspace and is fantastic for holding small desk accessories like pens, scissors, or even paper clips. Its customizable nature means you can create cats in a variety of colors and personalities!
Pattern Corrections
- Carefully follow the steps for ear and bobble placement — stitching into the correct loops is critical for accuracy.
- If your cup is too soft, make sure that the last rounds and tail are tightly crocheted and well-shaped.
Tips
- Bobbles: Be sure to “pop out” your bobbles for a plush and cute finishing touch.
- Eyes and Safety: For young children and babies, embroider the eyes instead of using safety eyes to avoid choking hazards.
- Flatten Base: Ensure the bottom of the “cup” is flat to stabilize it.