
Fluffy Crochet Bunny Pattern Perfect for Kids and Collectors
Making a cute and soft bunny at home is easy and fun with this simple crochet bunny pattern. No matter if you are a beginner or have never tried crochet before, you can follow the simple steps and look at the helpful pictures to guide you. Pick your favorite colors—maybe white, pink, or any bright shade that makes you happy. This handmade bunny can be a wonderful toy for children, a thoughtful gift for a friend, or a lovely decoration for special days like Easter.

Make your bunny extra special by adding small buttons, bows, or ribbons. All you need is a little yarn, a crochet hook, and a bit of time to create something beautiful. Using a crochet bunny pattern brings joy, fun, and a proud feeling when you see the bunny you have made with your own hands.
Fall in love with soft and playful charm with Crochet Bunny Pattern that's a cute and cuddly companion perfect for bringing joy to any room.

Whisk Crochet Bunny Pattern Heartwarming Gift Everyone Loves
Materials
- Yarn: Worsted weight cotton yarn or amigurumi yarn in White (for bunny), Pink (for nose/flowers), and colors for optional flower decoration
- Hook Sizes: 3.0 mm crochet hook (for bunny), 2.5 mm crochet hook (for flower, optional for detail work)
- Stuffing: Polyester fiberfill
- Yarn Needle: For sewing and embroidery
- Stitch Marker or contrasting yarn
- Safety Eyes: 2 pieces, size ~6-8mm (optional, can embroider)
- Tapestry Needle
- Scissors
- Pins: For positioning parts
- Optional: Silicone glue/pearl/stone (for flower center embellishment)
Key Abbreviations
| Abbreviation | Meaning |
|---|---|
| mr | Magic ring |
| sc | Single crochet |
| inc | Increase (2 sc in one stitch) |
| dec | Invisible decrease (see notes) |
| sl st | Slip stitch |
| ch | Chain |
| st(s) | Stitch(es) |
| FO | Fasten off |
Special Notes
- Stitch Marker: Always use a stitch marker or contrasting yarn to mark the first stitch of each round.
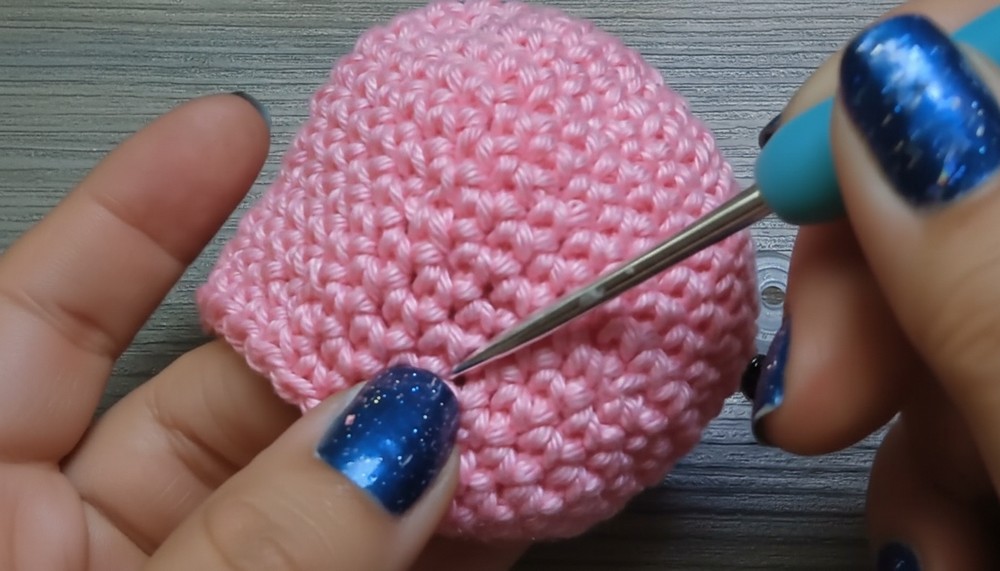
- Invisible Decrease (dec): Insert hook into the front loop of the next two stitches, yarn over, pull through both front loops, yarn over, pull through both loops on the hook.
- Work continuously in spirals unless otherwise stated. Do not join rounds unless told.
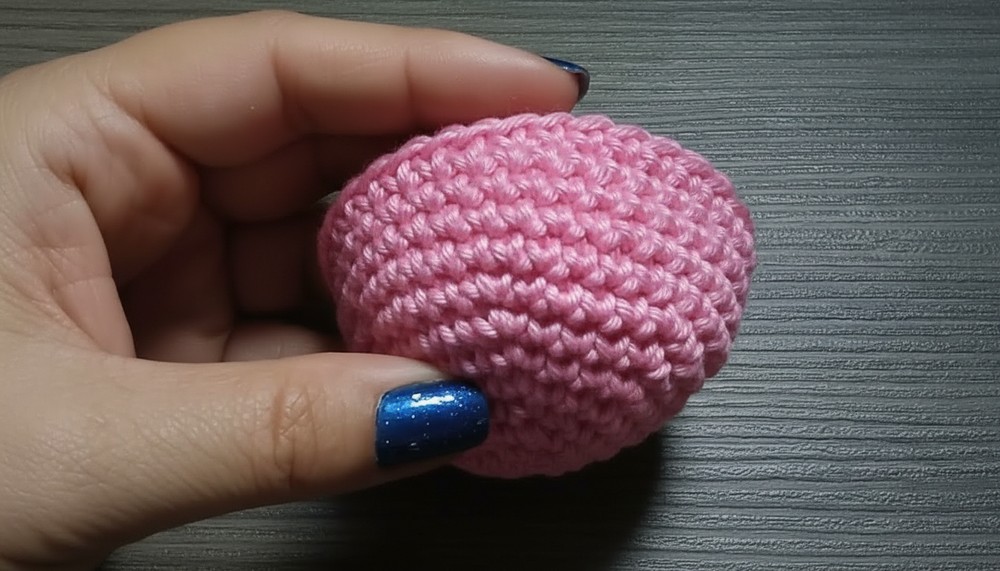
BODY (Make 1)
- With 3.0 mm hook and white yarn:
- Rnd 1: Work 6 sc into a mr. [6]
- Rnd 2: inc in each st around (2 sc in each st). [12]
- Rnd 3: (1 sc, inc) repeat around. [18]
- Rnd 4: (2 sc, inc) repeat around. [24]
- Rnd 5: (3 sc, inc) repeat around. [30]
- Rnd 6: (4 sc, inc) repeat around. [36]
- Rnd 7–11: sc in each st around. [36] (5 rounds)
- Rnd 12: (4 sc, dec) repeat around. [30]
- Rnd 13–15: sc in each st. [30]
- Rnd 16: (3 sc, dec) repeat around. [24]
- Rnd 17: sc in each st. [24]
- Insert safety eyes between Rnds 14 and 15, 3 sts apart.
- Stuff body firmly.
- Rnd 18: (2 sc, dec) repeat around. [18]
- Rnd 19: sc in each st. [18]
- Rnd 20: (1 sc, dec) repeat around. [12]
- Add more stuffing as needed.
- Rnd 21: dec around (6 dec). [6]
- FO, leaving a tail. Thread yarn needle through remaining front loops and pull tight to close. Weave in ends securely.


EARS (Make 2)
- With 3.0 mm hook and white yarn:
- Rnd 1: 6 sc in a mr. [6]
- Rnd 2: inc in each st around. [12]
- Rnd 3: sc in each st around. [12]
- Rnd 4: (sc, inc) repeat around. [18]
- Rnd 5–14: sc in each st around. [18] (10 rounds)
- Rnd 15: 2 dec, 14 sc. [16]
- Rnd 16: 2 dec, 12 sc. [14]
- Sl st to the next st, FO leaving long tail for sewing.
- Fold the base of the ear and stitch shut to add structure.
- Sew ears to top of head, using pins to hold position before sewing. Ensure symmetry.
FACE DETAILS
- Nose & Mouth: Embroider with pink or contrasting color yarn.
- Mark the nose location with a pin (between eyes, 1–2 rounds below).
- Embroider a small triangle for the nose and downwards “v” shape for the mouth.
- Weave in ends securely, tying knots and hiding in stuffing.
- (Optional) Cheeks: Add a small amount of pink blush for a cute touch.
FLOWER (Make 1 or as many as desired)
- With 2.5 mm hook and colored yarn:
- Magic ring—leave it loose.
- This is for one petal:
- Ch 3
- Tr (yarn over twice, insert into ring, pull up loop, yarn over pull through 2, three times)
- Repeat Tr for a second time in ring
- Ch 3
- Sl st into ring
- Repeat above sequence for 5 petals (5 rounds total: ch3, tr, tr, ch3, sl st into ring).
- Tighten magic ring gently to close center—do not overtighten before all petals are worked.
- FO with a tail for sewing.
- (Optional: Sew or glue a pearl/stone at flower center for embellishment.)
- Sew or glue flowers to bunny ear or body as desired.

ASSEMBLY
- Stuff body fully before closing.
- Sew ears securely to the top of the head.
- Embroider nose & mouth.
- Attach flower(s).
- Weave in all ends discreetly.
Customization Ideas
- Use pastel yarn for a spring bunny.
- Add more flowers in different colors on the head or body.
- Embroider a small tail or make a small pompom.
- Vary eye type: use safety eyes, crochet, or embroidery.
- Make a bow instead of a flower for a different look.
Pattern Corrections & Tips
- Always check your stitch count at the end of each round to ensure shape and symmetry.
- Invisible decreases create a neater finish for amigurumi than standard decreases.
- Stuff firmly, but do not overstuff at the closing point to avoid distorting the shape.
- Safety eyes should be inserted before stuffing and closing, as instructed.
- Ear structure is improved by stitching the base closed before sewing to head.
Conclusion
This bunny amigurumi is an adorable, customizable project, perfect for gifting or for your own collection! By following each step and tip above, even beginners can achieve a neat and professional finish. Feel free to personalize your bunny with extra flowers or accessories and experiment with colors for unique results.
