
Mini Crochet Flower Keychain Free Pattern with Instructions
Blooming with vibrant colors create a Crochet Flower Keychain that brightens your keys and makes a handmade gift using our easy pattern today.
Have you ever noticed how a small accessory can brighten your day? The Crochet Flower Keychain designed by Chaveiro Doce is just that a charming little piece that catches the eye with its soft petals and cheerful colors. This finished project looks like a miniature flower bouquet that you can carry everywhere. It’s perfect to hang on your keys, backpack, purse, or even use as a zipper pull, adding a sweet, personal touch wherever you choose to display it.
Quick Crochet Flower Keychain Free Pattern with a Cute Blooming Design
The Crochet Flower Keychain stands out because it feels both soft and sturdy. Its layered petals give it depth and a lovely texture that’s fun to touch and look at. Whether you’re heading to school, work, or just out for fun, this keychain makes a delightful companion. You can also use it to decorate gift bags, liven up your pencil case, or add charm to your handbag. It’s small enough to fit in your pocket but bright enough to help you find your keys quickly.
Chaveiro Doce created this pattern with simplicity and charm in mind, making it easy for anyone interested in crochet to try out. The design invites you to explore colors and personalize your keychain if you like. It’s a wonderful way to practice your crochet skills while making something truly useful and pretty.
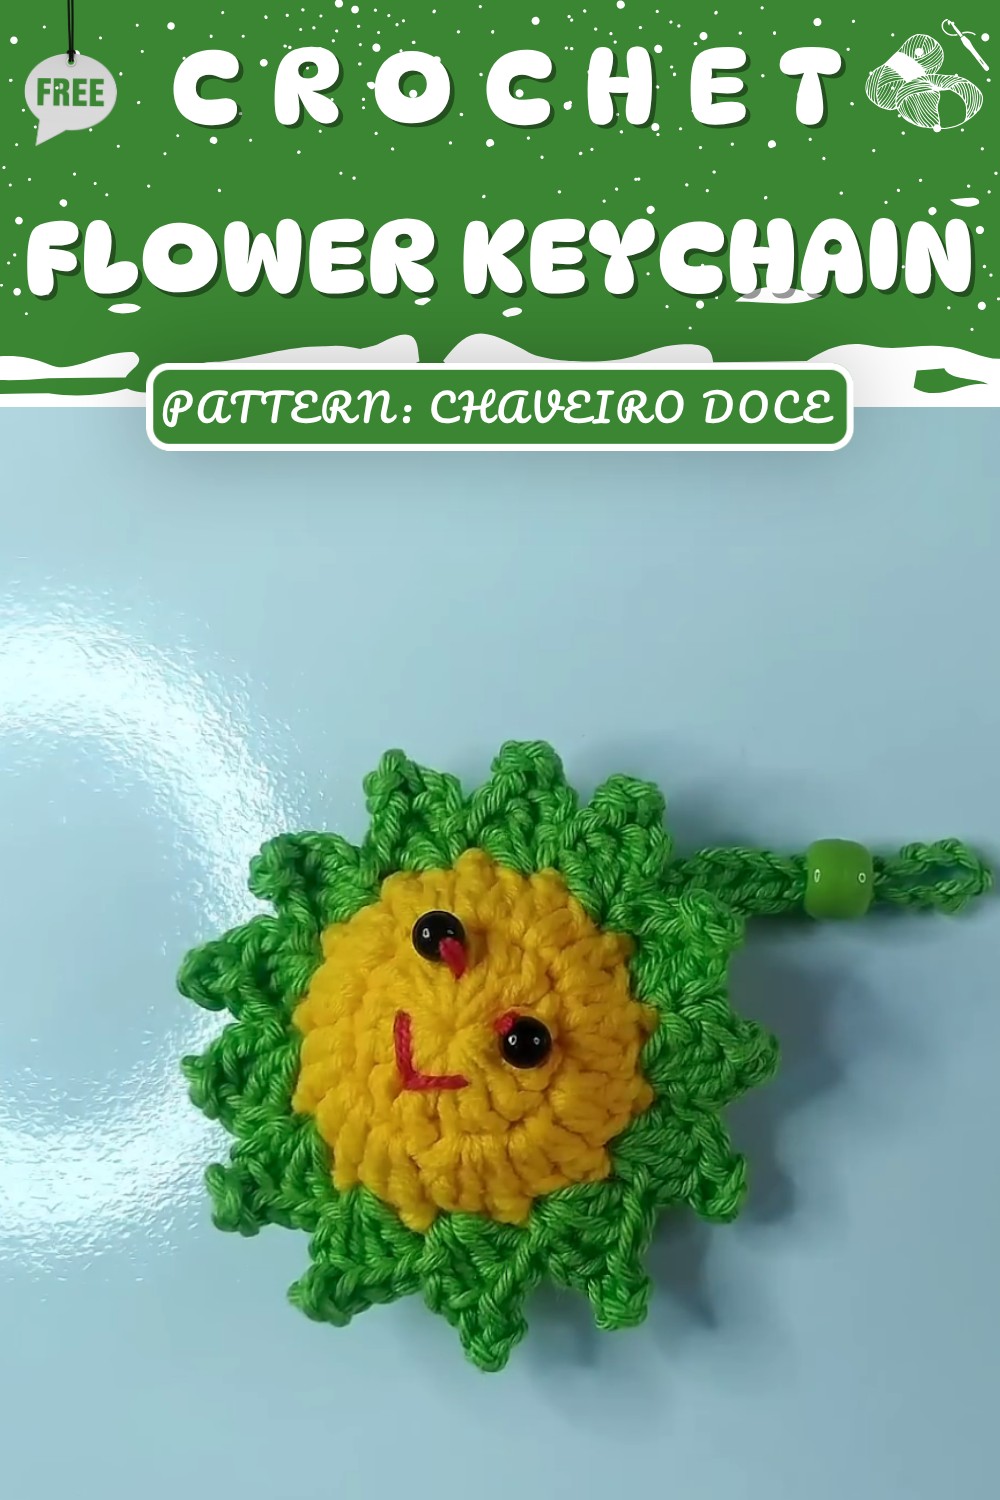
If you’d like to add this lovely touch to your keys or gift it to a friend, don’t hesitate to check out the free pattern for the Crochet Flower Keychain by Chaveiro Doce. It’s a sweet project that brings a little joy and color wherever it goes!
Crochet Flower Keychain – Step-by-Step Pattern
Today I’ll show you an idea for a crochet keychain with a flower motif. This design is vibrant, super simple, and very quick to make—ideal for a fun colorful accessory using yarn scraps.
Pattern Highlights
- Quick Circular Motif: Uses two flower discs joined for durability and plushness.
- Dimensional Petals: Each petal is worked through both flower discs, forming a thick, neat outline.
- Face Embellishments: Bead eyes and an embroidered mouth add personality.
- Built-in Hanging Loop: Easily attach to keyrings or bags.
- Customizable: Mix and match colors, add blush or beads, vary expressions.

Notes
- The pattern includes sewing and embroidery details for the face.
- Petals are crocheted joining the two discs from the start for sturdiness.
- Leave a gap before final petals to add stuffing.
- Use tiny beads or safety eyes for the face, and fine yarn/thread for embroidery.
- Picot at the top of each petal creates a clean, pointed effect.
- The loop can be omitted if you prefer to use a metal ring or chain.
- Gauge is not critical—work with a tight, neat tension for best results.
Skill Level
Beginner.
You only need basic stitches (magic ring, double crochet, chains, slip stitch), simple embroidery, and easy sewing.
Materials
- Yarn: multiple colors for flower and face, plus a tiny bit of red for mouth
- Crochet hook (compatible with yarn, e.g. 2.5–3.5mm)
- Yarn needle and fine sewing needle
- Small beads or safety eyes
- Fine thread (optional, for sewing beads)
- Polyester stuffing (a small amount)
- Keychain ring
- Small bead or blush (optional for decoration)
Measurements / Sizing
- Flower diameter: approx. 4–6 cm (varies with yarn/hook)
- Hanging loop: approx. 5 cm (20 chains)
Gauge (and Stitch Pattern)
- Gauge is not critical; tight stitches help keep the stuffing secure and the petals firm.
Stitch Abbreviations
| Abbreviation | Stitch Name |
|---|---|
| MR | Magic ring |
| ch | Chain |
| dc | Double crochet (US terms) |
| sl st | Slip stitch |
| sc | Single crochet |
| picot | ch 3, sl st in top of dc |
Special Stitches
- Picot Stitch: After dc at petal tip, ch 3, sl st into top two strands of same dc.
Crochet Guide
Flower Center (Make 2)
Round 1:
- MR, ch 2 (does not count as dc), 13 dc into ring (total = 13).
- Pull ring tight, sl st in top of first dc (not chains).

Round 2:
- Ch 2, 2 dc in each stitch (13 increases: 26 dc).
- Do not count starting chains as dc.
- At end: cut yarn, thread tail onto tapestry needle.
- For invisible join:
- Pass needle through second dc (after chains), pull to back, then back into last stitch (through chains and back loop), adjust, knot softly, weave in.
Repeat for second disc.

Embroidery – Face
- Sew bead/safety eyes onto first disc using fine thread and needle, positioning eyes one or two rows down from center.
- With red yarn/thread, embroider mouth: insert needle from back to front below magic ring, exit two stitches diagonally, then re-enter near original point—creates a small smile.
- Optionally add blush under eyes.
- Secure and weave in all thread tails.

Joining & Petals
Forming Hanging Loop:
- Stack discs, insert hook between eyes.
- Ch 20 (for loop).
- Insert hook back in same spot through both discs, sl st to secure loop.

Making Petals (Repeat):
- Ch 2, yarn over, insert hook through same space of both discs, dc.
- Ch 3, sl st in top two strands of preceding dc (picot).
- Yarn over, insert through same space, dc again; repeat for one more dc in same spot (2 more dc).
- Skip one stitch on both discs, insert hook in next stitch through both discs, sl st.
- Repeat from step 1 for each petal, working around flower, until you leave a gap for stuffing.
- Stuff lightly.
- Continue petals until fully closed.
- At last petal, join to base of first petal with a sl st. Cut yarn, pull loop, thread tail onto tapestry needle, weave in back, knot securely.
Assembly & Finished Size
- Insert any bead for embellishment and attach keychain ring securely.
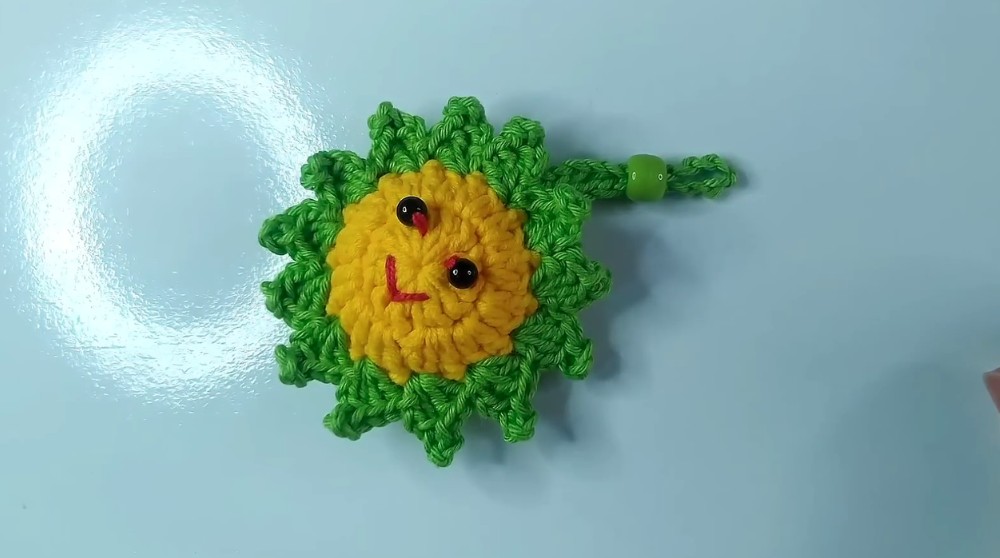
- Finished flower diameter is approx. 5 cm (depends on yarn/hook).
- Petals will be dimensional and loop will be robust for attachment.
Conclusion and Ending Words
Your crochet flower keychain is now ready! This quick project creates a delightful accessory filled with personality. Ideal for gifting, carrying, or using as a cheerful bag charm, it highlights beginner-friendly techniques and can be personalized in countless ways. Thank you for joining this lesson. Happy crocheting and don’t forget to subscribe for more creative ideas!