
Mini Free Crochet Coco melon TV Pattern Great For Backpack Charms
Tiny smiles appear with this Free Crochet Coco melon TV Pattern, making soft amigurumi that adds charm to nurseries, playrooms, and gifts.
Bright colors and cheerful shapes instantly draw attention as a beloved childhood favorite comes to life in soft, crocheted form. The Free Crochet Coco melon TV Pattern lets you recreate the familiar TV character as a playful amigurumi piece that can be used in multiple ways, perfect for nursery décor, a toddler’s playroom, or as a charming gift for young fans.
How To Crochet Coco melon TV Pattern Brightens Kids’ Spaces

This project is beginner-friendly yet satisfying for more experienced crocheters, using a manageable amount of yarn and straightforward stitches to produce a polished, eye-catching result. What makes this pattern special is its attention to detail: the rounded TV frame, vibrant character features, and expressive face combine to create a miniature version that captures the show’s charm.

Beyond its decorative appeal, it provides a rewarding project that strengthens crochet skills while delivering a cute, interactive, and handmade keepsake. With its combination of vivid colors and playful design, this amigurumi TV adds personality and joy wherever it’s placed. Key elements include a circular base for the screen, color sections for character features, and carefully stitched eyes and hair to bring the figure to life.
Free Crochet Coco melon TV Pattern
Materials List
- Yarn:
- Pink or fuchsia (helmet)
- Aqua blue (antenna base)
- Violet (antenna tip)
- Beige or peach (face)
- White (face edge and eye highlights)
- Black (eyes, mouth, nose embroidery)
- Pink (cheeks embroidery)
- Crochet Hook: 2.5 mm or size to obtain a neat, tight stitch
- Wire: Thin craft wire (for antennae, optional but recommended)
- Yarn Needle: For sewing and embroidery
- Stuffing: Polyester fiberfill
- Scissors
Key Abbreviations (US Terms)
- mr: magic ring (adjustable ring)
- ch: chain
- sc: single crochet
- inc: increase (2 sc in the same stitch)
- dec: decrease (single crochet 2 together)
- sl st: slip stitch
- BLO: back loop only
- st(s): stitch(es)
- rep: repeat
- FO: fasten off
Special Notes
- Work in continuous rounds unless otherwise specified.
- Mark the beginning of each round with a stitch marker.
- Wire is used for antenna shaping; ensure wire ends are secured safely inside.
- Embroidery details (face, eyes, cheeks) may be customized as preferred.
Pattern Instructions
1. Helmet (Pink/Fuchsia)
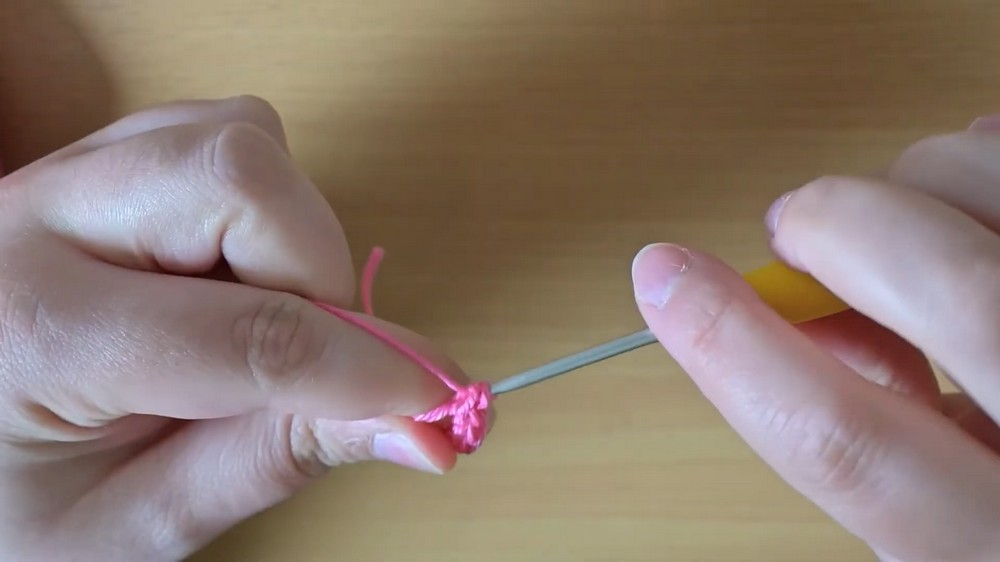
With pink/fuchsia yarn:
- R1: Make a magic ring, work 8 sc into ring. (8)
- R2: Inc in each st around. (16)
- R3: (Sc in next st, inc in next) rep 8 times. (24)
- R4–R5: Sc in each st around. (24) For 2 rounds.
- Leave a long tail for sewing. FO.
2. Antennae (Make 2: One “short”, One “long”)
Aqua blue and violet yarn:
Short Antenna
- R1: With aqua blue, make a magic ring, 4 sc in ring. (4)
- R2: (Sc in next st, inc in next) rep 2 times. (6)
- R3: Sc in each st around. (6)
- R4: Change to violet. (Sc in next st, dec) rep 2 times. (4)
- R5–R10: Sc in each st around. (4, for 6 rounds)
- FO.
Long Antenna
- Repeat as above, but work R5–R12: Sc in each st (4, for 8 rounds instead of 6).
- FO.

Assembly Tip: Cut a length of thin wire a little longer than each antenna, insert inside before attaching to helmet, shaping as desired.
3. Face (Beige/Peach Oval)
With beige/peach yarn:
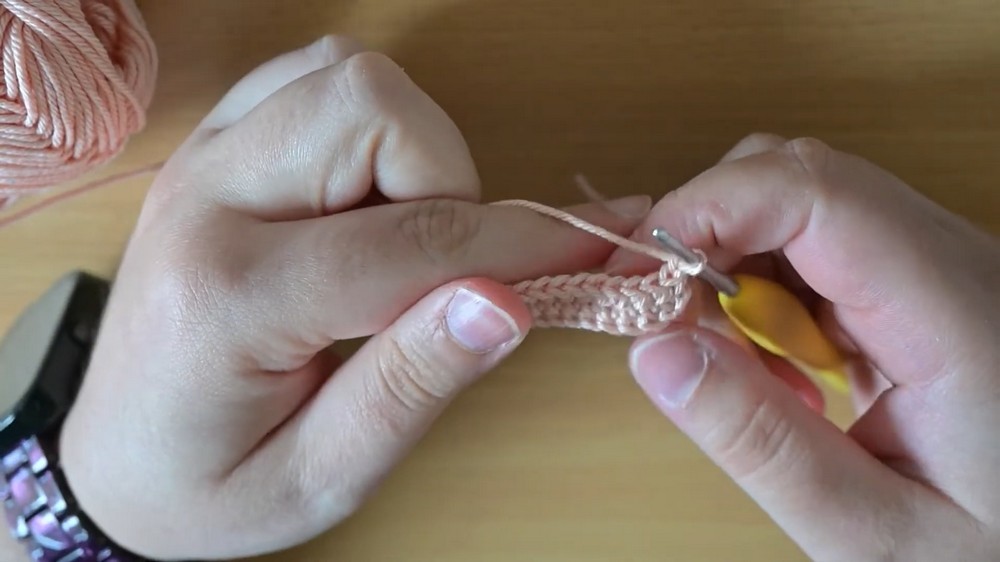
- Ch 12.
- R1: Starting in the 2nd ch from hook, sc across (11 sc).
- R2–R9:
- Ch 1, turn. Sc in each st across.
- Alternate every other row:
- Odd rows (R3, R5, R7, R9): Regular sc.
- Even rows (R2, R4, R6, R8): Work “inverse sc” (reverse single crochet), or simply sc as preferred (video implies a textural difference).
- FO, leave a long tail for sewing.

White Border
- With white yarn:
- Attach at one corner, work sl st in BLO around the edge of the oval face piece.
- FO.
4. Assembly
Helmet:
- Stuff helmet lightly.
- Position and sew helmet to the top of the body (centered between third and fourth row if attaching to an amigurumi).
Antennae:
- Insert pre-shaped wire inside each antenna.
- Sew short antenna on left, long antenna on right of helmet, entering through the first round of the helmet so wire exits horizontally. Secure in place and sew.
Face:
- Position face (white slip-stitched edge visible) centered on front of helmet, a few rows down from the top.
- Sew in place using beige/peach yarn.
5. Face Embroidery & Details
Eyes:
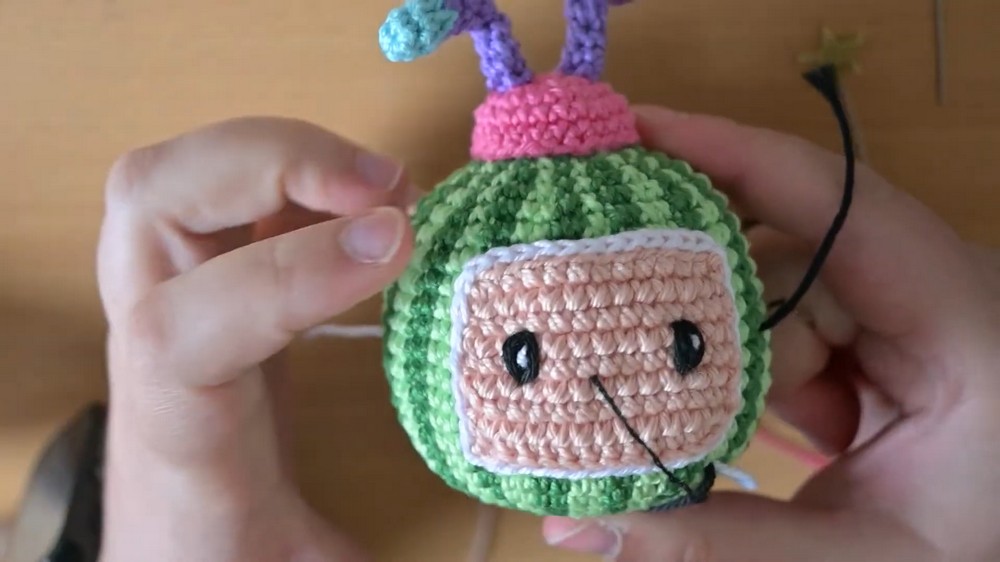
- Embroider two black ovals or dots starting 4 rows up from bottom of face, spaced 3–4 sts apart.
- Add a small white stitch (highlight) to upper part of each eye.
Nose:
- Stitch a short vertical or slightly curved bar between and above eyes, as shown.
Mouth:
- Embroider a small curved smile just under the midpoint between the eyes.
Cheeks:
- With pink yarn, embroider one small sideways oval or circle just below each eye.
Conclusion
This continues the Coco melon amigurumi, adding the helmet, antennae, and face details typical of the character. Careful embroidery and color placement will help bring your plush to life. Wires in the antennae let you pose or wave them, as in the show.
Pattern Correction & Tips
- The face panel should be 9 rows, not 12 as initially stated.
- Use tight, even stitches for all pieces, especially face and helmet, for a polished look.
- Be careful threading and securing the wire for antennas so it cannot poke out.
- For best results, plan the face details with pins before stitching.
- Use a felting needle or invisible thread for very neat embroideries if preferred.