Mini Crochet Amigurumi Virgin Mary Free Pattern As A Keepsake
Share warmth and meaning through this Crochet Amigurumi Virgin Mary Pattern that add a lovely handmade figure to your collection or special space.
Making handmade items that have meaning can bring a lot of joy and beauty to your home or gifts. Small crochet projects are perfect for adding a personal touch to special occasions or everyday life. Whether you're looking to decorate your space or gift something unique, this kind of craft shows care and creativity. The Crochet Amigurumi Virgin Mary Free Pattern is a lovely project that lets you create a small, soft figure perfect for special times like Christmas, Easter, or other religious holidays. This amigurumi is just the right size to display on a shelf, desk, or altar, adding a peaceful and comforting touch to any space.
Simple Crochet Amigurumi Virgin Mary Free Pattern With Peaceful Look

The Shelen Crochet channel offers an easy-to-follow video that helps you make this beautiful Virgin Mary figure step by step. It has a simple, elegant style with soft colors and thoughtful details that show care and respect. The yarn used feels smooth and cozy, making the finished piece warm and inviting.

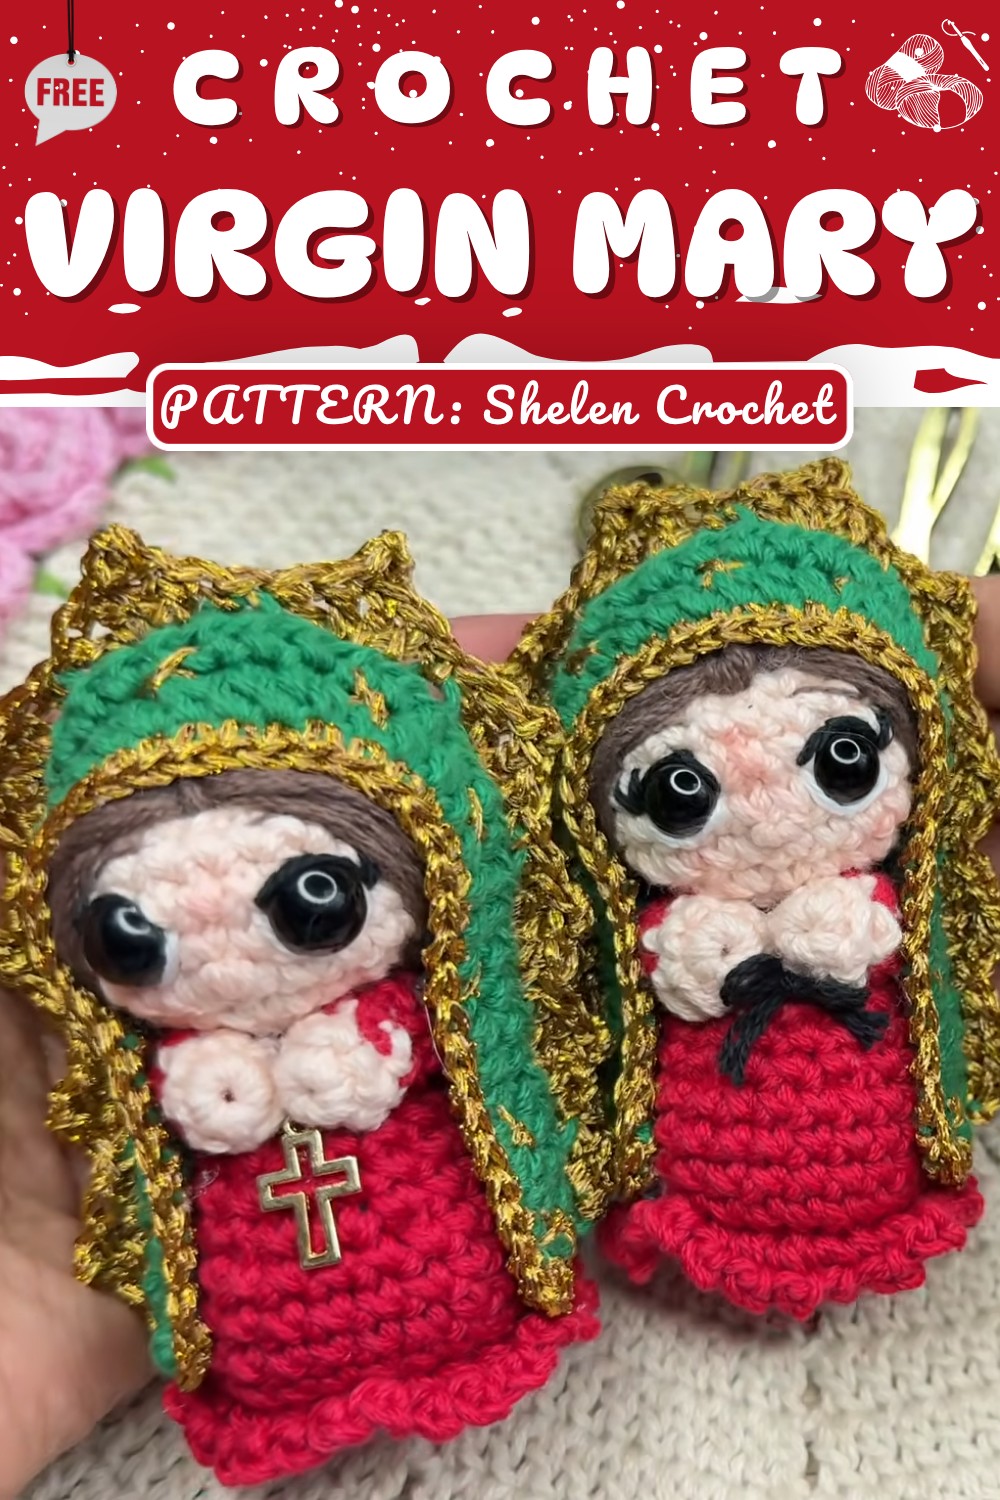
What makes this project special are its unique details, like the carefully stitched face, a flowing cloak with golden touches, and tiny hands that show calmness and grace. You can use this amigurumi as a decoration, a thoughtful gift, or a meaningful keepsake for your home.
If you want to create a handmade treasure full of love and meaning, check out the full Crochet Amigurumi Virgin Mary Free Pattern and bring this beautiful figure to life today.
Crochet Virgin Mary Amigurumi Pattern
This guide shows every step needed to crochet a 10 cm Virgin Mary amigurumi. It starts at the base, moves up to the head, and explains how to shape the hands, skirt border, hair, and cloak with gold trim and stars. Each part is explained with simple words and clear instructions so all skill levels can follow along. You’ll use basic crochet stitches, a bit of embroidery, and gentle sewing or gluing. All the materials and special stitches are listed. The finished figure is soft, bright, and small—just right for gifts, keepsakes, or personal treasures.
Quick Pattern Overview
- Body & Head: Worked in one continuous piece from base to head top.
- Hands: Two separate small pieces, glued to front of body.
- Skirt Trim: Chain loops along the lower body base.
- Hair: Embroidered directly onto head.
- Cloak: Flat crochet, joined up the back then trimmed with gold and embroidered stars.
- Assembly: Glued pieces, cross accessory, blush cheeks.
Notes
- Work in joined rounds unless told otherwise.
- Keep your tension firm so stuffing doesn’t peek out.
- For color changes, finish the last step of the old color using the new one.
- When sewing, fasten yarn off tightly for neat joins.

Skill Level
Intermediate (basic amigurumi stitches, easy embroidery, flat crochet).
Materials
- Yarn: Carmine red, skin tone, brown (hair), gold (trim, stars), green (cloak)
- Thread: Black and white embroidery floss (eyes)
- Hook: 2.5 mm
- Eyes: Size 9 or 10 safety eyes
- Needle: Tapestry and blunt embroidery/cross-stitch
- Glue: Hot glue or fabric silicone
- Stuffing: Polyfill
- Blush or lipstick
- Small cross or bow
Measurements
- Finished Height: About 10 cm
Gauge
- 26 sc × 28 rounds = 10 × 10 cm (2.5 mm hook)
Stitch Abbreviations
- ch: chain
- sc: single crochet
- inc: 2 sc in one stitch (increase)
- dec: crochet 2 together (decrease)
- hdc: half double crochet
- dc: double crochet
- sl st: slip stitch
- BLO: back loop only
- FLO: front loop only
- st(s): stitch(es)
- Rnd(s): round(s)
Special Stitches
- Invisible Decrease (dec): Insert hook into front loop only of next 2 stitches. Yarn over, pull through both front loops, yarn over, finish sc.
- Picot Shell (gold trim): In same stitch: 2 dc, ch 2, sl st in ch base, 2 dc for star burst.
The Crochet Pattern
Part 1: Basic Body & Head (Carmine Red, then Skin Tone Yarn)
Rnd 1: Magic ring, ch 1, 8 sc in ring. Pull tight. Sl st to first sc. (8 sts)
Rnd 2: Ch 1, 8 inc (2 sc in each), sl st to first sc. (16 sts)
Rnd 3: Ch 1, [1 sc, 1 inc] × 8, sl st. (24 sts)
Rnd 4: Ch 1, BLO, 24 sc, sl st. (24 sts)
Rnds 5–7: Ch 1, 24 sc, sl st. (24 sts per round)
Rnd 8: Ch 1, [2 sc, 1 dec] × 6, sl st. (18 sts)
Rnds 9–10: Ch 1, 18 sc, sl st. (18 sts each)
Rnd 11: Ch 1, [1 sc, 1 dec] × 6, sl st. (12 sts)

Stuff lower body with pillow stuffing.
Rnd 12: Ch 1, 6 dec, fasten off red yarn. (6 sts)
Switch to Flesh / Skin Tone Yarn
Rnd 13: Join yarn, ch 1, 6 sc, sl st. (6 sts)
Rnd 14: Ch 1, 6 inc, sl st. (12 sts)
Rnd 15: Ch 1, [1 sc, 1 inc] × 6, sl st. (18 sts)
Rnd 16: Ch 1, [2 sc, 1 inc] × 6, sl st. (24 sts)
Rnds 17–20: Ch 1, 24 sc, sl st. (24 sts per round)
Rnd 21: Ch 1, [2 sc, 1 dec] × 6, sl st. (18 sts)

Facial Embroidery & Details
- Safety Eyes: Insert between Rnds 18–19, spaced 3 stitches apart.
- Eyeliner: Black thread, small wing above each eye.
- White highlight: Small stitch below each eye for sparkle.

- Eyebrows: Brown yarn, angled over each eye (2 stitches each).
- Nose: Flesh color yarn, wrap 3 horizontal stitches between eyes, then vertical wrap.
Head Closing
Rnd 22: Ch 1, [1 sc, 1 dec] × 6, sl st. (12 sts)
Stuff head fully.
Rnd 23: Ch 1, 6 dec, sl st, fasten off leaving long tail. (6 sts)
- Thread tail, weave through FLO of remaining 6, pull tightly to close.
Part 2: Hands (Make 2)
Start with Skin Tone Yarn
Rnd 1: Magic ring, ch 1, 6 sc in ring, sl st. (6 sts)
Rnd 2: Ch 1, 6 sc, sl st. (6 sts)
Switch to Carmine Red
Rnds 3–4: Ch 1, 6 sc, sl st per round. (6 sts per round)
Fasten off, tuck yarn ends in.
Part 3: Skirt Border
- Attach Carmine Red to FLO of Round 4 at body base.
- Join with sl st at back.
- Repeat: [ch 2, sc in next st] around base.
- Sl st to join, fasten off, weave in ends.
Part 4: Hair Embroidery
- Thread all brown yarn strands onto needle.
- Insert top of head, exit front at Rnd 18.
- Three long vertical stitches on left, three on right (ends at Rnd 14).
- Bridge center parting, fasten off at back.
Part 5: Cloak (Green Yarn)
Row 1: Ch 42, skip 2, 40 hdc from 3rd ch, turn. (40 sts)
Row 2: Ch 2, BLO, 40 hdc, turn. (40 sts)
Rows 3–4: Ch 2, 40 hdc (both loops), turn. (40 sts per row)
Row 5: Ch 2, 17 hdc, 3 hdc-dec across back loops, 17 hdc. (37 sts)
- Fold right sides together, seam short back edge using sc through front and back loops to make hood shape.
- Fasten off, turn cloak right-side out.
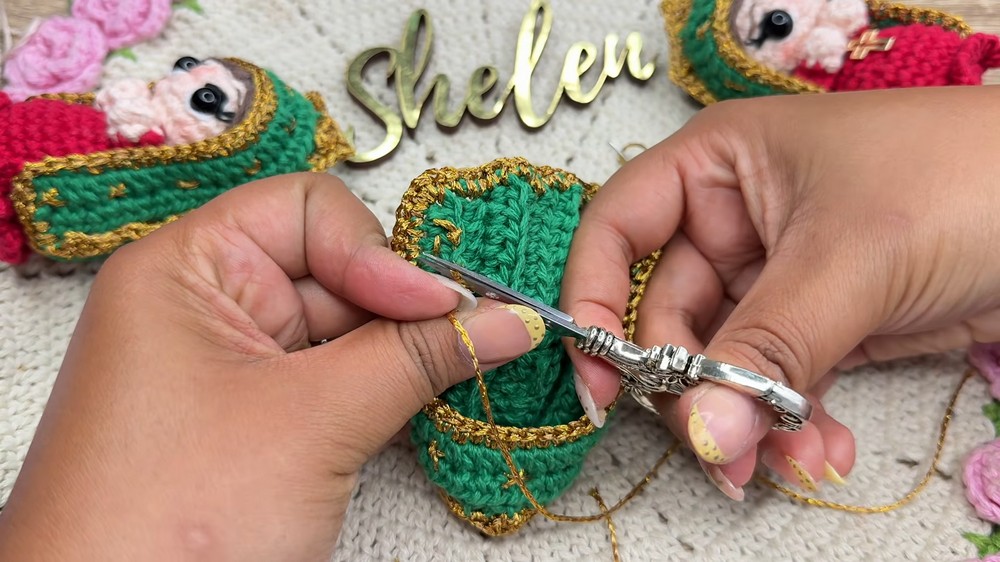
Part 6: Gold Trim & Stars
- Attach gold thread to cloak edge.
- Trim edge: In same st: [2 dc, ch 2, sl st in ch base, 2 dc], skip 1 st, sc in next, repeat across entire front edge.
- Outer border: 1 sc in every st around other cloak edges, 3 sc in each corner.
- Sl st to join, do not cut thread right away.
- Stars: With leftover gold thread, embroider small criss-cross stars randomly over cloak.
Assembly & Finished Size
- Apply blush on cheeks with cotton swab.
- Use glue to attach hands at chest center, palms together.
- Place cloak over head/shoulders, glue edges at crown, neckline, and front.
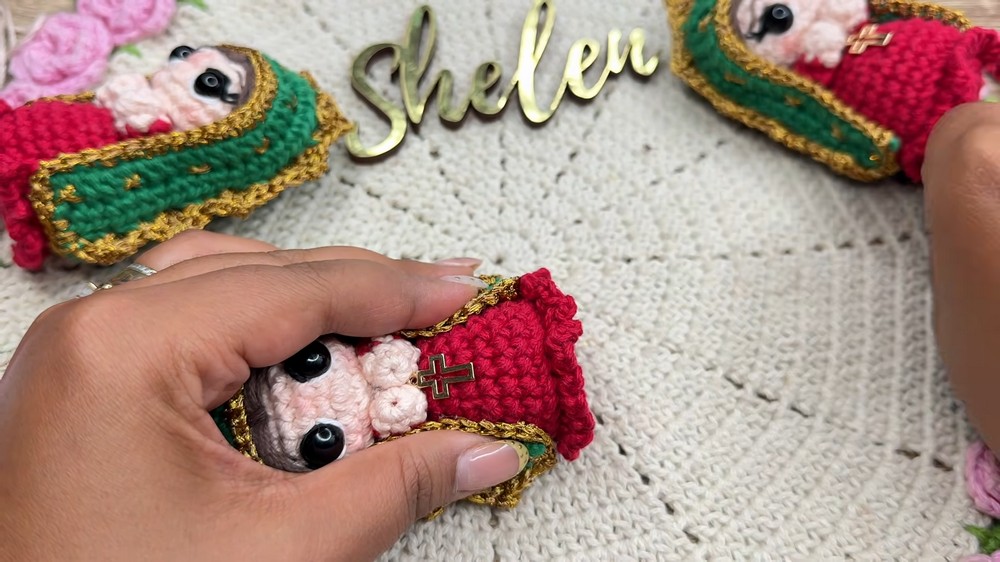
- Attach cross or tiny bow at center of hands.
- Final Height: About 10 cm
Conclusion:
Your small Virgin Mary amigurumi is now complete, with a peaceful face, golden-edged cloak, and neat hands holding a tiny cross or bow. Each detail, from the embroidered hair to the simple facial features, adds charm to your finished doll. The steps above guide you from start to finish, with no rush and no hard words. This piece is sweet for a car charm, a present, or a meaningful decoration for your home. Simple colors, soft yarn, and steady hands show how thoughtful details can turn yarn and thread into something special to keep or share.