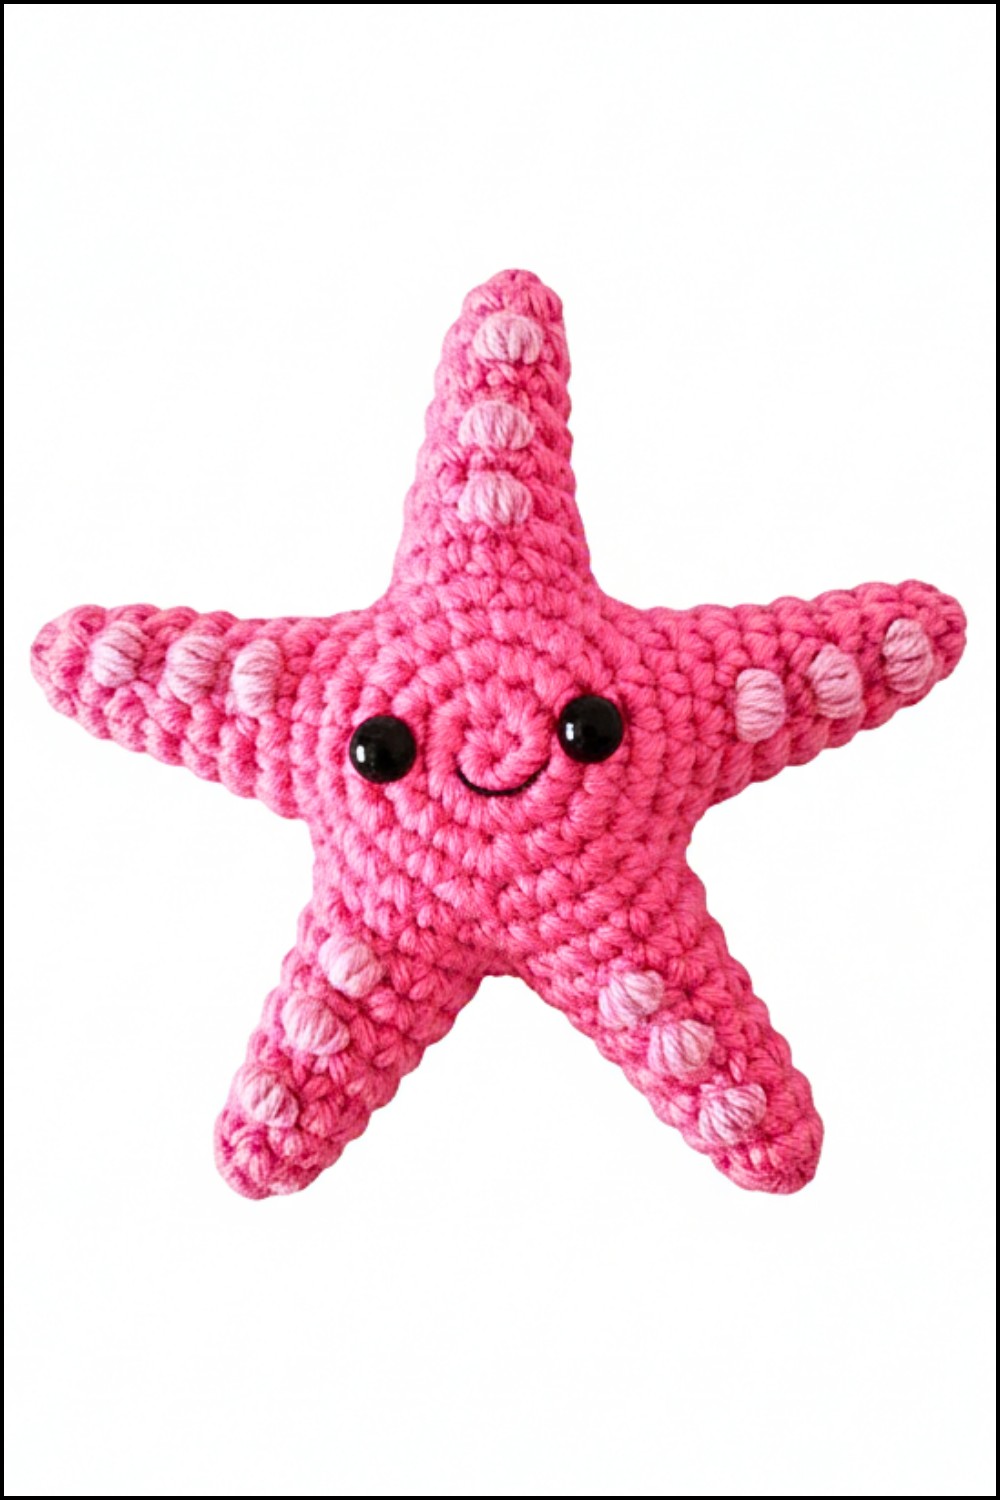
Magical Crochet Starfish Pattern Fun for Ocean Lovers
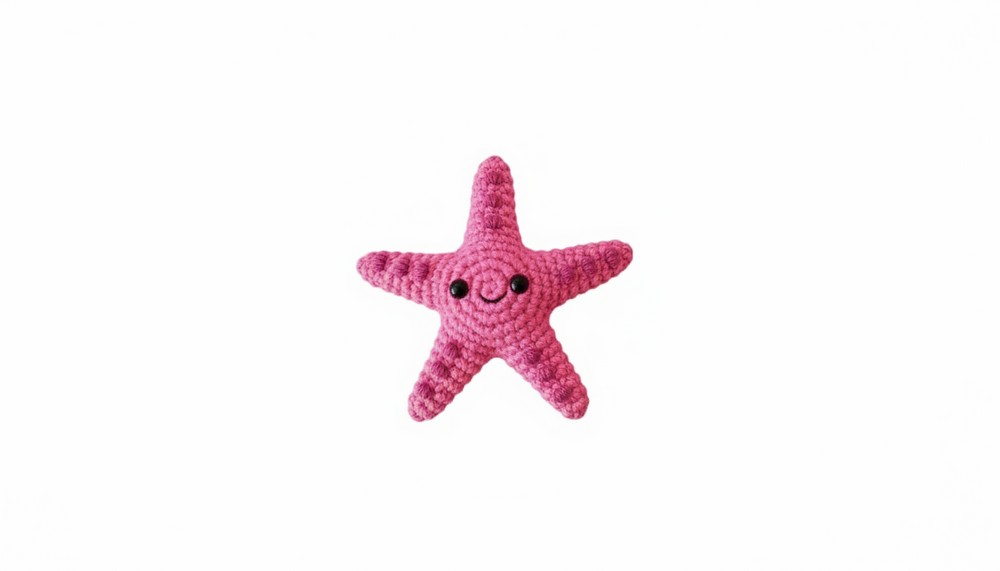
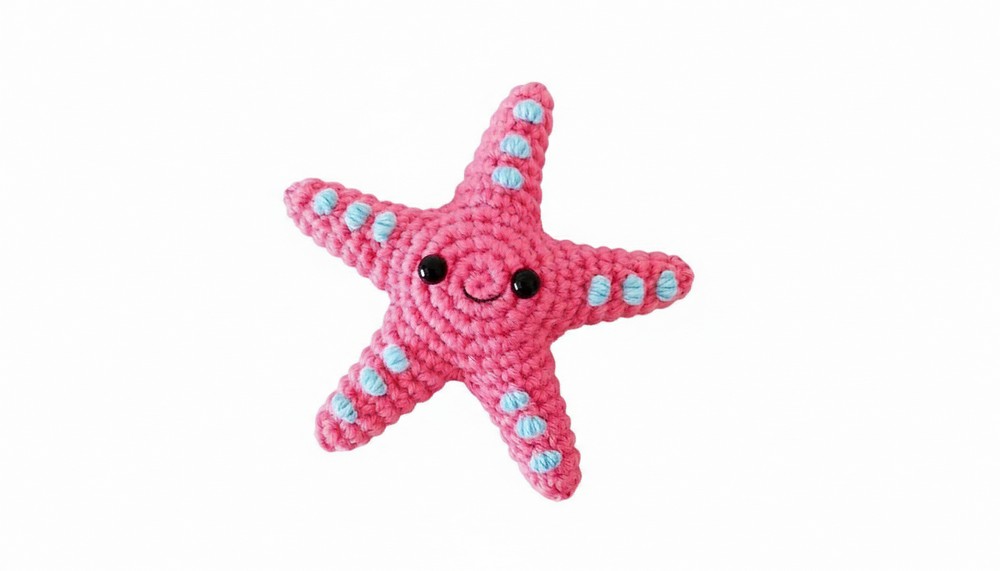
The gentle shapes of the sea can be brought into your home in a soft and colorful way. The Crochet Starfish pattern turns simple yarn into a charming star-shaped creation that looks like it came straight from the ocean. Its five arms, textured surface, and bright colors make it eye-catching and fun to touch. This little starfish can be used to decorate rooms, hang on walls, attach to bags, or even make keychains and gifts for loved ones.
Kids especially enjoy them because they are soft, safe, and playful. What makes this pattern unique is its realistic texture combined with the flexibility to choose any color, giving each starfish a special personality. Making one is easy and satisfying, letting anyone feel proud of their handmade creation. Its charm comes from being both simple and lively, adding a cheerful ocean touch wherever it is placed.
Bring coastal charm with this Crochet Starfish Pattern perfect for beach themed decor kids gifts or playful accents that add fun and color to any space.
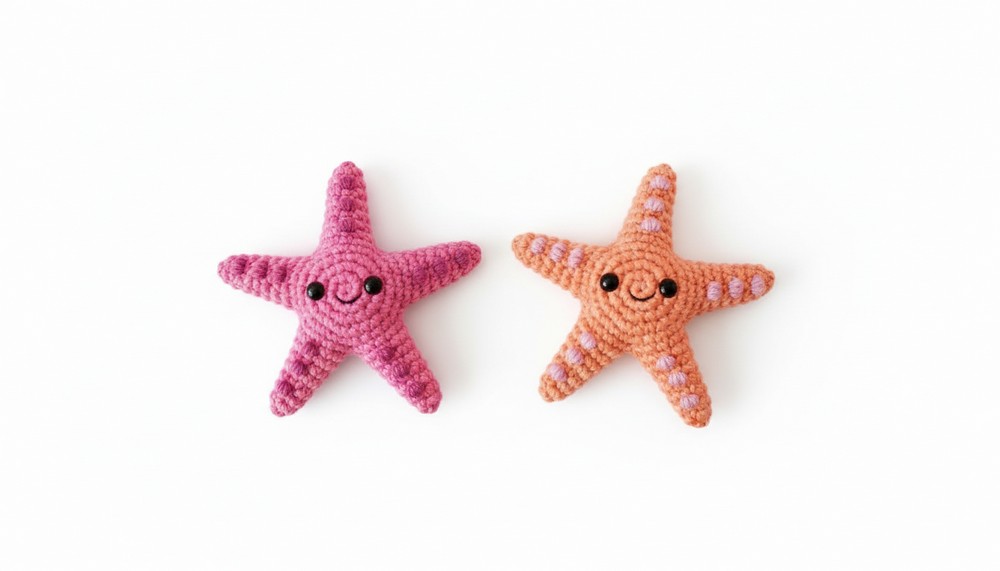
Soft Crochet Starfish Pattern for Kids and Babies
Materials
- Yarn: DK weight cotton yarn in starfish color plus a contrasting color (e.g., Paintbox Yarns Cotton DK in Bright Peach, Daffodil Yellow, Washed Teal, or Tea Rose)
- 2.5mm Crochet Hook
- Safety Eyes: 6mm diameter (1 pair)
- Polyester Fiberfill: For stuffing arms and body
- Black Embroidery Floss: For facial features
- Stitch Marker: Essential for marking rounds and stitches
- Yarn Needle: For finishing and weaving in ends
- Scissors
Abbreviations (US Terms)
- ch – chain
- sc – single crochet
- inc – increase
- invdec – invisible decrease
- sl st – slip stitch
- st/s – stitch/es
- [ … ] – repeat instructions within brackets
- ( … ) – stitch count at end of round
Special Notes
- Pieces are worked in a continuous spiral. Use a removable stitch marker to mark the first stitch of each round.
- Each arm is constructed by connecting two body pieces with single crochet stitches.
- New yarn is joined using a standing single crochet and a long starting tail, which is used for sewing gaps closed at the end.
- Gauge: Not important for this pattern, but stitches should be tight enough to keep stuffing from showing.
Customization Ideas
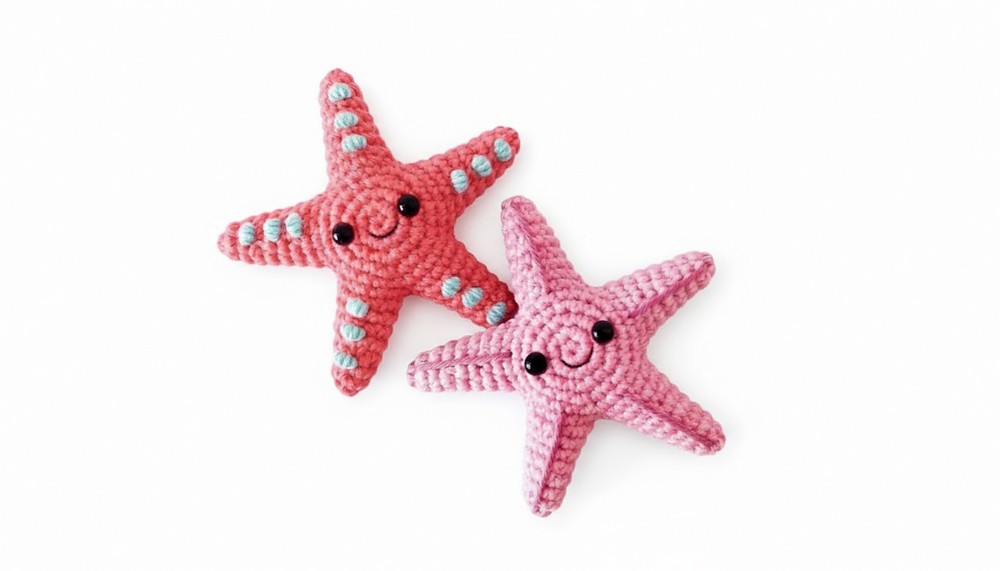
- Substitute any color for the starfish and contrast as desired.
- Add embroidery, beads, or small knots along the arms for extra texture.
- Embroider a happy, straight, or curved mouth to give your starfish personality.
- Use safety eyes, buttons, or felt circles for different looks.
Finished Size
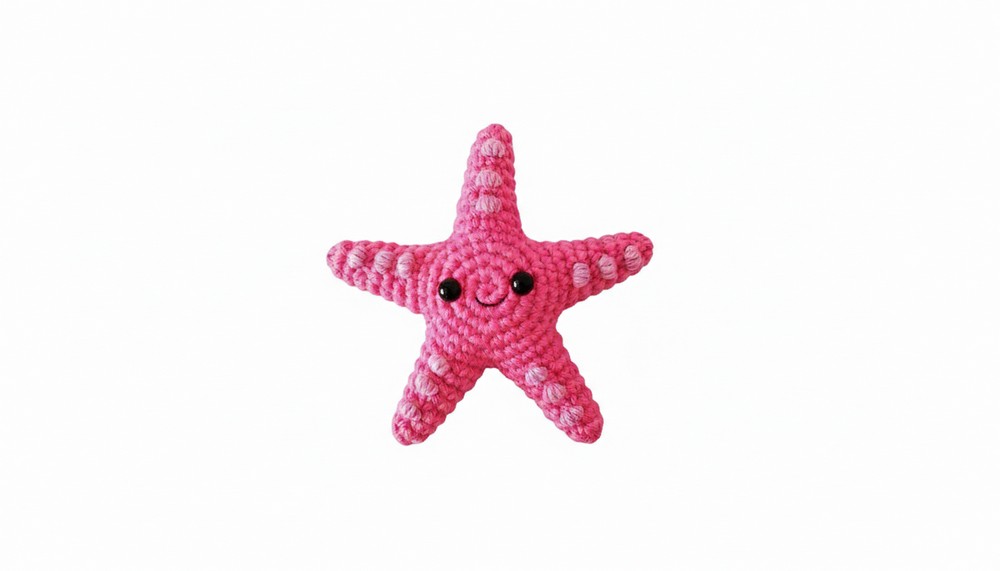
Approximately 3.5″ x 3.5″ (9cm x 9cm), depending on tension and yarn.
Pattern Instructions
Starfish Body (Make 2)
- R1: 6 sc in magic ring (6)
- R2: [inc] x6 (12)
- R3: [sc, inc] x6 (18)
- R4: sc, inc, [2 sc, inc] x5, sc (24)
- R5: [3 sc, inc] x6 (30)
Fasten off the first body piece invisibly and set aside.
Do not fasten off body piece two; you will continue directly from here.
Arm 1
- Continuing from body 2, sc in next 6 stitches; place a stitch marker in the first sc.
- Join body 1: Place body 1 next to body 2. Single crochet into ANY stitch on body 1, then make an additional 5 sc in the next 5 stitches. (You have 6 sc on body 2 and 6 sc on body 1, total of 12 sts.)
- Fold the two body pieces wrong sides together with the stitch marker facing you.
- Begin Spiral: Sc into marked st (first sc of round). Working in a spiral, sc in each st (12).
- R3: 2 sc, invdec, 4 sc, invdec, 2 sc (10)
- R4–5: sc in each st around (10 sts for two rounds)
- R6: [3 sc, invdec] x2 (8)
- R7: sc in each st around (8)
- R8: sc, invdec, 2 sc, invdec, sc (6)
- Cut the yarn, leaving a tail. Pull through last st. Do not weave in end yet.
Arms 2–3
- Join new yarn: Make a slip knot, leave a long starting tail (~6"/15cm).
- R1: Insert hook into the next stitch of body 2 (left of previous arm), sc, sc in next 5 sts (6)
- R2: Turn so the back of the starfish is facing you. Count 6 stitches away from the last arm, sc into this stitch on body 1, then sc in next 5 stitches (6)
- R3: Working in a spiral, sc in each st around (12)
- Note: Ensure starting tail remains outside for later finishing.
- R4: 2 sc, invdec, 4 sc, invdec, 2 sc (10)
- R5–6: sc in each st (10), twice
- R7: [3 sc, invdec] x2 (8)
- R8: sc in each st around (8)
- R9: sc, invdec, 2 sc, invdec, sc (6)
- Cut the yarn, leave a tail, pull through last st. Do not weave in end yet.
Eyes and Stuffing
- Insert safety eyes between Rounds 3 and 4, with the center arm at the top. Ensure symmetry.
- Trim eye stems on back if needed.
- Stuff the first three arms lightly with fiberfill.
Arm 4
- Repeat as for Arms 2–3.
- Stuff the fourth arm and the central body as you go.
Arm 5
- Repeat as for Arms 2–3.
- Stuff arm during closing.
- Add additional stuffing into the holes between arms or body section if needed.
Closing Holes
- Use the starting tails left from each arm’s join to whip stitch any small holes closed, then weave in and hide the ends inside.
- If you have a gap without a starting tail, use the nearest tail.
Finishing the Arms
- Close tips of arms: Weave the yarn tail through the front loop only of the final round, pull tight, and hide the end inside the arm.
Finishing Details
- Mouth: With a single strand of black embroidery floss, embroider a simple mouth between the eyes (straight or curved, as desired). You may glue in place for a neat look.
- Optional Details: Wrap knots, embroider lines, or sew beads onto the arms.
- Shape: Gently bend the arms to create a natural, wavy appearance.
Pattern Correction
- Take care when joining body pieces for the arms, ensuring stitch counts match and the shape is symmetrical.
- Insert safety eyes securely and evenly for a friendly look.
- Keep yarn tension consistent so stuffing does not peek through the fabric.
Tips
- Mark the first stitch of each round for precise counting.
- Use a small crochet hook to ensure tight, closed stitches.
- Avoid excessive stuffing; lightly stuffed arms bend more naturally.
- Leave long tails for finishing and closing holes—it saves time.
Conclusion
This no-sew crochet starfish is not only fun to make but also requires no separate sewing of pieces, thanks to its continuous construction. With opportunities for customization and expressive details, it’s perfect as a cute ocean friend, baby toy, or décor piece. Follow the step-by-step instructions for a seamless, neat project and let your creativity shine through color and embellishment choices.