
Crochet Bumblebee Amigurumi Pattern for Handmade Gifts
Crochet your own buzzing bee buddy with this fun and unique Bumblebee Amigurumi Pattern that adds color and joy to your crafty creations!
Bright stripes of yellow and black make this crochet bumblebee irresistibly charming. With wings made of soft white yarn and playful black safety eyes, its cheerful body can add a spark of joy to any space as decor or as a thoughtful handmade gift. This amigurumi bee is lightweight, huggable, and perfectly sized to use as a keychain, bag charm, or even for nursery decor, making it ideal for spreading smiles while showcasing your crochet skills.
Crochet Bumblebee Amigurumi
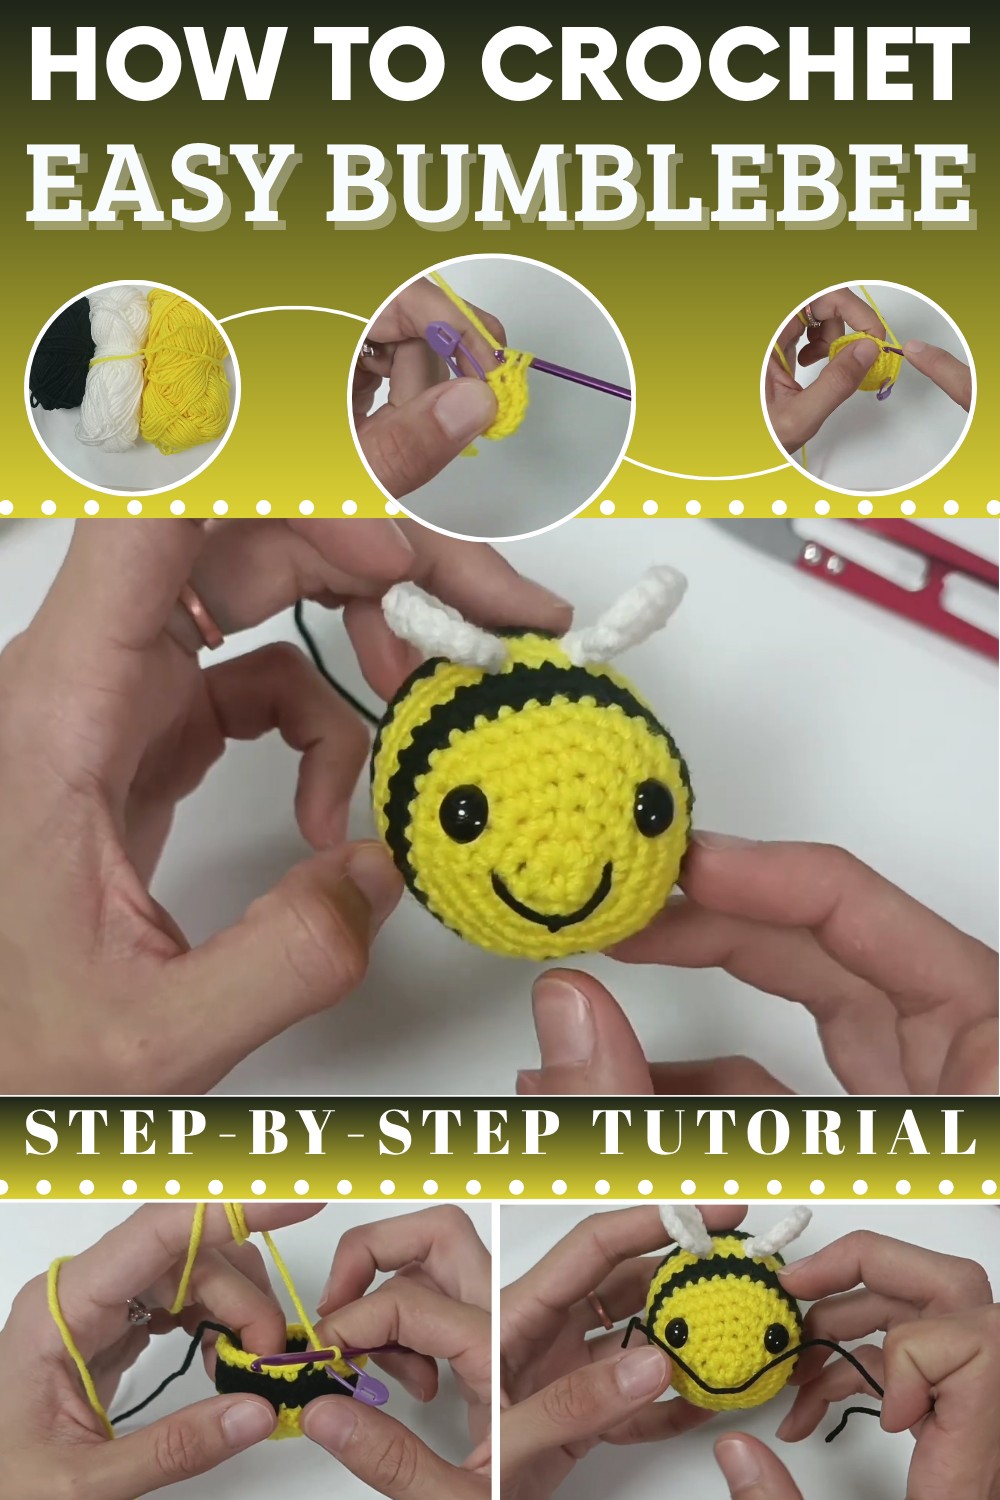
Crochet Bumblebee Amigurumi Tutorial
This tutorial explains how to create an adorable crochet bee, a perfect project for beginners exploring the art of amigurumi. The pattern offers easy-to-follow steps and includes details on materials, stitch abbreviations, and finishing techniques. With careful attention, you’ll gain insight into essential techniques such as the magic circle, single crochet, increases, decreases, and finishing your project professionally. Dive into this step-by-step guide and bring your buzzing bee to life!
Materials Required
- Yarn:
- Black
- Yellow
- White (for wings)
All yarns should ideally be 5-ply milk cotton yarn, but you can use any type that works with your crochet hook.
- Tools:
- Crochet hook: Match the size to your yarn (the video's creator uses a metal crochet hook).
- Stitch marker: Ensure accurate rows for your bee.
- Needle: For sewing wings and finishing the bee.
- Scissors: To cut the yarn.
- Safety eyes: For the bee's eyes (optional but recommended).
- Stuffing (e.g., cotton or polyester filling): To fill the bee’s body.
- Black thin yarn/thread (optional): To add features, such as the smile.

Abbreviations:
- SC: Single crochet
- INC: Increase (2 single crochets in the same stitch)
- DEC: Decrease (combine two stitches into one)
- ST/STCH: Stitch
- SL ST: Slip stitch
- YO: Yarn over
Step-by-Step Pattern
Body Instructions
Row 1: Magic Circle and First Row
- Start with a magic circle using yellow yarn:
- Form a loop.
- Pass the yarn through the loop.
- Insert the hook, YO, pull through to form a base loop.
- SC into the magic circle.
- Complete 6 SC inside the magic circle.
- Pull the tail to tighten the circle, securing the stitches.
- Place a stitch marker into the last stitch for seamless tracking.

Row 2: Six Increases
- Begin with 6 INC (2 SC into each stitch).
- Insert hook into the stitch.
- YO, draw up a loop.
- YO, pull through both loops.
- Repeat SC into the same stitch.
- You should now have 12 stitches in total.
- Move the stitch marker to the last stitch.
Row 3: SC and INC
- Alternate:
- Perform 1 SC in the first stitch.
- Perform 1 INC (2 SC in the next stitch).
- Repeat this six times around.
- You now have 18 stitches.
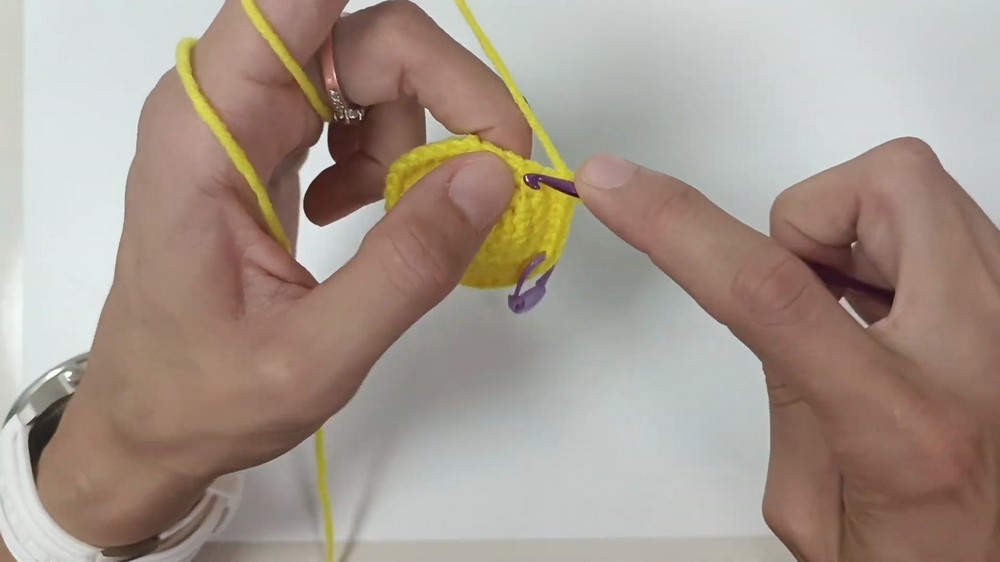
Row 4: Two SC and INC
- Alternate:
- Perform 1 SC in the first stitch.
- Perform 1 SC in the second stitch.
- Perform 1 INC in the third stitch.
- Repeat this sequence six times around.
- You now have 24 stitches.
Row 5: Three SC and INC
- Alternate:
- Perform 1 SC in each of the first three stitches.
- Perform 1 INC in the fourth stitch.
- Repeat this sequence six times around.
- You now have 30 stitches.
Row 6: One Row of SC
- SC into every stitch once.
- Continue around until you reach the stitch marker.
- You still have 30 stitches.
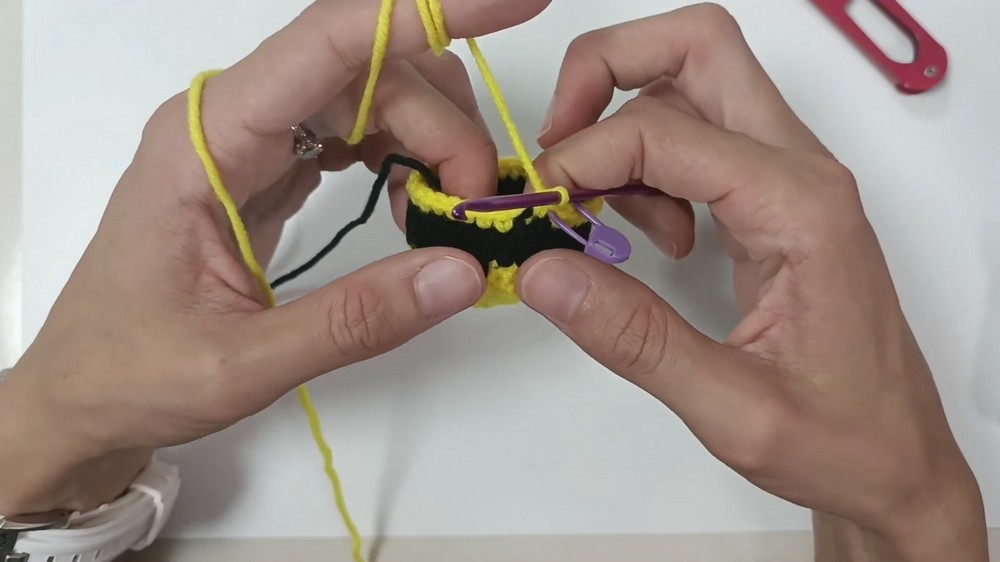
Rows 7–9: Black Yarn
- Change to black yarn on the last stitch of Row 6.
- Insert your hook and join new yarn color by pulling through the two loops on your hook.
- Pull both yarn ends to secure.
- Perform SC in each stitch around for three rows.
- Placing your stitch marker at the end of each row.
Row 10: Back to Yellow Yarn
- Change back to yellow yarn at the last stitch of Row 9.
- SC into every stitch around.
Rows 11–16: Color-Changing Rows
Repeat Row 9 and switch between black and yellow yarn as per the instructions to create the striped body of the bee.
Rows 17–20: Shaping the Body
- Begin Decreasing:
- Row 17: SC in the first 3 stitches, then DEC. Repeat six times (24 stitches).
- Row 18: SC in the first 2 stitches, then DEC. Repeat six times (18 stitches).
- Add stuffing to the bee at Row 18.
- Row 19: SC in the first stitch, then DEC. Repeat six times (12 stitches).
- Row 20: Six DEC (6 stitches).
- Close the hole by sewing the last six stitches using a needle and thread.
Wings Instructions
Wing 1:
- Using white yarn, begin with a magic circle.
- Create 7 SC into the magic circle. Tighten it to complete the circle.
- For Row 2: Perform 7 INC (2 SC in each stitch). You will have 14 stitches.
- Finish off with a SL ST in the next stitch and a chain one.
- Cut the yarn, leaving a tail for sewing. Repeat for the second wing.
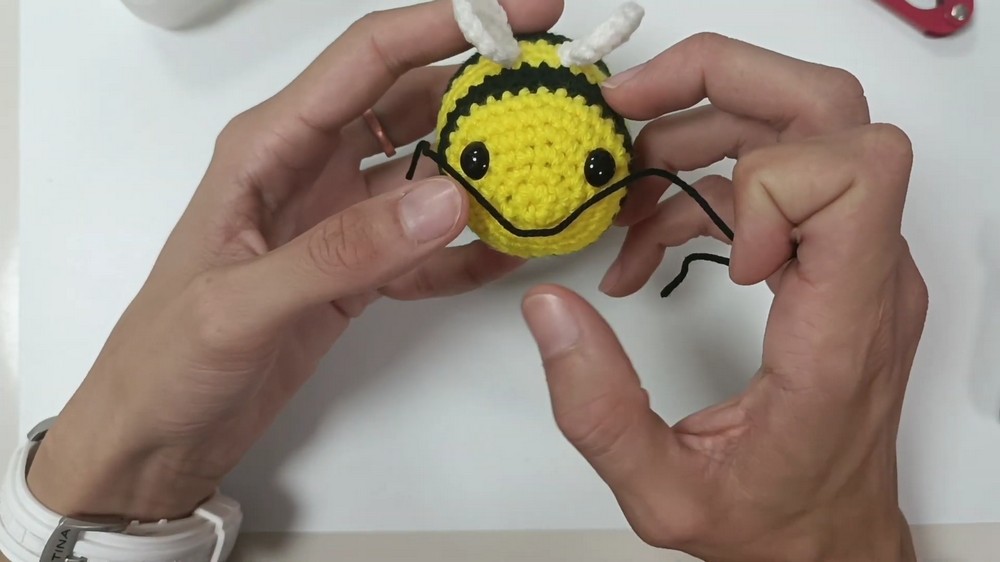
Assembly
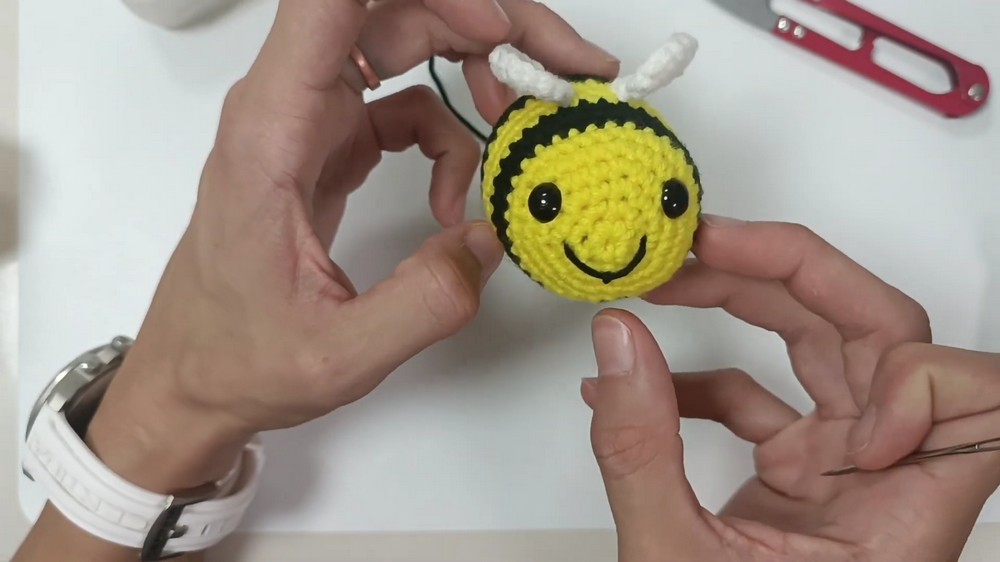
- Place the wings on the yellow section. Align between rows 4–6.
- Sew each wing using a needle and the tail of yarn.
- Use careful stitches through the wing and body to secure each wing.
- Insert safety eyes between Rows 4–5. Ensure that there are 8 stitches between the eyes. Secure each with a plastic washer.
- Use a piece of thin black thread to sew a small smile between the eyes for added charm.
Conclusion
You have now successfully completed your crochet bee! This project is ideal for beginners to learn basic techniques such as the magic circle, single crochet, increasing, decreasing, and sewing. Feel free to use this bee as a keychain by adding a small ring at the top or give it as a charming handmade gift. Happy crocheting!